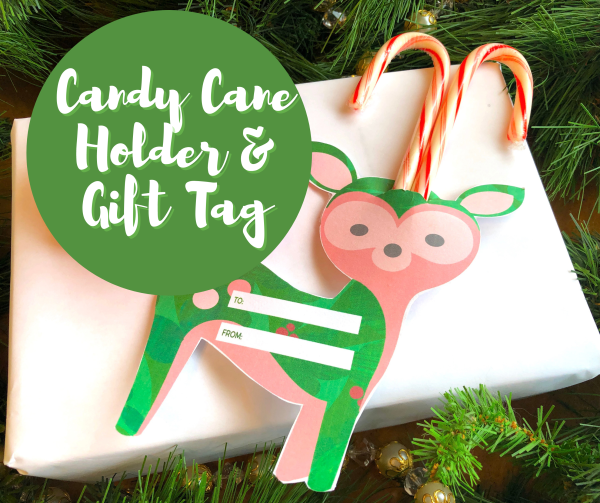
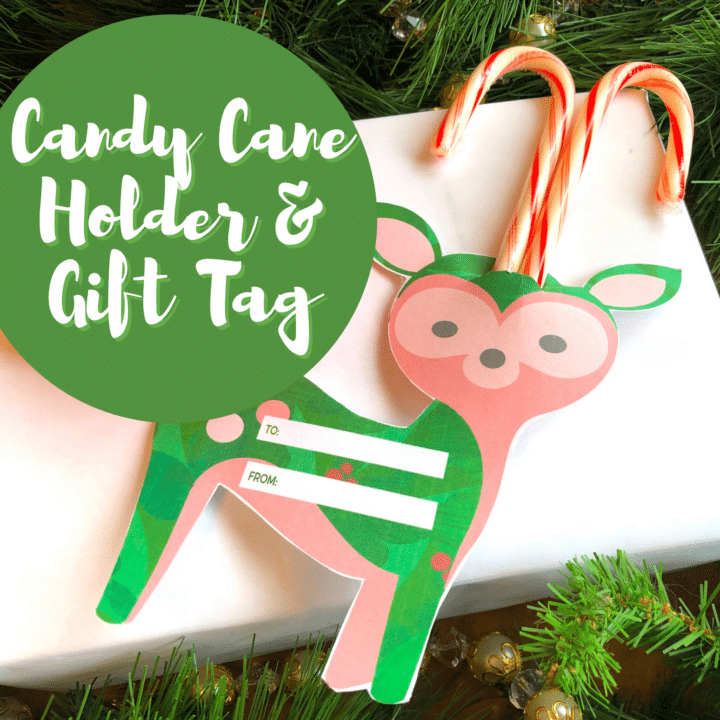
Printable Candy Cane Holder and Gift Tags
Let the holiday spirit shine through with our Printable Candy Cane Holder and Gift Tags! These printables are designed to add an extra touch of joy and personalization to your holiday season.
With our free Christmas printables, you can effortlessly elevate your gift-giving game and infuse your presents with the spirit of Christmas. From adorable owl and mouse designs to a deer print, our printable candy cane holder is functional and makes for delightful decorations.
This post may contain affiliate links, meaning I get commissions for purchases made through links in this post at no cost to you. Read my disclosure policy here.
Table of Contents
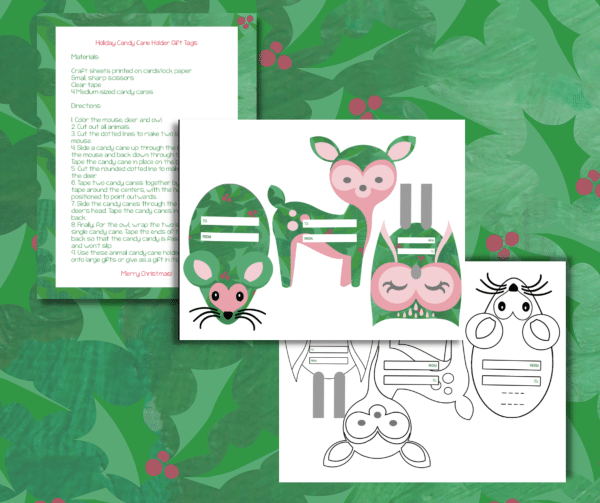
What materials do I need to make a candy cane holder?
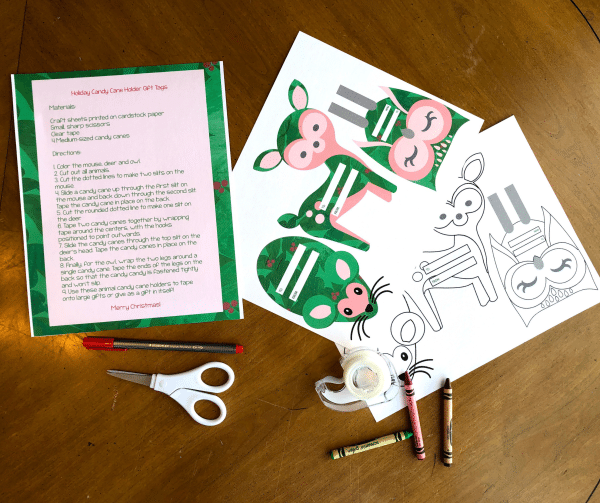
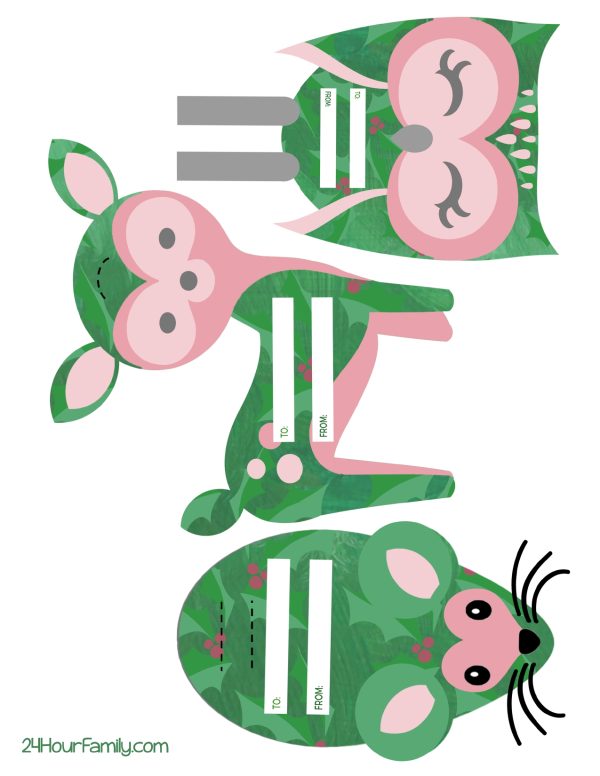
- Craft sheets printed on cardstock paper (Download the printable at the bottom of this post)
- Small, sharp scissors
- Clear tape
- 4 medium-sized Candy Canes
How can I make my own Christmas gift tags?
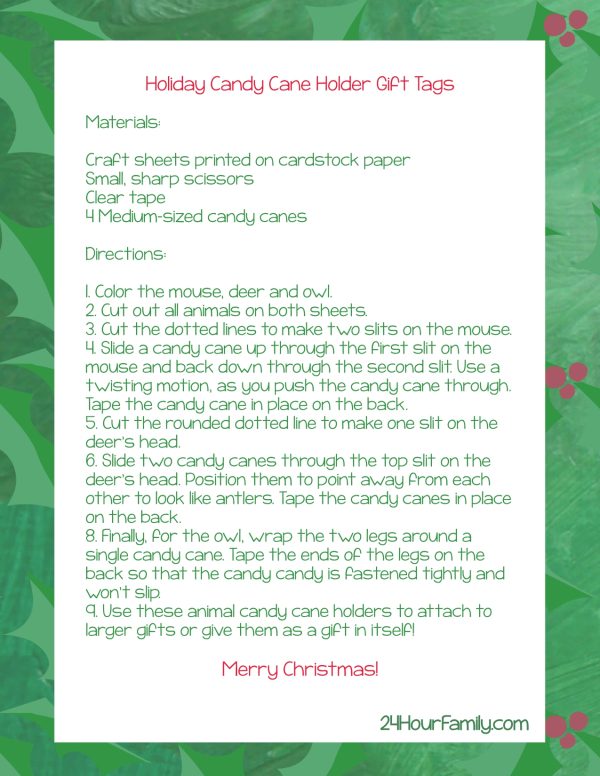
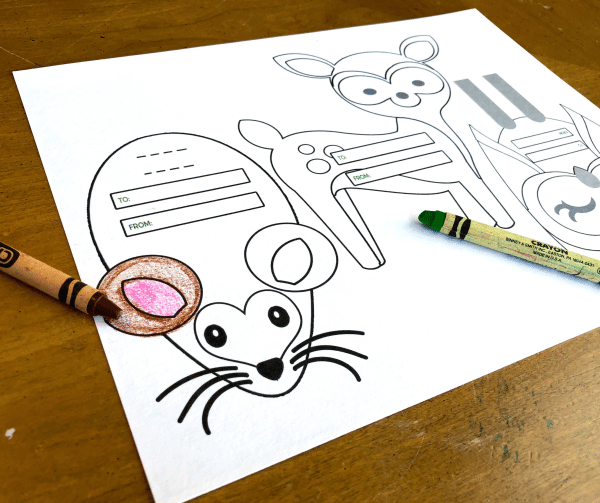
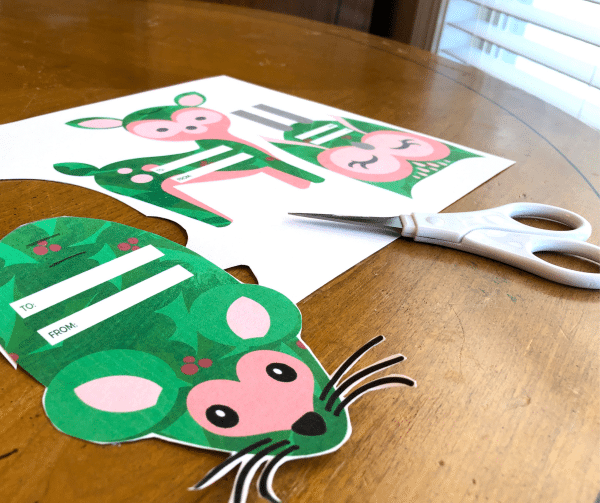
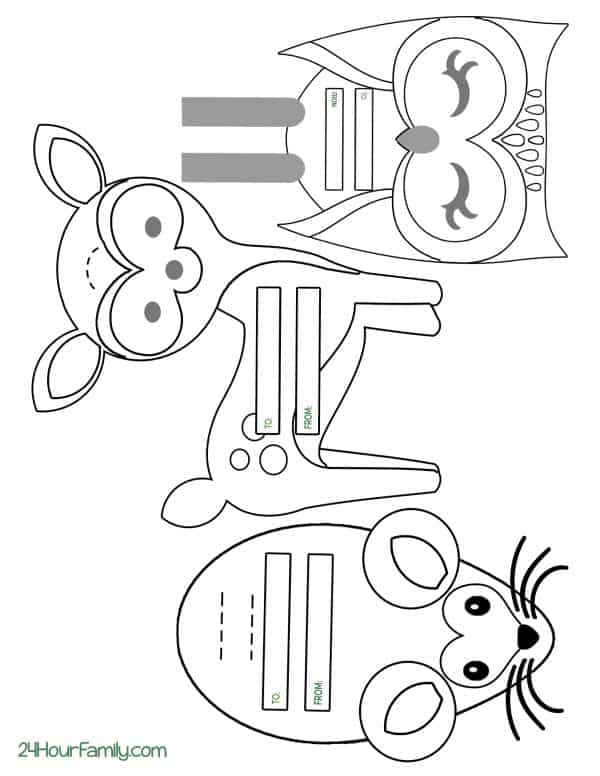
Color the mouse, deer, and owl.
Cut out all animals on both sheets.
How do you make a DIY candy cane holder?
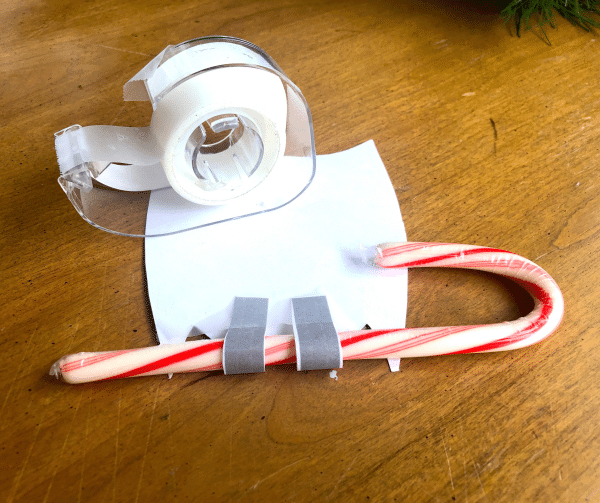
Cut the dotted lines to make two slits on the mouse.
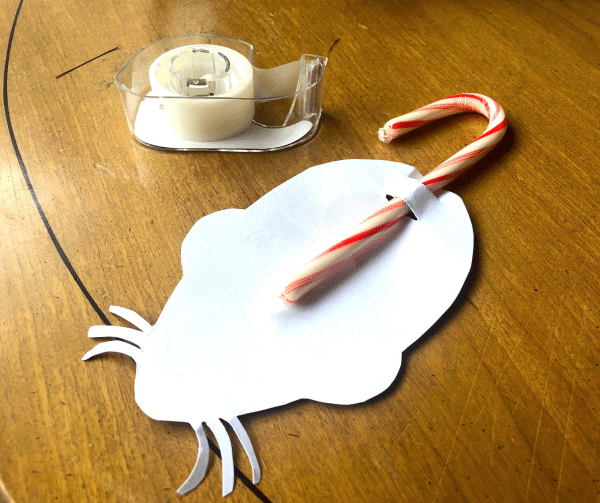
Slide a candy cane up through the first slit on the mouse and back down through the second slit. Use a twisting motion as you push the candy cane through. Tape the candy cane in place on the back.
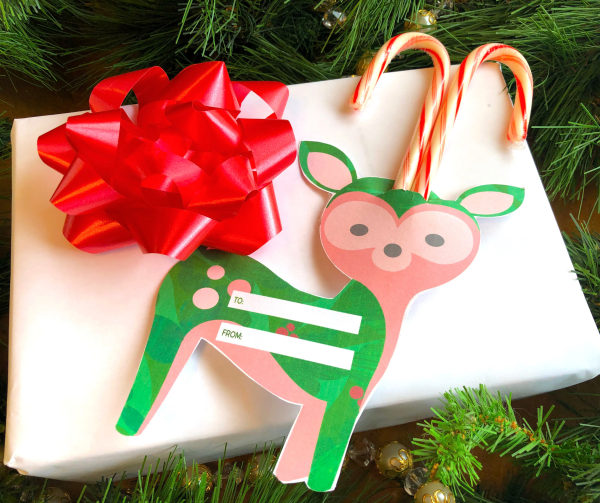
Cut the rounded dotted line to make one slit on the deer’s head.
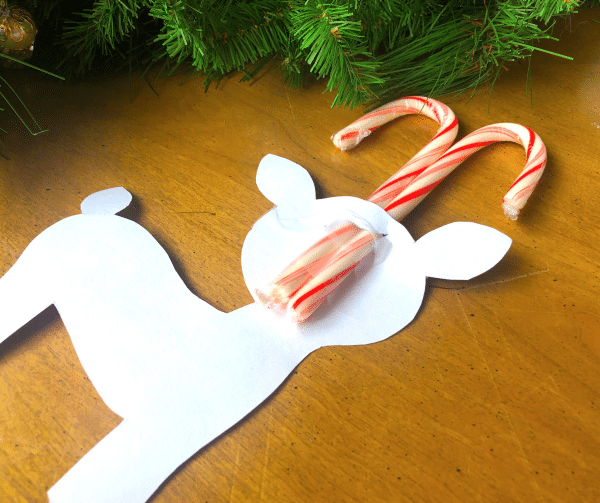
Slide two candy canes through the top slit on the deer’s head. Position them to point away from each other to look like antlers. Tape the candy canes in place on the back.
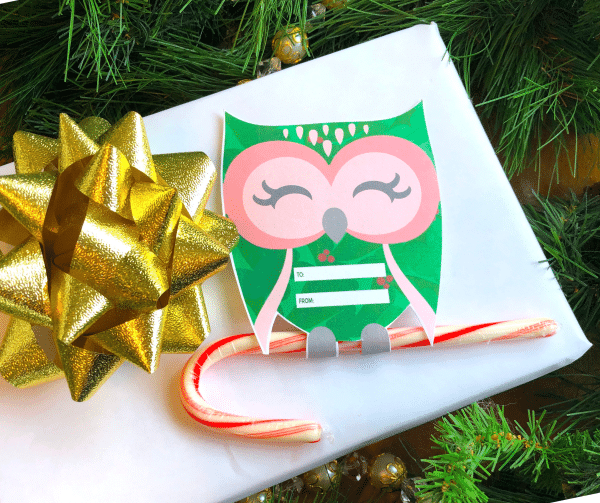
Finally, for the owl, wrap the two legs around a single candy cane. Tape the ends of the legs on the back so that the candy is fastened tightly and won’t slip.
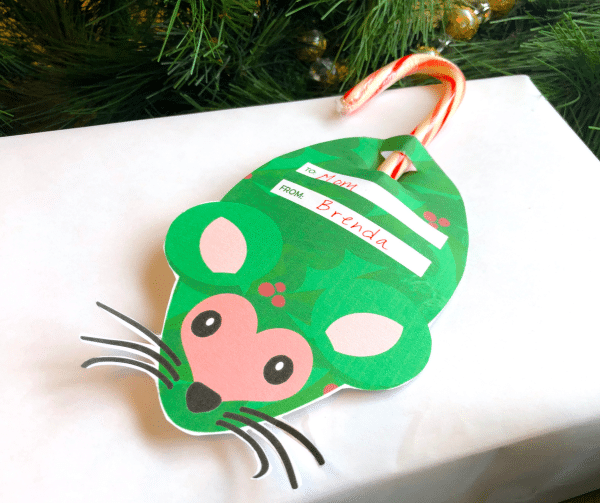
Use these animal candy cane holders to attach to larger gifts or give them as a gift.
How can I personalize Christmas gift tags for each recipient?
Personalizing Christmas gift tags for each recipient adds a thoughtful and individual touch to your gifts. Here are some ideas on how to personalize your gift tags:
- Write the recipient’s name prominently on the gift tag. You can use different handwriting styles, calligraphy, or lettering to match your personality or preferences.
- Create a monogram using the recipient’s initials. You can draw or print their initials on the tag and embellish them with decorative elements like flourishes, stars, or holiday symbols.
- Attach a small photo of the recipient to the gift tag. It could be a recent picture or a cherished memory that holds significance for both of you. This adds a personal and sentimental touch to the tag.
- Incorporate the recipient’s favorite colors into the design of the gift tag. Use markers, colored pencils, or paint to create a color scheme that resonates with their preferences.
- Include a meaningful quote, a short message, or a heartfelt note on the gift tag. Choose words that are special to the recipient or that convey your relationship with them.
Tips for making professional-looking Christmas gift tags at home
Creating professional-looking Christmas gift tags at home can elevate the overall presentation of your gifts. Here are some tips to help you achieve a polished and professional look:
- Start with high-quality cardstock or thick paper for your gift tags. Opt for materials that are sturdy and have a smooth finish. This will give your tags a professional appearance and make them more durable.
- Choose a consistent design and theme for your gift tags. Maintaining a cohesive look across all your tags, whether a specific color scheme, pattern, or motif, will create a polished and put-together presentation.
- Pay attention to the cutting of your gift tags. Use a sharp pair of scissors or a paper trimmer to ensure clean, straight lines. Consistency in size and shape will contribute to a professional finish.
- Pay attention to the typography on your gift tags. If you’re handwriting the text, practice to ensure neat and legible writing beforehand. Alternatively, stencils, stamps, or printable templates can be used to achieve consistent and professional-looking typography.
- Focus on the small details that can make a big difference. Ensure your lines are straight, edges are smooth, and embellishments or decorative elements are applied neatly. Attention to these details will give your gift tags a refined and professional touch.
Printable candy cane holders and gift tags offer a convenient and creative way to enhance your holiday gift-giving. Whether you choose to add charming designs, heartfelt messages, or incorporate photos, these printable options allow you to make your gifts even more special. By combining your creativity with the convenience of printables, you can elevate your holiday presentations with delightful candy cane holders and gift tags that add a touch of joy and thoughtfulness to every package.
Candy Cane Holder and Gift Tags
These printable candy cane holders and gift tags will add an extra sprinkle of joy and personalization to your holiday season!
Materials
- Printed Candy cane holder template on cardstock paper
- A pair of scissors
- Tape or glue
- Candy canes - medium-sized
Tools
- Printer
Instructions
- Let's bring some holiday cheer to our printable Candy Cane Holder and Gift Tags by adding color to our adorable mouse, deer, and owl! Grab your favorite markers or colored pencils, and let your creativity shine as you add vibrant hues to these festive characters.
- Now that our festive friends are all colored in, it's time to give them life by carefully cutting them out from both sheets. Take your time and follow along the edges of each animal to ensure a clean and precise cut.
- To prepare our adorable mouse for holding candy canes, we'll need to make two slits along the dotted lines. Grab your scissors and carefully cut along these lines to create the slits. These slits will allow the candy canes to slide snugly into place, adding an extra touch of charm to our Candy Cane Holder.
- Take a candy cane and gently slide it up through the first opening on the mouse, then guide it back down through the second one. As you do this, give it a twist to make it easier to maneuver. Once it's in place, secure it by taping the candy cane to the back of the mouse.
- Next, grab some scissors, and you'll want to carefully cut along the dotted line on the deer's head. This will create a single slit.
- Take two candy canes and gently slide them through the top slit on the deer's head. Ensure they're positioned to point away from each other, just like antlers. Once you're happy with the placement, secure them by taping the candy canes to the back of the deer's head.
- Take the two legs of the owl and carefully wrap them around a single candy cane. Make sure to wrap them snugly so the candy cane stays in place. Once you've got it positioned just right, use tape to secure the ends of the legs on the back of the owl.
- These animal candy cane holders can serve multiple purposes. You can attach them to more significant gifts as adorable decorations, adding a touch of charm to your presents. Alternatively, they make fantastic gifts on their own!
2 Comments