
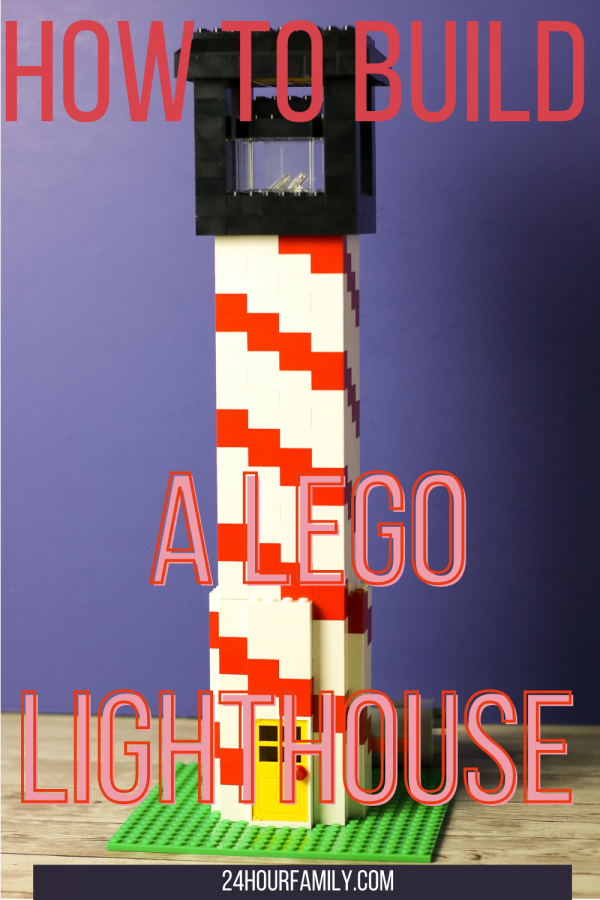
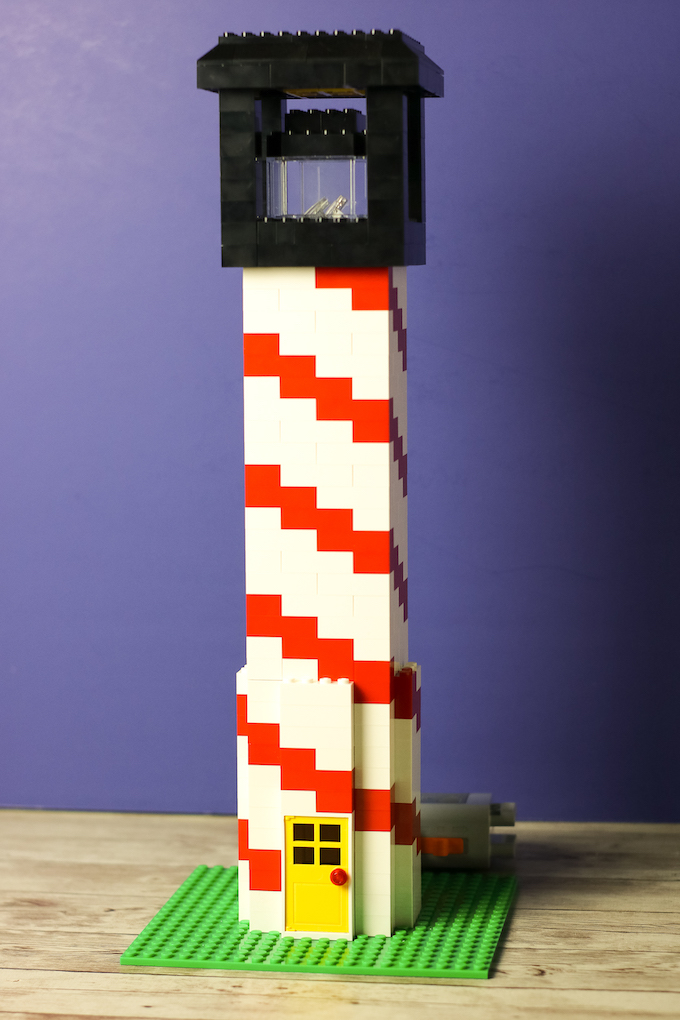
How to Build a LEGO Lighthouse
Use Legos in assorted colors to create a beautiful Lego lighthouse. You can learn how to easily make the Lego lighthouse with a light kit with your children for a fun-filled activity that will keep them entertained.
If you have plenty of Legos, you may enjoy building different things with your children and we have many different Stem and Lego Activities and ideas on the blog. There is a good chance that you have already built different figures to test your abilities while working with your children. One of the figures that you might not have put together yet is a lighthouse.

If you love lighthouses and would like to put one together with your children, you can follow these simple Lego lighthouse instructions. After putting the lighthouse together with the Lego bricks, you can put it out on display for everyone in the household to see.
This post contains affiliate links meaning I get commissions for purchases made through links in this post at no cost to you. Read my disclosure policy here.
The Supplies Needed to Build the Lego Lighthouse
Before you follow the simple instructions to create the lighthouse, make sure you have the right materials. You will need:
Approximately 50 2×4 bricks in red
Approximately 50 2×4 bricks in white
Approximately 50 2×2 bricks in red
Approximately 50 2×2 bricks in white
8 1×4 roof tile bricks in black
4 corner roof tile bricks in black
2 4×10 panels in black
1 2×10 panel in black
About 30 2×2 bricks in black
About 20 2×4 bricks in black
About 10 1×1 bricks in black
About 6 1×4 bricks in black
About 10 1×1 bricks in black
4 to 16 2×2 bricks in yellow
4 1x4x3 wall elements in transparent
How to light the top of the Lego Lighthouse:
You can light the top of the Lego lighthouse by using the Lego power functions battery box and light. Several lighting options are sold at
LEGO Power Functions battery box
LEGO Power Functions light
Do I Need to Light the Lego Lighthouse?
If you don’t have access to the light kit, you can still easily build the Lego Lighthouse with just the bricks mentioned. You may already have these supplies at home. If not, make sure to order them before you start working on the lighthouse with your children.
Lego does offer a lighthouse set, but if you already have the supplies needed, you can use what you have at home instead of putting out more money for the kit.
How to Build a Lighthouse From Legos
Building the lighthouse from Lego bricks is a simple process. You would need to place the classic baseplate on a flat surface, such as a kitchen table. Once you have your baseplate on a flat surface, set the door frame on top of it. You may then work on building the foundation that will surround the door frame.
You can make the lighthouse a bit wider to have a larger spot for your battery. When you have that extra space, the battery box will glide right inside it with ease.
Continue stacking your bricks until you reach the desired height for the lighthouse. If you are planning on making a small lighthouse, use about 50 bricks in each color. However, if you want to make it wider and taller, you may need to have at least 100 bricks in each color.
Is It Possible to Use Bricks in Other Colors?
While white and red are two common colors to see on lighthouses, you can follow these instructions using Lego bricks in any color that you have available. You may want to use a combination of black and white bricks, brown and white bricks, or all white bricks.
Use what you have at home to create a unique lighthouse that will look great by the time you and your little ones finish putting it together. How would you choose how to build a lighthouse from Legos?
To create the crowning lightbox, begin with the base of the box using 2×4 black bricks.
Place the door frame on the base plate.
Continue to assemble the top of the Lego Lighthouse
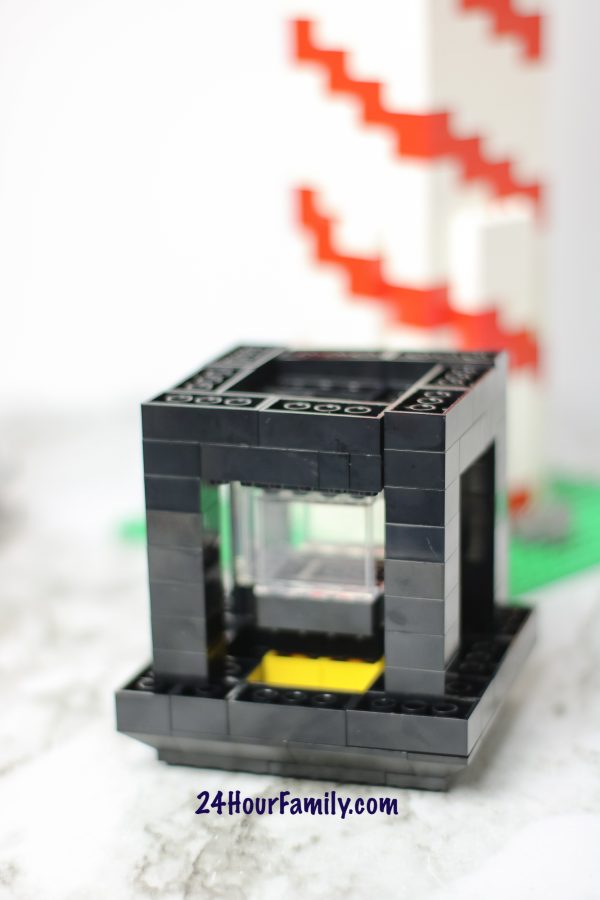
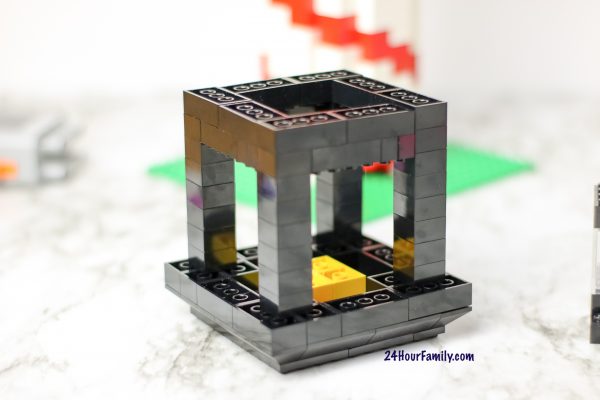
On the corners, create four equal columns using 2×2 bricks in black.
For the second layer of the light box, use 1×1 bricks and 1×4 bricks to fill in the space between the corner columns.
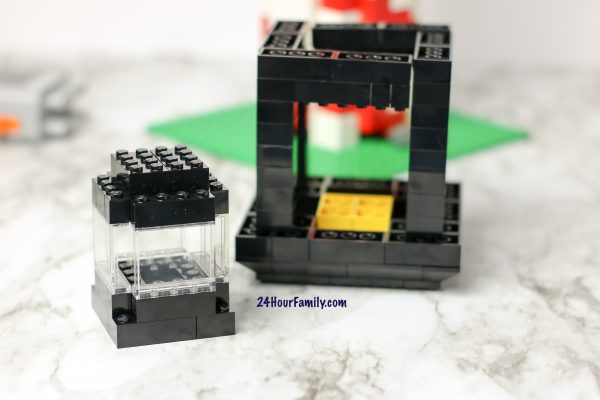
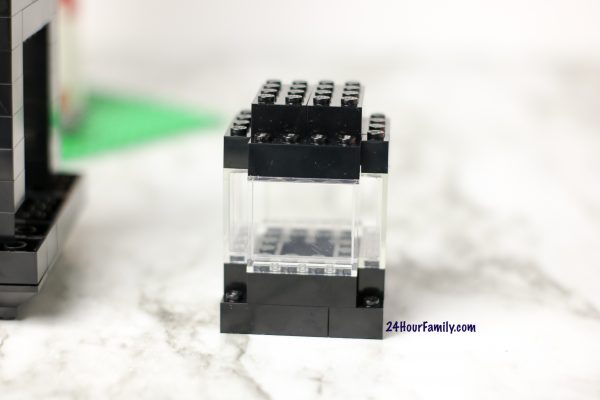
Construct the inner lightbox using 2 rows of 2×4 and 2×2 bricks in black. Attach transparent wall elements like windows to encase the light.

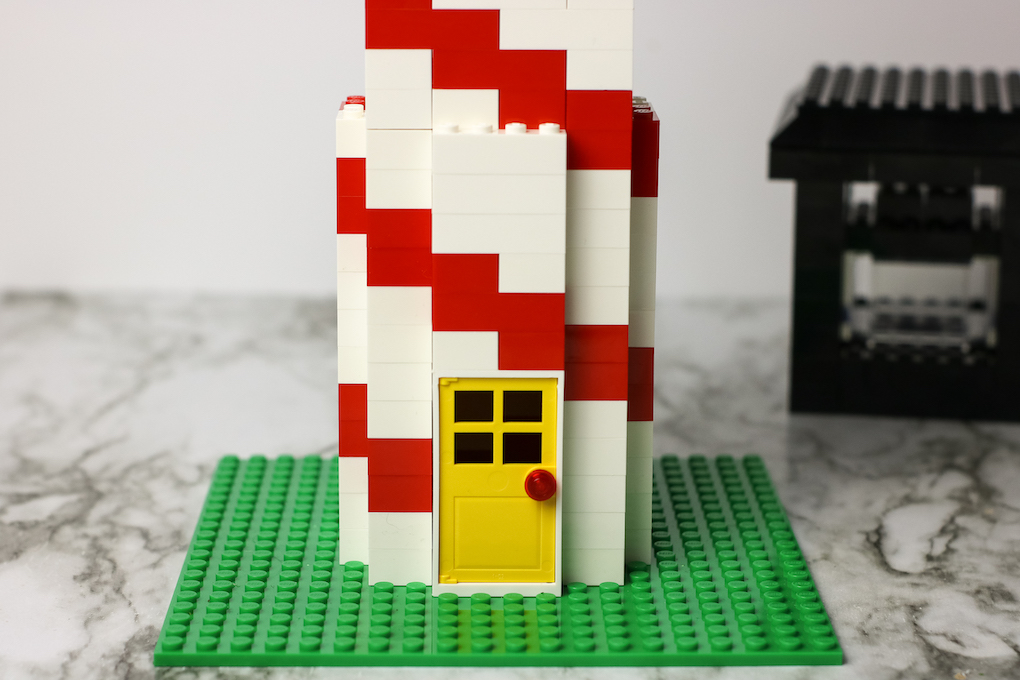
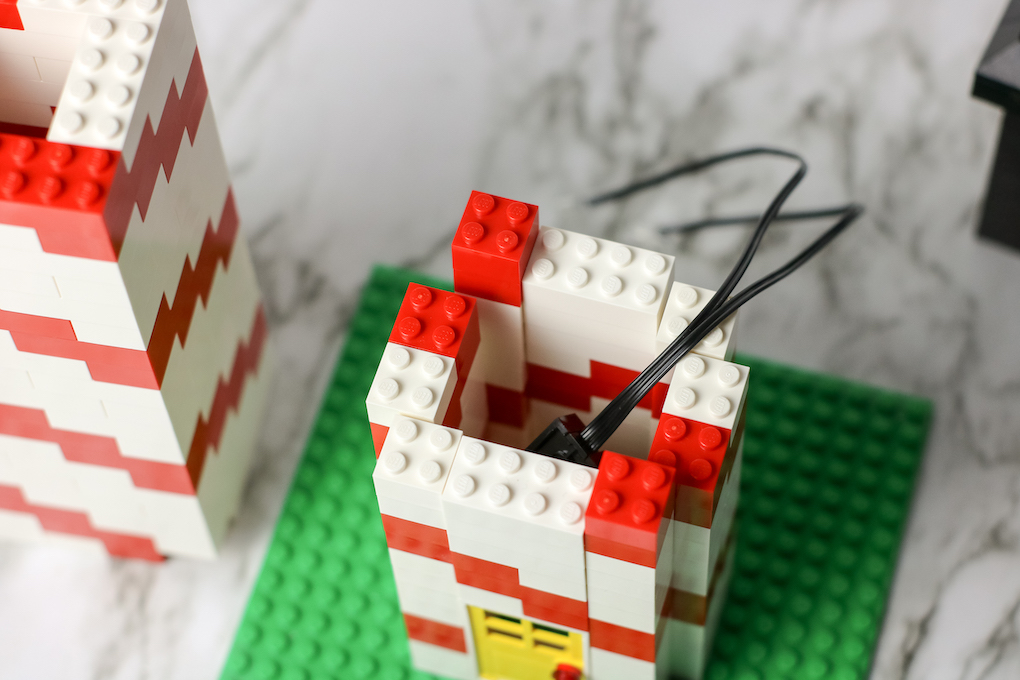
As you start building around the door frame with your bricks, alternate between red bricks and white bricks to create a pattern for the lighthouse.
If using light, leave one brick remaining from the bottom layer OR construct the lighthouse wide enough for the battery box to fit inside. If placing the battery box inside the lighthouse, position the battery box so the switch is easily accessible through the door.
Keep building the lighthouse tower until it is as tall as you would like it to be.

If not using the Power Functions light, create a stack of 2×2 bricks in yellow and place it in the middle of the wall elements.
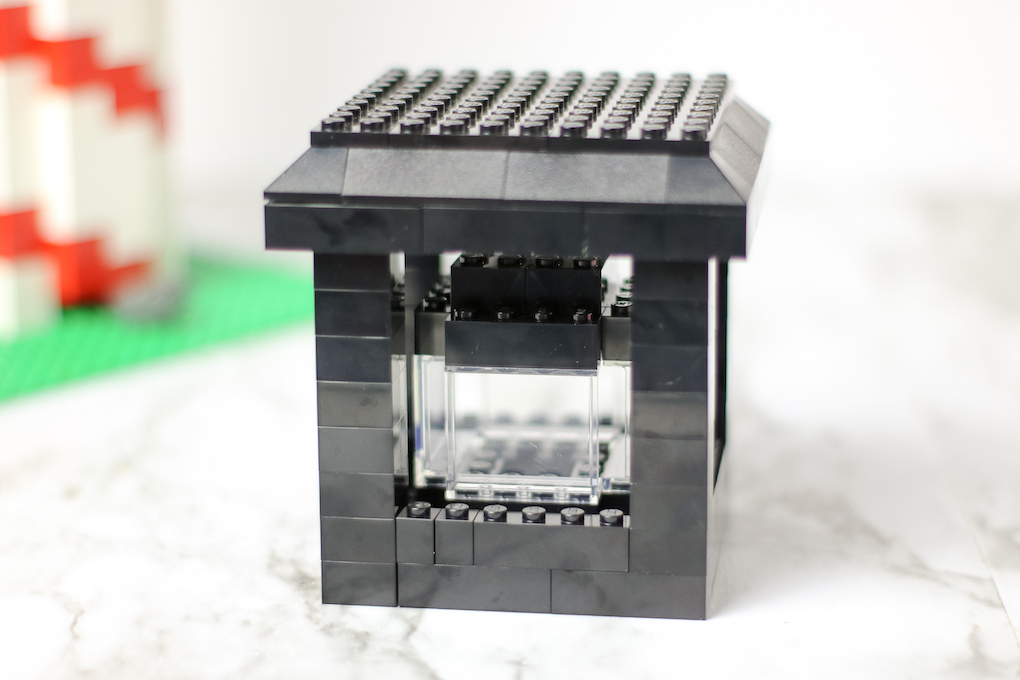
Secure the top of the inner lightbox using additional 2×4 bricks in black.
Place the inner light box inside the crowning lightbox.

How to Build a Lego North Pole
How to Build a Lego Christmas Tree
How to Make a Lego Christmas Tree Ornament
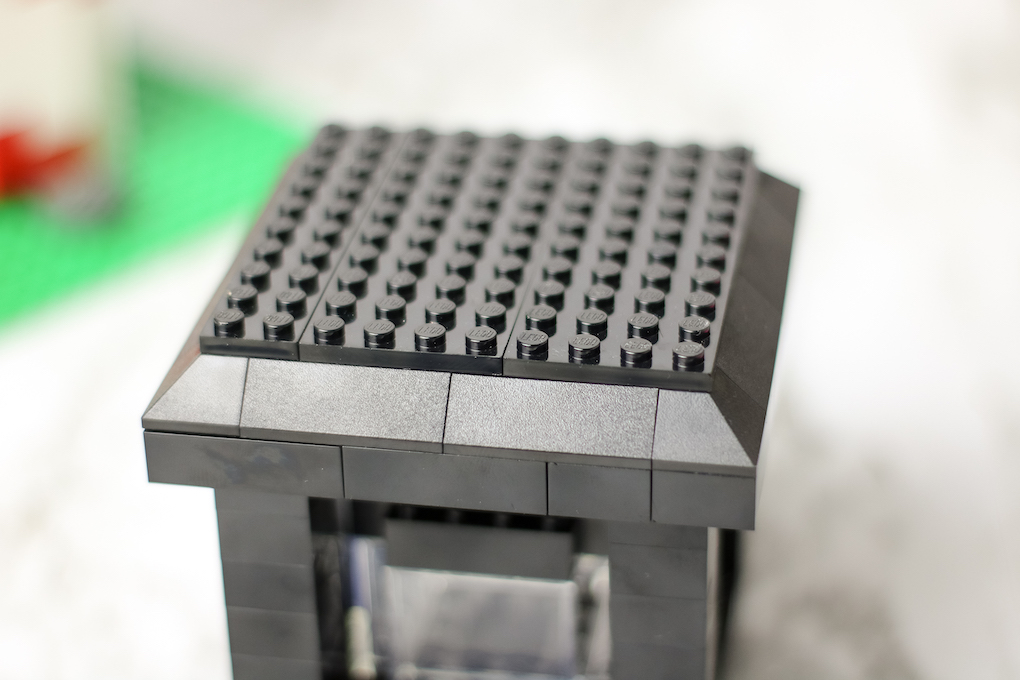
Construct the roof of the crowning lightbox using 2×2 and 2×4 bricks in black. Add the panels to the top and then finish the roof by edging with the roof tile bricks and roof tile corner bricks.
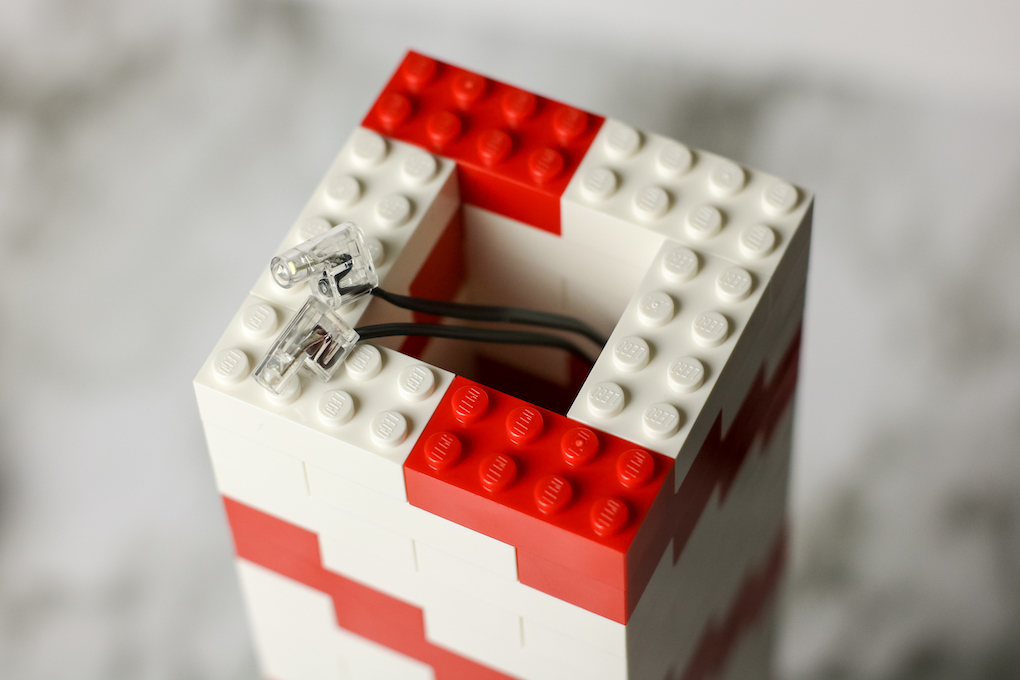
Run the Power Functions light through the middle of the lighthouse foundation and connect it to the battery box. Place the light end inside the inner lightbox. Secure the crowning lightbox to the lighthouse foundation.

Lego Doors
Lego doors add so much appeal to this adorable Lego lighthouse and are used in many of their Lego brick builds.

How to Build a Lighthouse from Legos
Materials
- 1 door frame
- 1 door
- About 50 2x4 bricks in red
- About 50 2x4 bricks in white
- About 50 2x2 bricks in red
- About 50 2x2 bricks in white
- 1 green base plate
- 8 1x4 roof tile bricks in black
- 4 corner roof tile bricks in black
- 2 4x10 panels in black
- 1 2x10 panel in black
- About 30 2x2 bricks in black
- About 20 2x4 bricks in black
- About 10 1x1 bricks in black
- About 6 1x4 bricks in black
- 4 to 16 2x2 bricks in yellow
- 4 1x4x3 wall elements in transparent
- To light:
- LEGO Power Functions battery box
- LEGO Power Functions light
Instructions
- Place the door frame on the base plate.
- Begin building the foundation of the lighthouse by creating an alternating pattern of red and white bricks. If using light, leave one brick remaining from the bottom layer OR construct the lighthouse wide enough for the battery box to fit inside. If placing the
battery box inside of the lighthouse, position the battery box so the switch is easily accessible through the door. - Build the lighthouse tower as tall as desired.
- To create the crowning light box, begin with the base of the box using 2x4 black bricks.
- On the corners, create four equal columns using 2x2 bricks in black.
- For the second layer of the light box, use 1x1 bricks and 1x4 bricks to fill in the space between the corner columns.
- Construct the inner light box using 2 rows of 2x4 and 2x2 bricks in black. Attach the transparent wall elements like windows to encase the light.
- If not using the Power Functions light, create a stack of 2x2 bricks in yellow and place it in the middle of the wall elements.
- Secure the top of the inner light box using additional 2x4 bricks in black.
- Place the inner light box inside the crowning light box.
- Construct the roof of the crowning light box using 2x2 and 2x4 bricks in black.
- Add the panels to the top and then finish the roof by edging with the roof tile bricks and roof tile corner bricks.
- Run the Power Functions light through the middle of the lighthouse foundation and connect it to the battery box.
- Place the light end inside the inner light box. Secure the
crowning light box to the lighthouse foundation.