Christmas Nutcracker Craft Tutorial (Free Printable)
If you would like to decorate your home with handmade Christmas items, try this Christmas Nutcracker Craft with the children. It is the perfect way to spend time with your little ones while creating an adorable nutcracker scene that you can hang all over the walls of your home.
Creating a printable Christmas craft about The Nutcracker lets you set up a Nutcracker stage so your child can re-enact the Christmas Nutcracker Story. This fun printable Nutcracker Activity will be the perfect Christmas
Table of Contents
Free Nutcracker Printables
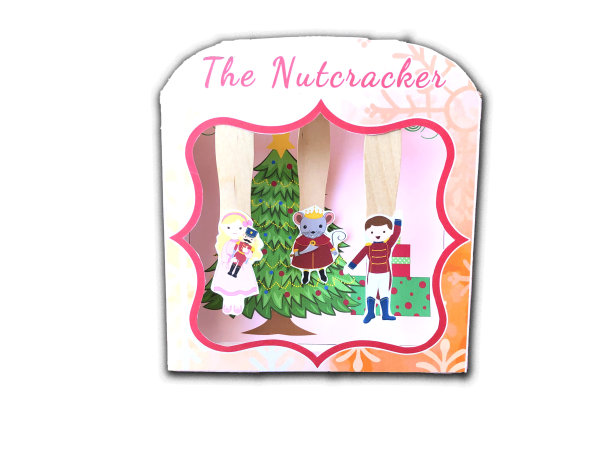
This printable nutcracker stage with nutcracker performers is a delightful way to bring the magic of the holiday season into your home. It’s a perfect project for crafting, decorating, and imaginative play.
Christmas Nutcracker Craft with Stage and Characters (and a free 1 page Printable)
When it starts getting colder outside and the holiday season begins to approach, you may get excited about decorating the home with different Christmas-themed items, including snowmen, elves, and Santa Claus decorations. However, you can also decorate your home with beautiful nutcrackers after completing this Christmas Nutcracker Craft.
Land of the Sweets Backdrop Printable
Nutcrackers have such a unique and classic appearance that makes them stand out in a home when used for decorative purposes. You will have a great time completing this stress-free craft with the children because of the result.
If you like doing crafts, you may already have the supplies needed to complete this craft with your children. You can get creative and allow your children to use different colors to create custom Christmas nutcrackers that will look great when displayed throughout various rooms in the home. The craft is easy enough for your children to complete with help from you, and it will keep them entertained while allowing them to use their creative sides.
How to Display Your Christmas Nutcracker Craft?
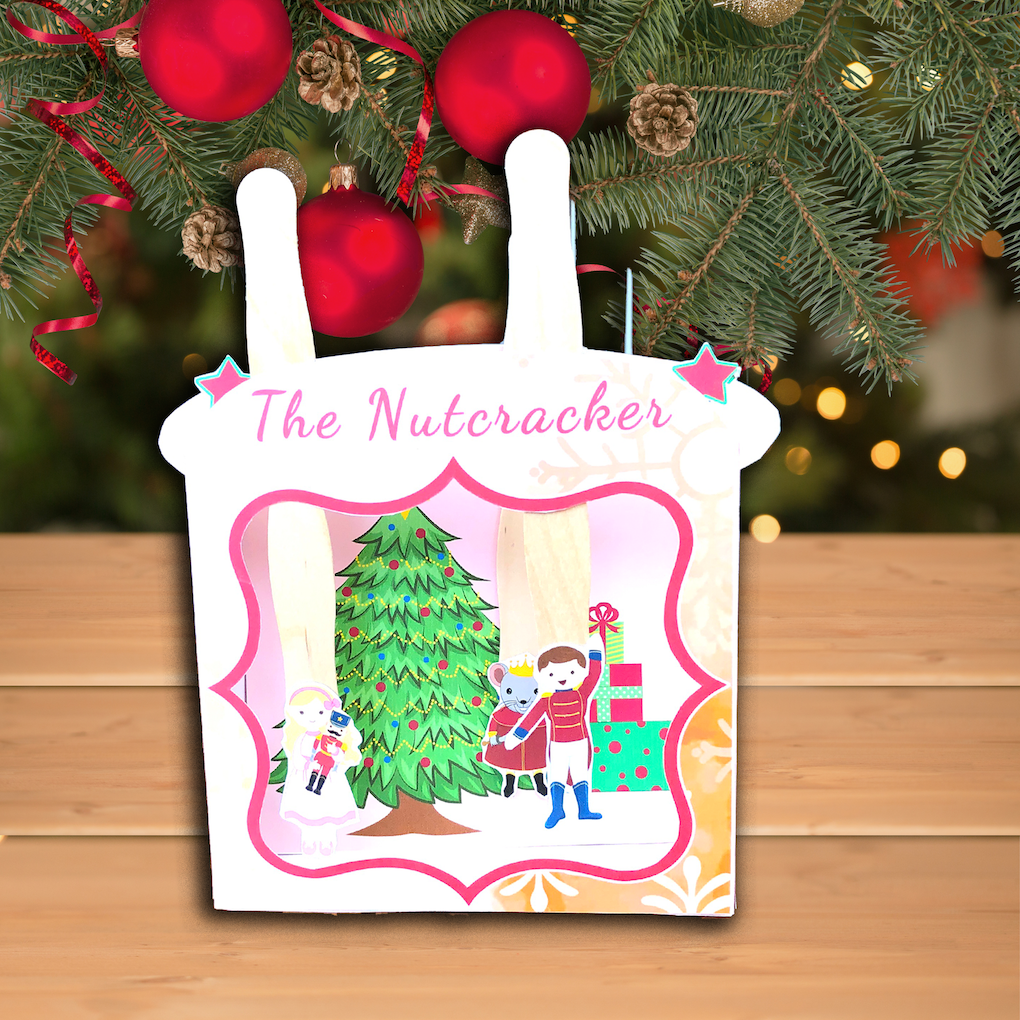
You can do several things with your finished Christmas Nutcracker Craft. You can gift it to your favorite grandparent or aunt, and your child will enjoy playing with their new Nutcracker toy. There is something more personal and unique about gifting handmade crafts.
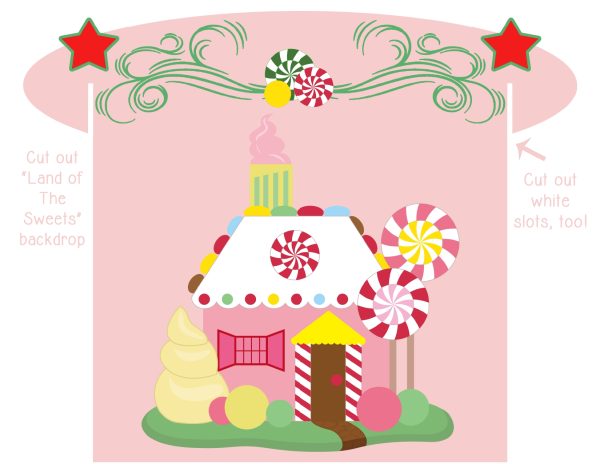
Another idea is to display the nutcracker craft that your kids made in your home with the other Christmas decorations. It would make the perfect tabletop display and your child would be proud to show it off. This Nutcracker craft would be the perfect classroom activity when learning about the Nutcracker at Christmas time.
Free Ballerina Printables and Crafts:
Make a Ballerina Christmas Ornament
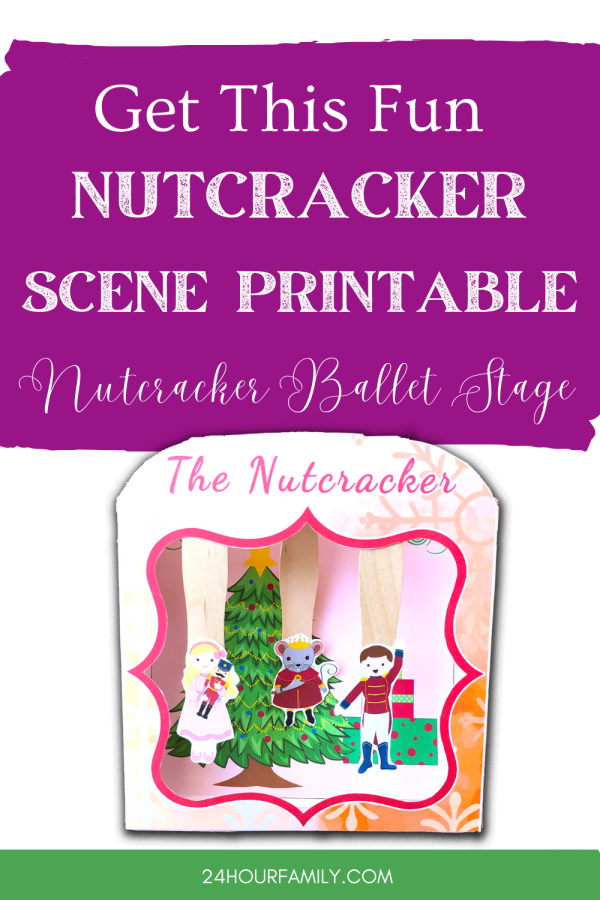
Complete this Christmas Nutcracker Craft with your children when you have the following supplies to use:
- 7 sheets of Card stock paper – color printer
- Popsicle sticks or unused straws as an alternative
- Glue or Glue sticks
- Scissors
Because most crafters have these items in their art supplies kits, there is a good chance that you already have what you need to make the Christmas Nutcracker Craft with your children. If you do not have popsicle sticks available, you can always replace them with unused straws to complete this craft.
While glue sticks should work when putting the pieces together to create these handmade nutcrackers, you can still choose to use glue if you have any trouble getting the pieces to stick together.
How to Make Christmas Nutcracker Craft

Nutcracker Printout

Cut out the front stage and the inside part of the stage. (Be sure to cut off all extra white at the bottom of all pieces.)
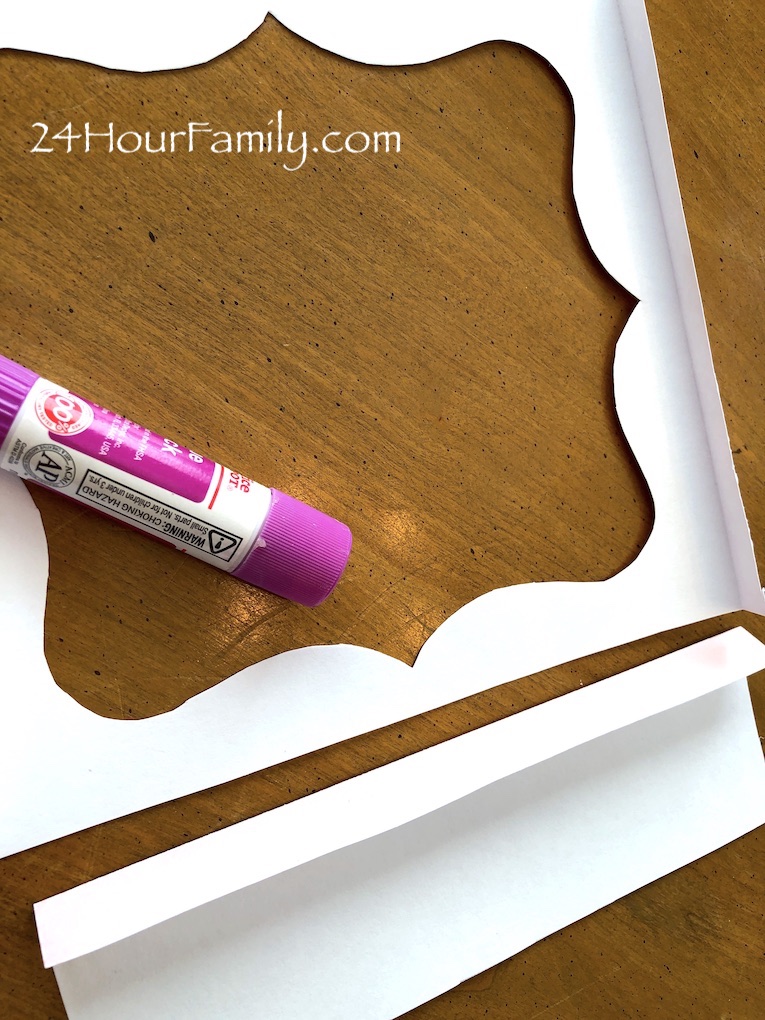
Fold the tabs along dotted lines.
Cut out the sides of the stage front and bottom.
Nutcracker Worksheets
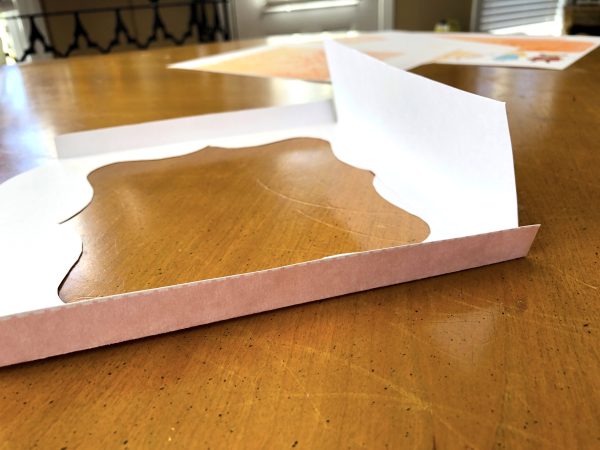
Fold tab on the bottom piece along dotted lines.
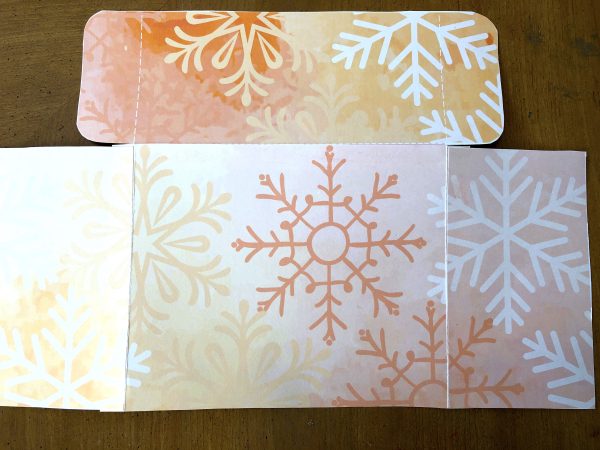
Glue the sides and bottom to the front part of the stage, using the tabs.
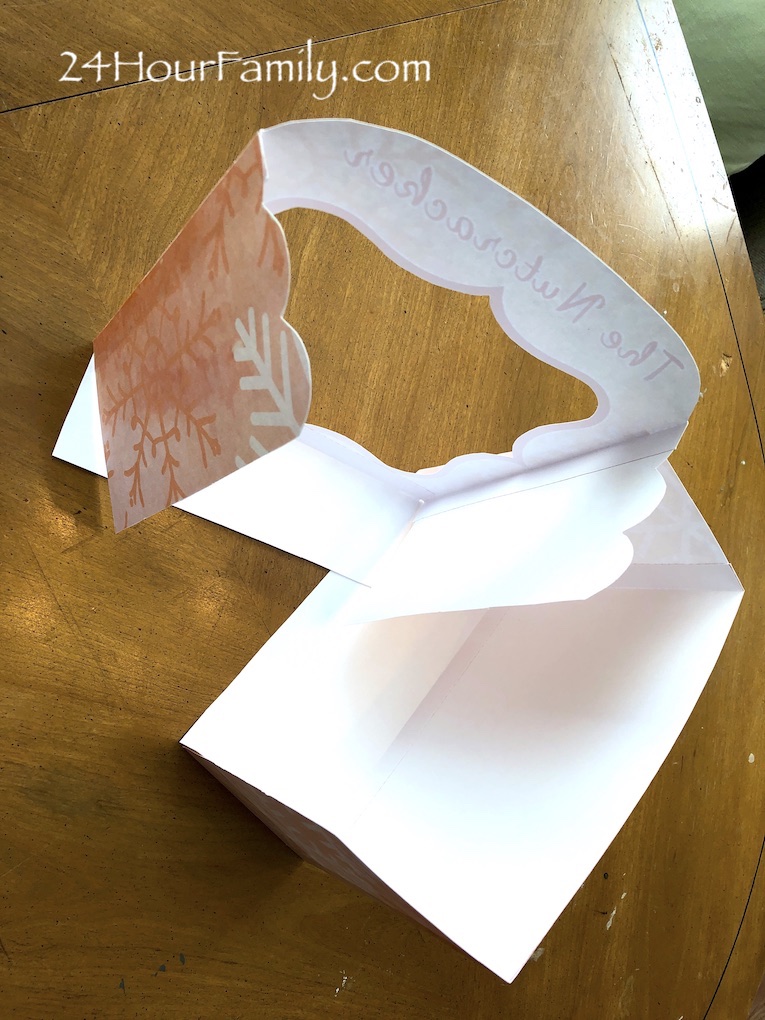
Cut out the back of the stage and fold tabs along dotted lines. Glue back sides and bottom piece to the stage back. You should have two main components of the stage now.
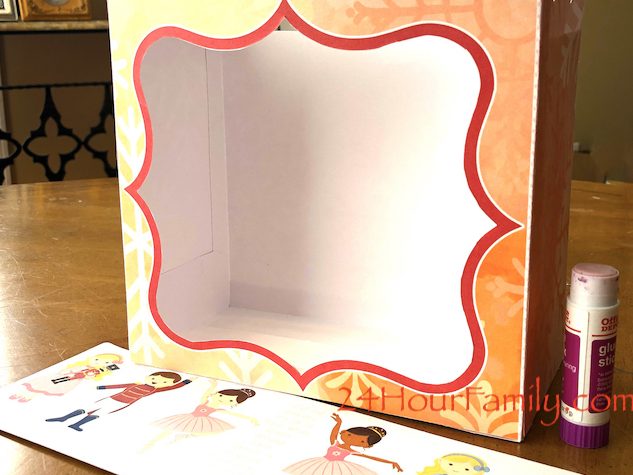
Position the front stage onto the backstage. Make sure the front sides end up on the outside of the stage.
Glue at the bottom and sides thoroughly to make sure your stage is sturdy.
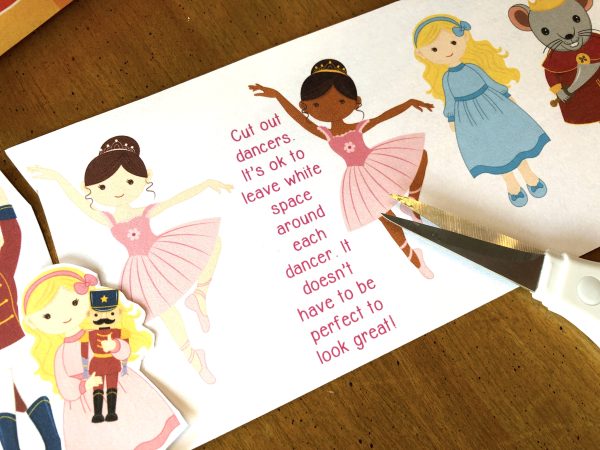
Cut out dancers leaving white space around each, as desired.
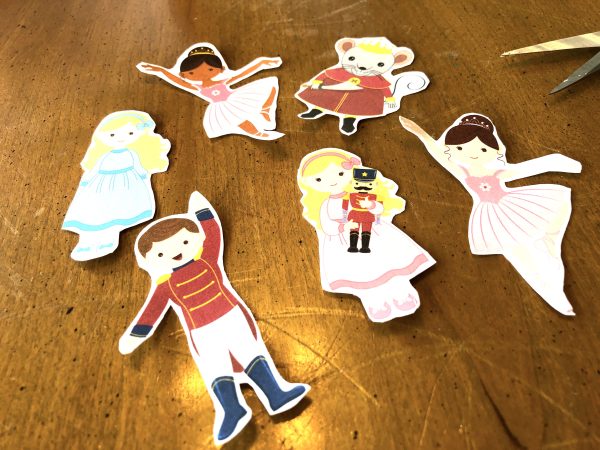
Using craft glue, stick the dancers on the end of popsicle sticks or straws.
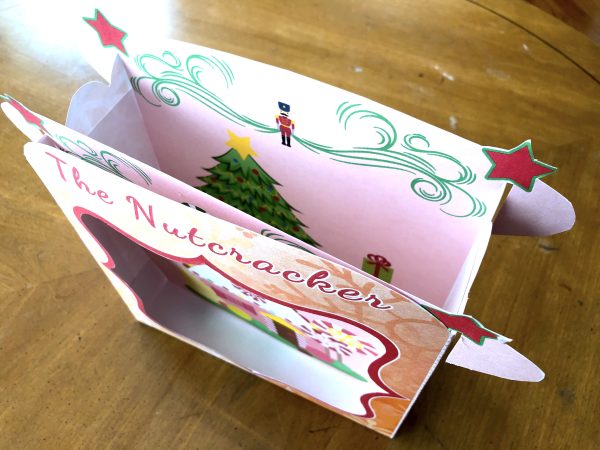
Allow the bottom part of the dancer to hang free.
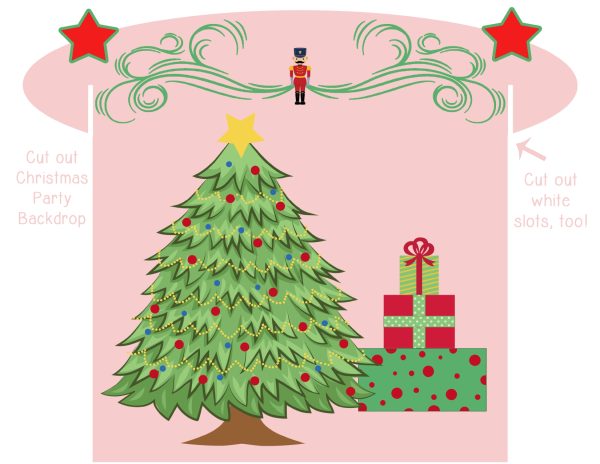
Cut out both stage scene backgrounds.
Guide the backgrounds into the stage box, hanging them using the cutout slots.
This adorable ballerina printable will be a fun puppet theatre-type printable craft that your young ballerina Nutcracker fans will love! Merry Christmas!
