
Elephant Handprint Craft
Transforming a child’s handprint into a playful elephant makes this elephant handprint craft a fun and memorable activity from start to finish.
With just a few basic supplies and a free elephant template, a simple outline becomes a cheerful character full of personality. It’s the kind of hands-on activity that feels relaxed, engaging, and perfect for a creative afternoon.

Elephant Handprint Craft
This adorable elephant handprint idea blends cutting, tracing, and decorating into one enjoyable, easy-to-follow process.
The final result is a sweet piece of art that can be displayed, shared, or even turned into a keepsake. Whether you’re planning a themed lesson or just looking for a simple way to explore animal crafts, this project is a lovely place to start.

This post may contain affiliate links. As an Amazon Associate and a participant in other affiliate programs, I earn a commission on qualifying purchases. Read our disclosure policy here.
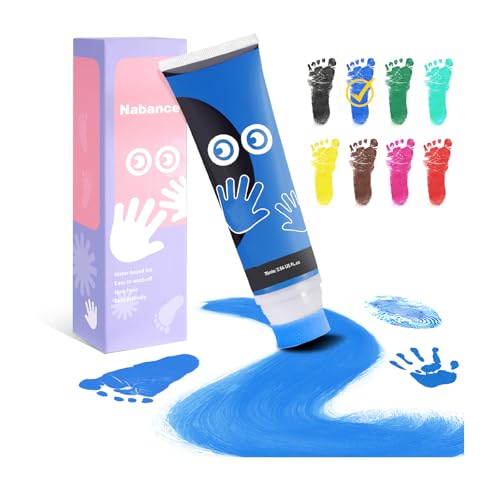
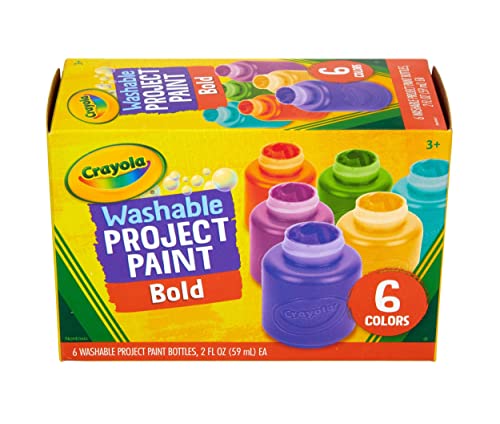
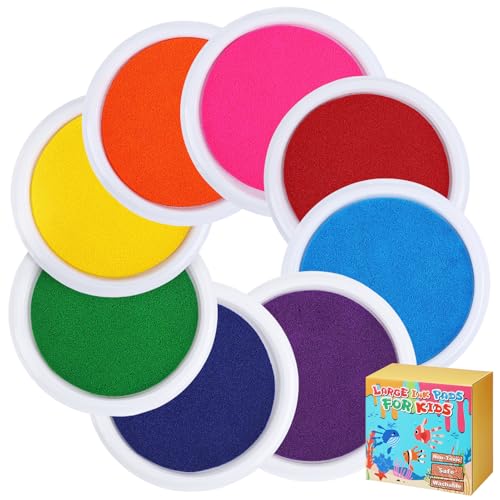
Nabance 2.54 fl oz Blue Baby Hand and Footprint Friendly Ink Paint, Dog Cat Paw Print Safe Ink, Non-Toxic Acid-Free, Safe Gentle for Home School Christmas New Year DIY Keepsake StampCra-Z-art Washable Classic Paint Bulk Pack 8ct, Assorted Colors 4oz each bottle, 32ozWashable Finger Paint for Toddlers 1-3 – 12 Colors Washable Paint for Kids, Non Toxic Toddler Paints, 2 fl oz Tubes, Tempera Paints for Kids, Crafts & Finger Painting – Ages 1-8Crayola Washable Kids Paint (6ct), Assorted Bulk Paint Set for Kids, Must Have Preschool Arts & Crafts Supplies, Nontoxic, Learning Activities for Toddlers7” Large Washable Ink Pad for Kids Handprint & Footprint – Safe & Non-Toxic Ink Pads for Stamps, Finger Paint Pads Preschool Classroom Must Haves, Toddlers Crafts, Christmas Birthday Gifts, 8 Colors


Supplies Needed To Make This Fun Elephant Craft:
Before starting your project, gather your materials so everything is ready to go.
Supply list:
- Construction paper (blue or gray works nicely)
- Pink, black, and white paper
- Pencil
- Scissors
- Glue
- Color pencil or marker
- Printable template (optional, but helpful)

Using soft gray tones gives your elephant a classic look, but you can absolutely experiment with other colors for a playful twist.
How to Make an Elephant Handprint Craft
Follow this easy step-by-step tutorial to create your own charming elephant design.
Step 1: Make the Handprint Base
Start by placing your hand on a sheet of blue or gray paper. Carefully trace around it with a pencil to create the outline. Once you’re happy with the shape, go ahead and cut it out.

This handprint will form the head of your elephant, with the fingers naturally becoming the long, floppy features that give it character.
Step 2: Prepare the Template Pieces
Use your template to trace the additional shapes onto colored paper. You’ll need pieces for the ears, eyes, and small details such as the inner-ear accents.

After tracing, carefully cut out each piece so everything is ready for assembly. This step helps keep the process organized and makes it easier to build your elephant later.

Step 3: Assemble the Face
Take your handprint base and begin arranging the features. Position the eyes near the top of the handprint and adjust them until they look balanced.

When everything looks just right, apply glue to secure each piece. Press lightly so the parts stay in place.
Step 4: Add the Ears
Next, attach the large ear shapes behind the handprint. The ears help frame the face and give your elephant its recognizable look.

Layer the inner pieces on top for extra detail. This combination of colors adds depth and makes the design stand out nicely.

Step 5: Create the Trunk and Details
One of the most fun parts of this activity is shaping the trunk. The middle finger of the handprint naturally becomes the trunk, so you can leave it as is or slightly adjust it for style.

Use a colored pencil or marker to draw gentle lines along the trunk to add texture. You can also add small details like eyebrows or wrinkles to give your elephant more personality.
Check Out: 30+ Handprint Crafts for Preschoolers
Step 6: Outline and Finish
To complete your elephant handprint, outline the edges with a colored pencil. This helps define each shape and gives the entire piece a polished look.

Take a moment to check all the details, then let everything dry completely. Your cute elephant is now ready to display!

Creative Tips and Variations of This Preschool Craft:
Once you’ve made your first elephant, there are so many ways to personalize the design.
- Try using different shades of gray or even bright colors for a playful version
- Add a background scene like grass, trees, or clouds
- Turn your elephant into a greeting card or wall display
- Use textured materials for the ears to create a mixed-media art piece

You can also offer a free printable template to make the process even smoother, especially for younger learners who may need a little extra guidance.
Learning Through Crafting
This project isn’t just about making something cute; it also supports early learning in a natural way. A kid working on this project practices coordination, focus, and creativity all at once.
The process of tracing, cutting, and assembling helps strengthen fine motor skills, while choosing colors and arranging pieces encourages decision-making.
It’s a hands-on way to explore how shapes come together to form a familiar animal.

For many, this type of art activity also builds confidence. Completing a finished project gives a sense of accomplishment that feels rewarding and encouraging.
20+ Handprint Art Crafts and Printables For Kids
Display and Keepsake Ideas
Once your elephant handprint craft is complete, there are plenty of ways to show it off.
You can:
- Hang it on a wall or bulletin board
- Attach it to a card for a special occasion
- Create a collection of different animals for a themed display
- Save it as a memory piece that captures a child’s hand size at a specific moment
These small projects often turn into meaningful keepsakes that are fun to look back on later.
Helpful Tips for Success
To make your crafting experience even smoother, keep these simple tips in mind:
- Use thicker paper to make the handprint more durable
- Apply glue lightly to avoid wrinkles
- Encourage creativity rather than focusing on perfection
- Let the pieces dry fully before moving them

Keeping things relaxed and enjoyable makes the entire process more rewarding from start to finish.
More Handprint Animal Crafts to Make
If you enjoyed creating this Elephant Handprint Craft, here are a few more handprint animal ideas that are great for adding variety to your crafting time.
- Triceratops Handprint Craft – A fun dinosaur-themed project where kids can turn their hand outline into a friendly Triceratops.
- Stegosaurus Handprint Craft for Kids – A creative prehistoric craft that lets kids build a colorful Stegosaurus using simple supplies.
- Crab Handprint Paper Craft – A cheerful ocean animal craft that transforms a hand outline into a bright seaside crab.
- Octopus Handprint Paper Craft – A playful underwater craft that turns a hand outline into a friendly octopus.
- Goat Handprint Craft
- Frog Handprint Craft

This elephant handprint craft is one of those projects that brings together creativity, simplicity, and a touch of charm. From tracing the handprint to adding the final details, each step feels engaging without being overwhelming.
The finished handprint elephant has a personality all its own, making it a delightful addition to any craft collection. Whether you’re using a template or creating your own version, this project offers a wonderful way to explore hands-on creativity.

Elephant Handprint Craft
This Elephant Handprint Craft is a fun way to turn a simple hand outline into a friendly elephant face. Kids can practice tracing, cutting, and gluing while building the elephant’s ears and facial features. The long trunk shape makes the character easy to recognize. It works well for zoo themes, classroom displays, or creative craft time. The finished elephant also makes a sweet keepsake to save.
Materials
- Construction paper (blue, gray, pink, black & white)
- Pencil
- Scissors
- Glue
- Colored pencil or marker
Instructions
1. Trace and Cut the Handprint Base
Place a hand on blue or gray construction paper and trace carefully around the fingers using a pencil. Cut out the traced shape neatly, since this piece will form the elephant’s head and trunk.
2. Cut the Elephant Face Pieces
Cut out shapes from colored paper for the ears, eyes, and inner ear sections. Keep the pieces sized to match the handprint so they fit together smoothly during assembly.
3. Attach the Eyes
Glue the eye pieces near the upper section of the handprint. Position them evenly so the elephant’s face looks balanced and friendly.
4. Add the Ears
Glue the large ear shapes behind the sides of the handprint base. Then attach the inner ear pieces on top to add contrast and detail.
5. Shape the Trunk and Add Details
Use the middle finger of the handprint as the trunk and leave it extended downward. Draw gentle lines along the trunk using a colored pencil or marker to create simple texture and character.
6. Outline and Finish
Trace around parts of the elephant with a colored pencil to define the features more clearly. Allow the craft to dry completely before displaying it on a wall, board, or craft page.
