
Gingerbread Face Paper Plate Craft (Free Gingerbread Template)
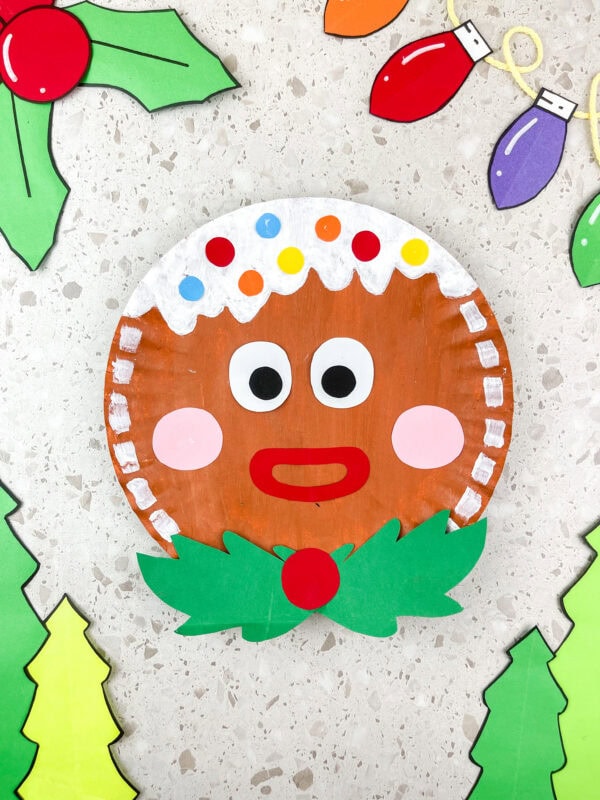
When it comes to holiday crafts that bring joy, sparkle, and creativity into your home, the Gingerbread Face Paper Plate Craft is a festive favorite. From decorating gingerbread cookies to building gingerbread houses, this sweet tradition has always been a beloved Christmas activity for families everywhere.
This fun Christmas paper plate craft includes a free gingerbread template and brings all the charm of gingerbread fun in a mess-free, creative way!

Gingerbread Face Paper Plate Craft
This fun Christmas project is perfect for kids of all ages and makes a great holiday craft to enjoy at home, in classrooms, or during family gatherings.
Whether you’re looking for an easy Christmas craft idea to keep little hands busy or you want to add more festive cheer to your decorations, this paper plate gingerbread man craft is the perfect fit.
So grab your craft supplies and let’s dive in. You’ll be amazed at how a simple plate to make can turn into the cutest gingerbread friend!
This post may contain affiliate links. As an Amazon Associate and a participant in other affiliate programs, I earn a commission on qualifying purchases. Read our disclosure policy here.
Stock Your Home 9-Inch Paper Plates Uncoated, Everyday Disposable Plates 9KTOJOY 100Pcs Jumbo Wooden Craft Sticks Popsicle Stick 6” Long x 3/4”Wide Treat Ice Pop for DIY Crafts,Home Art Projects, Classroom SuppliesMod Podge Gloss Sealer, Glue & Finish: All-in-One Craft Solution- Quick Dry, Easy Clean, for Wood, Paper, Fabric & More. Non-Toxic – Craft with Confidence, Made in USA, 16 oz., Pack of 1Crayola Construction Paper – 480ct (2pck), Bulk Teacher Supplies, Back to School Essentials For Kids, Classroom Must Have, Arts & Crafts Art PaperGoodyKing Arts and Crafts Supplies for Kids – 1170Pcs+ Craft Art Supply Kit for Toddlers Kids Craft Supplies & Materials Age 4 5 6 7 8 9 – All in One D.I.Y. Crafting School Supplies900 PCS Pom Poms, Multicolor Bulk Pom Poms Arts and Crafts, Soft and Fluffy Craft Pom Poms, Assorted Sizes Pompoms, for Arts and Craft Making Decorations


Supplies Needed To Make This Gingerbread Craft:
Before you start, gather your craft supplies. Here’s what you’ll need for this paper plate craft for kids:
- Paper plates (the base of your gingerbread face)
- Free Gingerbread Template
- Construction paper or cardstock in various colors (red, pink, green, white, black, etc.)
- White and brown paint (to mimic gingerbread and icing)
- Paint brush
- Scissors (safety scissors if working with little ones)
- Glue (glue stick or liquid glue works fine)
- Marker
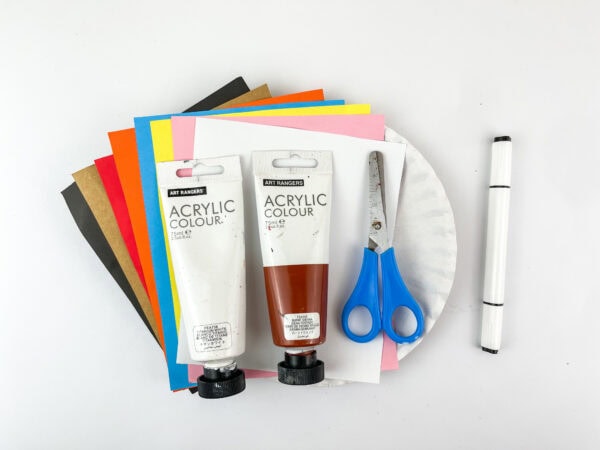
With just these items, you’re ready to make this paper plate gingerbread man or even try a paper plate gingerbread house craft later on.
How to Make a Gingerbread Face Paper Plate Craft:
Ready to create your cute gingerbread? Follow these fun and easy steps!
Step 1: Paint the Paper Plate
Start by painting your paper plate with one to two thin coats of brown paint. You want the base to look like gingerbread, so cover it evenly.
Let it dry completely before moving on. If you’re working with younger kids, remind them that patience is part of crafting fun!
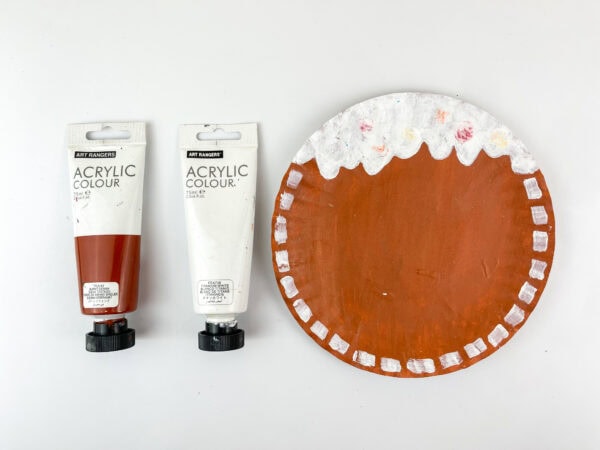
(Tip: Always paint the plate with 1-2 thin coats rather than one thick coat. It dries faster and looks smoother.)
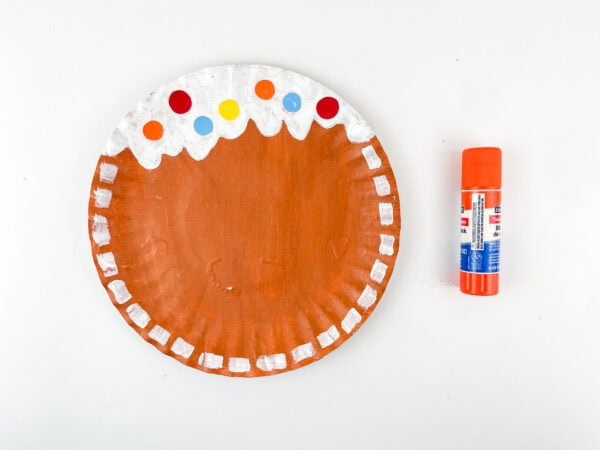
Step 2: Add Icing Details
Once dry, use white paint to add “icing” around the bottom edges of the paper plate. You can make drippy icing at the top or create little swirls and lines along the side. This gives your gingerbread that fresh-baked holiday look.
Step 3: Create Candy Circles
Cut small, colorful circles from cardstock or construction paper. These act as the candy toppings you’d typically see on gingerbread houses.
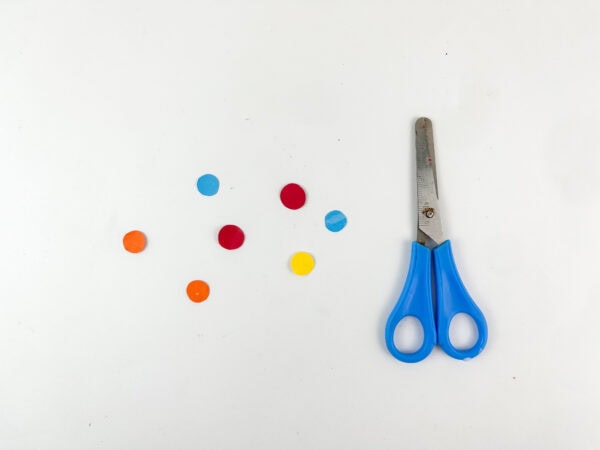
Have your kids or students use glue to attach them to the top edge of the plate.
Step 4: Add the Leaf Decoration
Cut out holly leaves from green paper and a small red circle for the berry.
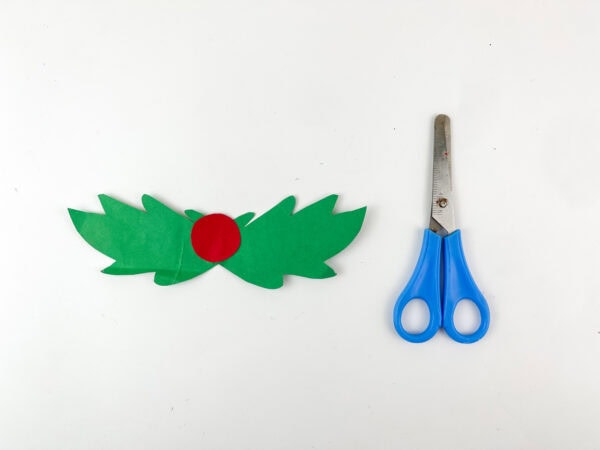
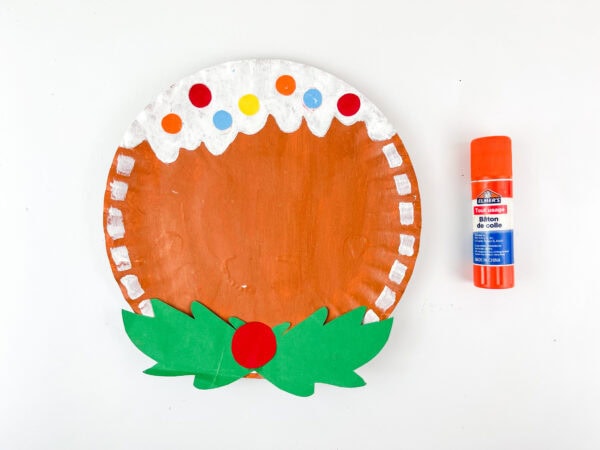
Attach this to the bottom of the plate with glue. This little touch adds to the holiday spirit and makes your gingerbread extra festive.
Step 5: Make the Face
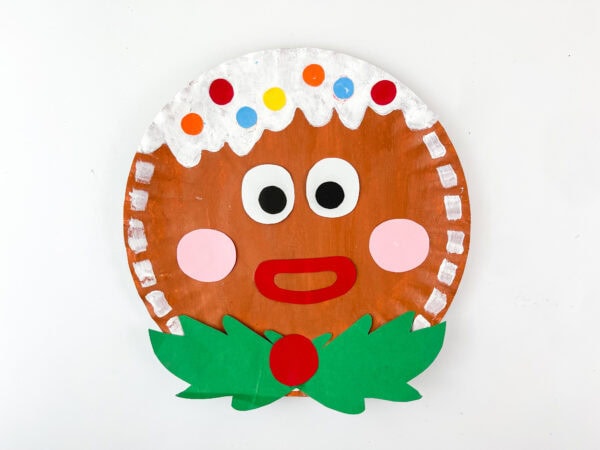
Using your template or cutting freehand, create eyes (white circles with black pupils), rosy cheeks, and a big smiling mouth.
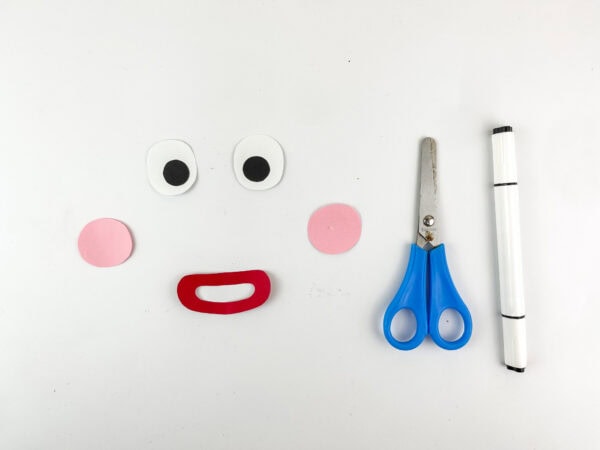
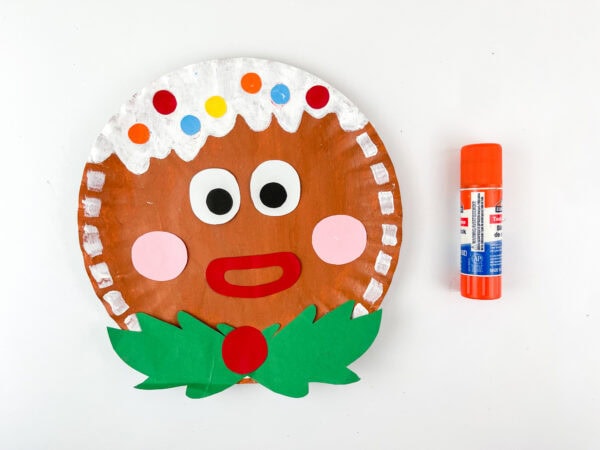
Attach them with glue to the center of the plate. Suddenly, your gingerbread comes to life!
Step 6: Customize
This is where the magic happens. Encourage your little ones to customize their gingerbread. Add buttons, bow ties, extra candy, or even glitter. With endless colors, kids imagine their own gingerbread personalities.
Free Gingerbread Face Template
Crafting isn’t just about fun—it’s also an excellent way to help children grow. Here’s what kids gain from making this project:
- Fine motor skills and hand-eye coordination: Cutting shapes, painting carefully, and gluing pieces together are all fantastic for skill development.
- Creativity and imagination: With so many ways to decorate, kids can bring their own vision to life.
- Confidence building: Completing a project from start to finish gives children a sense of pride.
- Christmas activities connection: Tying the craft to Christmas children’s books or stories about gingerbread makes it even more engaging.
Tips for Success
- Use cardstock for sturdier decorations, such as eyes or leaves.
- Always let paint dry before adding glue or paper pieces.
- Keep a damp cloth nearby—paint the paper plate projects can get messy fast!
- If you want more structure, consider printing the template or using a free printable template to make it even easier.
Fun Ways to Use Your Paper Plate Gingerbread Craft:
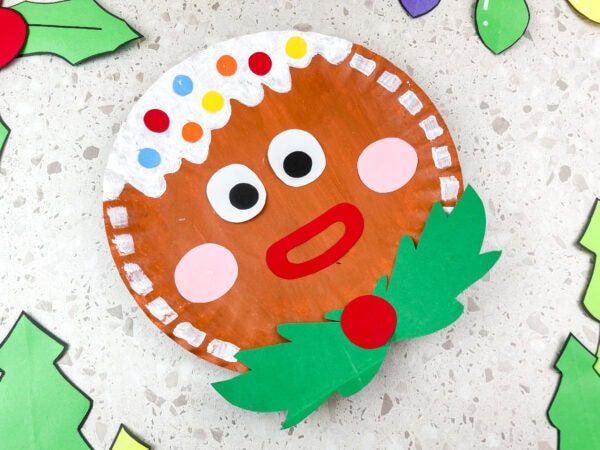
Once you finish, you might wonder—what now? Don’t just stop at making them! Here are some fun ideas:
- Classroom Displays – Perfect for kindergartners and kids of all ages, teachers can hang them on bulletin boards to create a cheerful, festive Christmas vibe.
- Holiday Decorations – Hang them on walls, windows, or even turn them into ornaments.
- Christmas Matching Games – Make multiple and turn them into a memory game.
- Story Time Props – Pair them with Christmas children’s books like The Gingerbread Man for interactive storytelling.
- Holiday Cards – Flatten and attach to folded paper for a homemade holiday greeting.
Why Kids Love This Christmas Craft Template
Kids adore this craft because it feels like making their very own gingerbread cookies, but without the wait time or oven heat.
They can get your gingerbread decorated instantly with paint, paper, and glue. The fun activity gives them freedom to be creative while still connecting to one of their favorite Christmas traditions.
For parents and teachers, it’s a win-win. It’s an easy Christmas craft that keeps kids busy, teaches them skills, and fills the room with holiday spirit.
More Fun Paper Plate Crafts for Kids
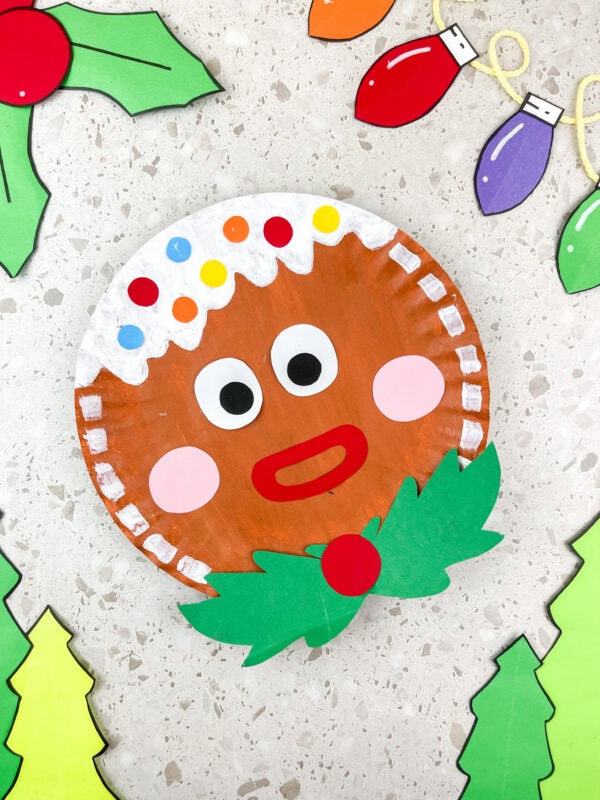
If you enjoyed the Paper Plate Gingerbread Craft, here are more playful and creative paper plate projects to try next.
- Frog Paper Plate Craft – A cheerful frog craft that’s simple and fun for kids to make.
- Mickey Mouse Santa Paper Plate Craft – A festive Disney-inspired holiday craft.
- Star Wars Craft for Kids – A galactic craft adventure perfect for young Star Wars fans.
- Carrot Paper Plate Craft – A bright and easy carrot craft, perfect for spring or Easter activities.
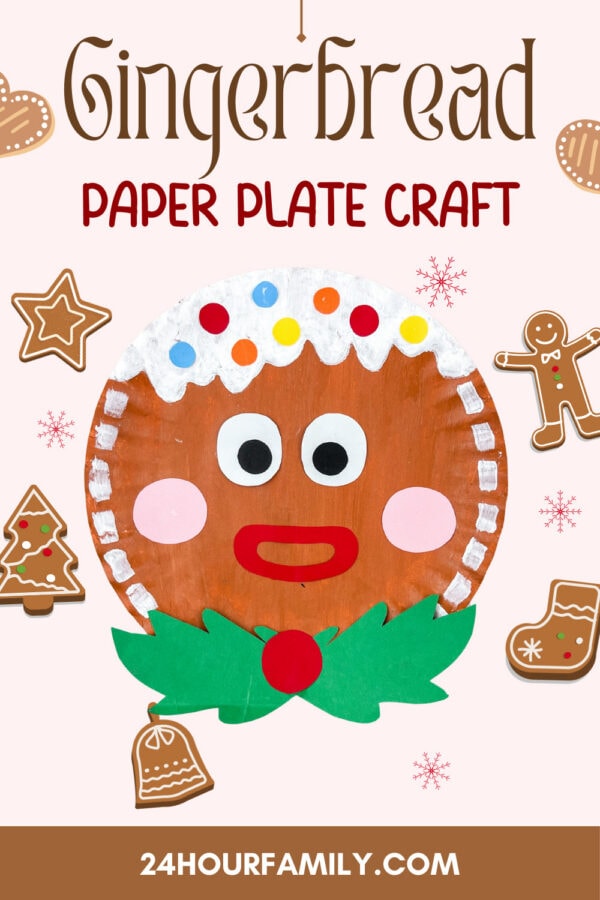
So this holiday season, don’t just bake—make this paper plate gingerbread! It’s the perfect way to combine creativity, tradition, and family time.
With just a plate to make, some paint, and a little imagination, you’ll have a whole batch of cute gingerbread friends ready to spread cheer.
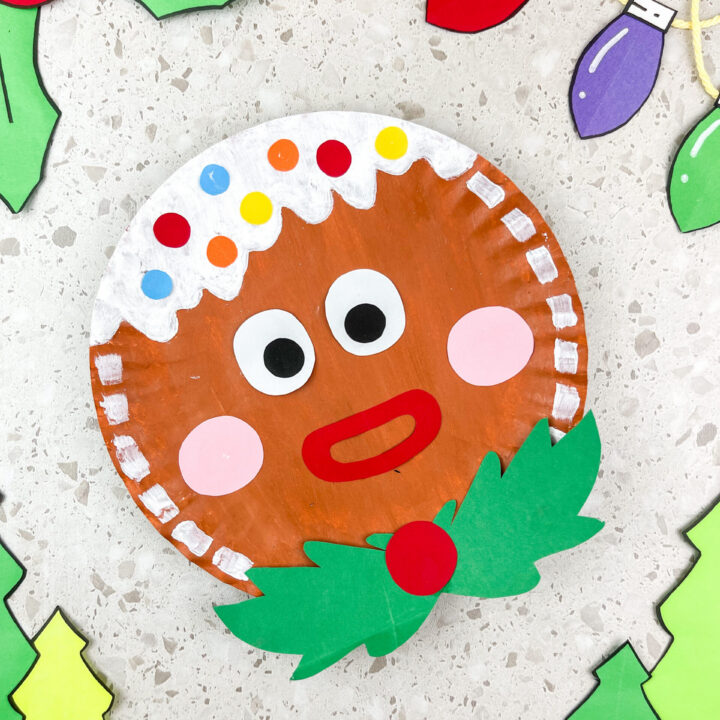
Gingerbread Face Paper Plate Craft
Turn a plain paper plate into an adorable gingerbread “cookie” with icing drips, candy “sprinkles,” a holly accent, and a smiling face. This easy craft develops fine motor skills (cutting, gluing, and painting) and encourages creativity, and it’s incredibly budget-friendly. Prep a few templates, set out paints and paper scraps, and let kids design their own sweet gingerbread friend.
Materials
- Free Gingerbread Face Template
- Paper plate (9" white works best)
- Construction papers (assorted colors: red, green, pink, white)
- Brown paint (tempera or acrylic) and white paint (for “icing”)
- Paintbrush (1–1.5" flat + small round brush for details)
- Scissors
- Black marker (fine tip for details)
- Glue (glue stick for paper, school glue for heavier items)
- Optional: red pom-poms (berries), glitter glue, ribbon/string for hanging, craft stick for a puppet handle, tape, scrap paper/table covering
Instructions
- Paint the cookie base (2 thin coats)
Place the plate face up. Using the flat brush, paint a thin coat of brown over the entire front of the plate. Let it dry for 10–15 minutes, then apply a second, thin coat for even coverage. (Thin coats dry faster and don’t warp the plate.) - Add white “icing” around the edge + drips on top.
Lightly sketch a scalloped border around the rim with a pencil if you like. With white paint and a smaller brush, trace the scallops along the outer edge. Across the top third of the plate, paint a “melting” icing line with a few playful drips coming down—think wavy frosting that’s just starting to slide. - Create candy “sprinkles”
From colored construction paper, cut or punch small circles (¼–½"). Glue them along the white icing area at the top (and around the rim if you want extra “candy”). Press gently so they stick flat.
Option: Use tiny pom-poms for berries/sprinkles; attach with school glue. - Cut and assemble the template pieces.
- Eyes: Cut two ovals (white) and two tiny black pupils. Glue pupils onto eyes; add a little white “highlight” dot with paint or gel pen
- Cheeks: Cut two pink circles.
- Mouth: Cut a smile shape from black paper or draw later with a marker.
- Holly: Cut 2–3 green leaf shapes and three red berry circles.
- Optional accessories: Bow tie for the “neck,” a little hat, or a scarf strip.
- Attach the holly at the bottom.
Arrange two green leaves at the lower edge of the plate (centered) and glue them in place. Add three red berries on top. (If using pom-poms, hold for a few seconds to set.)
Alternate placement: Top corner near the icing drip for a jaunty look. - Add the face details.
Position the eyes in the upper half of the plate below the icing. Apply glue to the cheeks, slightly below the eyes, and to the sides. Add the mouth between the cheeks—or draw it with a black marker for a clean line. - Optional: Use the marker to add eyelashes, freckles, or a dotted smile.
- Optional: With white paint or a paint pen, add tiny icing “brows” above the eyes for an extra touch of sweetness.
- Optional: Glue on the bow tie just above the holly (or at the “neckline”).
- Finishing touches & display (Optional)
Outline the icing with glitter glue for sparkle (optional). Let the project dry completely. To hang, punch a small hole at the top and thread ribbon/string—or tape a loop to the back. For a puppet, glue a craft stick to the back and reinforce with tape.
