
Valentine’s Day Robot Paper Plate Craft
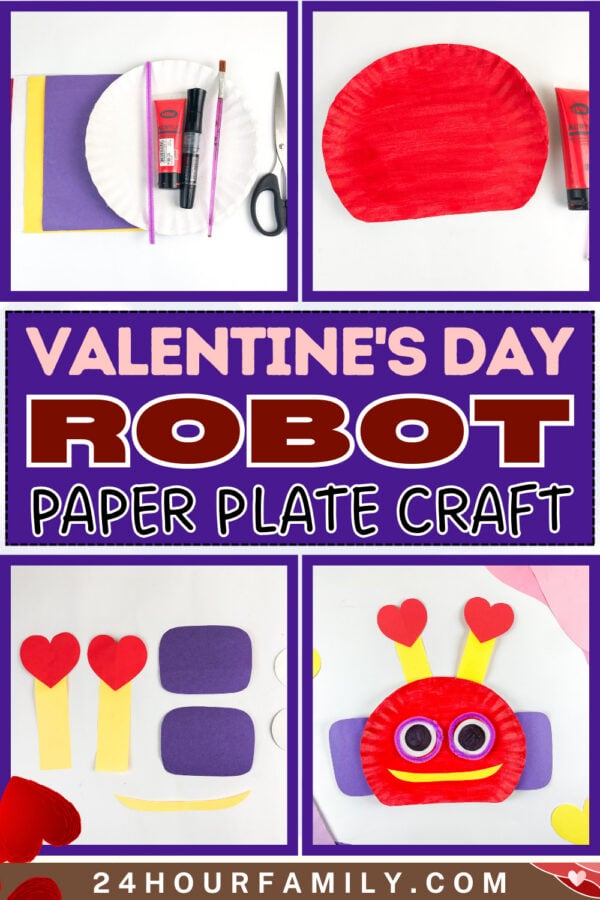
This Valentine’s Day robot paper plate craft turns a basic paper plate into a colorful character kids can decorate with hearts, buttons, shapes, and other simple details. The project is easy to personalize, so each robot can have its own face, colors, and personality.
It makes a fun Valentine’s Day activity for preschoolers and young children while giving them practice with cutting, gluing, arranging shapes, and following simple steps. The finished robot can be displayed as holiday artwork or given to someone special as a handmade Valentine.
Valentine’s Day Robot Paper Plate Craft
A robot might not be the first thing that comes to mind for a Valentine’s theme, but that’s exactly what makes it special. Mixing mechanical shapes with bright colors and hearts creates a fun contrast that feels fresh and unexpected.
It turns a classic holiday look into something modern, cheerful, and full of personality.
This robot project is also wonderfully flexible. You can keep it simple or add extra decorations, patterns, or accessories, depending on the time you have. Some people turn it into a small display piece, while others use it as part of a card or attach it to a small box to hold notes or treats.
This post may contain affiliate links. As an Amazon Associate and a participant in other affiliate programs, I earn a commission on qualifying purchases. Read our disclosure policy here.
LEGO Heart Ornament Building Toy Set – Fun Arts and Crafts Idea for Girls and Boys, Ages 9+ – Gift for Kids – Display on The Wall as Home Decoration – 40638 LEGO Roses – Building Toy for Kids, Girls & Boys, Ages 8+ – Artificial, Fake Roses for Home Decor & Display – Gift Idea for Plant & Flower Lovers – 40460AFNWQI Valentines Day Heart Sunglasses, Heart Shaped Sunglasses, Rimless Sun-glasses, Red Pink Colored Glasses, Heart Glasses, Heart Sunglasses for Women, Party Glasses, Valentines Day Decorations30 Pack Valentines Day Bracelet Candy – Individually Wrapped Holiday Themed Love Heart Candies – Strawberry, Tutti Frutti Delicious Flavors – Bulk Valentine Candy’s Great Use, For Kids Party Favor, Classrooms Partys, Goodie BagsJOYIN Heart Pop Fidget Keychain 30 Pack Pop Fidget Toys Bulk Party Favors for Kids 4-8,8-12 Years, Valentines Goodie Bags Stuffers Back to School Gifts for Students Classroom Prizes Sensory ToysDr. Seuss’s Who Loves You? (Dr. Seuss’s Gift Books)


What You’ll Need:
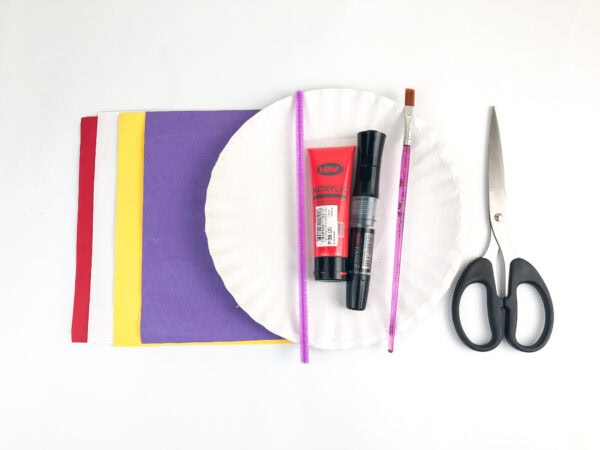
Most of the supplies are easy to find and budget-friendly:
- A paper plate for the main face
- Construction sheets or cardstock in red, purple, yellow, white, and black
- Red paint and a paintbrush
- Scissors
- A marker
- Fuzzy wire or pipe cleaners (for details)
- Glue
- Optional: a simple template for the shapes
You can also substitute materials if needed. For example, thin cardboard or recycled packaging can work if you don’t have thick paper on hand. Some people even experiment with a paper roll for the body if they want to turn it into a standing figure instead of just a face.
Check out: 10+ Valentine’s Crafts For Preschoolers
How to Make a Valentine’s Day Robot Paper Plate Craft
Here’s how to put your robot together in just a few simple steps. Each step is short and beginner-friendly, so the project stays relaxing and fun from start to finish.
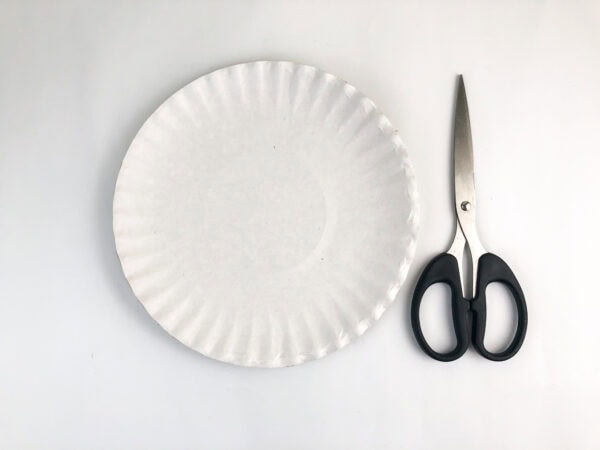
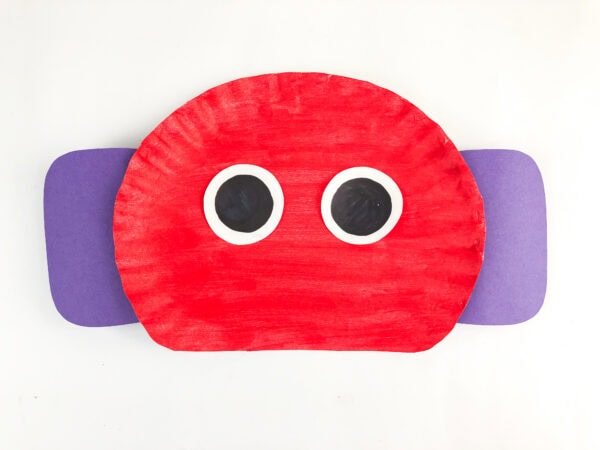
Trim the plate and add paint.
Cut a small curved section from the bottom of the plate so it sits flat like a robot face.
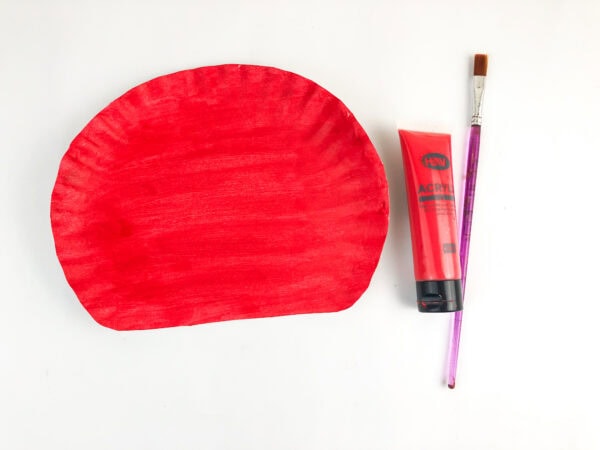
Paint the front red with smooth strokes, then set it aside to dry completely before adding anything on top.
Prepare and cut out the robot pieces.
Use a simple template or draw freehand to trace the shapes onto colored paper or cardstock.
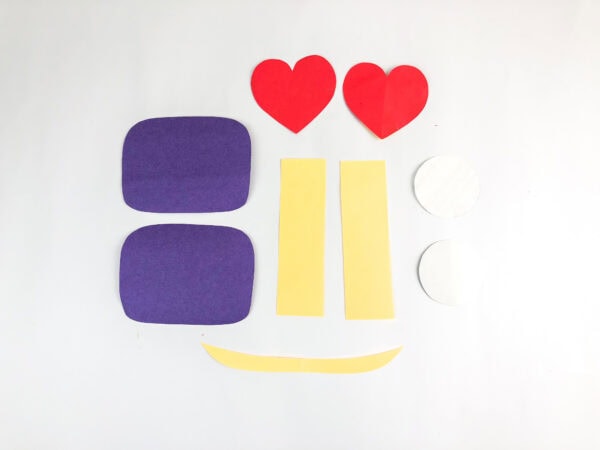
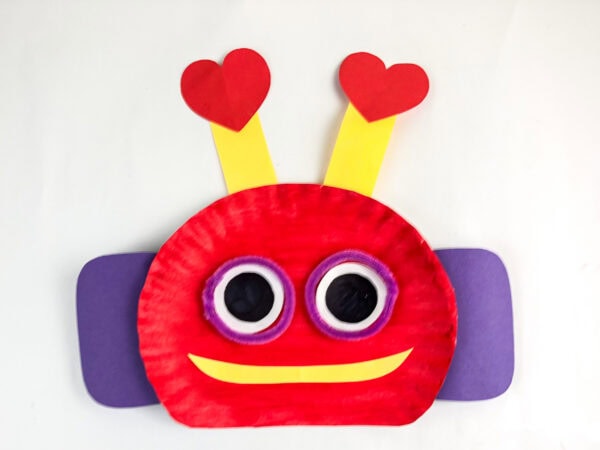
Cut out the purple side panels, the white and black eye circles, the yellow smile, the antenna strips, and the two heart shapes.
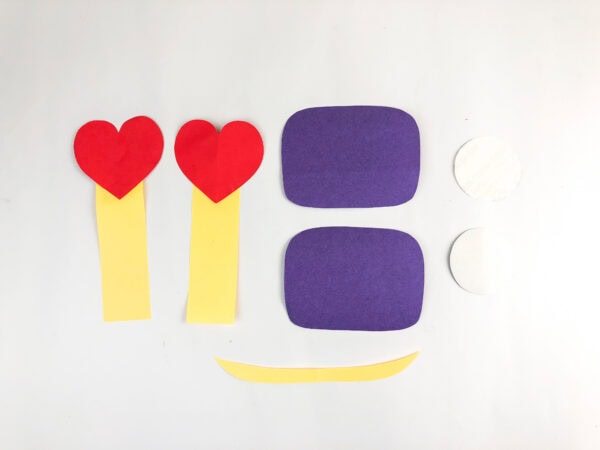
Arrange the face layout.
Place the purple pieces on each side of the plate, then position the eyes in the center to see how everything will look. Adjust the spacing until the robot feels balanced and friendly before using glue.
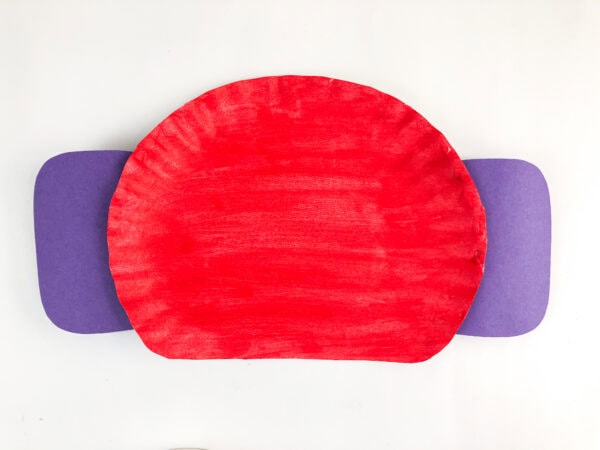
Glue on the eyes and smile.
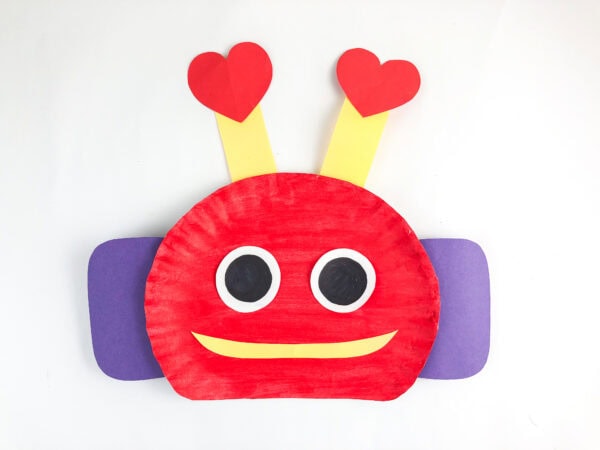
Glue the white eye circles first.
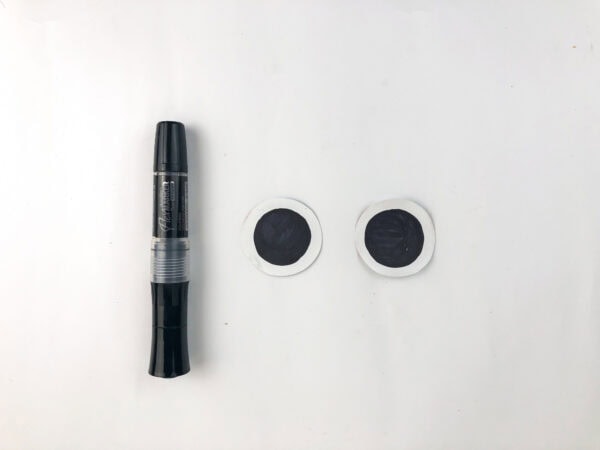
Then attach the black centers on top. Add the yellow smile near the bottom of the face and press gently so everything sticks securely.
Attach the antenna hearts.
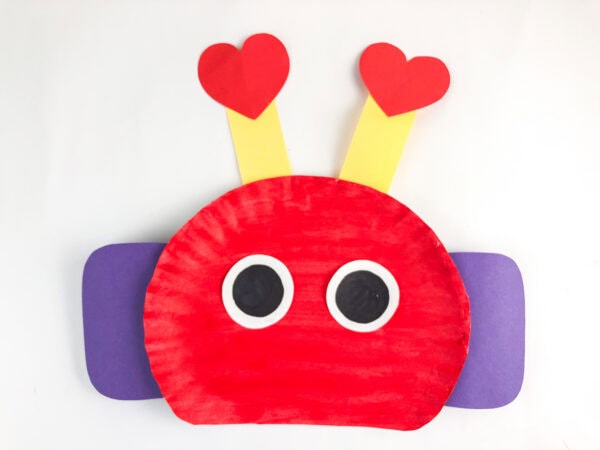
Attach the two yellow strips behind the top of the plate so they stand up like antennas. Attach a red heart to the top of each strip to give your valentine robot its signature look.
Outline the eyes with fuzzy wire.
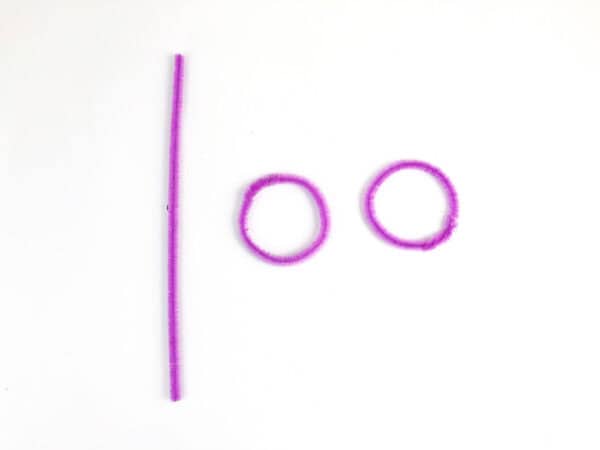
Form two small loops using purple fuzzy wire and place them around each eye like robot goggles.
Secure them with small dots of glue and press lightly.
Let it dry and display.
Allow the glue to dry fully so nothing shifts out of place. Your robot is now ready to be displayed, turned into a Valentine’s card, or shared as a sweet, handmade gift.
A Creative Valentine Project with Personality
This design stands out because it doesn’t try to be overly fancy. The bold red face, round eyes, and simple shapes give it a friendly, instantly likable expression. Adding hearts to the antenna gives it that holiday connection without overpowering the robot theme.
If you’re looking for an idea that feels a little different from traditional hearts and flowers, this one fits perfectly. It blends classic colors with a playful character, making it a great conversation piece once it’s finished.
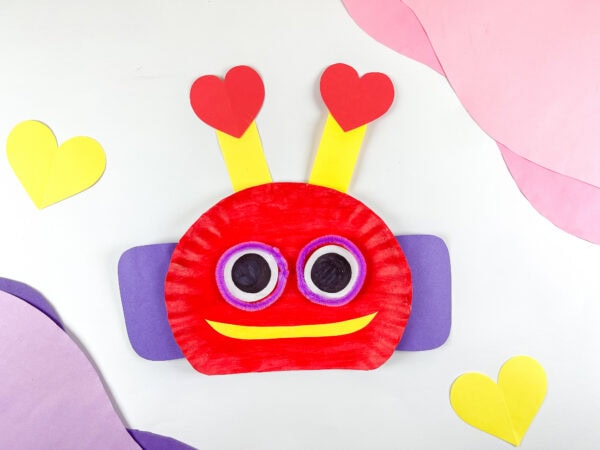
You can also turn it into a robot Valentine by writing a short message on the back or attaching a small Valentine card underneath. It becomes both a decoration and a thoughtful little gift.
Making it Your Own:
One of the best parts of this project is how customizable it is:
- Change the color scheme for a different style.
- Add glitter or stickers for extra sparkle.
- Draw patterns on the face with markers.
- Use textured cardstock for a more layered look.
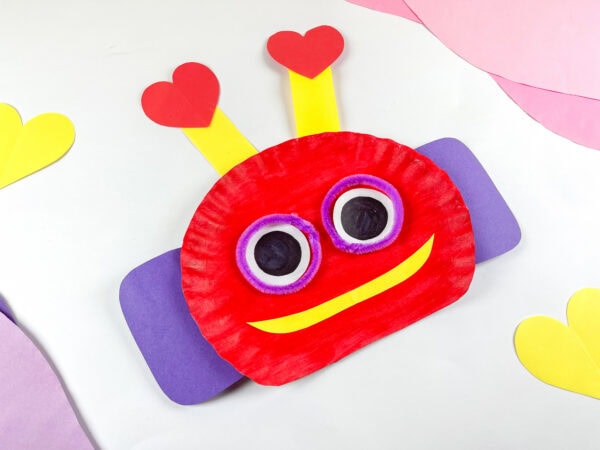
You can even scale the design up or down depending on what you want to use it for. Smaller versions work well as tags or cards, while larger ones can be used as wall decorations or door hangers.
This flexibility is why so many people consider it a favorite robot craft for kids and adults alike.
Where this Project Fits In:
This Valentine robot craft works beautifully for:
- Classroom activities
- Craft days or workshops
- Holiday decorations
- Handmade gifts
- Quiet afternoon projects
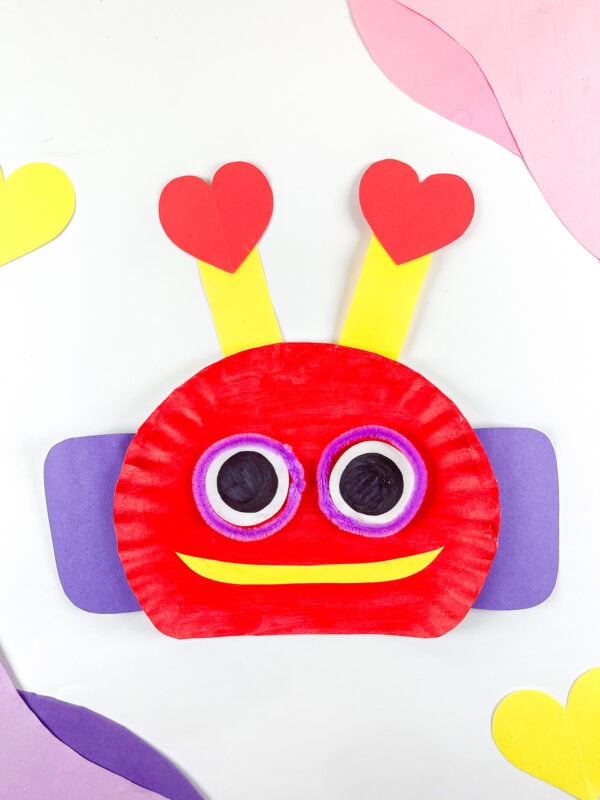
It also pairs well with other Valentine activities, such as making cards, decorating envelopes, or designing small treat holders. Some people even use the robot face as the front of a larger robot craft by attaching a body underneath.
There’s no complicated folding or tricky measuring involved here. The shapes are forgiving, and small imperfections just add charm. That’s part of what makes this project easy to make, even if you don’t feel especially artistic.
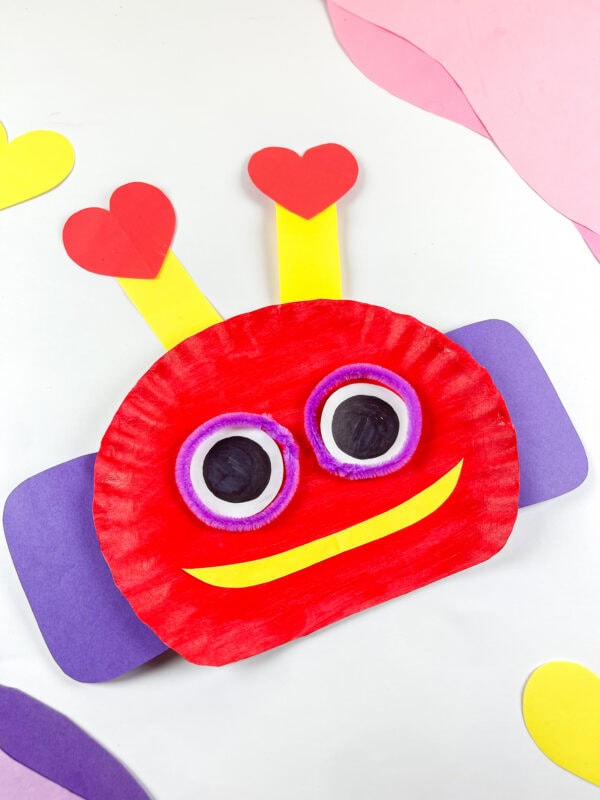
Painting the plate is often the most soothing step. Watching the white surface turn bright red feels oddly satisfying, and it sets the tone for the rest of the project. After that, it’s mostly cutting, arranging, and gluing.
If you’re working with a group, it helps to prepare the shapes in advance or offer a printable template so everyone can move at a comfortable pace.
Helpful tips before you start
- Let the paint dry fully before adding any pieces.
- Use a glue stick for lighter paper and liquid glue for thicker parts.
- Arrange everything first before gluing.
- Keeping wipes or scrap paper nearby makes cleanup fast and stress-free.
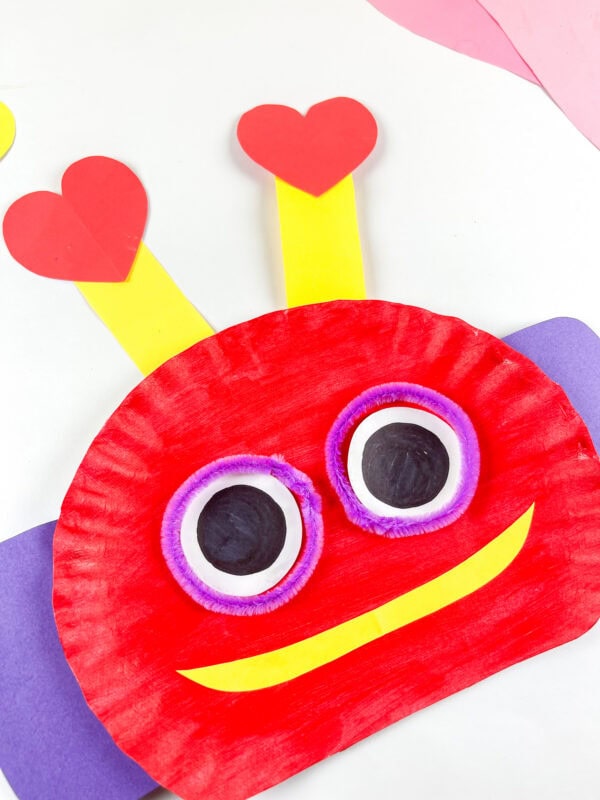
These little details help everything go more smoothly and make the project more enjoyable.
More Paper Plate Crafts to Enjoy
If you’re in the mood to keep crafting after this Valentine’s Day Robot Paper Plate Craft, these paper plate ideas add even more creativity and fun to your craft time.
- Unicorn Paper Plate Craft – A colorful, magical craft that’s always a hit with kids.
- Valentine’s Day Monster Heart Paper Plate Craft – A playful, monster-themed craft with a fun Valentine’s Day twist.
- Paper Plate Bee Craft – A cheerful, simple-to-make craft that’s full of personality.
- Paper Plate Panda Craft – An adorable panda design that’s easy, cute, and perfect for animal-themed crafting.
- Ladybug Valentine’s Day Box Craft
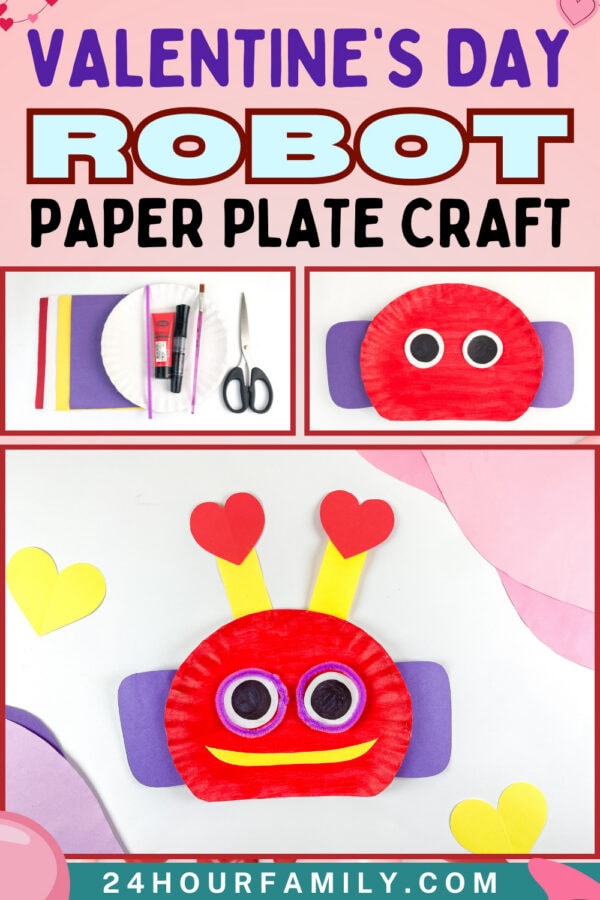
This project is a simple way to bring color, creativity, and a bit of playful charm into your day. It blends classic holiday symbols with a friendly robot design that feels modern and fun.
Whether you’re making one or a whole group, the process stays light and enjoyable from start to finish. It’s the kind of project that reminds you that creativity doesn’t have to be complicated to be meaningful.
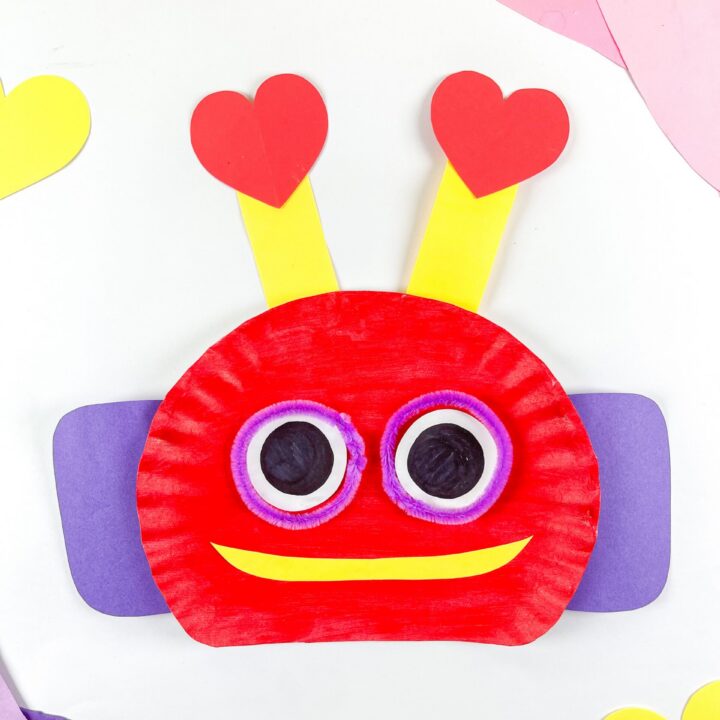
Valentine's Day Robot Paper Plate Craft
This Valentine’s Day Robot Paper Plate Craft turns a simple paper plate into a fun robot face filled with color and personality. The heart details and bright shapes make it perfect for Valentine celebrations. Kids can practice painting, cutting, and arranging pieces while building their robot. Each robot can look a little different, which makes the craft extra fun. It’s an easy project that works well at home or in the classroom.
Materials
- Paper plate
- Red paint
- Paintbrush
- Construction paper or cardstock (red, purple, yellow, white, black)
- Scissors
- Glue
- Marker
- Pipe cleaners or fuzzy wire
Instructions
1. Trim and Paint the Plate
Cut a small curved section from the bottom of the paper plate so it can sit flat like a robot face. Paint the front of the plate red using smooth, even strokes, then set it aside to dry completely.
2. Cut the Robot Pieces
Trace and cut the robot parts from colored paper, including the side panels, eye circles, smile, antenna strips, and heart shapes. Keep all pieces nearby so they are easy to arrange.
3. Arrange the Face Layout
Place the purple side panels on each side of the plate and position the eyes in the center. Adjust spacing until the face looks balanced before gluing anything down.
4. Attach the Eyes and Smile
Glue the white eye circles first, then place the black circles on top for the pupils. Add the yellow smile near the bottom of the face and press gently to secure.
5. Add the Antennas and Hearts
Glue the yellow antenna strips to the back top of the plate so they extend upward. Attach a red heart to the top of each strip to create the robot’s Valentine detail.
6. Outline the Eyes with Fuzzy Wire
Shape purple fuzzy wire into small loops and place them around each eye like robot goggles. Secure them with small dots of glue and press lightly.
7. Let It Dry and Display
Allow all pieces to dry completely so nothing shifts. Once finished, the robot can be displayed, used as a Valentine decoration, or shared as a handmade gift.
