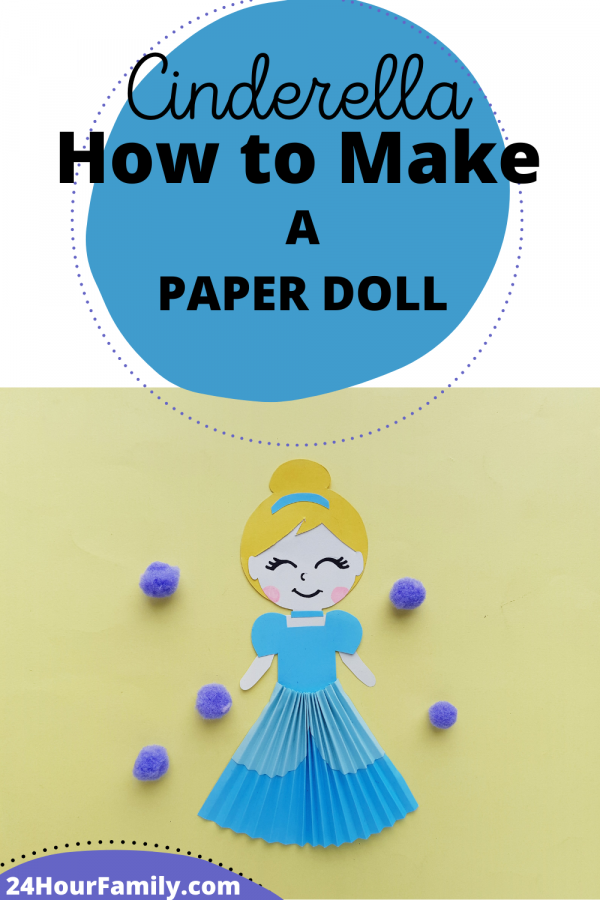
Cinderella Crafts – How to make Paper Doll
Do you love the story of Cinderella? If you do, we have a treat for you! We have a Cinderella Crafts idea that includes a free Cinderella Template! This enchanting paper doll is based on the beloved Disney fairy tale. This doll is sure to bring a smile to your face and transport you back to childhood. We have even included a printable template so that you can make your own paper dolls at home.
Do you remember reading the story of Cinderella when you were a child? Now you can relive the magic with these enchanting paper dolls. This craft is perfect for kids and adults alike. You will need some basic supplies, including paper, scissors, glue, pencil, and some sharpies. Once you have these tools, you can print out the free Cinderella Template you can get started on creating your own paper doll.
Table of Contents
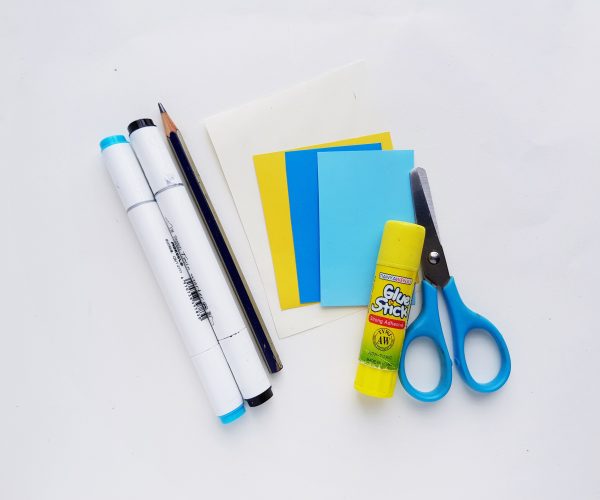
Cinderella Crafts – List of Supplies need to make this Paper Doll:
- Colored craft papers
- Craft glue
- Black and blue sharpie
- Pencil
- Scissors
- Printer to Print the Free Cinderella Template (See Below)
Cinderella Crafts – How to Make a Paper Doll
Disney Crafts as so much fun so why not make some paper dolls based on the classic story of Cinderella? This easy craft project is perfect for kids and adults alike. We will show you how to create a beautiful set of paper dolls that will bring Cinderella life.
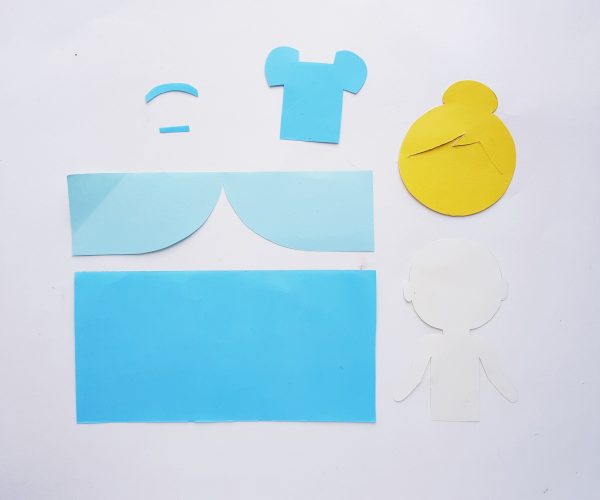
Cinderella Crafts Paper Doll – Step 1:
Once you have assembled your supplies, it’s time to start cutting out the paper doll parts using the Cinderella doll template. Select yellow paper, two or three different shades of blue paper and a paper for the skin tone of the Cinderella paper doll.
Trace the half body pattern on the paper selected for the skin, trace the hair pattern on the yellow paper and trace the dress patterns on the selected blue papers.
Cut out the traced patterns neatly.
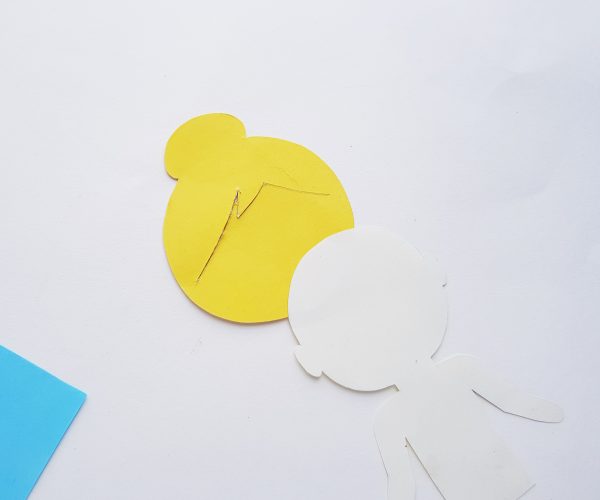
Step 2:
Next, cut a slit along the marked line inside the hair pattern.
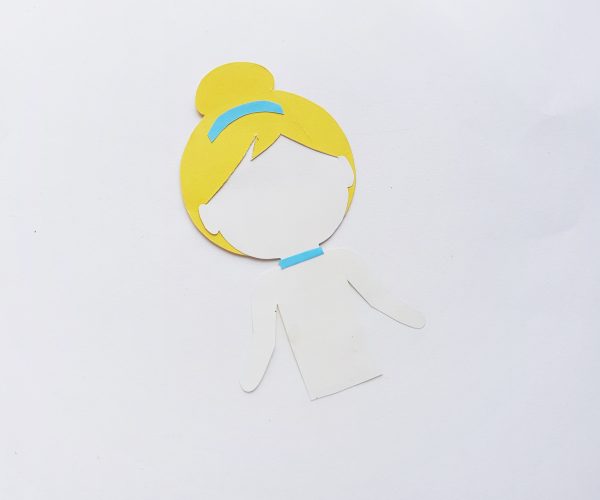
Step 3:
Slide the top end of the head part through the slit from the bottom side of the hair. Apply glue to fix the head and the hair together. Attach the headband pattern between the bun and the hair parts. Attach the small strip on the neck.
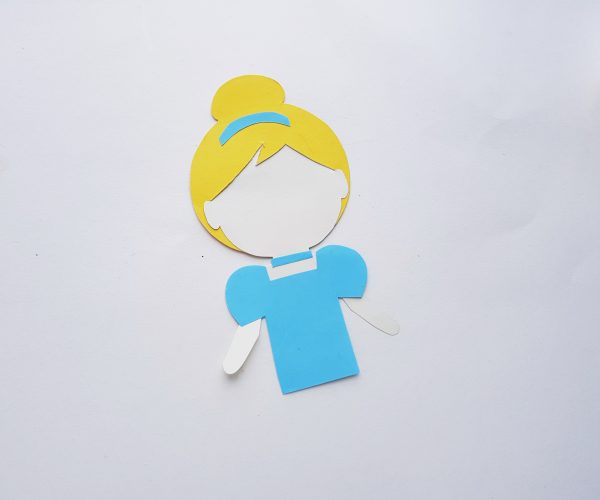
Step 4:
Attach the top dress pattern on the body part.
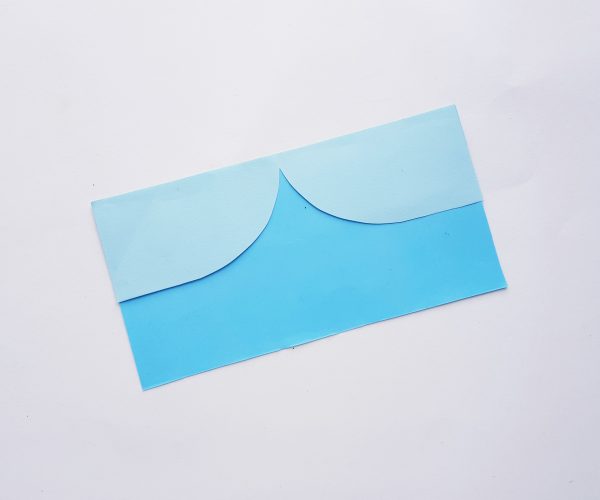
Step 5:
Attach the B like pattern along any one side of the rectangle pattern. Keeping the straight sides of both pieces aligned.
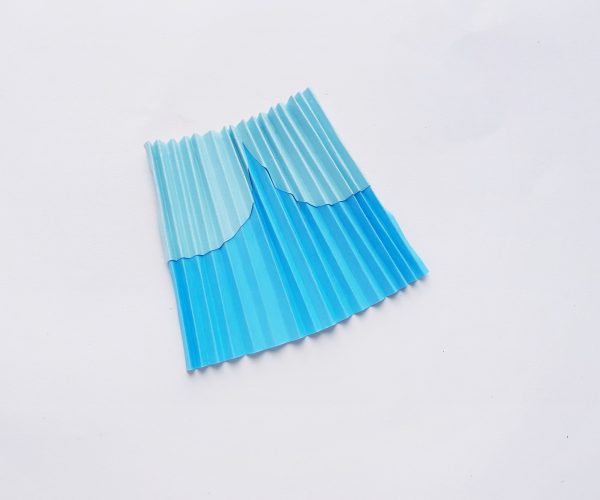
Step 6:
Create small and even accordion folds on the rectangle paper.
Step 7:
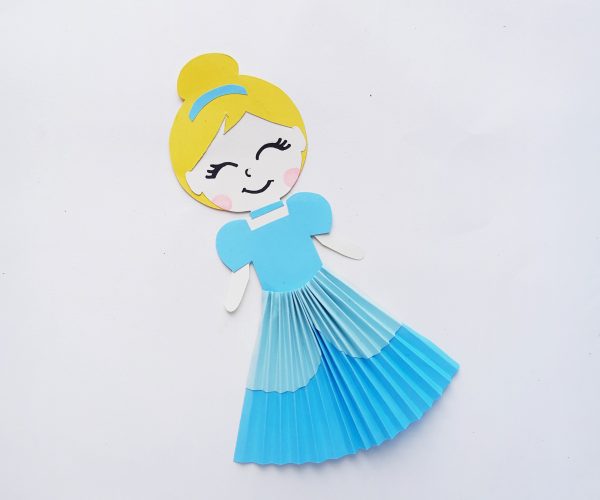
Bring the width of either side of the accordion folded paper to the width of the body and attach it right below the top pattern of the dress. Use a marker to draw the eyes, nose and mouth of the paper Cinderella doll to complete the craft.
You can also use other materials such as glitter or sequins to decorate your dolls. You can make the dress any color or design you like. You can also add other details such as a bow or belt to the dress.

Your Cinderella paper doll is now complete! These enchanting little dolls are sure to bring hours of fun and creativity to your Disney Princess! We hope you enjoyed making this charming Disney Craft paper dolls as much as we did. Until next time, happy crafting!