
Cow Handprint Craft
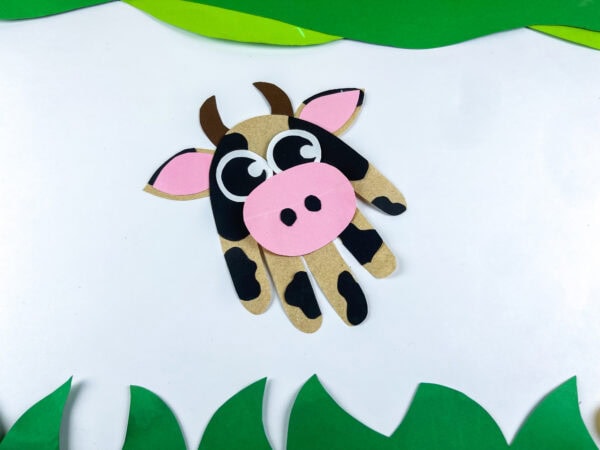
A simple hand outline becomes the sweetest little barnyard friend in this playful cow handprint craft for kids. This animal craft feels playful from the very first step, while still coming together easily with basic supplies you probably already have on hand.
It’s a relaxed and engaging craft that works beautifully as a themed farm activity, a seasonal classroom project, or just a creative afternoon idea.
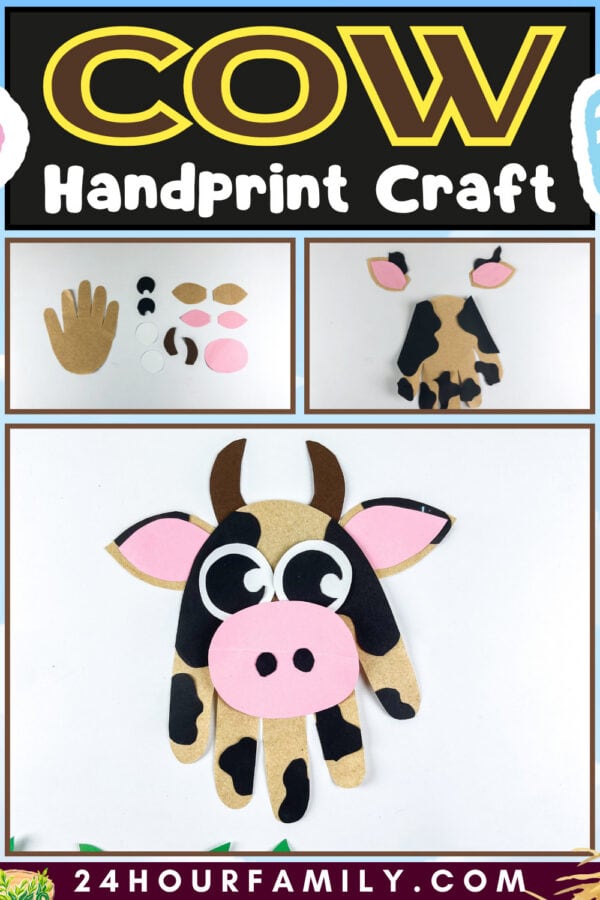
Cow Handprint Craft
This simple cow craft mixes cutting, tracing, and decorating into one enjoyable experience. This one is a lovely choice.
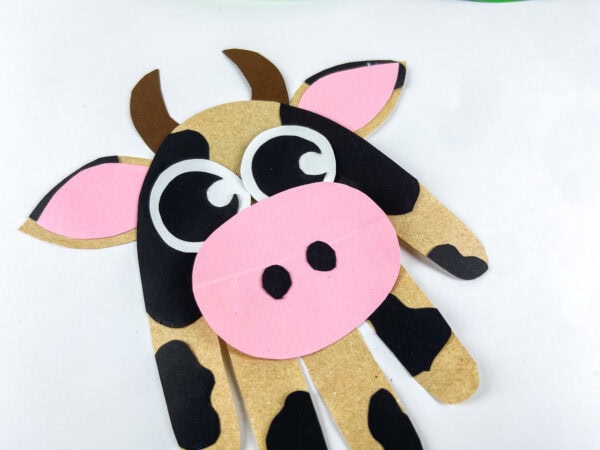
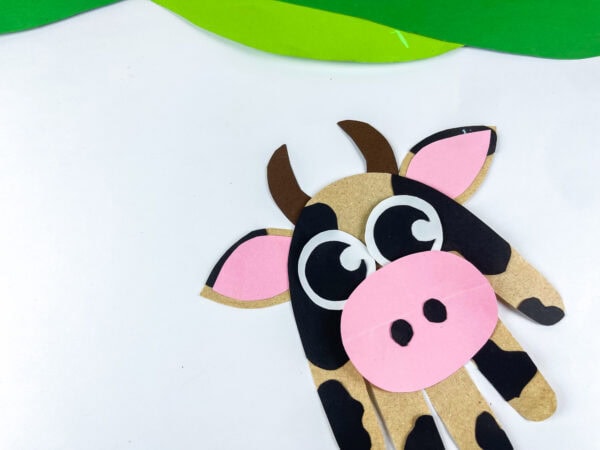
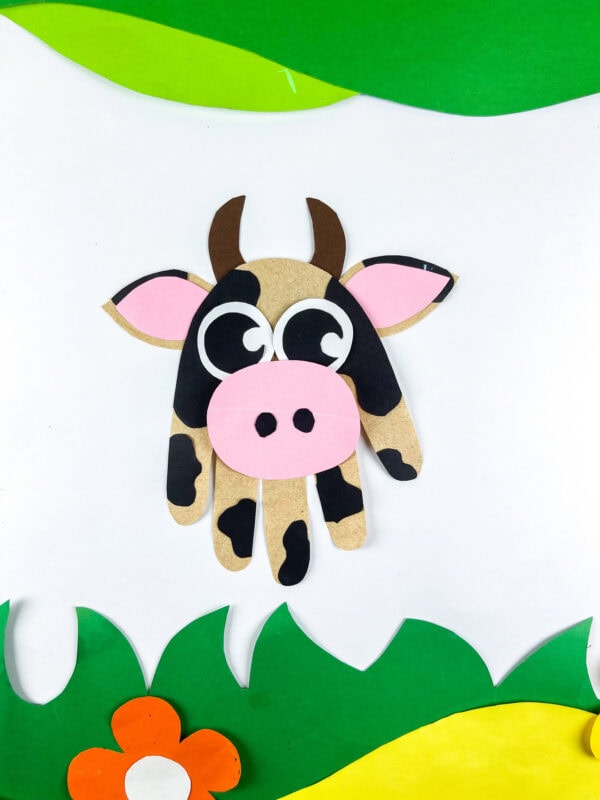
The finished cow handprint art looks adorable, full of personality, and easy to personalize with extra details.
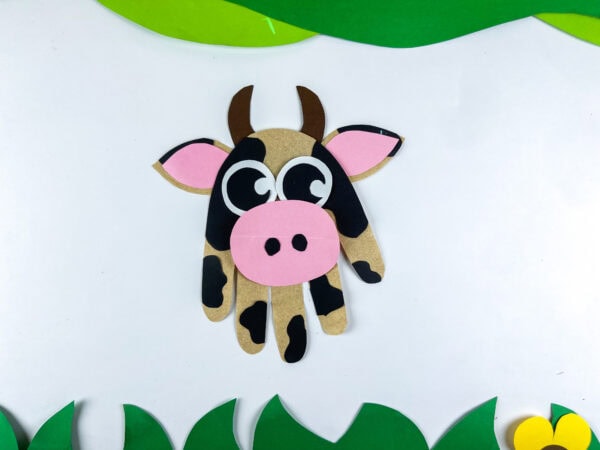
Whether used as a preschool table activity or a kindergarten bulletin board display, this handprint craft is a wonderful way to entertain while helping learners explore shapes and textures through hands-on art.
This post may contain affiliate links. As an Amazon Associate and a participant in other affiliate programs, I earn a commission on qualifying purchases. Read our disclosure policy here.
Crayola Construction Paper Bulk Pack (480 Sheets) – 10 Assorted Colors, 9×12, Classroom Arts & Crafts Supplies for Kids, Art Paper for School Projects Paper Crafts for Kids: 25 Cut-Out Activities for Kids Ages 4-88 Rolls Colored Masking Tape Rainbow Colors Painters Tape Colorful Craft Art Paper Tape for Kids Labeling Arts Crafts DIY Decorative Coding Decoration Teaching Supplies, 0.6 Inch x 16 Yard, 8 ColorsARTISTRO 24 Acrylic Paint Markers for Rock, Fabric, Wood, Glass, Craft, Decoration – Dual-Tip Paint Pens – Stocking Stuffers, Christmas Gift Idea for Teens, Grandkids, Kids – Art Supplies900 PCS Pom Poms, Multicolor Bulk Pom Poms Arts and Crafts, Soft and Fluffy Craft Pom Poms, Assorted Sizes Pompoms, for Arts and Craft Making DecorationsElmer’s Disappearing Purple School Glue Sticks, Washable, 6 Grams, 12 Count – Poster, Vision Board, Back to School, #1 Teacher Brand




Supplies You’ll Need:
Before starting this cheerful craft, gather your materials so everything is ready to go.
Supply list:
- Construction paper
- Brown paper
- Pink paper
- Black paper
- White paper
- Child-safe scissors
- Glue
- Pencil or marker
- Optional googly eyes
- Printable template
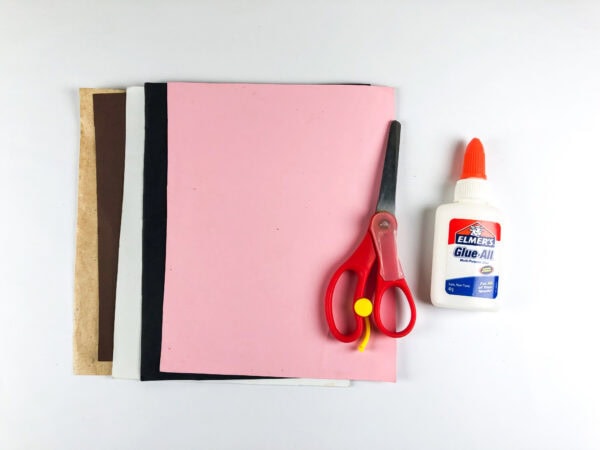
These simple material choices make this a beginner-friendly DIY craft that’s easy to set up at home or in a classroom.
How to Make a Cow Handprint Craft
Follow these simple steps to turn a traced hand into a cheerful little cow face with black spots and personality.
Step 1: Outline the Handprint
Start by placing a child’s hand on brown construction paper and carefully outlining around it. This becomes the base of your handprint cow design.
Once the outline is ready, paper and cut the hand shape neatly. This is the foundation of your craft, so take your time trimming the edges smoothly.
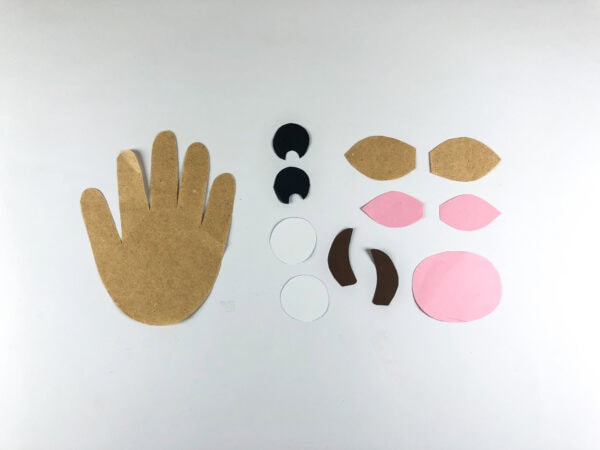
If you prefer, you can also stamp a painted outline using pink paint or another soft color variation for a different look. Let the hand, whether white or painted, dry completely before moving to the next step.
Step 2: Cut the Cow Face Pieces
Use the printable template to draw and cut the remaining parts of the cow’s face.
These include:
- Ears
- Horns
- Eyes
- Nose
- Decorative spot shapes
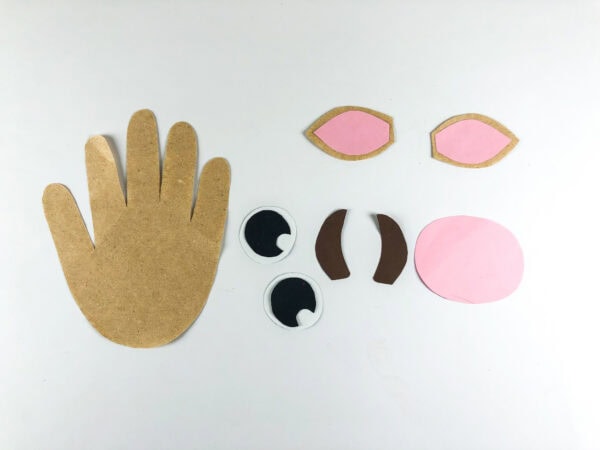
Cut each piece from the appropriate color paper. The contrast between brown, pink, and black helps the cow’s features stand out clearly and makes the finished craft look lively and balanced.
Step 3: Add the Black Spots
Next, attach the black markings across the hand outline using glue.
Spread the pieces around the fingers and palm so the pattern resembles natural markings often seen on a cow. Try placing one piece on the little finger and another near the palm for a playful, natural layout.
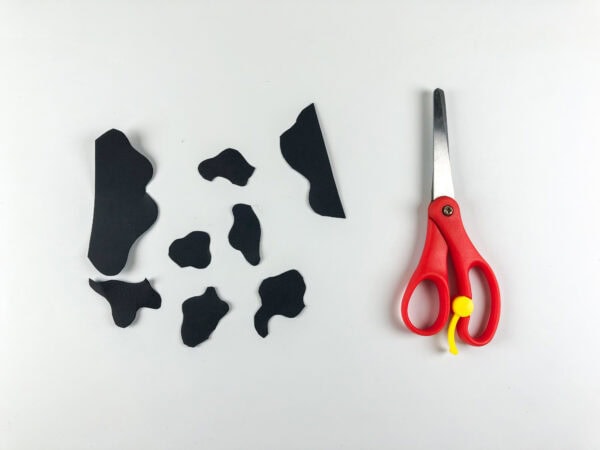
These markings help create the classic spots-and-black-hooves appearance that makes the character instantly recognizable.
Step 4: Attach the Ears and Horns
Now it’s time to bring the face together.
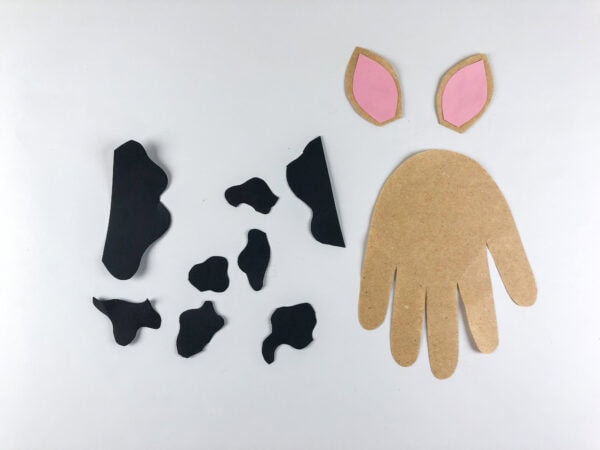
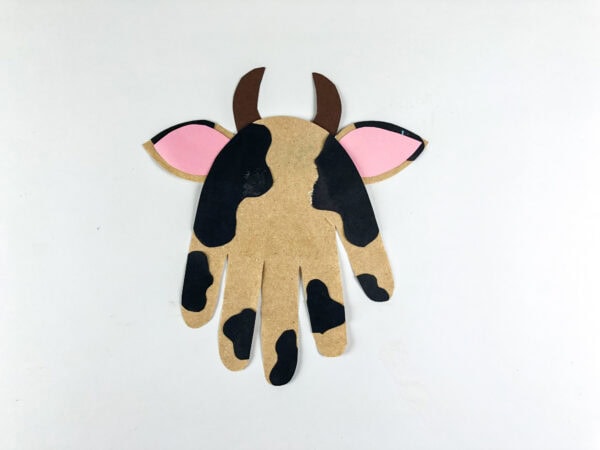
Attach the ears to the sides of the hand outline, then attach the horns near the top between the fingers. Each ear adds personality and helps frame the face nicely.
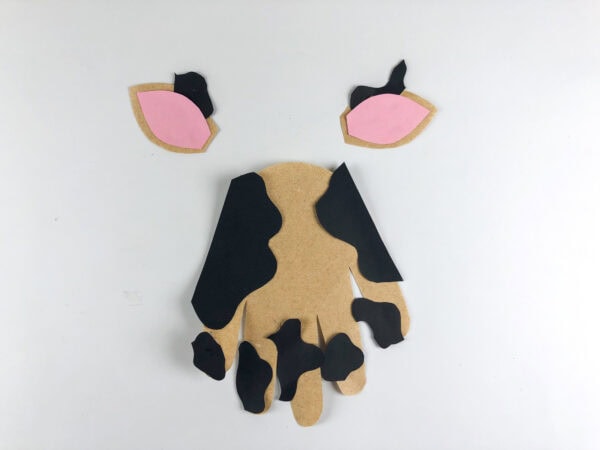
At this stage, the cow begins to look more complete and expressive.
Step 5: Add the Eyes
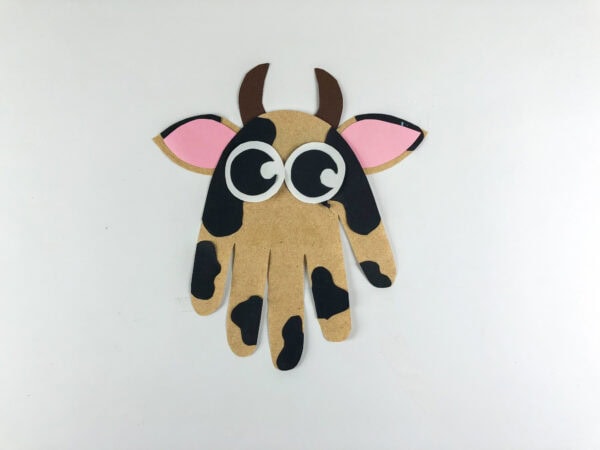
Glue the eye circles onto the center of the palm area.
You can use layered paper circles or attach googly eyes for extra movement and expression. Both options look wonderful and help make the cow handprint feel lively and engaging.
Adding the eyes transforms the print into a recognizable character with charm and personality.
Step 6: Attach the Nose
Next, glue the oval nose piece below the eyes.
Use a marker to draw the nostril details and any extra touches you’d like to include. The pink nose adds contrast and helps balance the darker markings across the face.
This step gives the cow its signature expression.
Step 7: Finish the Mouth and Final Details
Attach the mouthpiece below the nose and check that everything is aligned neatly.
You can also add a tail detail on a background sheet if you plan to mount the finished craft onto another page for display. A simple curved line with a tuft at the end works perfectly.
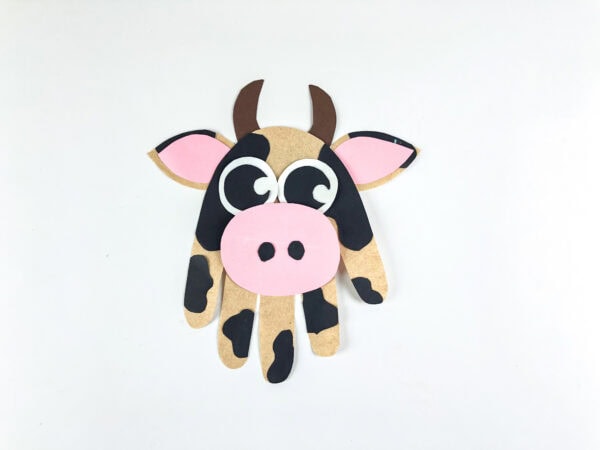
Finally, add a small curved line under the nose to create a friendly smile.
Your friendly little cow handprint is finished!
Why This Cow Craft Is Great for Learning
This playful cow craft supports early development in several helpful ways while keeping the experience relaxed and enjoyable.
As children outline their handprints, they practice coordination and finger placement awareness. Cutting the pieces strengthens scissor skills, while arranging them builds confidence in planning and sequencing.
Because this animal-themed project connects with familiar farm imagery, it also supports storytelling and vocabulary development. Learners can talk about milk, barns, fields, and daily routines on a farm, turning a simple craft into a richer learning moment.
Creative Ways to Personalize Your Craft
One of the nicest things about this cow handprint craft is how easy it is to adjust and decorate in different ways.
Here are a few simple ideas to try:
- Use patterned paper instead of plain colors
- Add grass along the bottom of the page for a farm setting
- Draw a small fence behind the cow
- Attach a speech bubble beside the cow
- Create a background sky scene
- Turn the project into a greeting card
You can even personalize your design by writing a name underneath the finished cow handprint.
Make It Part of a Farm Animals Activity Theme
This cheerful cow handprint craft works especially well as part of a larger farm animals lesson.
Try pairing it with other simple ideas like:
- Pig handprint designs
- Sheep collage projects
- Chicken cut-and-paste scenes
- Horse outline decorations
Combining several animal designs creates a themed display that feels cohesive and inviting. It also provides extra inspiration if learners enjoy repeating similar craft steps with different characters.
Projects like this remain popular because they combine recognizable characters with approachable instructions that anyone can follow.
Tips for Success With This Preschool Cow Craft
A few small suggestions can make the process smoother and more enjoyable:
- Place scrap paper underneath before tracing
- Use a pencil first, then outline with a marker
- Allow glued pieces time to dry
- Arrange pieces before attaching permanently
- Encourage learners to touch and adjust placement before gluing
These simple steps help the finished cow look balanced and neat.
More Handprint Animal Crafts for Kids
If you enjoyed making this Cow Handprint Craft, here are a few more handprint animal projects that are fun to create and perfect for exploring different themes during craft time.
- Octopus Handprint Paper Craft – A playful ocean-themed craft where kids can turn their hand outline into a colorful octopus.
- Penguin Handprint Craft for Preschoolers – A cute winter animal craft that works especially well for younger learners.
- Walrus Handprint Craft – A fun Arctic animal craft that lets kids create a friendly walrus using simple materials.
- Ankylosaurus Handprint Craft – A creative dinosaur-themed craft that turns a hand outline into a sturdy prehistoric character.
- Lifecycle of a Cow Printable
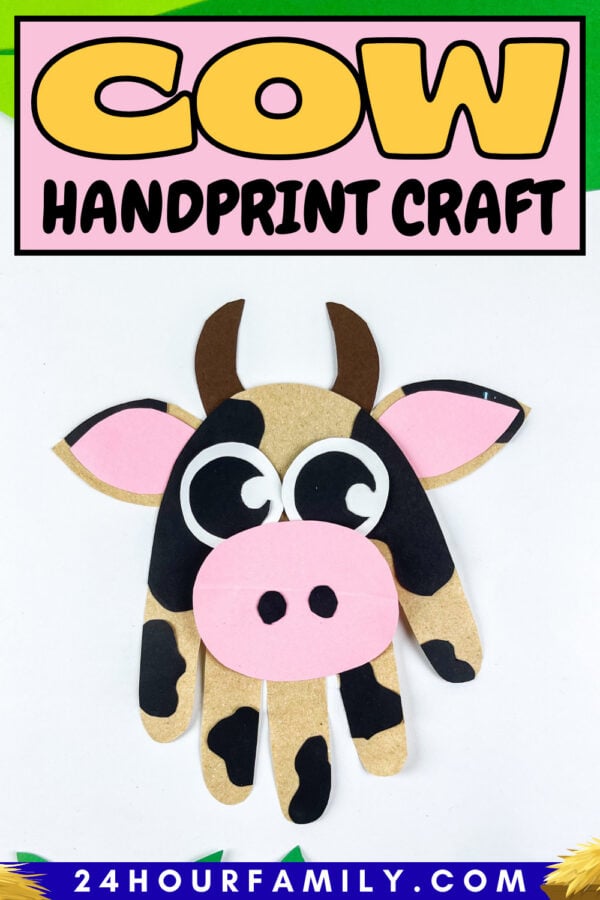
This cow handprint craft is one of those simple projects that brings together imagination, easy steps, and cheerful results all in one place.
With just a traced handprint, a few pieces of construction paper, and some carefully placed black spots, it quickly turns into a friendly cow face full of personality.
Whether it’s used as part of a classroom display, a preschool table activity, or a relaxed weekend project, the finished piece always brings a little extra charm to the page.
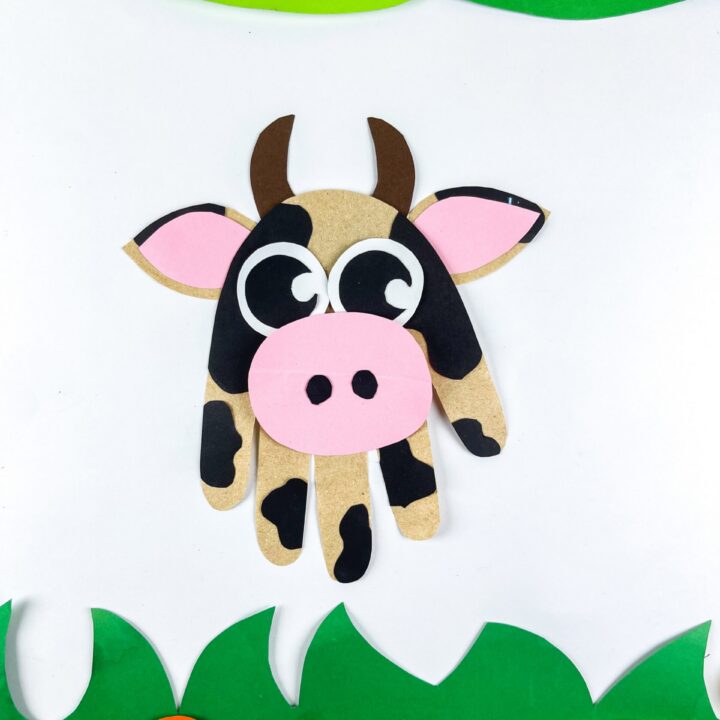
Cow Handprint Craft
This Cow Handprint Craft is a fun way to turn a simple hand outline into a friendly farm animal. Kids can practice tracing, cutting, and gluing while building the cow’s face and markings. The black spots and pink nose help give the cow its classic look. It works well for farm themes, classroom displays, or creative craft time. The finished cow also makes a sweet keepsake to save.
Materials
- Construction paper (brown, pink, black, & white)
- Scissors
- Glue
- Pencils or markers
- Free Cow Template
Instructions
1. Trace and Cut the Handprint
Place a child’s hand on brown construction paper and trace carefully around the fingers using a pencil or marker. Cut out the hand shape neatly, since this piece will become the main base of the cow’s face.
2. Cut the Cow Face Pieces
From colored paper, cut shapes for the ears, horns, eyes, nose, and spot markings. Keep each piece sized to match the handprint so the features fit together smoothly during assembly.
3. Add the Spot Markings
Glue the black spot shapes onto the fingers and palm area of the handprint. Spread them across the surface so the pattern looks balanced and similar to natural cow markings.
4. Attach the Ears and Horns
Glue the ears along the sides of the handprint shape. Then attach the horns near the top between the fingers so they frame the upper part of the face.
5. Add the Eyes
Place the eye pieces near the center of the palm area and glue them securely. Position them evenly so the cow’s face looks friendly and well balanced.
6. Attach the Nose
Glue the pink oval nose below the eyes and draw small nostrils using a marker. This helps complete the cow’s recognizable expression.
7. Add the Mouth and Final Details
Attach the mouth piece just below the nose and draw a small curved smile line underneath. Allow everything to dry before displaying the finished cow as part of a farm-themed craft collection or wall display.
