
Walrus Handprint Craft (Includes Free PDF Template)
This Walrus Handprint Craft may look fancy when it’s done, but don’t worry… it’s actually a wonderfully easy little craft that kids will love making again and again.
There’s something special about sitting down with a simple pile of paper, glue, and scissors and watching it turn into an adorable little animal. And when that animal happens to be a walrus—with big googly eyes, silly whiskers, and those iconic tusks—it becomes even more exciting.
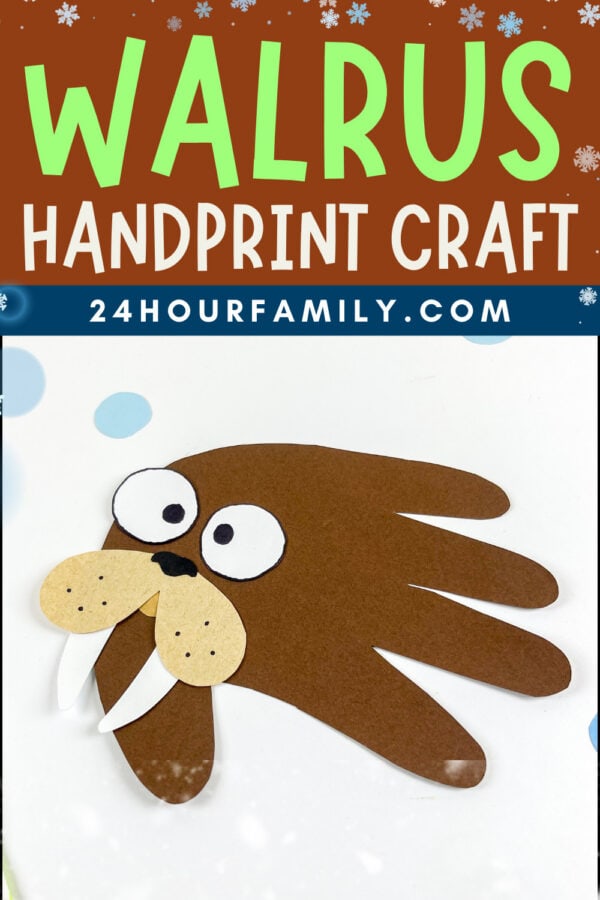
Walrus Handprint Craft for Kids
If you’re searching for a fun winter craft idea for kids to try this season, this walrus handprint craft is about to become a new favorite.
It’s great for preschool, early learners, and even older kids who enjoy hands-on art projects. Plus, this handprint project comes with a printable template, so all you need to do is download, trace, cut, and glue. Simple, cute, and full of charm—that’s exactly what we love around here.
This post may contain affiliate links. As an Amazon Associate and a participant in other affiliate programs, I earn a commission on qualifying purchases. Read our disclosure policy here.
Nabance 2.54 fl oz Blue Baby Hand and Footprint Friendly Ink Paint, Dog Cat Paw Print Safe Ink, Non-Toxic Acid-Free, Safe Gentle for Home School Christmas New Year DIY Keepsake StampCra-Z-art Washable Classic Paint Bulk Pack 8ct, Assorted Colors 4oz each bottle, 32ozWashable Finger Paint for Toddlers 1-3 – 12 Colors Washable Paint for Kids, Non Toxic Toddler Paints, 2 fl oz Tubes, Tempera Paints for Kids, Crafts & Finger Painting – Ages 1-8Crayola Washable Kids Paint (6ct), Assorted Bulk Paint Set for Kids, Must Have Preschool Arts & Crafts Supplies, Nontoxic, Learning Activities for Toddlers7” Large Washable Ink Pad for Kids Handprint & Footprint – Safe & Non-Toxic Ink Pads for Stamps, Finger Paint Pads Preschool Classroom Must Haves, Toddlers Crafts, Christmas Birthday Gifts, 8 Colors


Materials You’ll Need:
Here’s everything you’ll need to make a walrus using your child’s handprint:
- Construction paper (brown, tan, white, black)
- Pencil for tracing
- Glue stick
- Scissors
- Markers
- Optional: paint & sponge if you want to dab color on the background
- Printable Template (Get the free resource at the bottom of this post)
- Optional: googly eyes if you want extra silliness
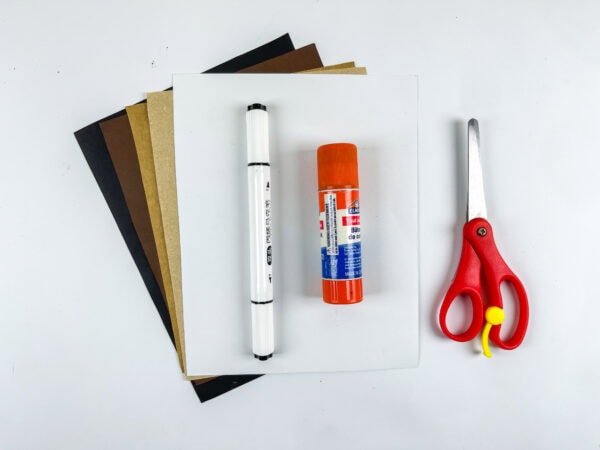
If you’re looking for an idea for kids that comes together quickly, the simplicity of these supplies makes this diy craft perfect for little hands.
How to Make This Walrus Handprint Craft
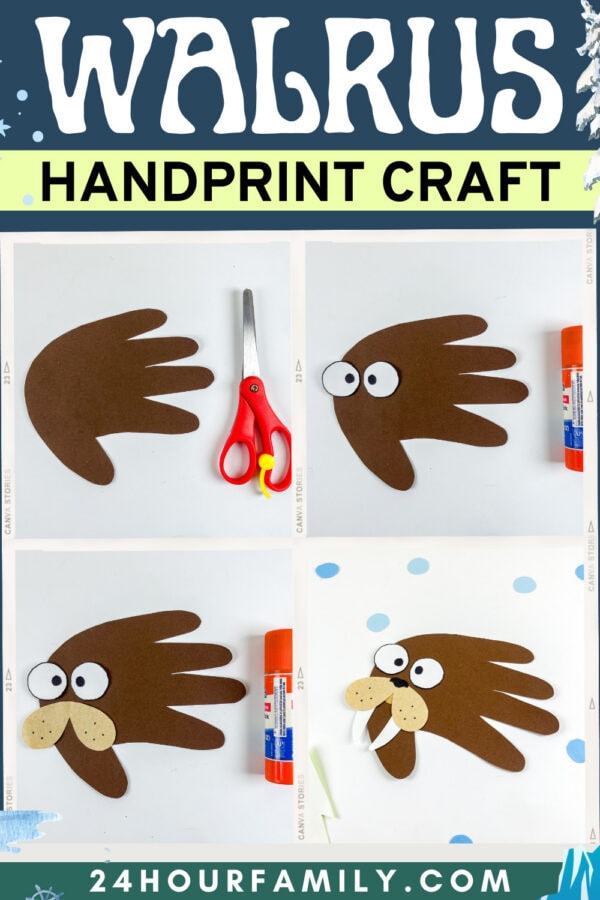
This project is a gentle, step-by-step art project kids can confidently make on their own (with some scissor help for little ones). Follow along with the photos above—or keep scrolling for the written instructions!
Shop My Homeschool Room:
Learning Resources MathLink Cubes – Set of 100 Cubes, Ages 5+ Kindergarten, STEM Activities, Math Manipulatives, Homeschool Supplies, Teacher SuppliesElmer’s Disappearing Purple School Glue Sticks, Washable, 6 Grams, 12 Count – Back to School, Teacher Supplies, #1 Teacher BrandThe Mega Deals Kids Painting Set, Washable Paint for Kids with Paint Cups and Toddler Paintbrushes, Non Toxic Washable Finger Paints 2 oz Each, Gifting Bundle Toddler Painting SuppliesEXPO Low Odor Dry Erase Markers Ultra-Fine Tip Assorted Colors 8 CountMy First Book of Patterns: Pencil ControlMarbrasse 6 Tier Paper Organizer Letter Tray – Mesh Desk File Organizer with Handle, Paper Sorter Organizer for Letter/A4 Office File Folder Holder – Black



Step 1: Trace the handprint
Start by helping your child place their hand on the brown sheet of paper. Trace around it and cut it out. This will form the body of your walrus handprint.
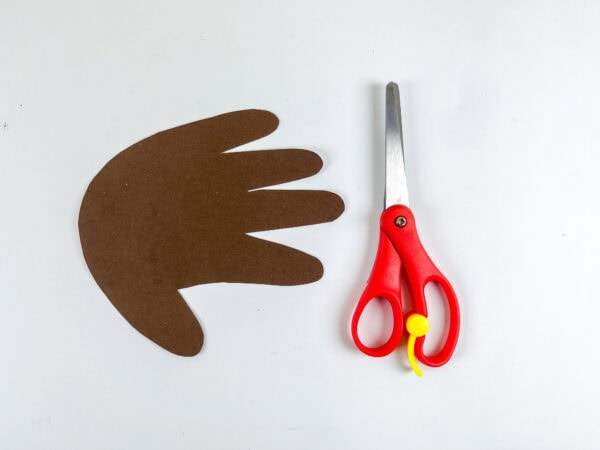
The “wings” of the hand (the fingers) stick out just enough to look like flippers—that’s what makes this such a cleverly simple and fun shape for a walrus craft.
Step 2: Make the eyes
Use white paper to cut out two circles.
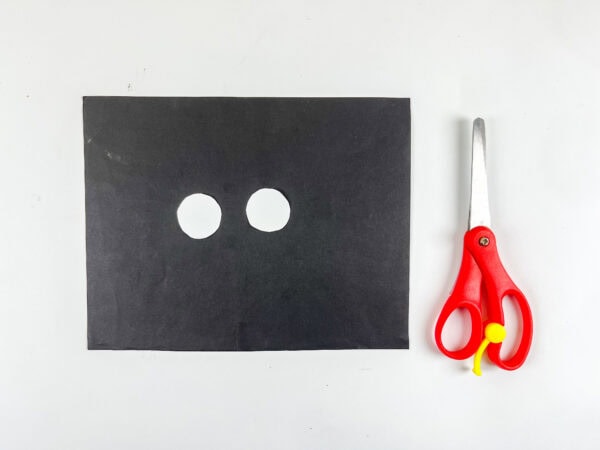
Draw black pupils using a marker—or stick on googly eyes if you want to keep things extra cute.
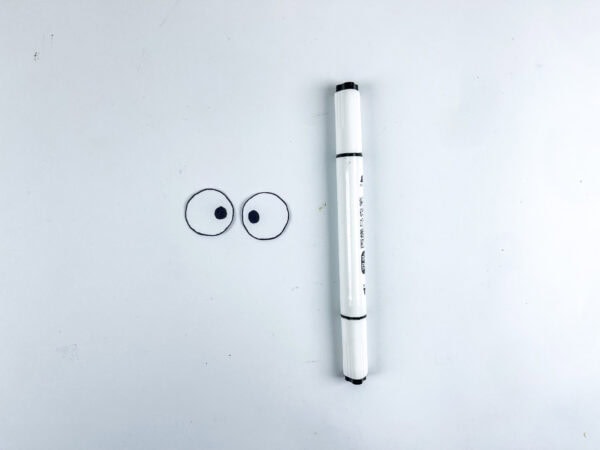
Glue them toward the top of the palm area.
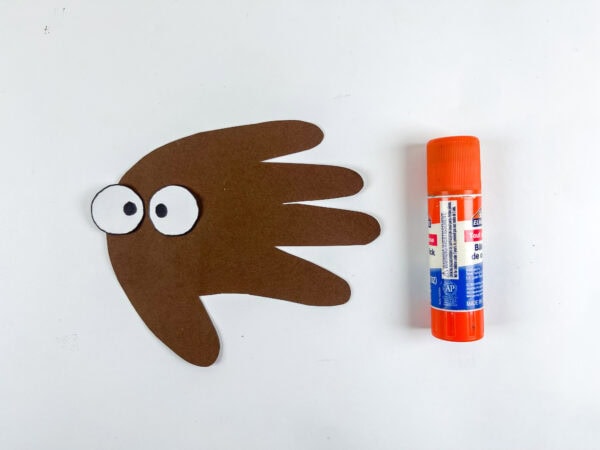
Step 3: Build the snout
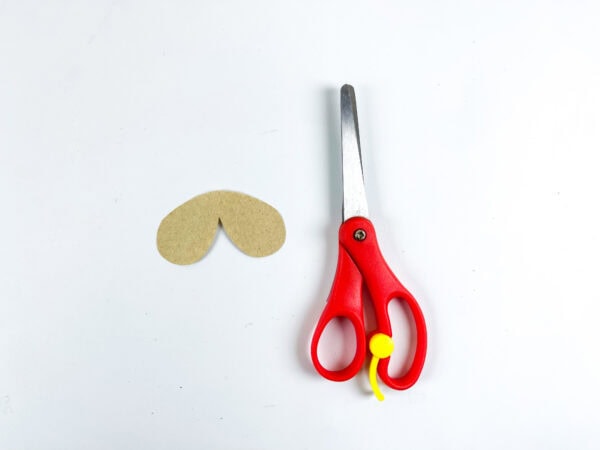
Cut out a tan oval, then trim a small notch at the top so it fits perfectly under the eyes.
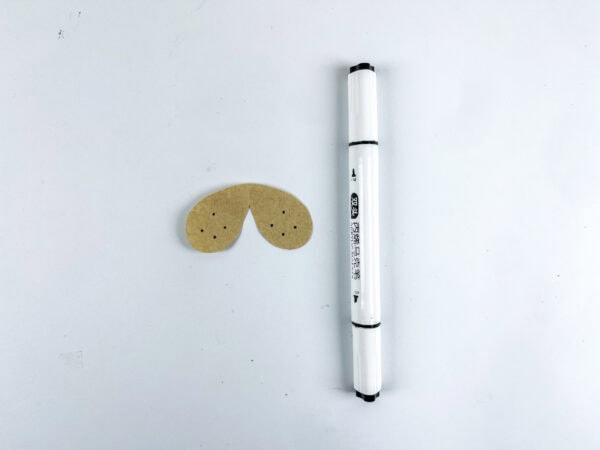
Add little dots with your marker to create whisker spots on the nose area.
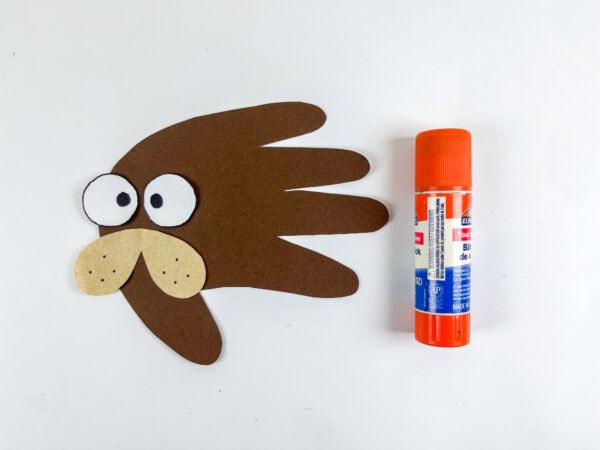
Attach it to your walrus craft.
Step 4: Create the tusks
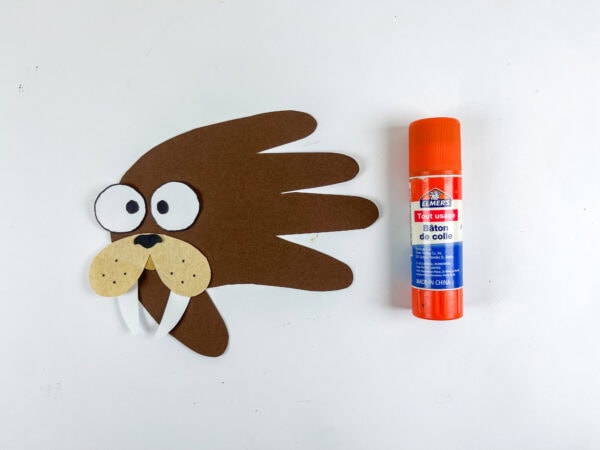
Cut two long white tusks out of paper and glue them under the snout.
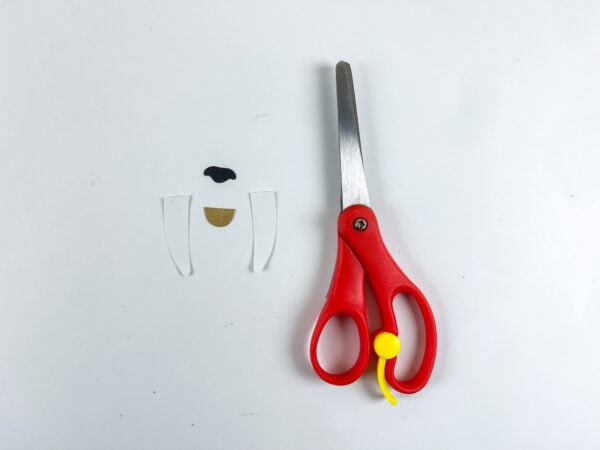
These iconic shapes are what instantly turn this from “mystery brown handprint blob” into a walrus.
Step 5: Add the finishing touches
Cut a tiny black oval for the nose, glue it on, and draw a little smile if you’d like.
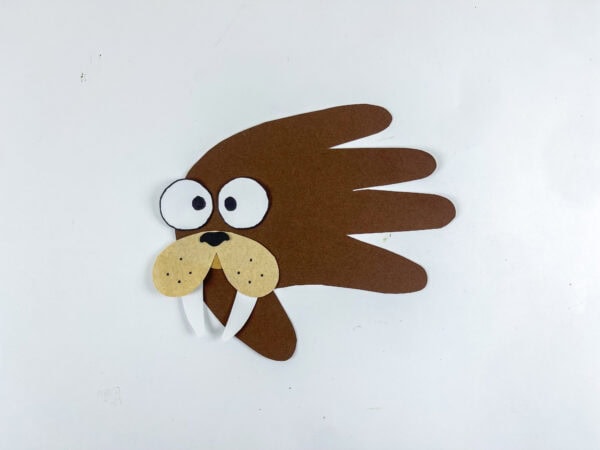
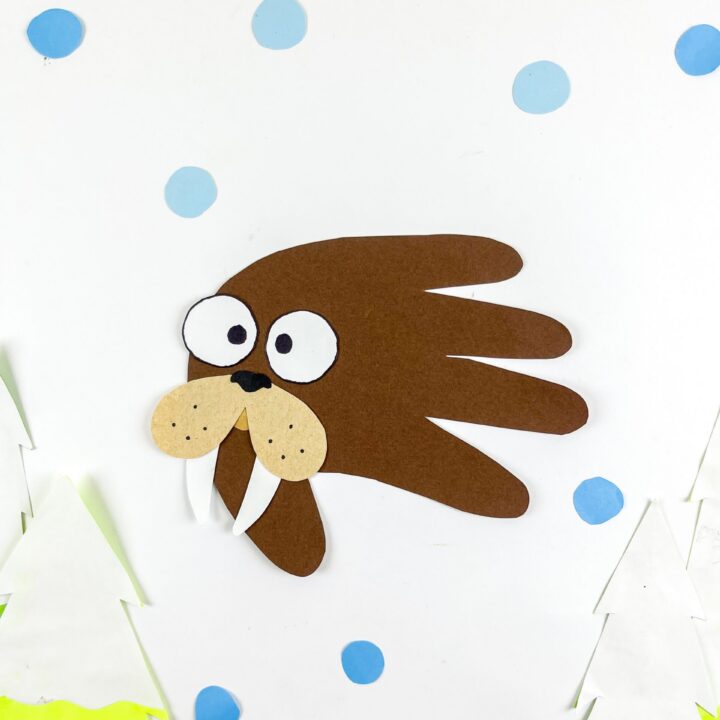
Just like that—your cute handprint walrus craft is complete. Easy, quick, and full of personality.
Why Kids Love This Walrus Handprint Craft:
There are endless reasons to love this project, but here are a few of my favorites:
1. It’s kid-friendly and mess-free
You only need construction paper, a marker, glue, scissors, and maybe a little paint (optional). No complicated materials, no giant cleanup session.
2. It’s a great winter activity
If you want a winter craft that feels seasonal without relying on snowflakes or holiday themes, this cute arctic animal is perfect.
Kids will love making this walrus craft with the kids (yes, that phrase is funny, but it works!) and it gives them a little taste of arctic animals without stepping outside into real cold weather.
3. It comes with a free template
No guesswork. No worrying about whether the shapes will look right. You simply print and get the template, cut it out, and trace. This craft comes with a free printable template, making it perfect for teachers, parents, and anyone creating kids crafts on a budget.
4. It makes the cutest keepsake
Anything involving little hands? Absolutely adorable. This easy and cute handprint walrus doubles as sweet keepsake handprint art that parents love to save.
5. It’s perfect for winter animal crafts
If you’re building a themed set of winter animal crafts, this handprint walrus craft for kids is a must-add to the lineup. It’s an activity you can easily pair with your winter lessons.
Make It Into a Full Winter Lesson
Turn this into a full winter learning day!
Here’s a helpful plan you can use:
- Start with a quick intro about arctic animals
Show a picture or video of real walruses, and talk about their tusks, size, and habitat. - Move into the craft
Give each child their material list, the printable template, and a tracing page. - Add optional background art
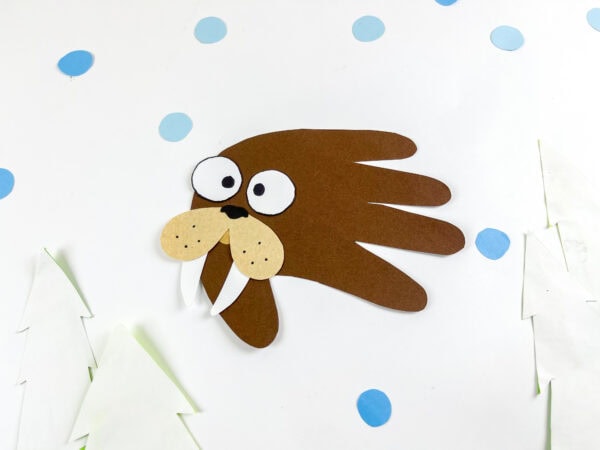
Kids can use a sponge to dab blue paint onto a sheet of white paper to create “cold” water textures. - Practice the alphabet
Review “W is for Walrus” or write the letter w beside the craft.
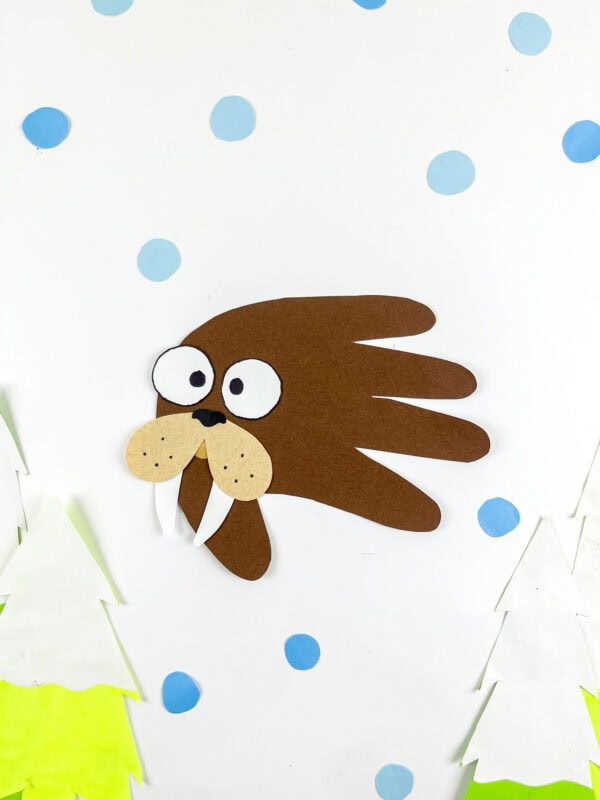
This turns your walrus handprint craft into a mini integrated learning session.
Creativity for Kids My Handprint: Toddler Crafts, Small Stocking Stuffer (Ages 3+) 1024 Pcs Thanksgiving Handprint Kits Crafts with 3 Pcs 7 Inch Large Ink Pads, Fall Handprint Art Craft Turkey Tree Hedgehog Squirrel Easy DIY Kit Thanksgiving Greeting Cards for Thanksgiving Kid CraftPhyskoa Handprint Art Kit – “Thank You for Helping Me Grow” Watering Can Craft – DIY Handprint Gift for Teacher Appreciation, Mom, Grandma – Personalized Keepsake from Kids & Students(Art Deco-C)7MotiMind 30 Sets Bible Crafts for Kids 5 Finger Prayer Handprint Craft DIY Christian Sunday School Arts Make Your Own Finger Prayer Gift for Religious Party Supplies Fun Home Activities




More Handprint Crafts for Kids
Here are more creative and kid-friendly handprint crafts you can make after the Walrus Handprint Craft.
- Handprint Scarecrow Paper Craft – A cute fall scarecrow craft made using simple handprints.
- Elf Handprint Craft – A festive holiday craft turning a handprint into a cheerful elf.
- Handprint Owl Craft – A sweet owl craft that uses handprints for its wings and shape.
- Reindeer Handprint Craft – A fun Christmas craft that turns a handprint into an adorable reindeer.
This easy and cute handprint walrus is more than just a quick cutting-and-gluing project—it’s a creative moment your child gets to share with you.
A chance to slow down, make memories, and enjoy the magic of transforming something simple into something full of personality.
If you love kid-friendly crafts, winter projects, and adorable little keepsakes, this is the perfect activity to enjoy together.
Walrus Handprint Craft
This adorable walrus handprint craft is a simple and engaging activity perfect for kids of all ages. Using our free template and just a few basic art supplies, children will create a charming walrus face built from their own handprint—making it both creative and personal. This project helps build fine motor skills through tracing, cutting, painting, and gluing, and it works beautifully for winter units, Arctic animal lessons, or just a fun afternoon craft. The finished walrus makes a great classroom decoration, bulletin board accent, or keepsake for parents.
Materials
- Construction paper (brown or gray for the walrus, plus white, black, or accent colors)
- Scissors (child-safe)
- Glue (glue stick or liquid glue)
- Black marker or pen
- Gray paint (optional, used for shading or painting the handprint background)
- Printed templates (walrus eyes, nose, tusks, and mouth)
Instructions
Step-by-Step Instructions 1. Prepare and Cut the Template Pieces Print the walrus template and cut out each section (eyes, nose, tusks, mouth, and face shape). Place each template piece on the color of construction paper it belongs to—for example, white for the tusks, black for the eyes, and brown or gray for the walrus face. Trace each piece carefully and cut them out again from the construction paper. 2. Create the Handprint Base Have the child place one hand on the chosen paper and trace around it to form the walrus’s head and whisker area. Cut out the handprint shape. (Optional) Lightly paint the handprint with gray paint and allow it to dry to add texture and dimension. 3. Assemble the Eyes Cut out the eye shapes from the paper. Use a black marker to draw a small black dot in the center of each eye to form the pupils. Glue the completed eyes near the top section of the handprint. 4. Add the Nose and Details Cut out the walrus nose and use your marker to add a few small dots or freckles. Glue the nose just below the eyes in the center of the handprint. 5. Attach the Tusks and Mouth Glue the tusks underneath the nose so they hang downward like a real walrus. Add the mouth piece in between or slightly overlap the tusks as desired. Press firmly to ensure all pieces stay in place. 6. Final Touches Allow everything to dry completely. Your walrus handprint craft is now ready to display!
