
Cricut Easter Jars Craft (Free Easter SVGS)
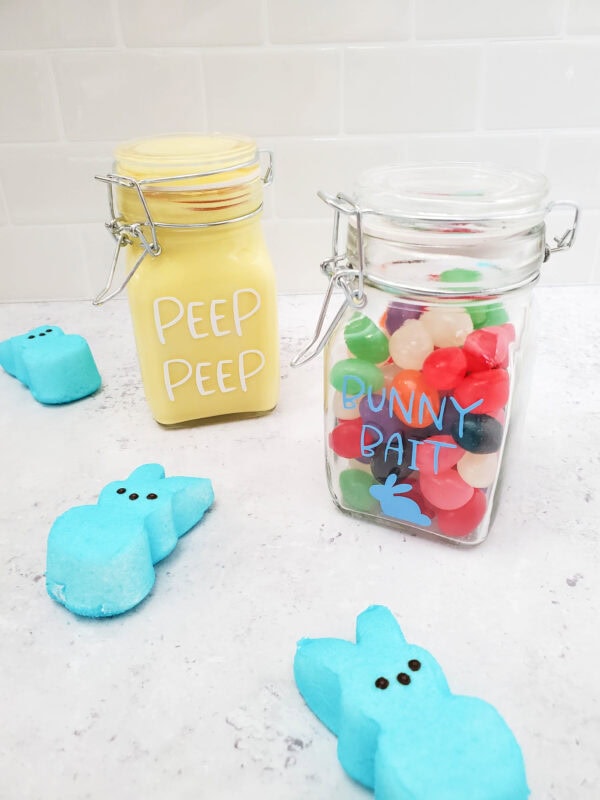
These Cricut Easter jars are one of the quickest, most satisfying Easter crafts you can make — and the two free SVG designs included make them look far more polished than the time they take.
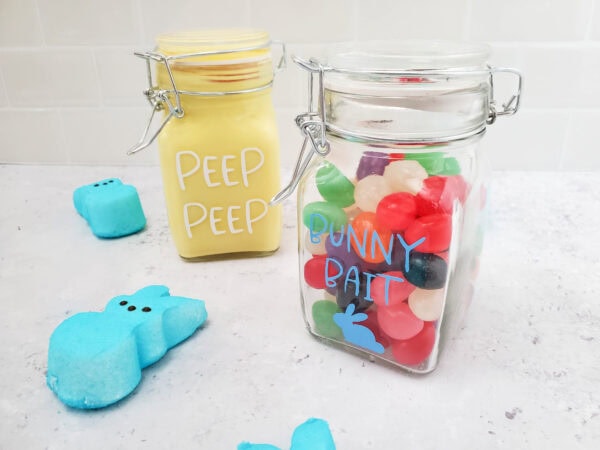
The jar craft features two free Easter SVG cut files: “Peep Peep” for a jar filled with marshmallow chick candies, and “Bunny Bait” for a jar filled with jelly beans or spring mix candies. Cut each design from permanent adhesive vinyl, apply it to a square glass jar, fill with treats, and you have an Easter gift or decoration that looks like it came from a boutique shop.
This tutorial covers the full process from uploading the SVG files to applying the vinyl and filling the jars — including an optional inside-painting technique that makes the jars even more festive on a windowsill or table display.
This post may contain affiliate links. As an Amazon Associate and a participant in other affiliate programs, I earn a commission on qualifying purchases. Read our disclosure policy here.
About the Two Free Easter SVG Designs
The download includes two free Easter SVG cut files:
Peep Peep — a playful text design that is a nod to everyone’s favorite marshmallow chick candy. The design works perfectly on the front of a square jar filled with Peeps, yellow candy-coated chocolates, or lemon gummies. The font is light and fun — the kind of design that makes the jar look festive at a glance.
Bunny Bait — a classic Easter phrase used for jars of mixed candy treats. “Bunny Bait” jars are a staple of Easter gift-giving and table decor, and the vinyl design elevates a plain jar into something that looks intentional and handmade at the same time. Fill with jelly beans, M&Ms, or a spring trail mix for the most popular version.
Both designs cut cleanly from standard permanent adhesive vinyl at approximately 2.5 inches wide, which fits the front panel of a standard square glass jar perfectly.
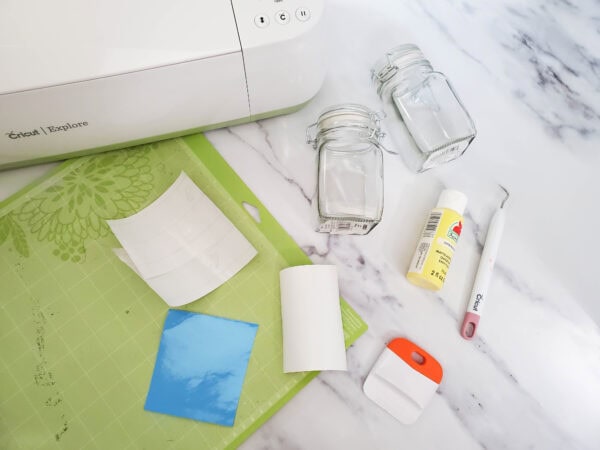
Supplies You Need:
- Cricut or Silhouette cutting machine
- Standard grip cutting mat
- Permanent adhesive vinyl in your chosen color — white, pastel pink, pastel yellow, or pastel blue all work beautifully for Easter
- Transfer tape
- Weeding tool
- Spatula or scraper tool
- Square glass jars with latch lids (linked below)
- Easter candy for filling the jars
- Craft paint and a paper plate (optional — for the inside-painting technique)
For the vinyl color, white permanent vinyl on a pastel-painted jar gives a clean, boutique look. Pastel-colored vinyl on a clear jar is a faster option that still looks great.
How to Make Cricut Easter Jars — Step by Step
Step 1: Download and unzip the free Easter SVG files.
Download the free Peep Peep and Bunny Bait SVG files using the link below. The download arrives as a zip file. Unzip it on your computer to access the SVG and PNG formats inside.
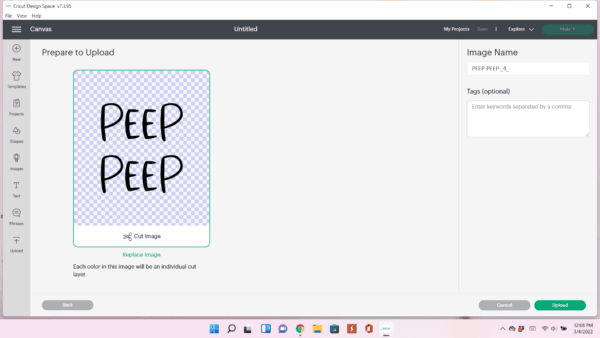
Step 2: Upload the SVG to Cricut Design Space.
Open Cricut Design Space and start a new project. Click the Upload button in the left toolbar, then click Upload Image. Browse to your unzipped folder, select the SVG file for the design you want to cut first, and click Open. Design Space will import the file and show a preview.
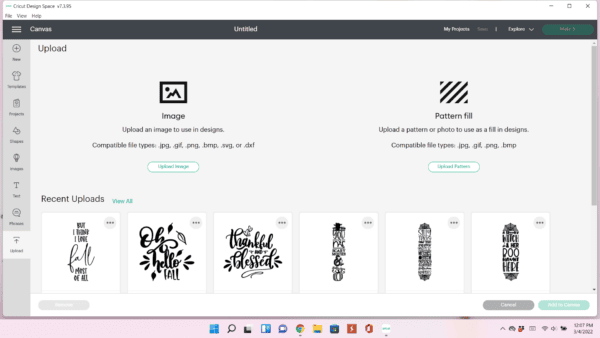
Step 3: Add the design to your canvas.
Click Save after the upload, then click Insert Images to add the design to your canvas. The design will appear on the canvas ready to size and position.
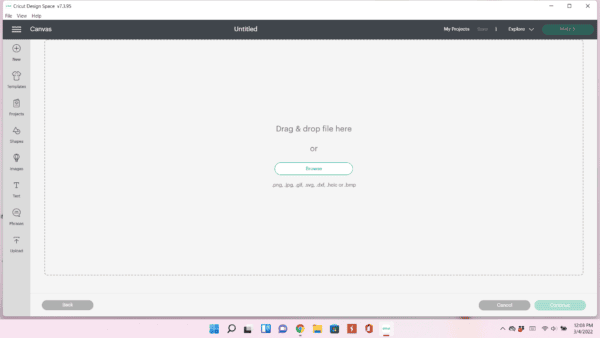
Step 4: Resize the design to fit your jar.
Measure the flat front panel of your square jar. For a standard square glass jar with a latch lid, 2.5 inches wide works well — it sits centered on the front panel with a little breathing room on each side. Click the lock icon in the Design Space toolbar to maintain proportions when resizing.
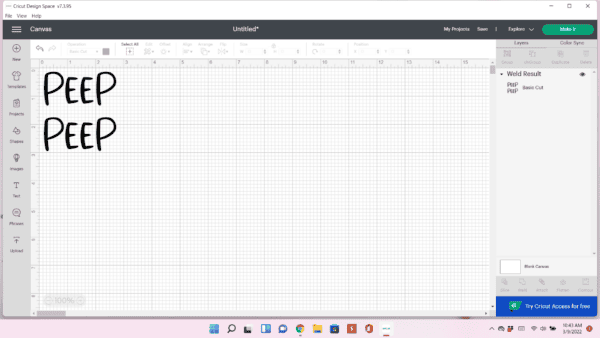
Step 5: Weld the design and click Make It.
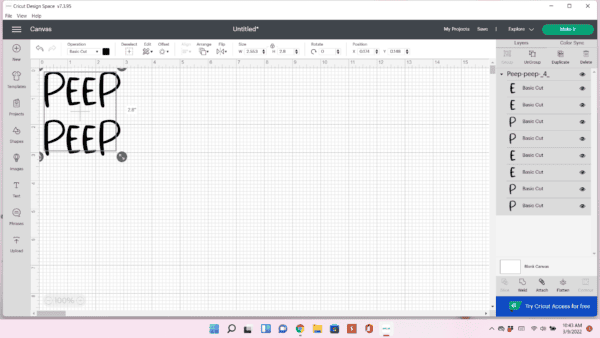
If your design has multiple text elements, select all of them and click Weld in the bottom right of the Layers panel to merge them into one cut file.
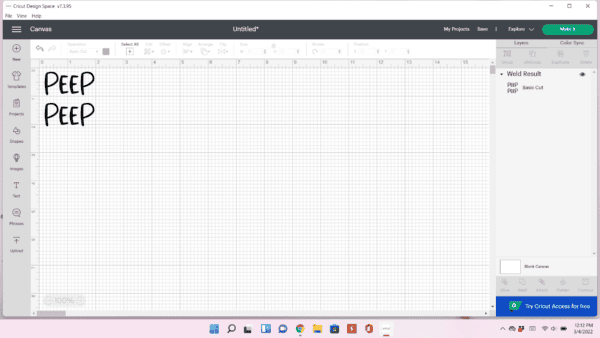
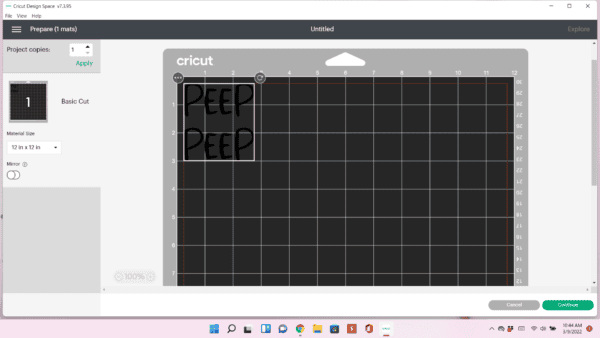
This prevents Design Space from cutting the individual letters separately. Then click Make It in the top right corner, followed by Continue.
Step 6: Set up your vinyl and cut.
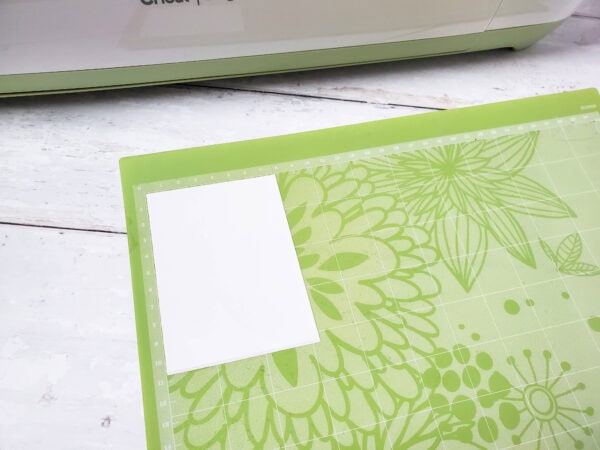
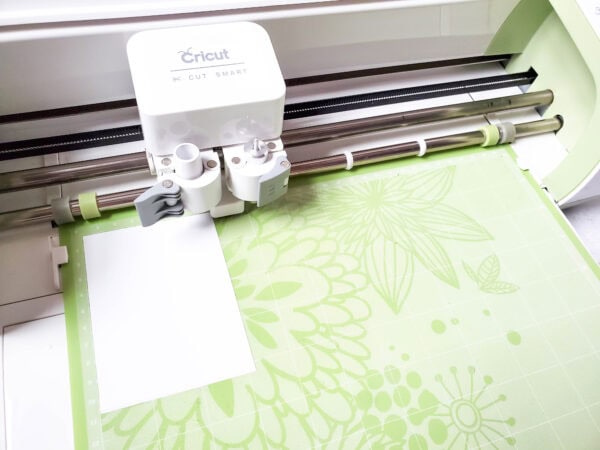
Place your permanent adhesive vinyl on the cutting mat, shiny (liner) side down, and load it into your Cricut machine.
Select Permanent Vinyl as your material type in Design Space and follow the prompts to cut.
Step 7: Weed the design.
Once cut, remove the vinyl from the mat and use your weeding tool to remove all the excess vinyl from around the letters.
Work slowly around any small letter details — the inside of letters like “e,” “p,” and “a” need careful weeding to remove the centers without pulling up the letters themselves.
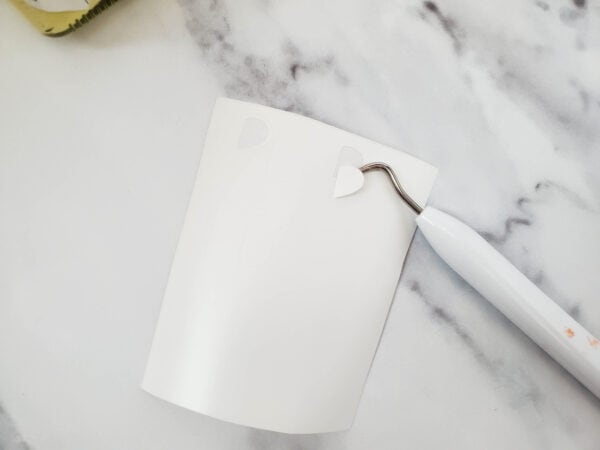
Step 8: Apply transfer tape and transfer to the jar.
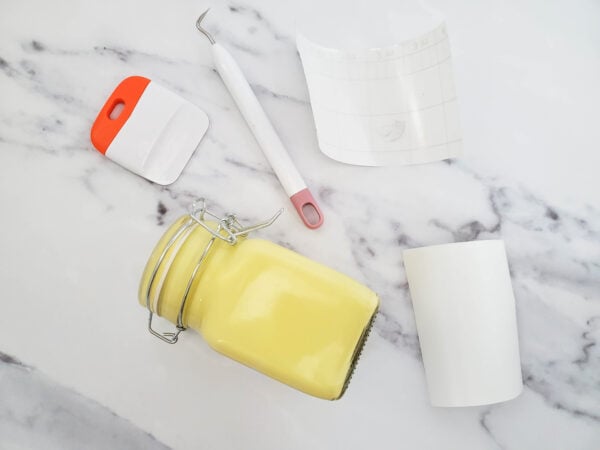
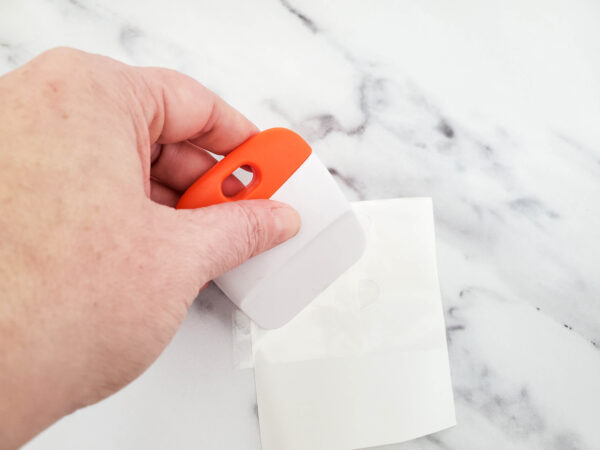
Cut a piece of transfer tape slightly larger than your weeded design. Press it firmly over the front of the design, smoothing out any air bubbles with the spatula. Peel the vinyl and transfer tape away from the liner together — the design should stick to the transfer tape.
Position the design centered on the front panel of your jar. Press it firmly against the glass, smoothing from the center outward with the spatula to eliminate any bubbles.
Step 9: Peel the transfer tape.
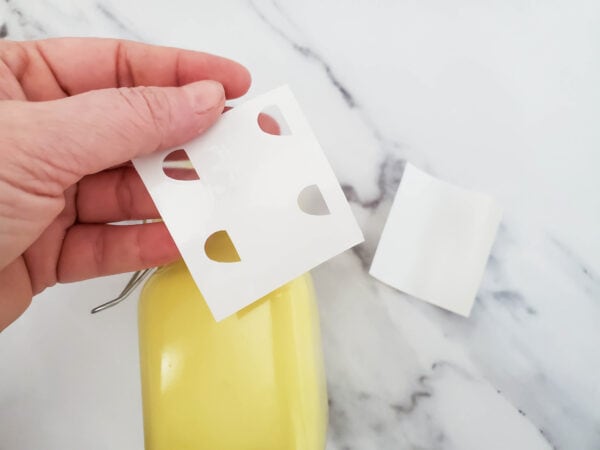
Peel the transfer tape away slowly and at a low angle. If any letters try to lift with the tape, press them back down and continue peeling more slowly.
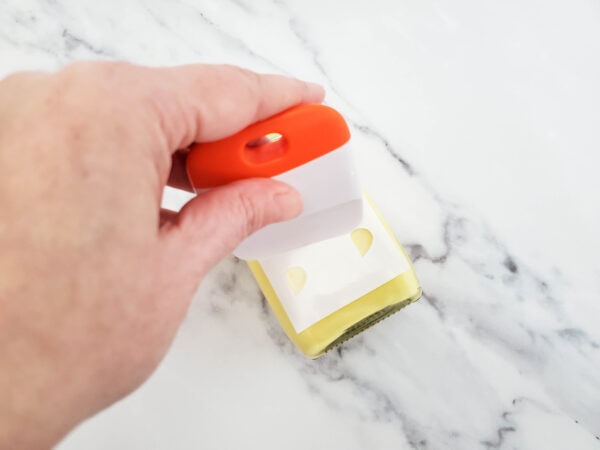
Once the tape is removed, use the spatula to press over the entire design one more time to make sure all edges are adhered cleanly to the glass.
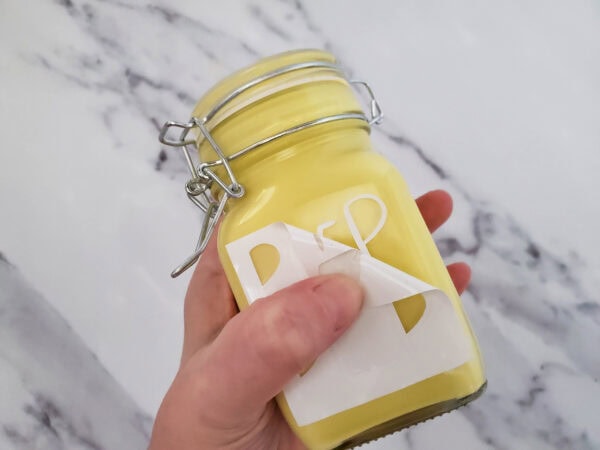
Step 10 (optional): Paint the inside of the jar.
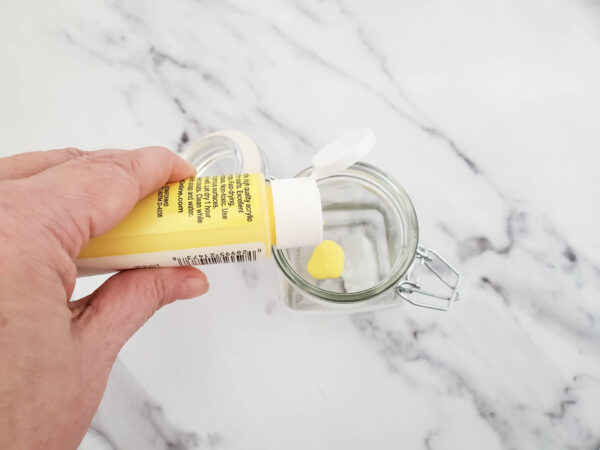
For a more festive display jar, squeeze a small amount of craft paint inside the jar and roll it around until the inside is coated in a thin, even layer.
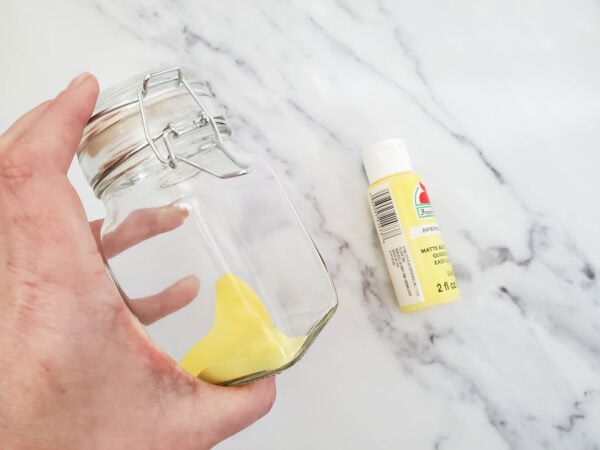
Turn the jar upside down on a paper plate and let the excess paint drain out. Allow it to dry completely before filling or displaying.
Important: If you paint the inside of the jar, only add wrapped candy to the finished jar. Unwrapped candy should only go in unpainted jars.
Filling the Jars
Once your vinyl is applied and — if painting — the inside is fully dry, fill the jars with candy that matches the design:
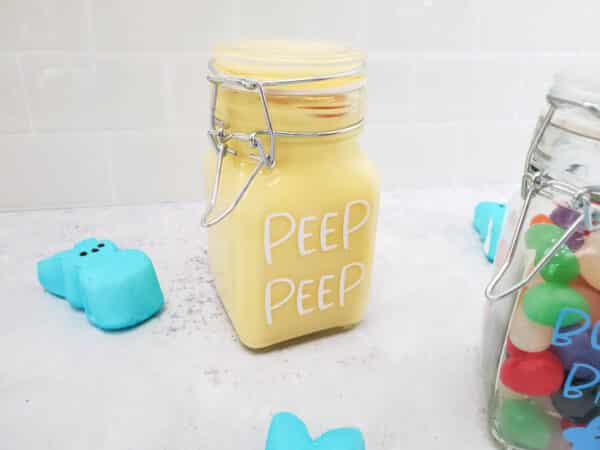
For the Peep Peep jar: fill with marshmallow chick Peeps, yellow candy-coated chocolates, lemon drops, or any yellow and white spring candy. The visual theme of the design pairs best with lighter, spring-colored treats.
For the Bunny Bait jar: fill with jelly beans, pastel M&Ms, chocolate mini eggs, or a classic Bunny Bait mix of popcorn, white chocolate, pastel M&Ms, and spring sprinkles. The Bunny Bait mix recipe is a perennial Easter favorite — the jar is as fun to make as the contents.
Both jars make excellent Easter basket additions, Easter table centerpieces, neighbor gifts, or teacher appreciation gifts for the week before Easter.
More Ways to Use These Free Easter SVG Files
The Peep Peep and Bunny Bait designs are not limited to jars. The same cut files work for:
Easter tote bags — cut from iron-on HTV and apply to a plain canvas tote for a festive Easter bag to carry to an egg hunt or give as a gift.
Easter treat bags — apply to small clear treat bags using a mini sticker maker or cut the PNG version and print on sticker paper for a fast label option.
Easter mugs — cut from permanent vinyl and apply to a plain ceramic mug for an Easter gift that gets used long after the holiday.
Easter shirts — cut from heat transfer vinyl and apply to a shirt for an Easter outfit. Pair “Peep Peep” on a child’s shirt and “Bunny Bait” on an adult’s shirt for a matching family Easter look.
Paper gift tags — print the PNG version, cut it out, punch a hole in the top, and thread a ribbon through for a quick gift tag on an Easter basket.
A Cricut, a jar, some candy, and two free SVG files — that is the full supply list for one of the most reliably cheerful Easter crafts you can make. Whether you are filling them for an Easter basket, setting them on a table, or giving them as a teacher gift the week before Easter, these Cricut Easter jar crafts deliver every time.
Download the free SVG files below and get cutting.
More free Easter SVG files from this site:
- Free Easter Cross SVG
- Free Easter Tomb SVGs
- Free Easter SVG Cut Files
- Free SVG Files for Cricut — All 27 Designs
More Easter crafts and ideas:
What SVG designs are included in this free download?
This free download includes two Easter SVG cut files: Peep Peep and Bunny Bait. Both are text-based designs sized to fit the front panel of a standard square glass jar at approximately 2.5 inches wide.
What type of vinyl should I use for Easter jars?
Use permanent adhesive vinyl (not heat transfer vinyl) for glass jars. Permanent vinyl adheres to smooth glass surfaces and holds up well to handling. Oracal 651 and Cricut brand permanent vinyl are both reliable options. Matte or glossy finish both work — glossy tends to show fingerprints more on glass, so matte can be a better choice for jars that will be handled often.
Can I use these SVG files with a Silhouette CAMEO?
Yes. Download the SVG format for Silhouette Studio Designer Edition or higher. If you have the basic version of Silhouette Studio, download the DXF format instead.
Do I need to mirror the design for this Cricut easter jars craft?
No — mirroring is only necessary when cutting heat transfer vinyl (HTV) for shirts. For permanent adhesive vinyl on glass jars, do not mirror the design.
What size jar works best for this project?
A square glass jar with a latch lid works best — the flat front panel gives you a clean surface for the vinyl design and the square shape shows the design more clearly than a round jar. The linked jar in the supplies list holds approximately 34 ounces and is a good size for a candy gift jar.
Can I use this project if I am a Cricut beginner?
Yes — this is one of the best beginner Cricut projects because permanent vinyl on glass is forgiving. The designs are simple text with no intricate details to weed, the surface is smooth and easy to apply to, and the jars make a satisfying finished result that looks professionally made. If this is your first vinyl project, practice on a plain jar before your final jars.
What candy goes in Bunny Bait?
Traditional Bunny Bait is a mix of white popcorn, white chocolate chips, pastel M&Ms, and spring sprinkles. You can also keep it simple with just jelly beans or pastel M&Ms — the name works for any spring candy mix.
