
Hop into Sweetness: How to Make Adorable Bunny Tail Cupcake Cones!
Looking for a fun and festive way to celebrate Easter? These bunny tail cupcake cones are exactly what you need! Not only are they adorable, but they’re also simple to make with cake batter baked right into an ice cream cone.
Perfect for Easter dessert tables, baby showers, or any springtime celebration, these sweet treats will have everyone hopping with delight!
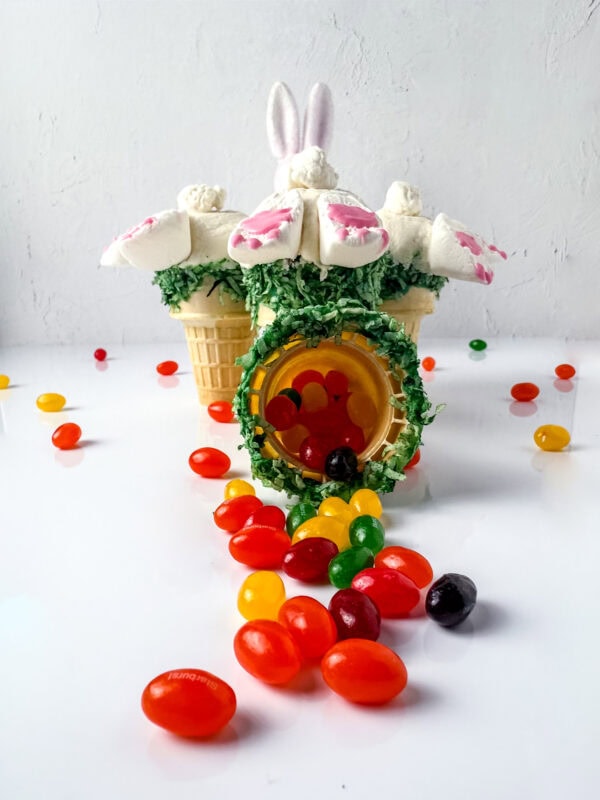
These bunny butt cone cakes are a creative spin on traditional cupcakes. Instead of using baking cups, the batter is baked into cake cones. Not only does this make them easier to hold, but it also gives them a unique twist that’s sure to stand out.
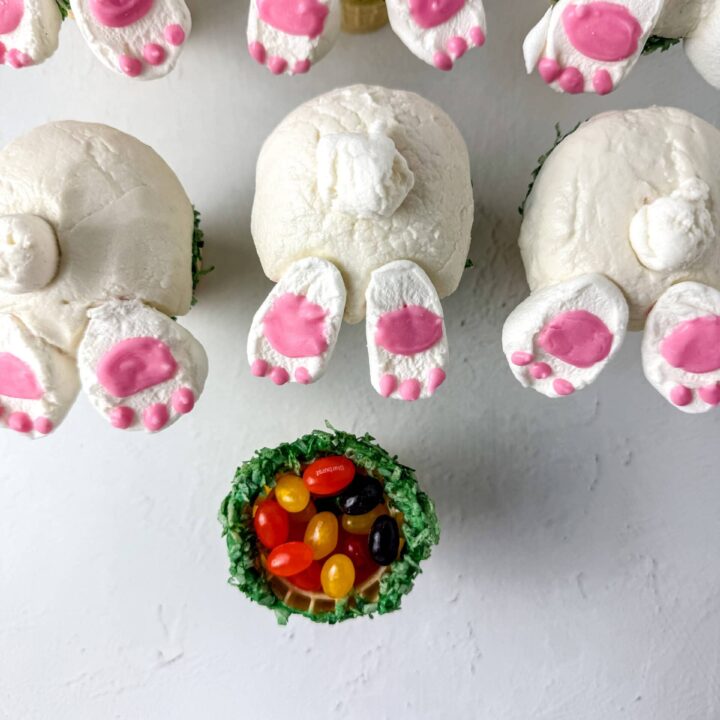
Plus, who can resist those cute bunny butt treats with their fluffy tails and marshmallow feet?
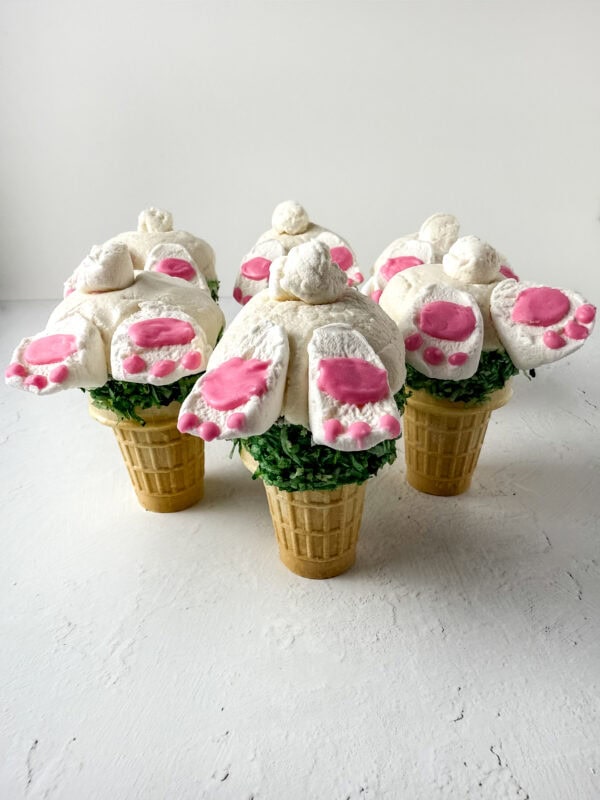
How to Make Bunny Tail Cupcake Cones
What you’ll need:
- Piping Bags
- Ziplock Bags
- Microwave Safe Bowl
- Ice Cream Scoop
- Parchment Paper
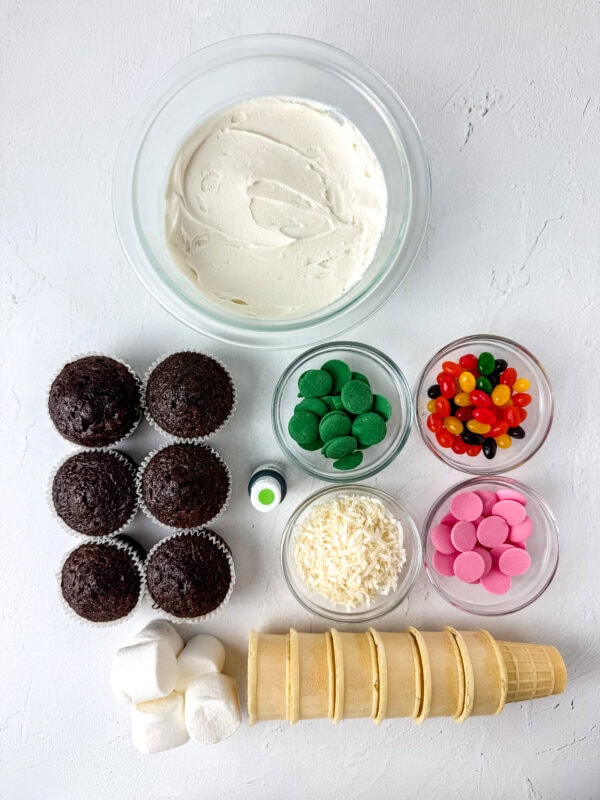
Ingredients:
- Cupcakes (any flavor)
- Buttercream Icing
- Ice Cream Cone Cups
- Shredded Coconut
- Jelly Beans
- Marshmallows
- Green Melting Chocolate
- Pink Melting Chocolate
Instructions:
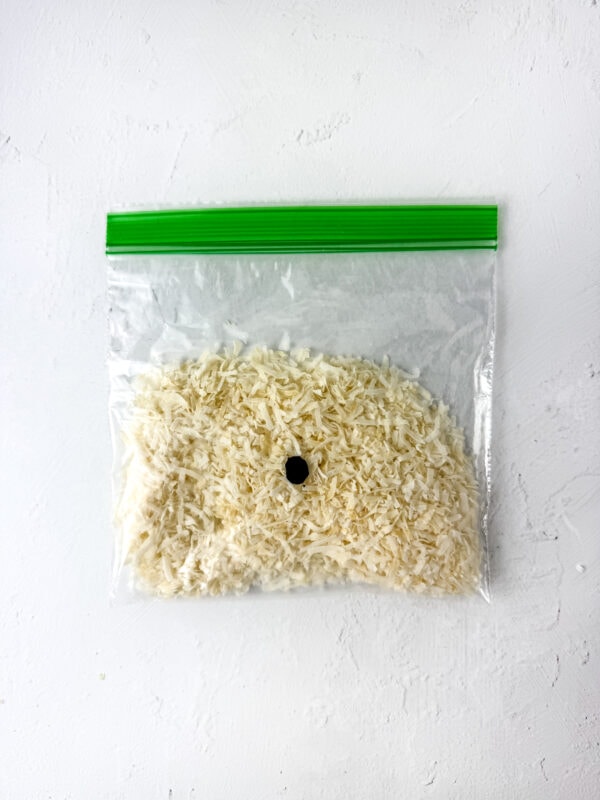
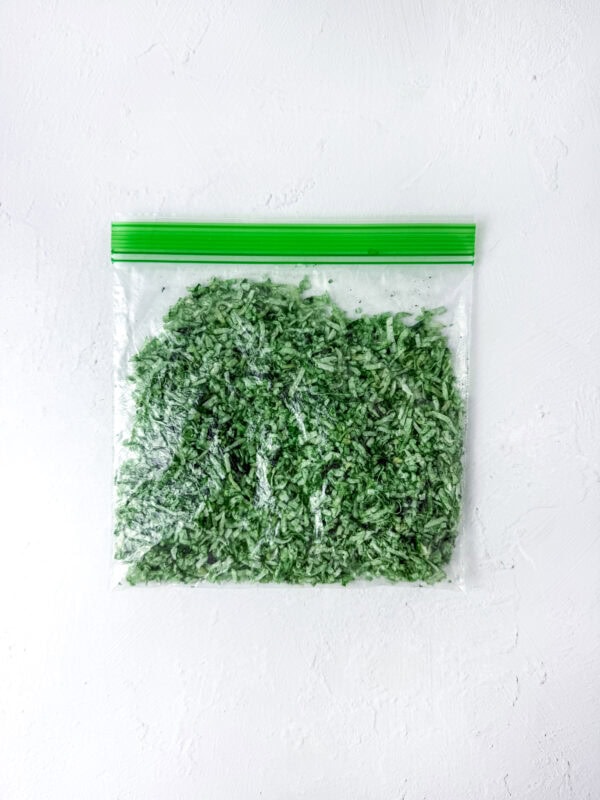
Put the Shredded coconut in a ziplock bag. Drop 2-3 drops of green food coloring gel into the bag and massage it until all the coconut is green.
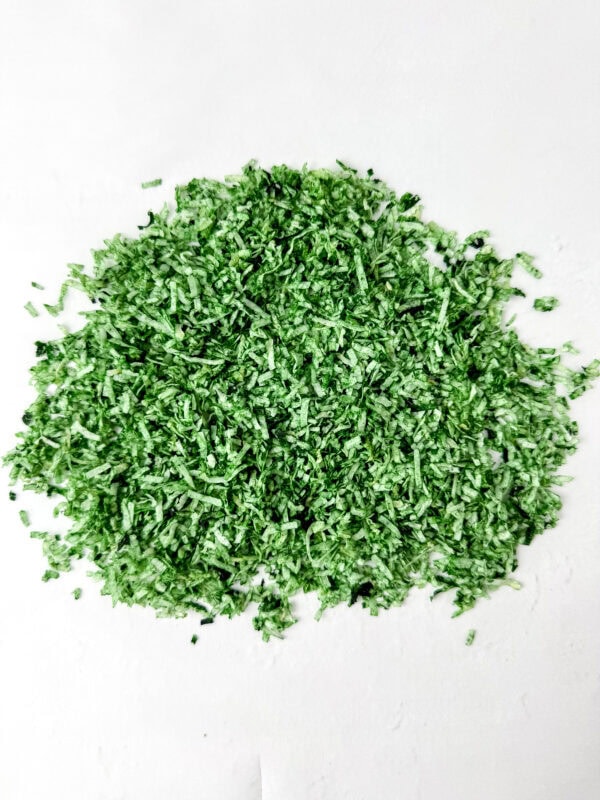
Put the green shredded coconut on a sheet of parchment to dry.
Next, place the green chocolate melts in a microwave-safe bowl.
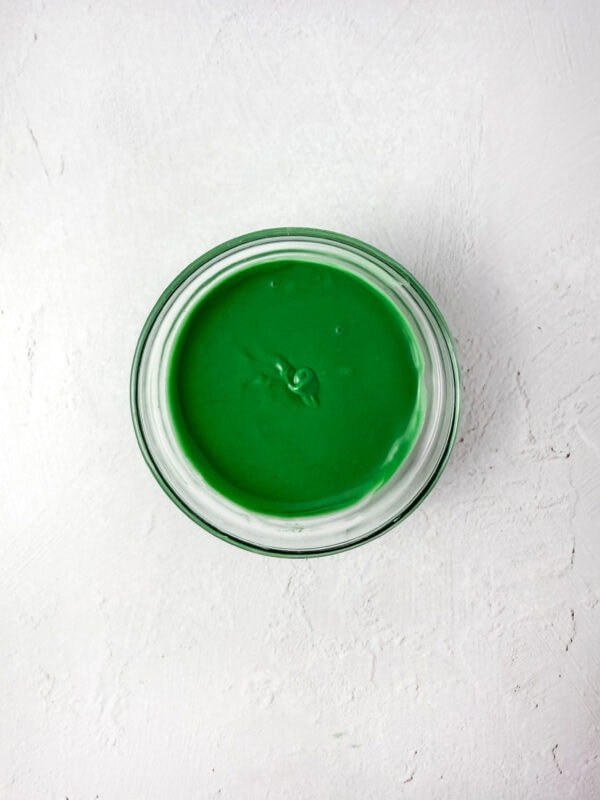
Heat them in 30-second intervals, stirring in between, until they are liquid and smooth.
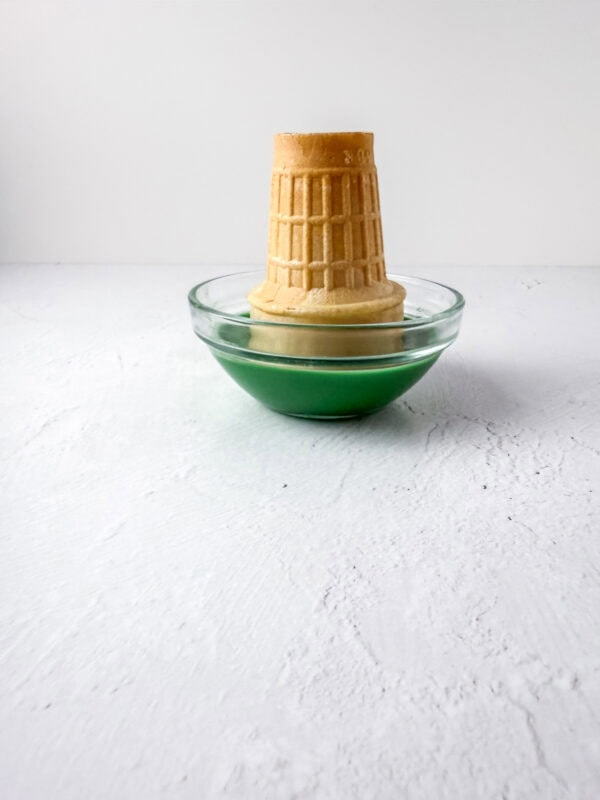
Dip the top of each one into the melted chocolate, rolling slightly to coat part of the sides. Gently shake off the excess.
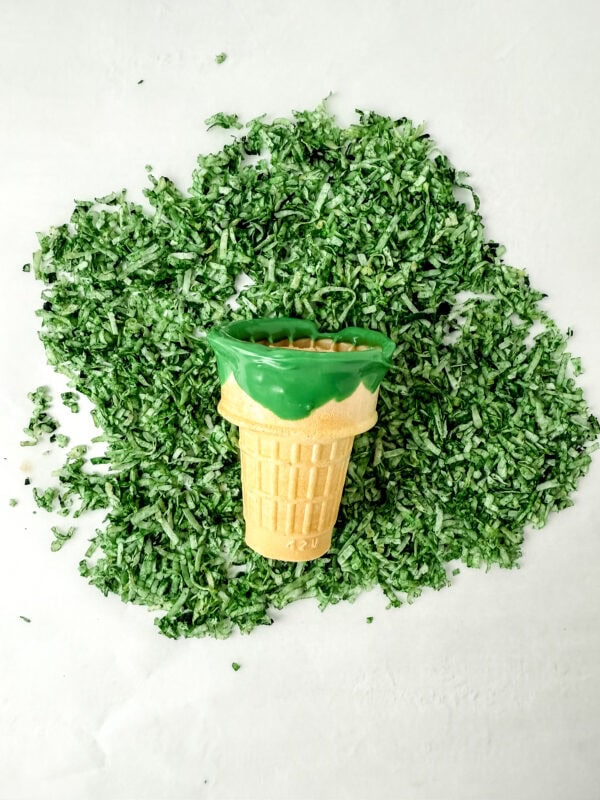
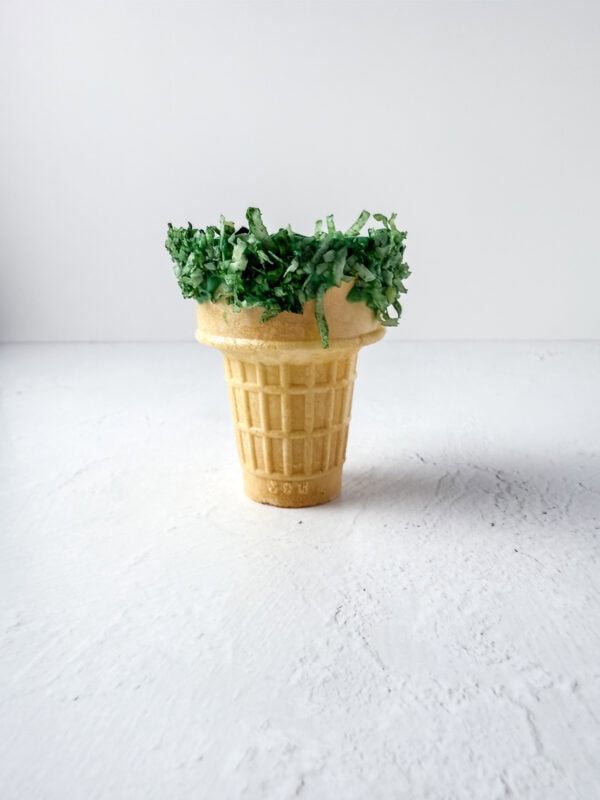
Roll the dipped portion in the green shredded coconut to create a grass effect. Let them sit for 10 minutes to dry.
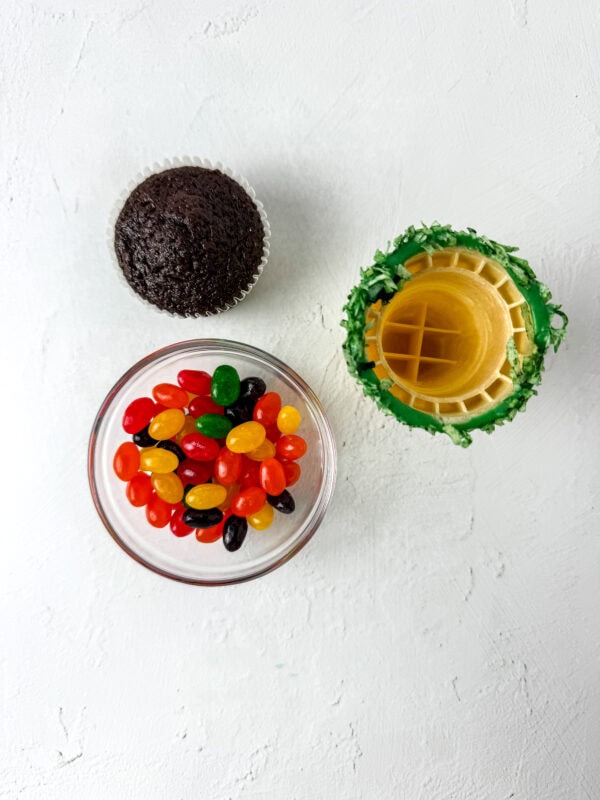
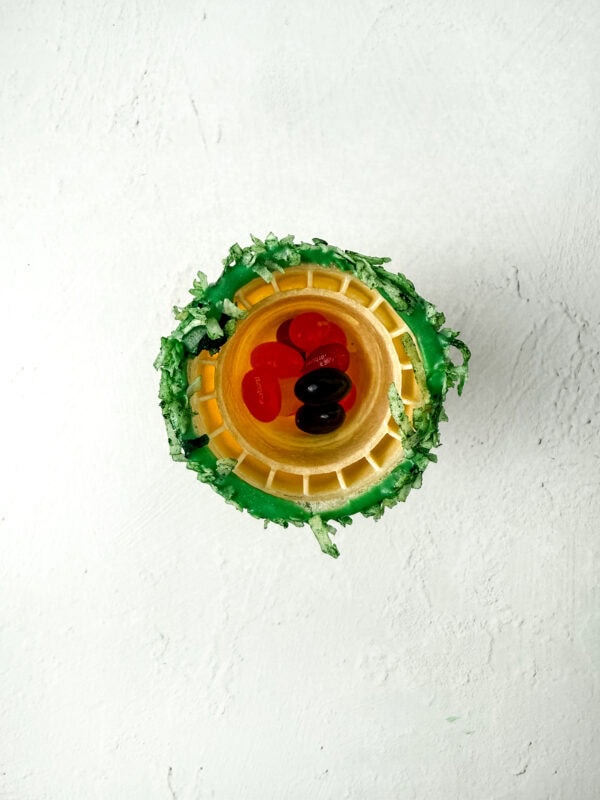
Pour jelly beans into the prepared bases and place a small cake on top.
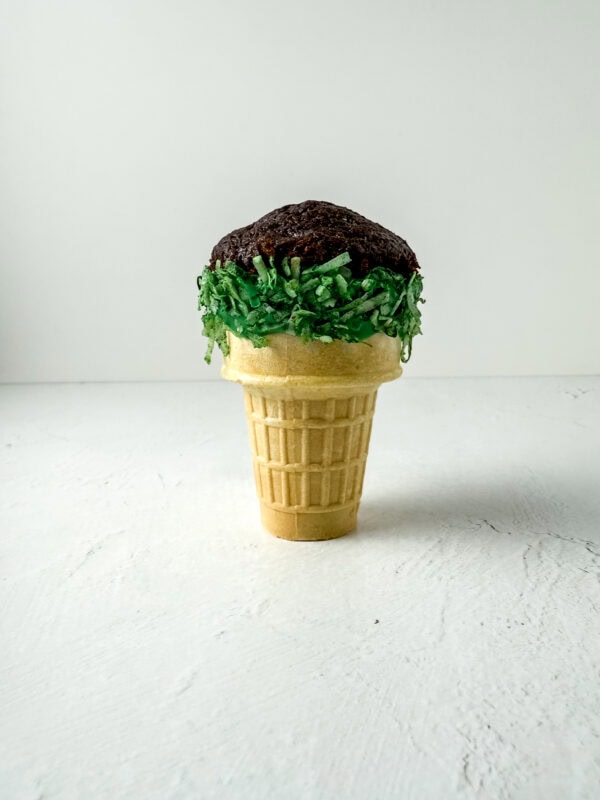
If the cake is too large, lightly squeeze or trim it to fit.
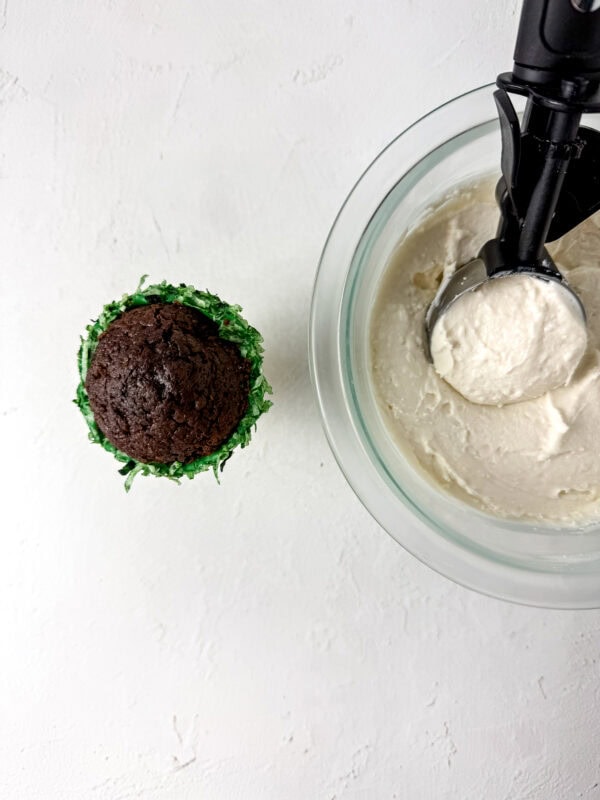
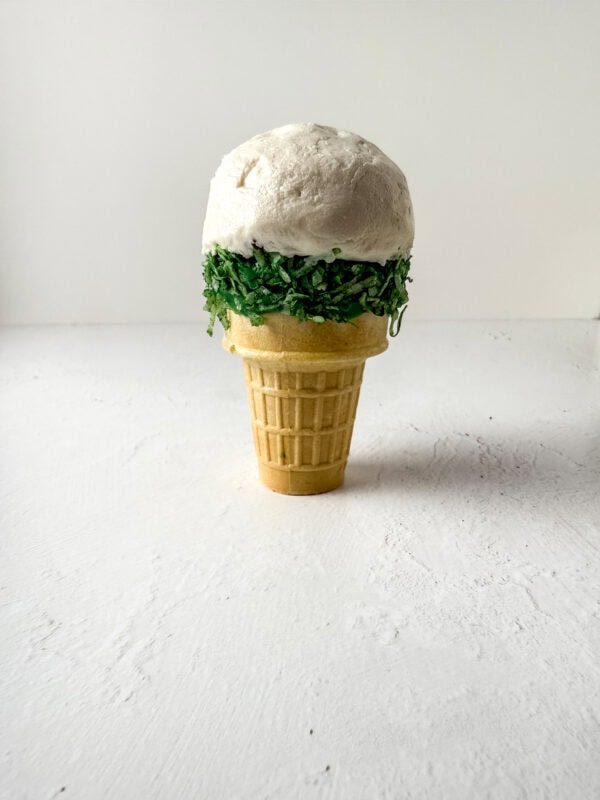
Next, scoop the buttercream with an ice cream scoop and place it on the cupcakes. If the shape isn’t ideally round, let the buttercream sit on the cupcakes for 2 minutes to crust, and then mold the shape with clean hands.
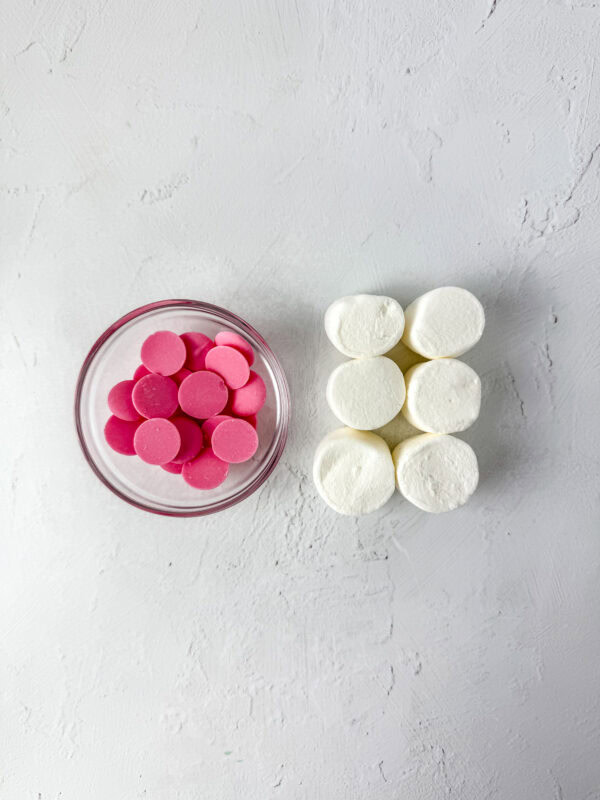
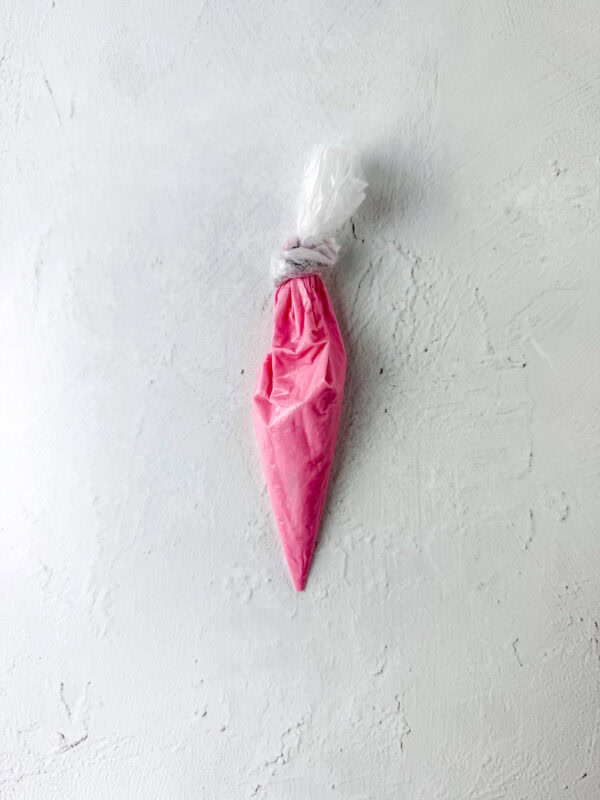
Warm the pink chocolate melts following the exact melting instructions as above. Then, put it in a piping bag and cut a small hole in the tip.
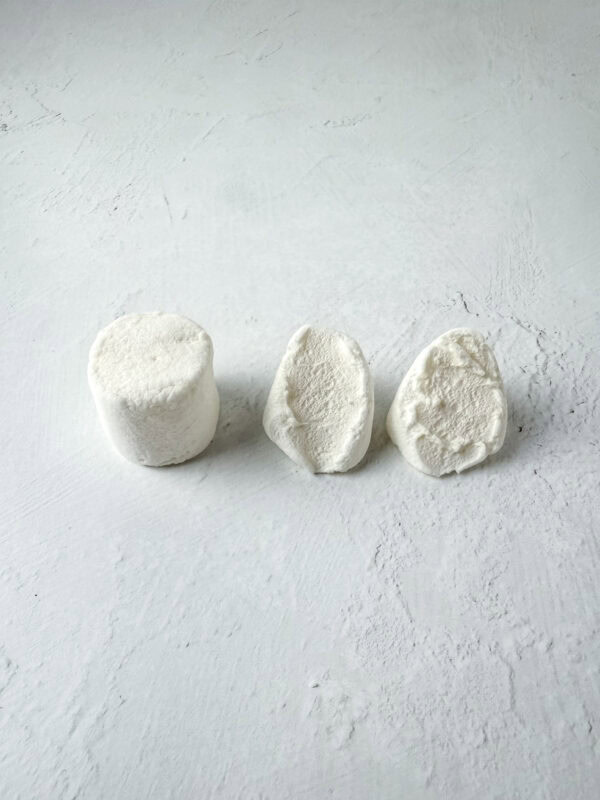
Cut the marshmallows in half.
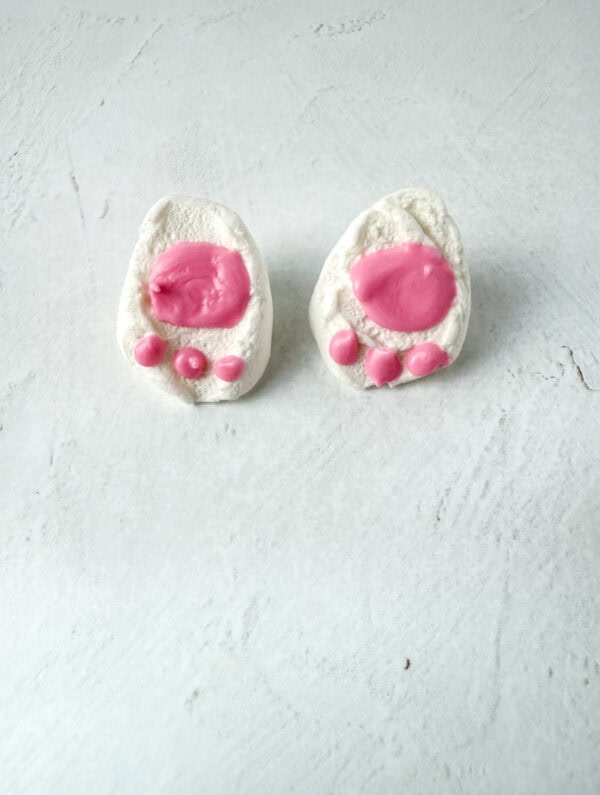
To make the bunny’s feet, use the pink melting chocolate to pipe one large circle at the top of the marshmallows and then three small circles at the lower end of the marshmallows.
Let them sit for 3-5 minutes to dry. Be sure to pipe only the pink icing on the marshmallows, which will be the feet.
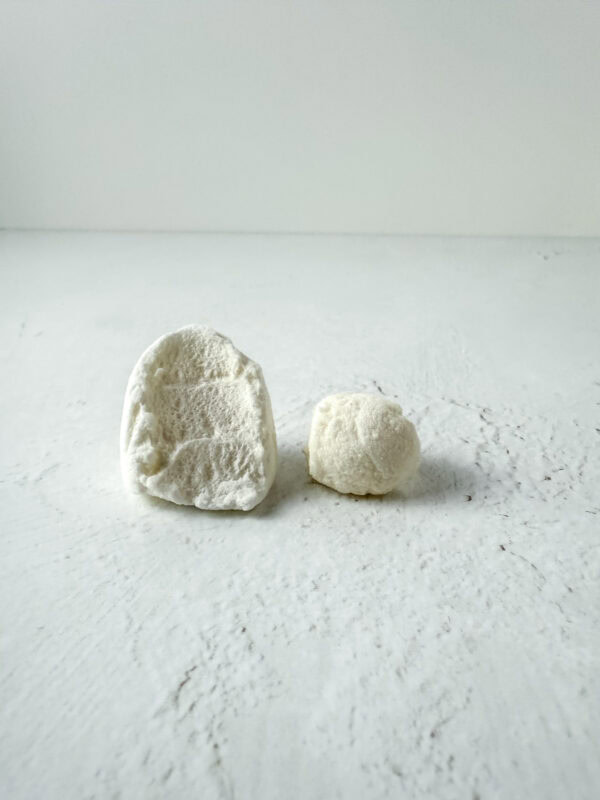
Now, roll the remaining marshmallow halves into a ball. These will be used for the bunny’s tail.
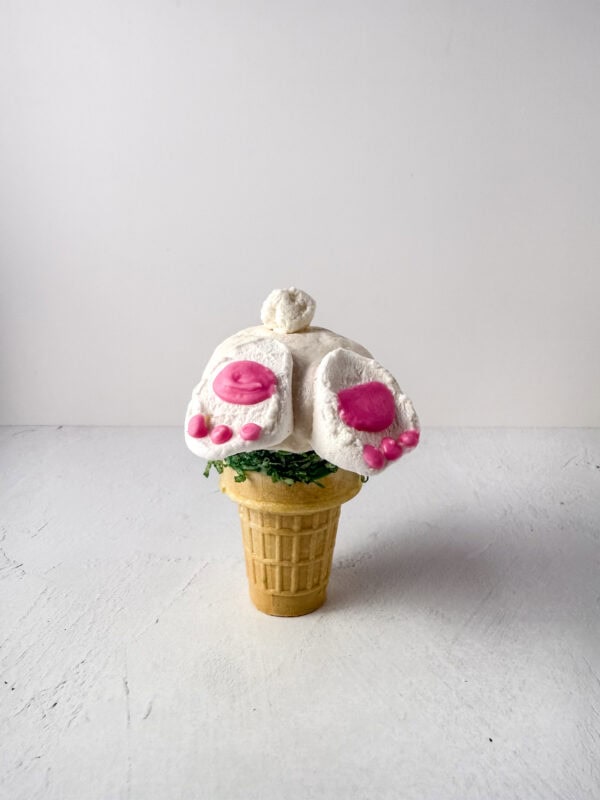
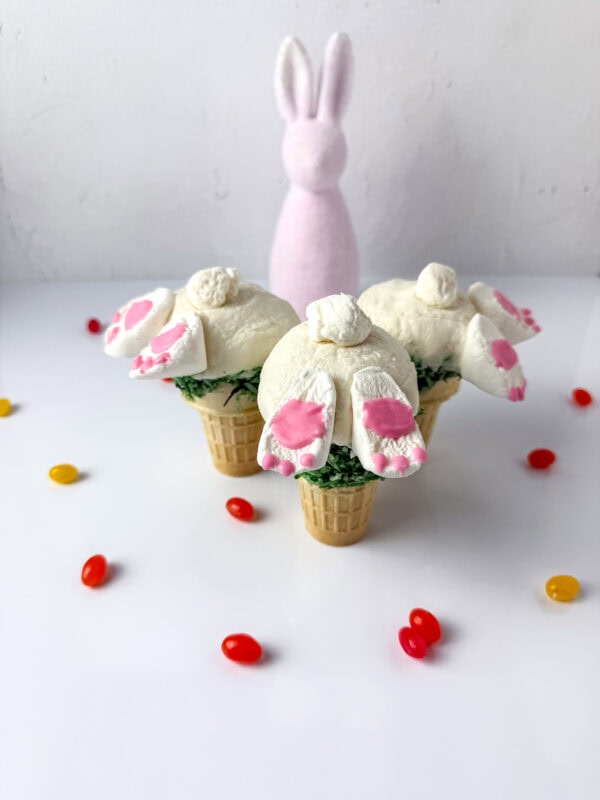
Use a tiny amount of pink chocolate to attach the tails to the top of the cupcake and the bunny’s feet on the bottom edge of the cupcake. Let them sit for 2-3 minutes to dry.
Your bunny is complete! Serve and enjoy.
Finishing Touches
- Chill until set to make sure the frosting and decorations stay in place.
- For an extra pop of fun, add some turquoise candy or pink candy melts for decoration.
- Dip the bottom third of the cones into bright white candy melts to give them a frosted look. Dip some on an angle for a playful touch!
Tips for Success
- Use a decorating bag with tip 1A for large, smooth dollops of frosting.
- Prepare two decorating bags if you’re using multiple colors to avoid mixing.
- Mist food coloring spray can add a shimmery effect to the frosting.
- If you want to get fancy, try using a coloring marker to draw bunny faces on the cones or personalize each one!
Bunny Butt Ice Cream Cones for Every Occasion
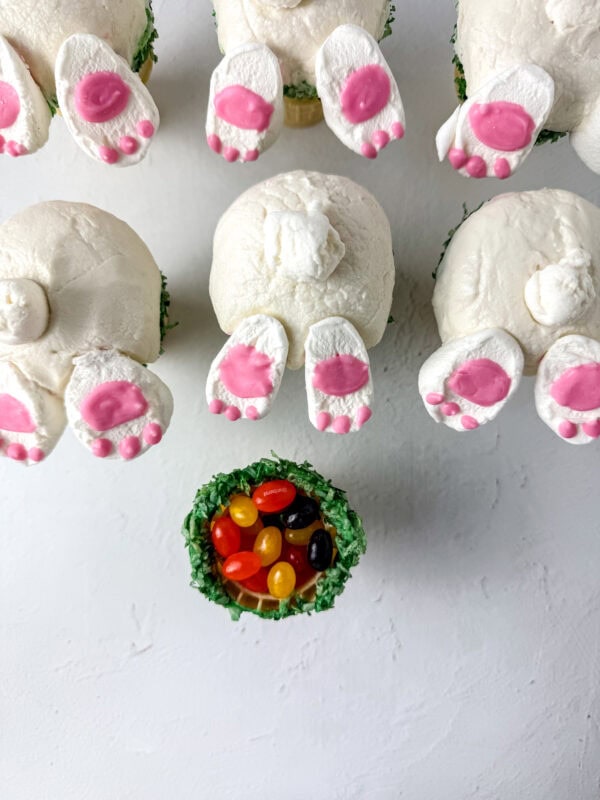
These aren’t just for Easter—they’re perfect for baby showers, spring birthdays, or any spring holiday. The combination of cake batter baked into an ice cream cone, marshmallows, and frosting makes these treats a guaranteed hit. They’re cute and simple, even if you’re a novice baker.
Why You’ll Love This Recipe:
- Simple to make with cake mix or from scratch.
- Great for kids (and adults!) who love creative desserts.
- Perfect for bringing a little springtime joy to your table.
- They’re cute bunny butt treats that look impressive but are surprisingly easy to pull off.
More Easter Treat Ideas to Try
- Easter Carrot Cupcake Cones Recipe—This fun and creative carrot-shaped cupcake cones are a hit with kids and adults alike, making them the perfect addition to your Easter dessert table.
- Easter Jelly Bean Cake Recipe – Brighten up your Easter celebration with this colorful jelly bean cake, a delightful treat bursting with flavor and festive charm.
- Hot Cocoa Cupcakes with Marshmallow Frosting—These hot cocoa cupcakes, topped with marshmallow frosting, are a cozy twist on traditional cupcakes, perfect for any holiday dessert table.
Bring the Fun to Your Table
Making these bunny tail cupcake cones is more than just baking—it’s a fun way to celebrate spring and Easter with family and friends. These cute bunny butt treats are sure to become a tradition in your house. Whether you’re a seasoned baker or just trying something new, they’re an easy way to bring smiles to everyone’s faces.
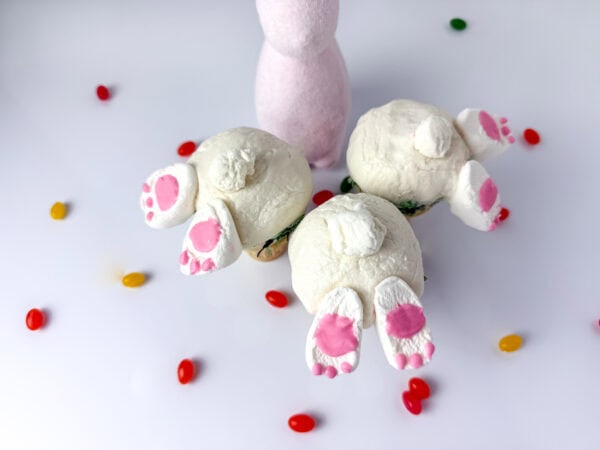
So, next time you’re looking for Easter recipes, give these a try. From the fluffy bunny butts to the candy decorations, they’re a guaranteed hit. Gather your frosting, candy melts, and cake batter, and get ready to create some seriously adorable treats. Happy baking and happy Easter!
Bunny Tail Cupcake Cones Recipe
Make these adorable Easter bunny cupcakes using ice cream cones. Your kids will love them!
Ingredients
- 6 Cupcakes (any flavor)
- 10 Ounces White Buttercream
- 6 Ice Cream Cone Cups
- Shredded Coconut
- Jelly Beans
- 9 Marshmallows
- 2 Ounces of Green Melting Chocolate
- 2 Ounces of Pink Melting Chocolate
Instructions
Color the Coconut
- Place shredded coconut in a zip-top bag and add 2–3 drops of green gel food coloring.
- Seal the bag and gently massage it until all the coconut turns green.
- Spread the green coconut onto a piece of parchment paper to dry.
Melt the Green Chocolate
- Place green candy melts in a microwave-safe bowl.
- Heat them in 30-second bursts, stirring after each interval, until they melt and are smooth.
Dip and Decorate the Cones
- Dip the top of each ice cream cone into the melted chocolate, tilting it to coat part of the sides. Gently shake off any excess.
- Immediately roll the dipped cone portion in the dyed green coconut to create a “grass” effect.
- Set the cones aside for about 10 minutes to let the chocolate harden.
Fill the Cones and Add the Cupcakes
- Pour jelly beans or other candies into each cone.
- Remove cupcakes from their wrappers and place one on top of each cone. If a cupcake is too large, lightly squeeze or trim it so it fits securely.
Top with Buttercream
- Use an ice cream scoop to place a mound of buttercream on each cupcake.
- If the buttercream isn’t perfectly round, let it sit for 2 minutes to form a slight crust, then gently shape it with clean hands.
Melt the Pink Chocolate and Prepare Marshmallows
- Melt pink candy melts using the same microwave method (30-second intervals, stirring in between).
- Transfer the melted pink chocolate to a piping bag; snip a small opening at the tip.
- Cut marshmallows in half. On each half designated as a foot, pipe one large pink circle at the top and three smaller pink circles at the bottom to form paw pads.
- Allow them to dry for 3–5 minutes.
Form the Bunny Tail
- Take the remaining marshmallow halves and roll them into small balls to make the bunny tails.
Assemble the Bunny
- Use a dab of the melted pink chocolate to attach a marshmallow tail on top of each buttercream mound.
- Adhere the marshmallow feet along the lower edge of the buttercream.
- Let everything dry for 2–3 minutes.
Serve and Enjoy
- Your bunny cupcakes are now ready to hop into any celebration! Enjoy them right away for the best taste and texture.
Notes
Enjoy crafting these adorable treats for a fun springtime activity, Easter celebration, or any occasion that calls for sweet whimsy!
Nutrition Information:
Yield: 6 Serving Size: 1Amount Per Serving: Calories: 1216Total Fat: 59gSaturated Fat: 33gTrans Fat: 1gUnsaturated Fat: 22gCholesterol: 140mgSodium: 551mgCarbohydrates: 163gFiber: 5gSugar: 130gProtein: 14g
