
Easter Bunny House Suncatcher Craft (Free Template)
Bring a cheerful touch to your home this spring with this Easter Bunny House Suncatcher Craft, a simple project that creates instant joy. As sunlight filters through the finished piece, the vibrant colors glow with a beautiful stained glass effect, adding a warm, playful charm that feels just right for the season.
It’s an easy Easter craft that works wonderfully as a quiet afternoon activity, a classroom project, or a weekend creative session.
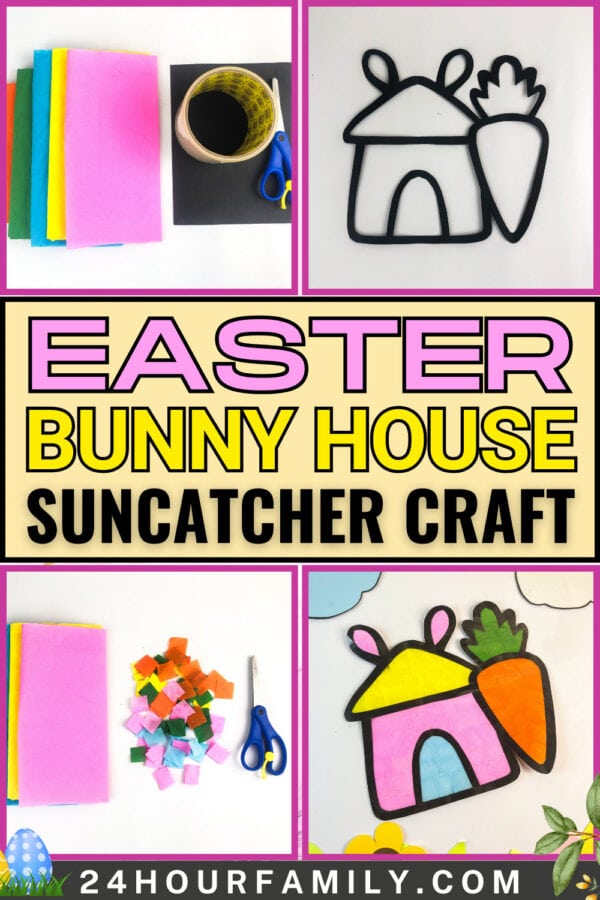
Easter Bunny House Suncatcher Craft
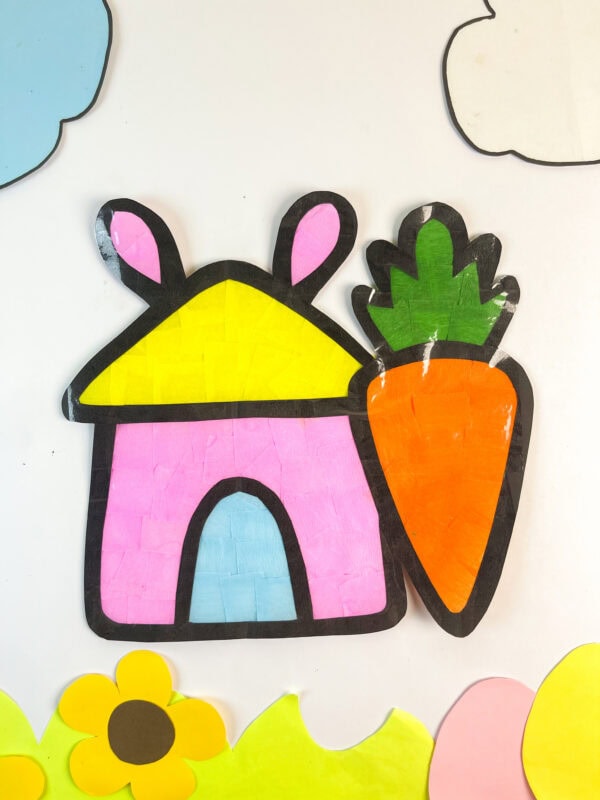
What makes this project especially charming is the sweet bunny theme. Instead of a traditional egg or flower design, this one features a cozy little bunny house beside a giant carrot, almost like a tiny storybook scene.
Kids love imagining the bunny inside, and adults appreciate how cute it looks hanging in a window as a seasonal decoration.
This post may contain affiliate links. As an Amazon Associate and a participant in other affiliate programs, I earn a commission on qualifying purchases. Read our disclosure policy here.
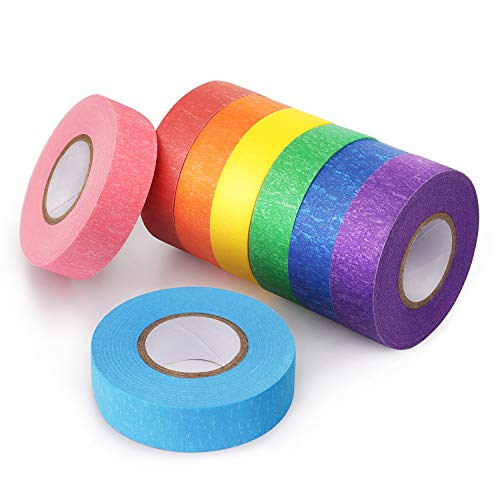
Crayola Construction Paper Bulk Pack (480 Sheets) – 10 Assorted Colors, 9×12, Classroom Arts & Crafts Supplies for Kids, Art Paper for School Projects Paper Crafts for Kids: 25 Cut-Out Activities for Kids Ages 4-88 Rolls Colored Masking Tape Rainbow Colors Painters Tape Colorful Craft Art Paper Tape for Kids Labeling Arts Crafts DIY Decorative Coding Decoration Teaching Supplies, 0.6 Inch x 16 Yard, 8 ColorsARTISTRO 24 Acrylic Paint Markers for Rock, Fabric, Wood, Glass, Craft, Decoration – Dual-Tip Paint Pens – Stocking Stuffers, Christmas Gift Idea for Teens, Grandkids, Kids – Art Supplies900 PCS Pom Poms, Multicolor Bulk Pom Poms Arts and Crafts, Soft and Fluffy Craft Pom Poms, Assorted Sizes Pompoms, for Arts and Craft Making DecorationsElmer’s Disappearing Purple School Glue Sticks, Washable, 6 Grams, 12 Count – Poster, Vision Board, Back to School, #1 Teacher Brand




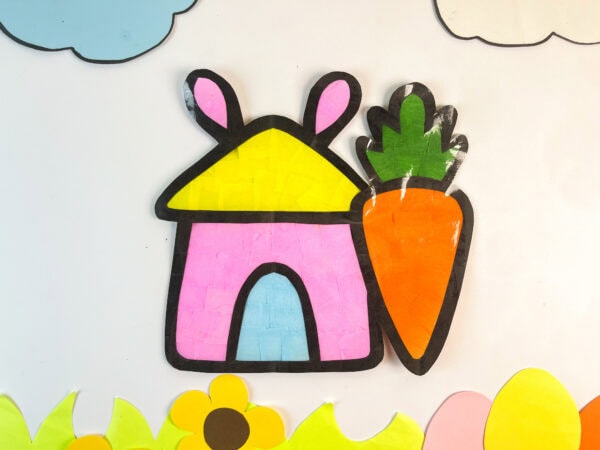
With basic craft supplies like tissue paper, clear adhesive sheets, and a printable template, you can create a colourful display that looks surprisingly polished. It’s the kind of easter craft for kids that feels special but stays wonderfully simple.
Check Out: 20+ Easter Craft Ideas For Kids
Materials You’ll Need:
The supply list is refreshingly short, which is part of what makes this such a great craft for kids.
Basic Materials:
- Tissue paper in bright or pastel colors
- Clear contact paper
- Black construction paper or cardstock
- Tape or glue (optional)
- Child-safe scissors
- Printable template
- Optional ribbon for hanging
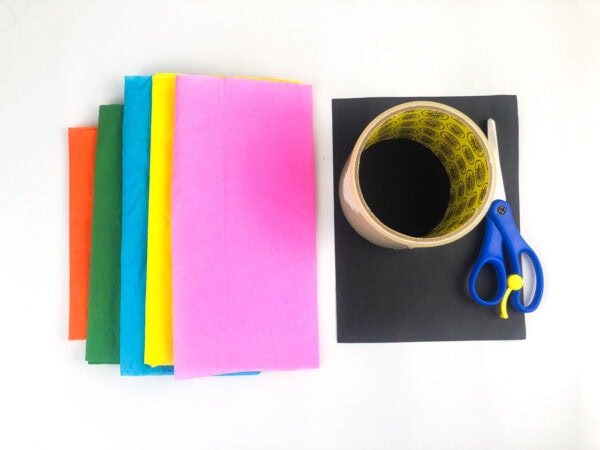
If you enjoy stocking seasonal supplies, this project is also a great way to use items from leftover suncatcher craft kit packs or other arts-and-crafts materials you already have at home.
How to Make an Easter Bunny House Suncatcher Craft
Prepare the Template
Print your printable design and carefully cut along the outer lines. This will form the frame of your bunny house. The carrot beside the house gives the impression of a bunny holding a giant snack, a fun detail that kids adore.
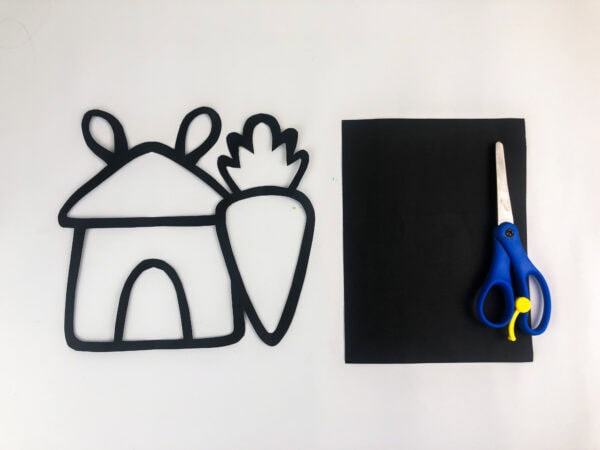
If you prefer a sturdier piece, glue the template onto cardstock before cutting. Some crafters even use thin foam sheets for durability, especially if the finished piece will be handled frequently.
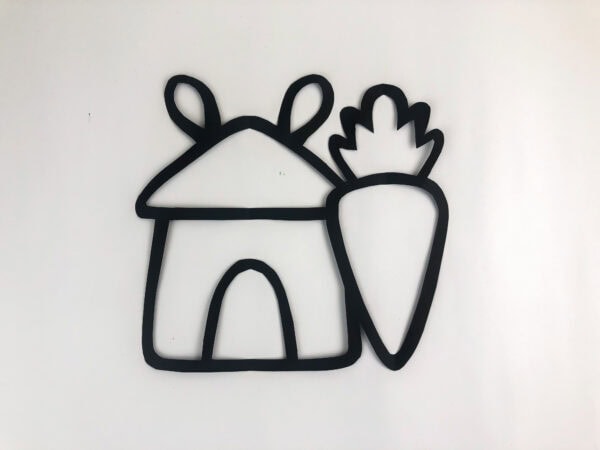
Cut the Tissue Paper
Next, cut the tissue paper into small pieces. Squares work best because they layer easily, but irregular shapes can create a more mosaic-like look.
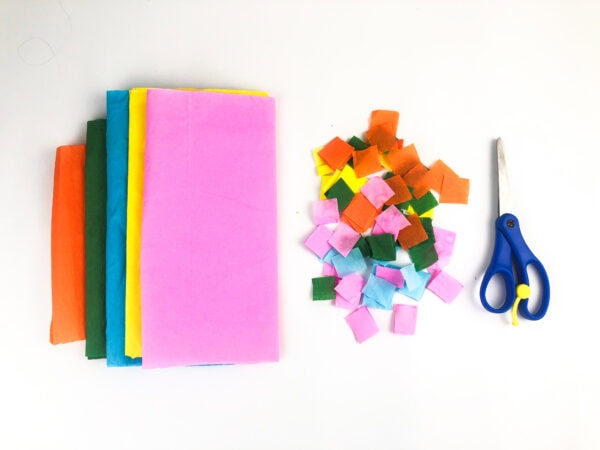
These tissue paper squares don’t need to be perfect.
In fact, uneven edges often produce the prettiest stained-glass effect when light shines through. Encourage children to experiment with colour combinations — bright carrot orange, leafy green, soft pink, or gentle yellow all work beautifully.
Attach the Contact Paper
Place a sheet of contact paper sticky side up on your work surface. Carefully position the template frame on top so it adheres to the sticky surface.
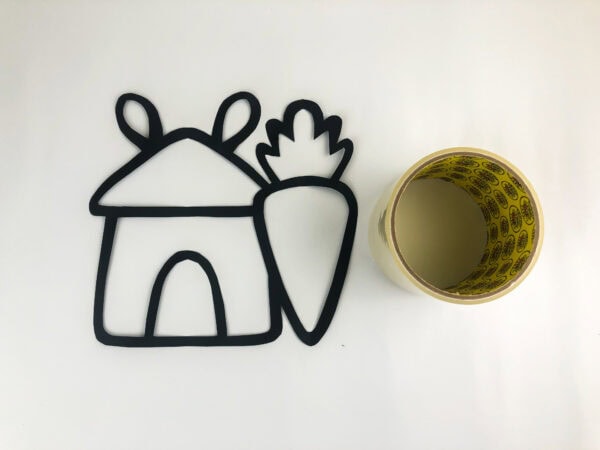
This creates a transparent window where the colours will show through. Because the surface is already sticky, you usually won’t need additional glue.
Fill the Shape with Colour
Now comes the most satisfying part. Stick the tissue paper pieces inside the open spaces of the template until the entire design is covered.
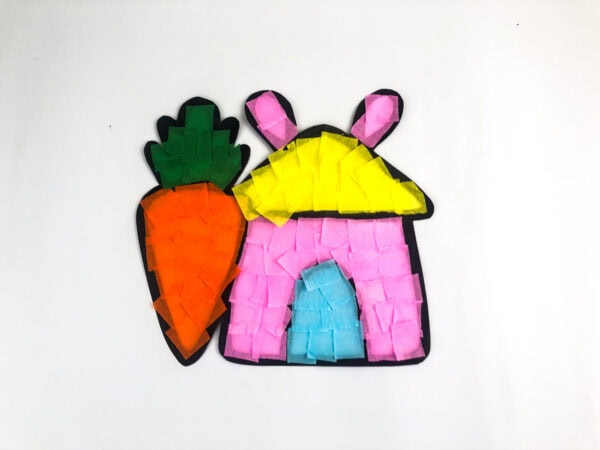
Children often enjoy layering colours to see how the light changes. Overlapping pieces can create deeper tones, while single layers produce a soft glow. This is where real creativity shines.
For a playful twist, you could even turn it into an easter egg suncatcher theme by mixing in egg-shaped patterns or dots.
Seal the Design
Once everything is filled, place another sheet of contact paper on top to seal the pieces inside. Smooth it gently to remove air bubbles and ensure the surface looks clear.
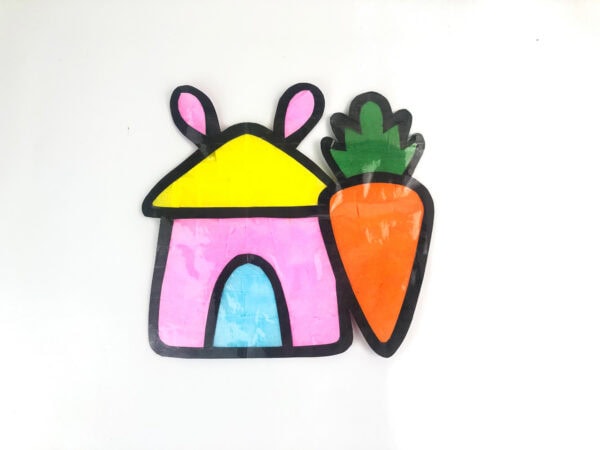
If any edges extend beyond the frame, trim them carefully with scissors or a craft cutter.
Add a Hanging Loop
Punch a small hole at the top and thread a piece of ribbon through it. Now your bunny house is ready for hanging in a sunny window.
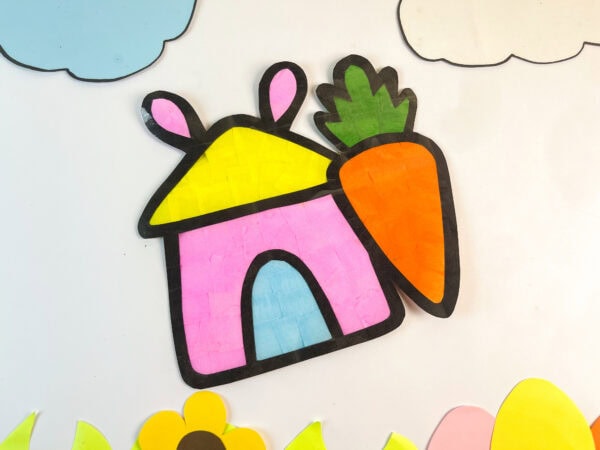
The result is a bright, colourful ornament that captures the spirit of spring.
Decorating Ideas and Variations:
One of the best parts of this project is how easily it can be customized. While the standard version shows a carrot beside the house, you could adapt the design in many creative ways.
- Add googly eyes to turn the bunny into a character
- Attach a small cotton tail or pom pom
- Use glitter paper for a sparkling roof
- Turn it into a holiday card by mounting it on folded cardstock
- Create multiple designs to form a set of matching bunny suncatchers
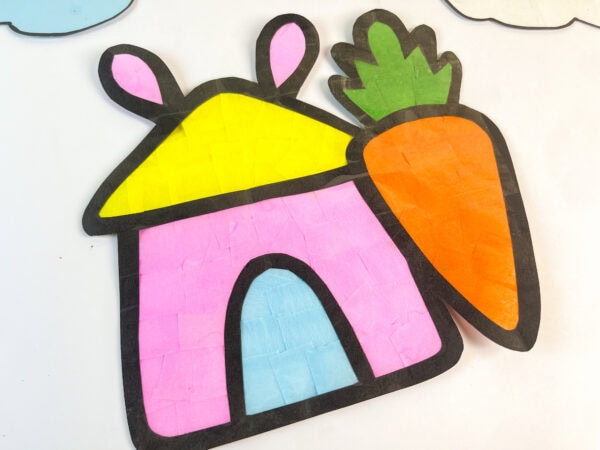
Some families even like to place finished pieces near an easter basket display or seasonal decor shelf for extra charm.
Free Easter Craft Templates
This Easter bunny house suncatcher craft isn’t just cute, it’s also developmentally helpful. Cutting, placing small pieces, and smoothing the surface all build fine motor skills.
For a preschool group, it’s an excellent introduction to guided arts and crafts. For older children, it becomes a relaxing, creative outlet.
Even a very young toddler can join in by gently pressing the pieces onto the adhesive surface with adult supervision.
The flexible, open-ended approach of this activity naturally sparks creativity and imaginative thinking. There’s no single “right” way to make a bunny house, which helps children feel confident in their artistic choices.
Displaying Your Easter Bunny Sun Catcher
When sunlight hits the finished piece, the colours glow beautifully, almost like tiny panels of stained glass. This is why suncatchers are such a beloved spring decoration.
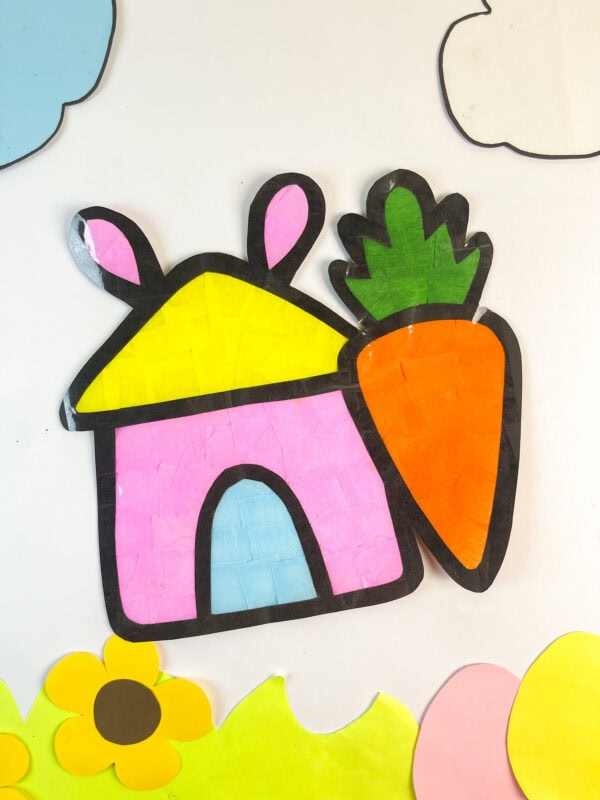
Hang your bunny in a bright window, on a glass door, or even from a shelf near natural light. Some people like to create several designs and rotate them throughout the season.
More Easter Projects to Create
If you’re gathering a mix of spring crafts and meaningful Easter activities, these ideas blend beautifully with the Easter Bunny House Suncatcher Craft.
- Paper Chick Easter Craft (with Free Chick Template) – A bright and cheerful chick craft that’s simple and fun for kids to assemble.
- He Is Risen Easter Paper Craft – A thoughtful paper craft that focuses on the true meaning of Easter.
- Rocking Bunny Easter Paper Craft – A playful bunny craft that gently rocks for an extra touch of fun.
- Palm Sunday Donkey Craft – A meaningful craft that introduces Palm Sunday in a creative, hands-on way.
- Easter Coloring Pages
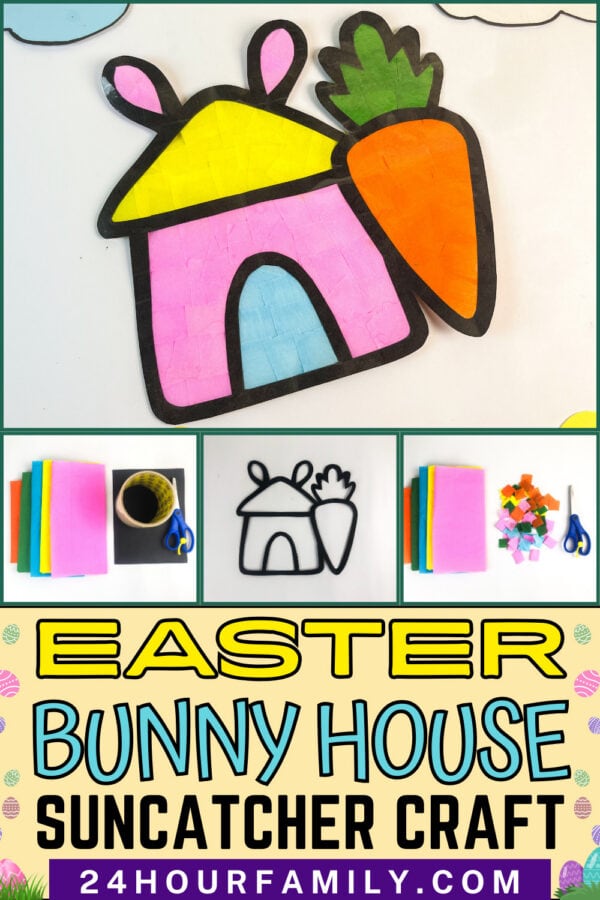
This easter bunny house suncatcher craft is one of those projects that feels both simple and special at the same time.
It requires minimal preparation, uses affordable materials, and produces a result that looks far more impressive than the effort involved.
Whether you’re trying to make your own easter decorations, planning classroom activities, or just searching for a peaceful afternoon project, this craft checks all the boxes.
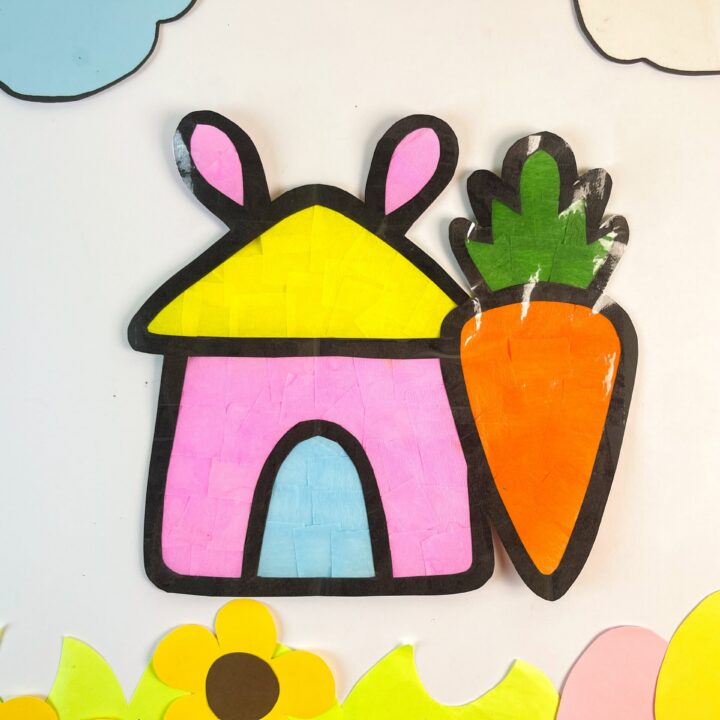
Easter Bunny House Suncatcher Craft
This Easter Bunny House Suncatcher Craft is a sweet and colorful spring decoration. Kids fill the open design with bright pieces that glow beautifully in the sunlight. The finished craft creates a stained-glass look when displayed in a window. It’s simple to prepare and fun for different age groups. This cheerful design adds a playful touch to Easter decorations.
Materials
- Tissue paper
- Clear contact paper
- Black construction paper or cardstock
- Scissors
- Bunny house template
- Ribbon
Instructions
1. Prepare the Template
Print the bunny house template and cut along the outer edges. Carefully remove the inside sections to create an open frame, leaving a sturdy border around the design.
2. Cut the Tissue Pieces
Trim the tissue paper into small squares or random shapes. Using a mix of bright or pastel shades will help create a glowing effect once the craft is placed near light.
3. Attach the Clear Base
Cut a sheet of clear contact paper slightly larger than the frame. Place it on a flat surface with the sticky side facing up, then press the bunny house frame firmly onto it.
4. Fill the Design
Place the tissue pieces inside the open spaces of the template, overlapping them slightly to cover the entire shape. Continue layering until all areas, including the house and carrot details, are filled.
5. Seal the Design
Lay another sheet of clear contact paper over the top to enclose the tissue pieces. Press gently across the surface to smooth out any air bubbles.
6. Trim and Display
Cut away any extra contact paper around the edges. Attach ribbon if desired, then hang the finished craft in a sunny window to enjoy the glowing effect.
