
Free Printable Pink Happy Birthday Banner PDF
Decorate for a special celebration with this free printable Pink Happy Birthday Banner.
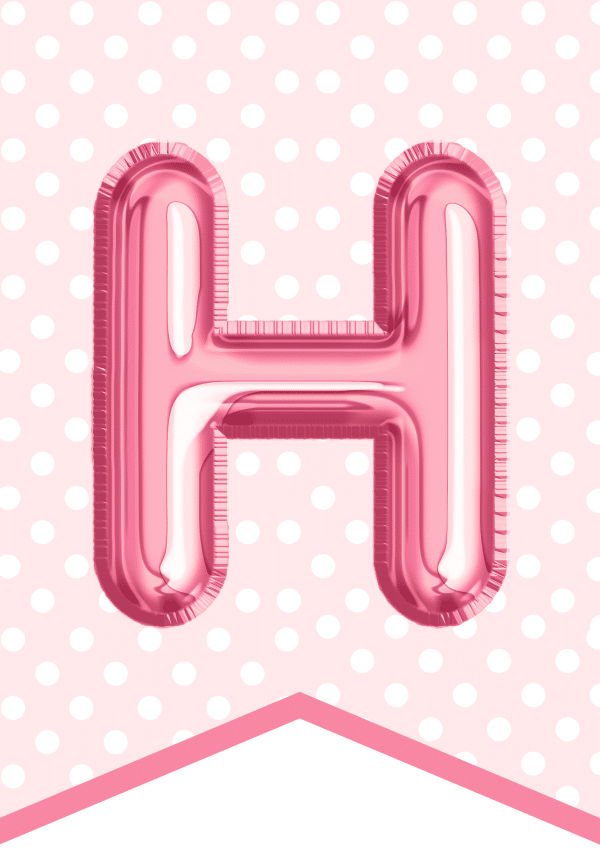
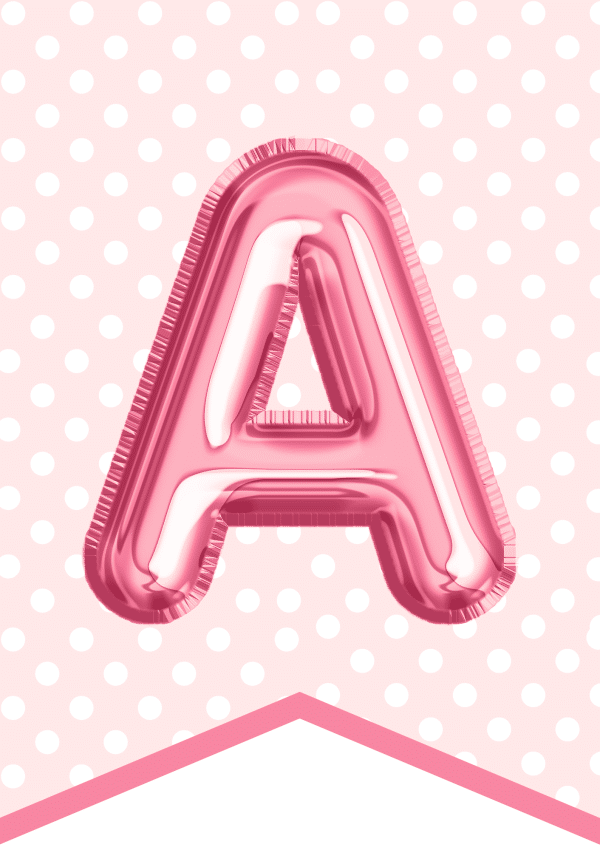
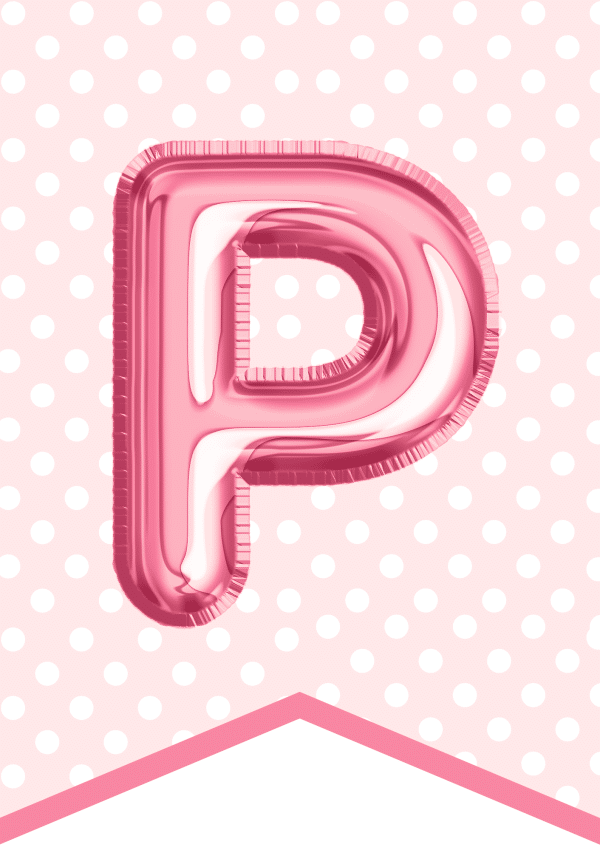
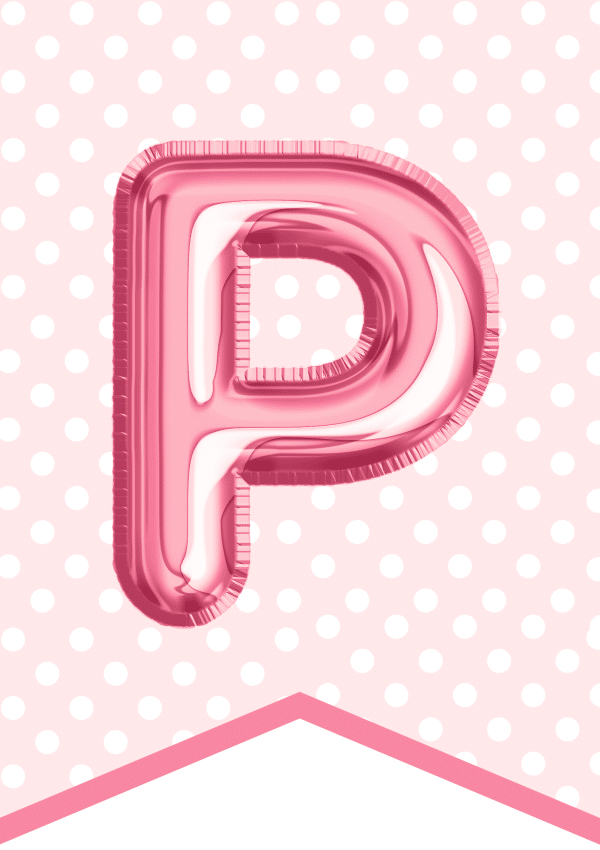
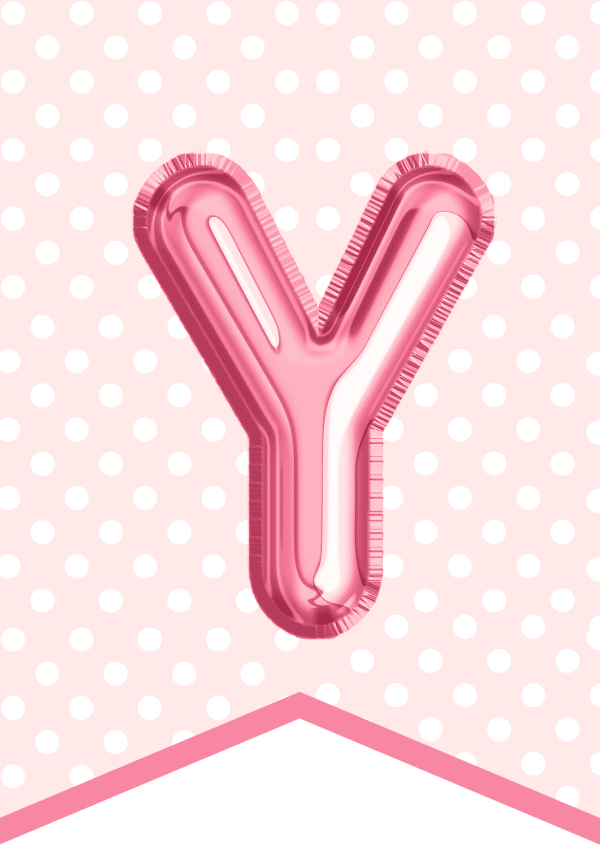
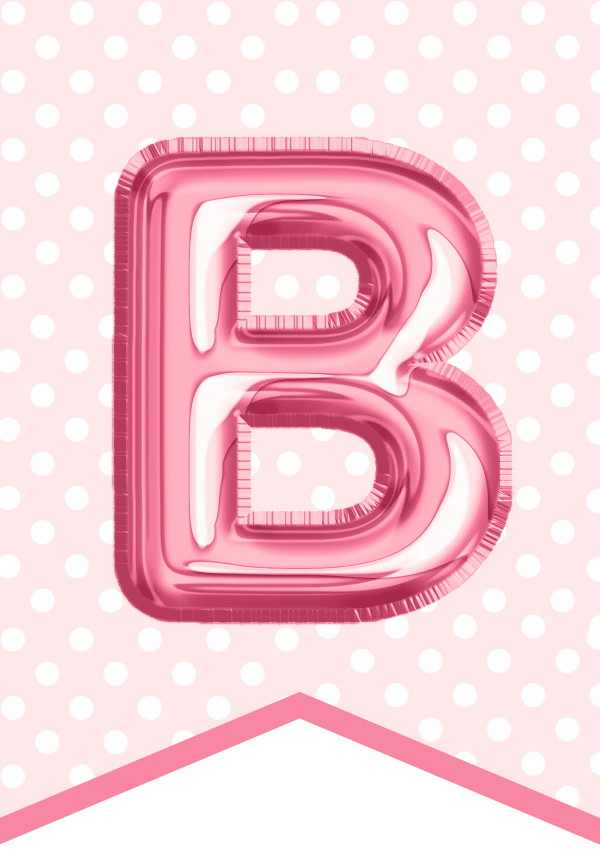
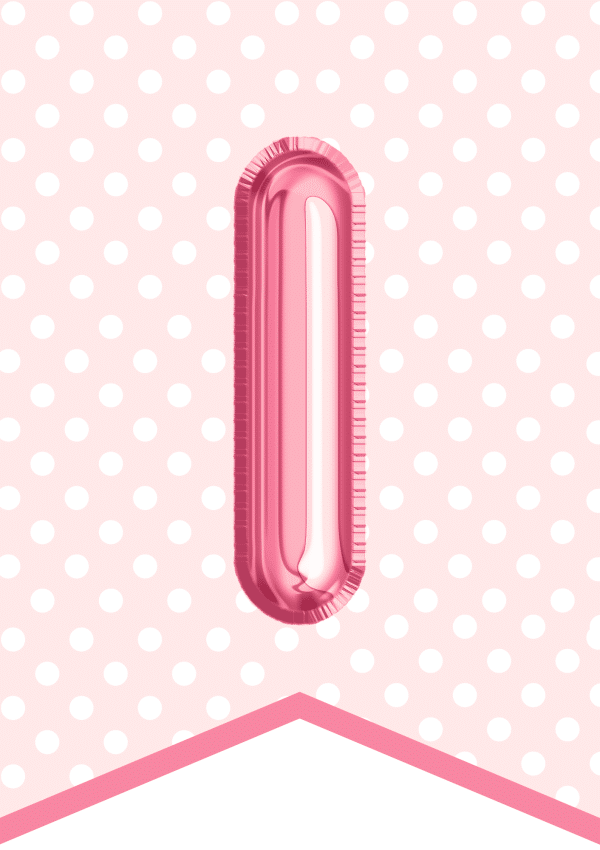
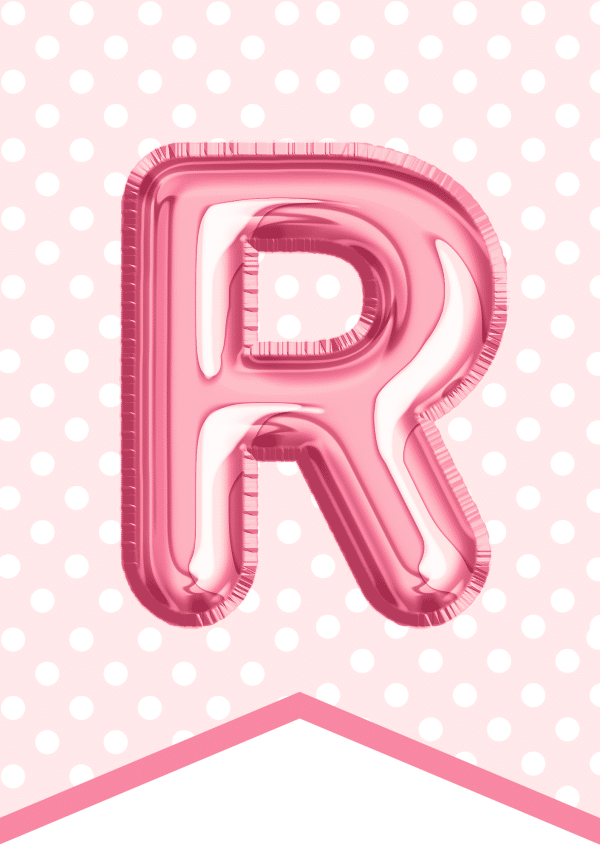
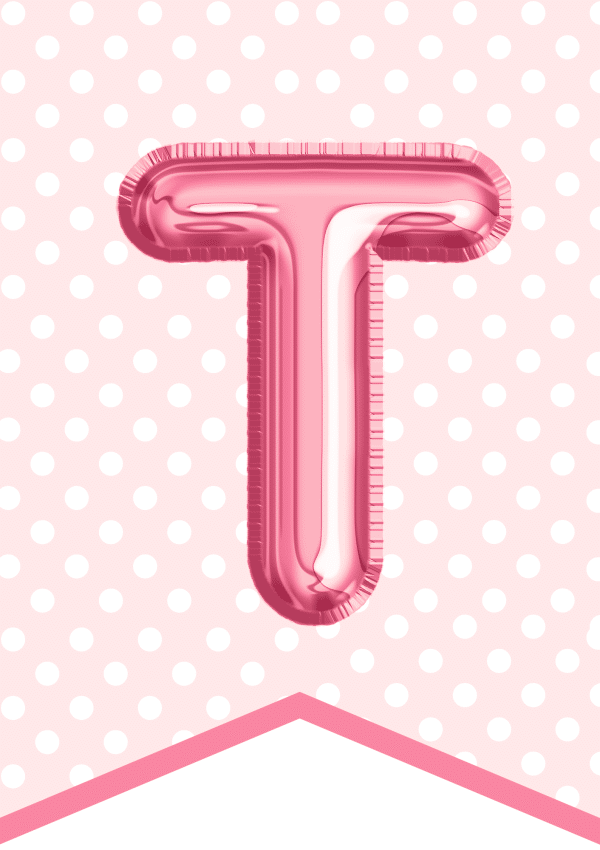
The set features bold, rosy, rounded lettering with a festive polka-dot pattern. Print the pieces, cut them out, attach them to ribbon or twine, and hang the finished birthday banner over a party table, doorway, mantel, or photo area.
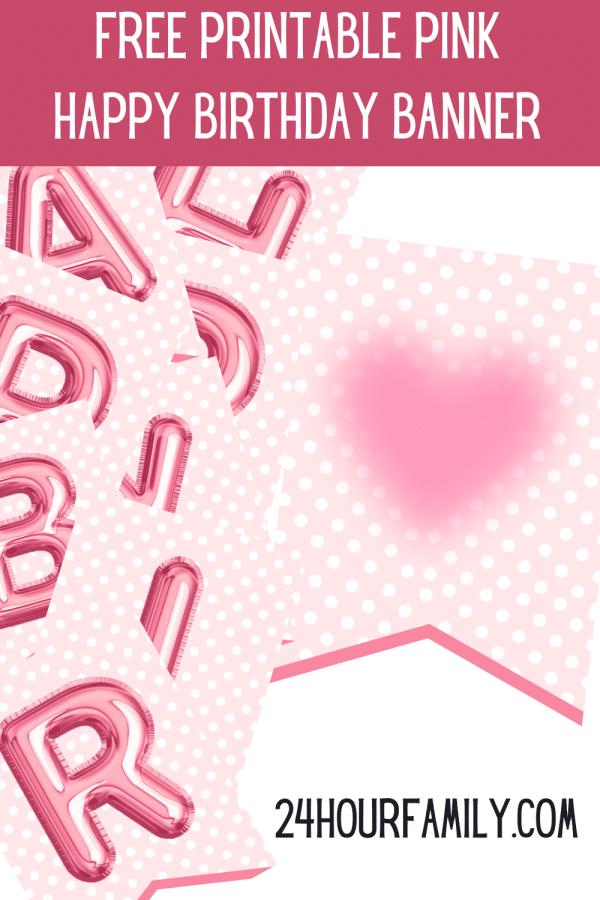
Free Printable Pink Happy Birthday Banner
This printable party sign is an inexpensive way to add a personalized look to your display without ordering a custom one. It works for children’s parties, teen events, milestone occasions, classroom festivities, and pink-themed gatherings for any age.
The PDF is available near the bottom of this post.
Free Pink Happy Birthday Banner Printable
A hanging sign is one of the easiest ways to make a room feel ready for guests. It creates a focal point and fills a large space without requiring expensive birthday decorations.
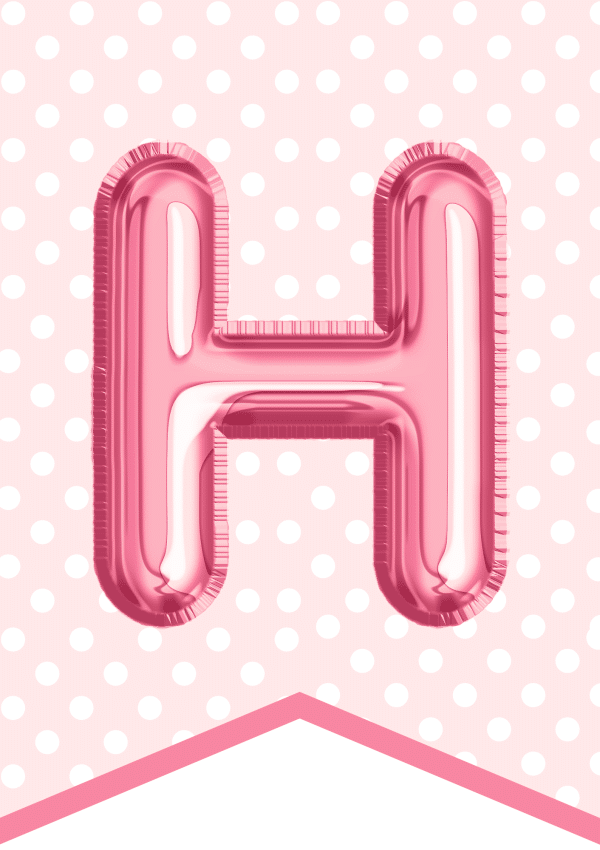
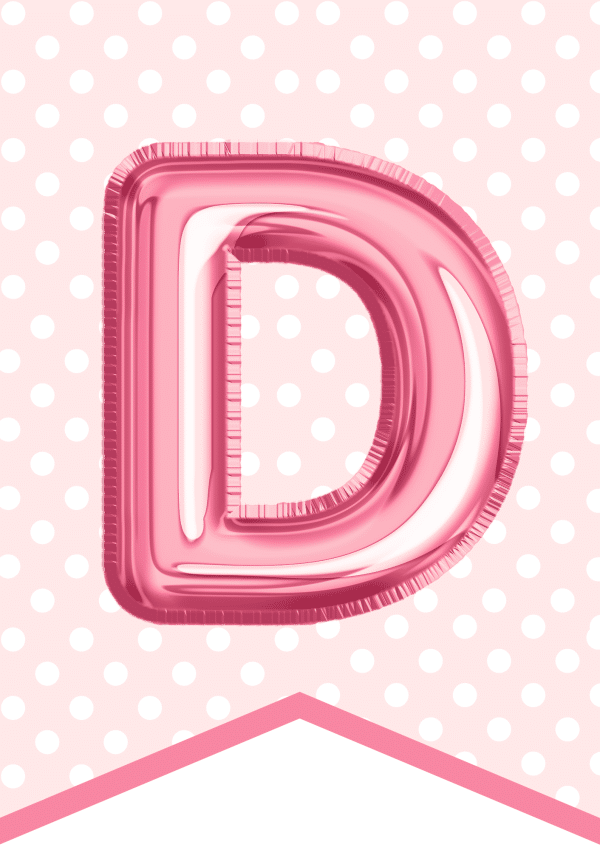
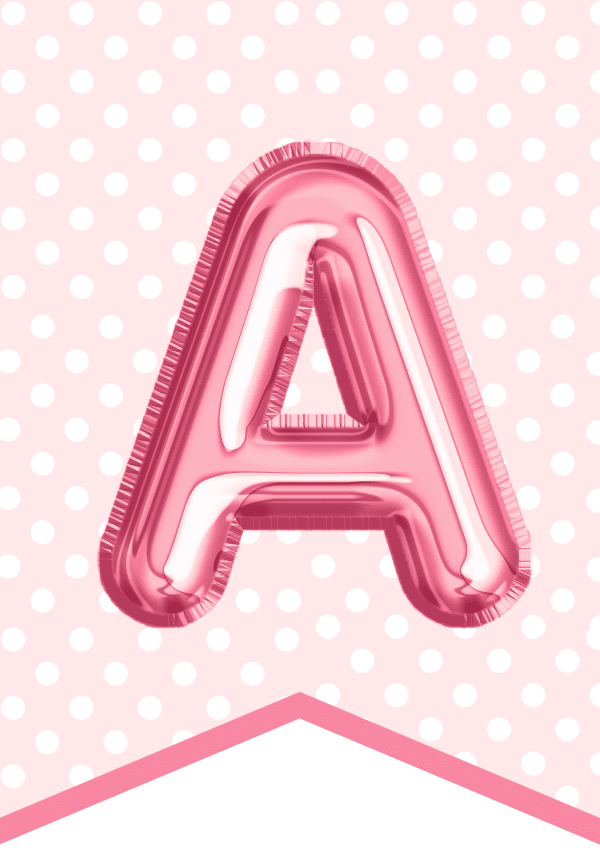
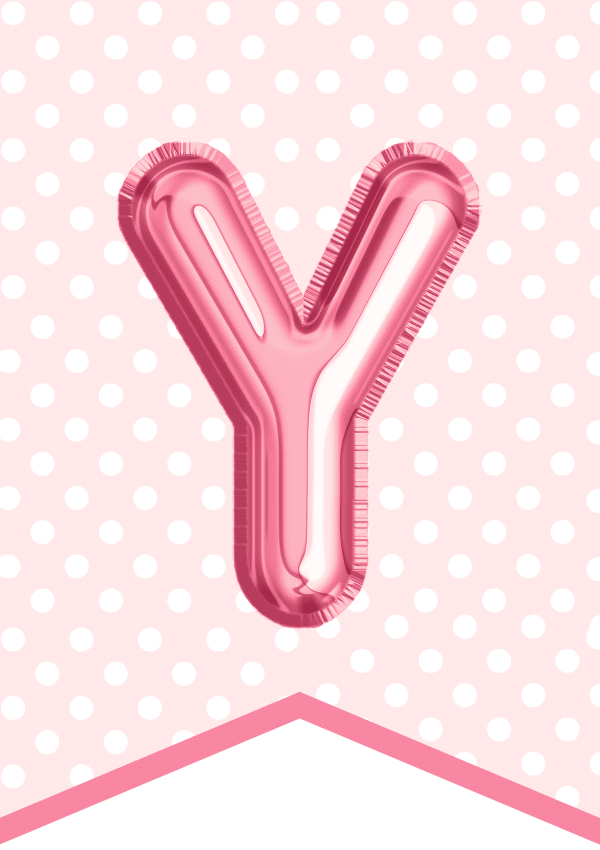
This pink birthday display spells HAPPY BIRTHDAY in large rounded characters. Each one coordinates with the celebratory polka-dot background.
Once assembled, it can be hung:
- Above a dessert table
- Across a fireplace mantel
- Over a doorway
- On a blank party wall
- Behind a gift table
- Above a buffet
- Along a staircase railing
- In a classroom
- Behind the guest of honor’s chair
- As part of a photo backdrop
The rosy color scheme is festive without limiting the layout to one specific theme.
What Is Included?
The PDF contains all the banner pieces needed to spell:
HAPPY BIRTHDAY
Download the file once and make the complete set at home or through a local printing service.
The set includes:
- Large uppercase lettering
- Rounded party-style details
- A cheerful polka-dot background
- Individual pieces for easy assembly
- A ready-to-use PDF format
- A style that works for children, teens, or adults
This is a finished layout, not one of our editable birthday banner templates. You do not need to change the text or add the guest of honor’s name before preparing the pages.
This post may contain affiliate links. As an Amazon Associate and a participant in other affiliate programs, I earn a commission on qualifying purchases. Read our disclosure policy here.



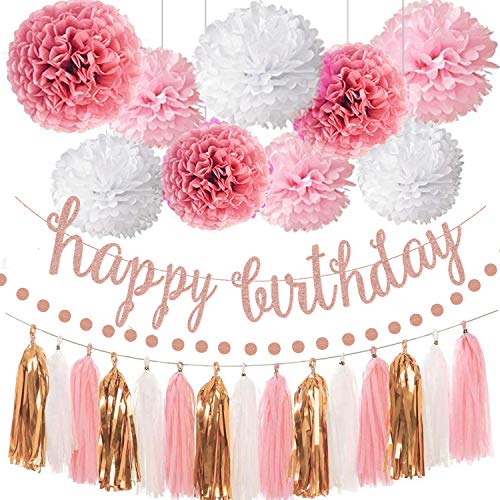
Party Themes That Work With This Design
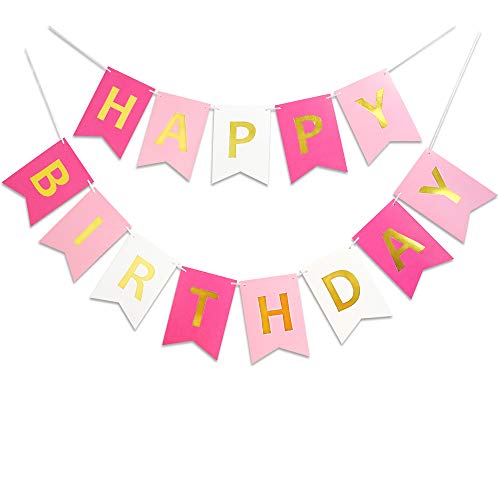
This color can coordinate with many decorations, table settings, and party styles.
Use this festive accent for:
- A pink and gold event
- A pink and black party
- A pink and white gathering
- A princess celebration
- A butterfly party
- A floral event
- A ballet or dance party
- A spa gathering
- A tea party
- A cupcake or sprinkle party
- A sweet sixteen
- A first-year milestone
- A milestone event
- A classroom gathering
- A simple family get-together at home
You can change the overall look by pairing the pieces with matching ribbon, balloons, tablecloths, paper fans, or other party decor.
For an elegant look, combine them with gold ribbon and metallic accents. For a fun birthday setup, add brightly colored streamers, hanging decorations, and confetti.
Supplies
You will need:
- The printable PDF
- White cardstock or heavy paper
- A color printer
- Scissors or a trimmer
- A single-hole punch
- Ribbon, yarn, baker’s twine, or string
- Clear tape, optional
- Removable wall hooks or painter’s tape for hanging
Cardstock is recommended because it helps each piece hang neatly and prevents the corners from curling. Regular sheets can still be used when you need a quick, last-minute DIY decor.
How to Make the Printable Birthday Banner
1. Download the PDF
Use the download box near the bottom of this post to access the printable birthday banner.
Store the file on your computer or device before getting started. Opening a saved PDF generally produces more consistent results than working directly from a browser window.
2. Prepare the pages
Print the pages on white cardstock.
Set the scale to its original dimensions before sending the pages through. This preserves the original proportions of the pieces.
If you want a smaller version, select a reduced scale such as 75%. Avoid enlarging the image beyond its intended dimensions, as it may reduce quality.
3. Cut out the pieces
Use scissors or a trimmer to cut around each individual section.
A trimmer can help create straight, even edges. Scissors are perfectly suitable if you do not have one.
4. Arrange the pieces
Lay everything on a table or floor before assembling the birthday party banner.
Arrange them to read:
HAPPY BIRTHDAY
Check the wording and order before punching holes or attaching the ribbon.
5. Punch the holes
Punch one hole in each upper corner of every piece.
Keep the holes approximately the same distance from the top and sides so everything hangs evenly.
Leave enough space between each punched opening and the outer border. Leaving a small border of cardstock around each hole helps prevent tearing.
6. Add the ribbon
Feed your chosen cord through each punched opening.
You can assemble one long display or create two separate rows:
HAPPY
BIRTHDAY
Arrange the wording vertically to make better use of a smaller display space. One long row works well along a railing or across a larger room.
7. Space the pieces
Slide them along the ribbon until the spacing looks even.
Leave a slightly larger gap between the two words if you are displaying the entire message on one line.
8. Hang Your Finished Display
Attach it using removable hooks, painter’s tape, thumbtacks, or another method appropriate for the surface.
Make sure it is secure and out of reach of very young children.
Three Easy Ways to Assemble the Pieces
Threaded method
Punch two holes in each piece and weave the cord behind and in front of them.
This traditional method allows the sections to slide along the cord.
Taped method
Lay the pieces face down in the correct order. Stretch a length of twine across the back and secure it to each section with clear tape.
This is the fastest option and does not require a hole punch.
Clothespin method
Stretch a piece of twine across the display area and attach each letter with a miniature clothespin.
This method makes it easy to reposition the pieces and reuse the party banner for another occasion.
How Much Ribbon Do You Need?
Arrange the pieces in the desired order and measure their total width.
Add extra ribbon to both ends for hanging. Approximately 12 to 24 additional inches on each side usually provides enough room to tie or attach the display, depending on where it will be placed.
If you are making two separate rows, prepare one length of ribbon for “Happy” and another for the second word.
It is better to begin with slightly too much ribbon. You can trim the ends after hanging everything.
Ways to Customize the Pink Party Banner
The pink banner is ready to use as shown, but you can add simple details to coordinate it with the rest of your decorations.
Add ribbon bows
Tie small bows between the words or at both ends.
Satin ribbon creates a polished appearance, while curling ribbon gives it a playful look.
Add tassels or fringe
Attach tissue-paper tassels or fringe to both ends or between selected pieces.
Use rosy accents for a monochromatic look, or add gold, white, purple, black, or pastel shades to complement the party palette.
Add balloon clusters
Hang the display beneath a small balloon garland or place clusters at both ends.
Add sparkle
Brush a small amount of glue around the edges and sprinkle with glitter. Allow each piece to dry completely before assembling.
This is an easy way to create the look of a pink glitter Happy Birthday banner while adding your own sparkle.
Add a name or age
Use separate characters or numbers in coordinating colors and hang them beneath the main message.
You could add:
- The guest of honor’s name
- Their age
- The event date
- A short message
- Decorative stars, hearts, or party shapes
For a pink birthday girl, you could also add a flower, crown, or heart beneath the main display.
Add decorative backing
Mount the pieces on slightly larger white, black, metallic, or coordinating cardstock. This creates a frame around each section, making the finished display sturdier.
Printing Tips
Follow these recommendations for a high-quality result:
- Use white cardstock rather than colored sheets.
- Select the best-quality color setting available.
- Check that the ink supply is sufficient.
- Test one page before producing the complete set.
- Use “actual size” or “100%.”
- Make sure portrait or landscape orientation matches the PDF.
- Allow ink to dry before stacking or cutting the pages.
- Save the original PDF so you can use it again later.
Colors may look slightly different depending on the equipment, ink, cardstock, and screen settings.
Can the Design Be Printed Smaller?
Yes. Use the scale setting in your device settings to reduce the size.
Possible sizes include:
- 100%: Full-size display
- 75%: Medium version for a mantel or dessert table
- 50%: Mini version for a cake table, office, classroom board, or chair
- Multiple pages per sheet: Small pieces for a gift or tabletop display
Always test one page at a time when changing the scale. Make sure the wording remains large enough to read from the intended viewing distance.
Using the Printable as a Cake Banner
A reduced version can be used to make a small cake topper.
Scale down the layout and cut out the individual pieces. Attach them to a thin length of twine tied between two food-safe wooden skewers.
Insert the skewers into the dessert shortly before displaying it.
Keep ink, ribbon, and adhesive away from the food itself.
Last-Minute Party Decoration
This printable set is particularly useful when you need birthday decor quickly.
If you do not have cardstock, ribbon, or a hole punch:
- Use regular printing sheets.
- Cut out the pieces.
- Arrange them on a wall.
- Attach each piece individually with painter’s tape.
The finished arrangement will still add a cheerful touch without requiring special craft supplies.
Reusing the Pieces
Carefully store everything after the event so it can be used for future birthday celebrations.
Wrap the assembled pieces loosely around a piece of cardboard, or remove them from the cord and place them in a large envelope or resealable bag.
Avoid folding through the printed artwork.
For a more durable version, laminate each piece before punching the holes. Leave a narrow laminated border around the edges so the layers remain sealed.
More Pink Birthday Banner Ideas
You can pair the printable with a curtain backdrop, table runner, paper fans, garlands, or floral accents to create a coordinated display.
For a girls’ birthday party or girls’ party, try adding a crown, flower accents, pastel balloons, or a 3D centerpiece. These simple additions can also turn the printable into a cute Happy Birthday banner for girls without changing the original PDF.
More Free Birthday Printables
Continue planning your celebration with these related party ideas:
- Happy Birthday Printable Letters
- Printable Happy Birthday Mom banner
- Birthday party invitations
- Birthday coloring pages
- Printable party games
- Free Birthday Printables
Download the Free Printable Birthday Banner
Use this festive set to create easy decorations at home. Cut out the pieces, attach them to ribbon, and hang the completed display wherever guests will see it.
These printables are intended for personal, classroom, and noncommercial use. If someone else would like a copy, please share the link to this blog post rather than distributing the PDF directly.
Is the pink Happy Birthday banner free?
Yes. The PDF is available at no cost for personal, classroom, or noncommercial use.
What does the set say?
It contains the pieces needed to read “Happy Birthday.”
What kind of cardstock should I use?
White cardstock produces the sturdiest pieces. Regular printing sheets can be used for a quick or temporary setup.
Do I need color printing?
Yes. A color printer is needed to reproduce the rosy lettering and decorative background.
Can I have it made at a copy shop?
Yes. Save the PDF and take or upload it to a local printing service. Ask for white cardstock or heavyweight matte stock.
Can I make it smaller?
Yes. Reduce the scale in your settings or choose the option to place multiple PDF pages on one sheet.
How do I hang the pieces?
Punch holes in the upper corners and thread them onto ribbon, twine, or yarn. You can also tape the cord to the back or attach the pieces with miniature clothespins.
Can I use it outside?
It is intended primarily for indoor use. You can place it outside temporarily in dry, calm weather, but wind and moisture may damage it.
Can I personalize it with a name?
The PDF is not editable in Canva, but you can hang separate coordinating characters beneath it to add a name or age.
Can I use it for a classroom event?
Yes. Make the pieces once, laminate them, and reuse the set for classroom festivities throughout the year.
