
Kite Torn Paper Craft
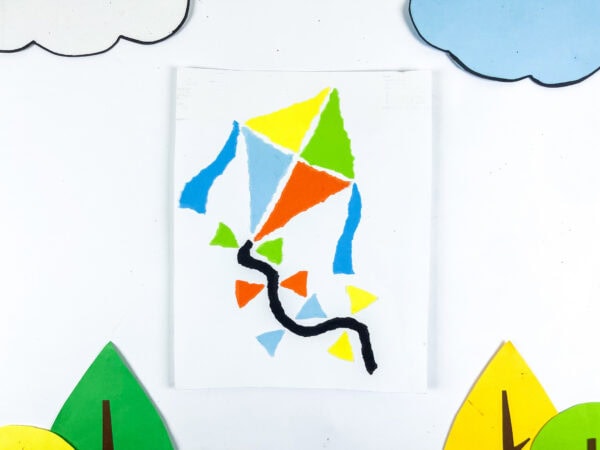
I love how a simple stack of paper can turn into a bright, playful craft with so much color and personality. This Kite Torn Paper Craft is one of those creative summer craft activities that feels relaxing while still giving you a colorful result you’ll be proud to show off.
Whether you want a quick afternoon project or a charming piece you can hang near a window, this kite idea is a lovely way to get creative with simple materials.

Kite Torn Paper Craft
This easy paper activity, which doesn’t require complicated tools, is a great starter.
The supplies are inexpensive, easy to find, and easy to work with, which makes the whole process feel approachable from the very beginning. It’s also a great kite for kids or anyone who simply enjoys hands-on creativity without pressure.
To get started, gather your main supply items: a few sheets of colored paper, a glue stick, and a pair of scissors for neat cutting.
You can even use craft paper or scraps you already have around. The goal is to have enough to make several colorful pieces that will form the final kite paper design.
This post may contain affiliate links. As an Amazon Associate and a participant in other affiliate programs, I earn a commission on qualifying purchases. Read our disclosure policy here.
Crayola Construction Paper Bulk Pack (480 Sheets) – 10 Assorted Colors, 9×12, Classroom Arts & Crafts Supplies for Kids, Art Paper for School Projects Paper Crafts for Kids: 25 Cut-Out Activities for Kids Ages 4-88 Rolls Colored Masking Tape Rainbow Colors Painters Tape Colorful Craft Art Paper Tape for Kids Labeling Arts Crafts DIY Decorative Coding Decoration Teaching Supplies, 0.6 Inch x 16 Yard, 8 ColorsARTISTRO 24 Acrylic Paint Markers for Rock, Fabric, Wood, Glass, Craft, Decoration – Dual-Tip Paint Pens – Stocking Stuffers, Christmas Gift Idea for Teens, Grandkids, Kids – Art Supplies900 PCS Pom Poms, Multicolor Bulk Pom Poms Arts and Crafts, Soft and Fluffy Craft Pom Poms, Assorted Sizes Pompoms, for Arts and Craft Making DecorationsElmer’s Disappearing Purple School Glue Sticks, Washable, 6 Grams, 12 Count – Poster, Vision Board, Back to School, #1 Teacher Brand




Materials You’ll Need
Before beginning the tutorial, lay out your materials on a clean workspace:
- Bright paper in several tones
- Origami paper or regular paper cut to the right size
- A small glue stick
- One pair of scissors
- Optional: tissue paper, a bit of tape, or wax-coated paper for extra texture
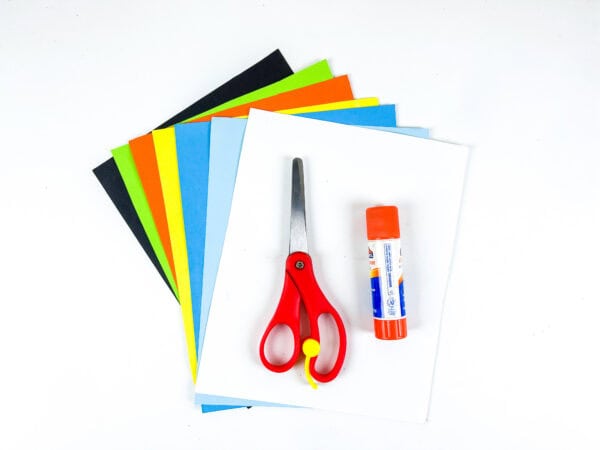
Having several colors to choose from, especially bright colours, makes it easier to build a playful pattern in your finished design.
How to Make a Kite Paper Craft:
These simple instructions will help you learn the process comfortably.
Step 1: Prepare Your Shapes
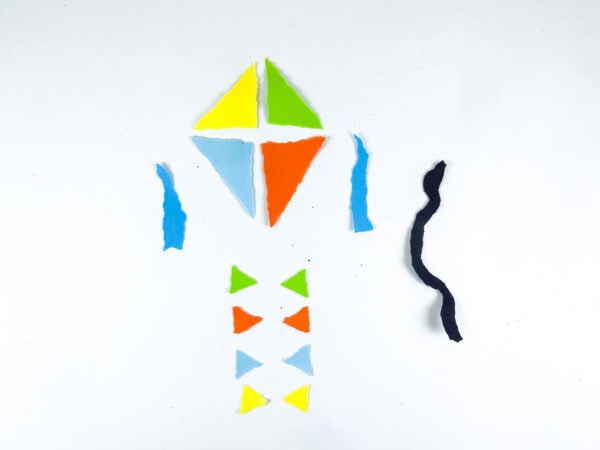
Begin with a square piece of paper about 1 inch larger than your intended layout. Lightly fold it once to mark the center. Using your scissors, cut small triangles, rectangles, and circles from additional pieces of paper.
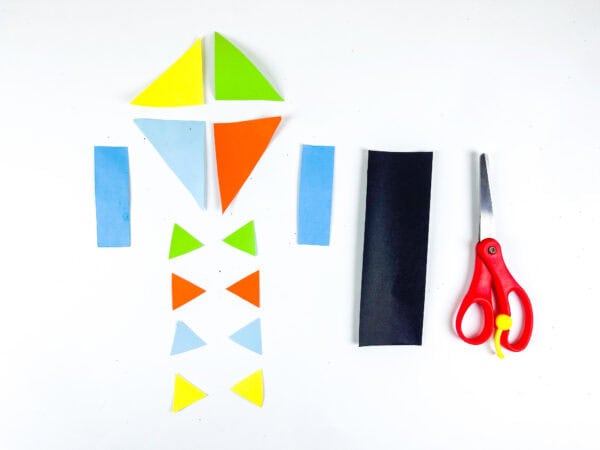
These pieces will form the main body of your kite and its tail. If you enjoy experimenting, you can use simple origami techniques to fold edges neatly before placing them.
Step 2: Add Texture with Torn Edges
Instead of trimming every side perfectly, gently tear the edges of some pieces. This gives the kite paper layout a soft, handmade finish and introduces subtle variation in each layer.
Step 3: Arrange the Kite Layout
Place a fresh backing paper on your surface. Position the larger triangular pieces first to build the central area of the kite. Then arrange the smaller pieces below to form the tail.
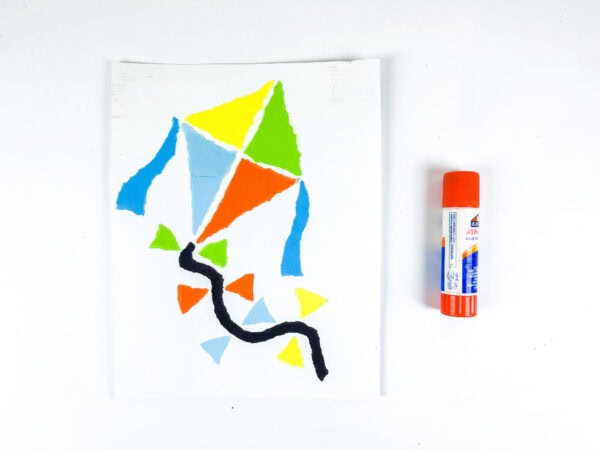
Try spacing each triangle so they resemble repeating petal forms or even a gentle spiral. This stage helps you learn how to make paper arrangements that feel balanced before committing with glue.
Step 4: Step-by-Step Assembly
Following a clear step-by-step approach, glue each piece down one at a time. Apply the glue stick lightly so the paper stays flat and smooth. If you want extra hold, a small strip of tape can secure the tail.
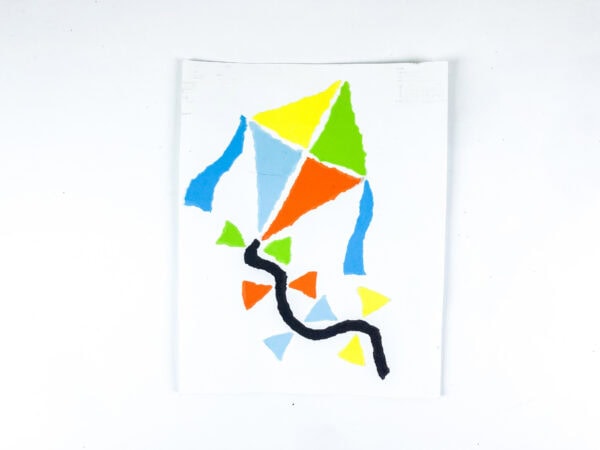
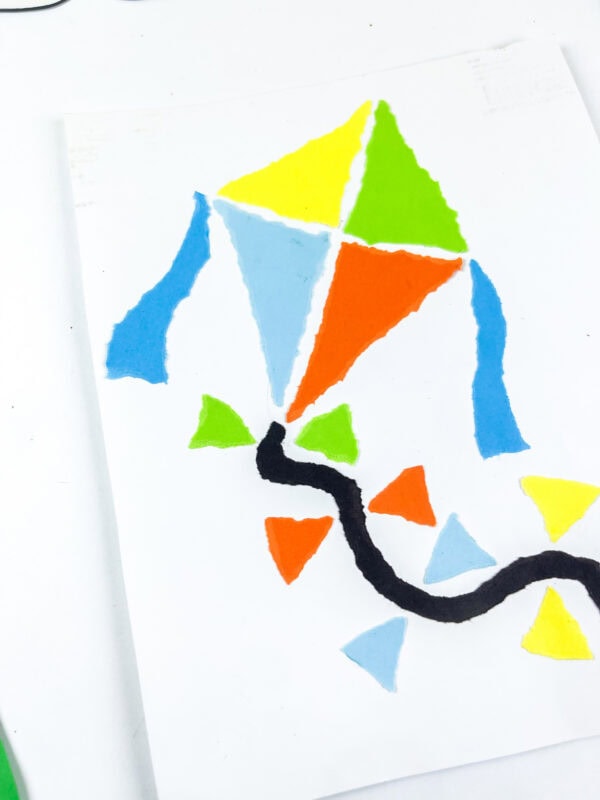
The finished look should resemble a classic paper kite, complete with colorful accents flowing downward.
Turning Your Kite Into Window Art
Once everything is dry, your kite becomes a cheerful window decoration. Place it where the sunlight can pass through during a sunny part of the day so lighter materials reveal gentle transparency.
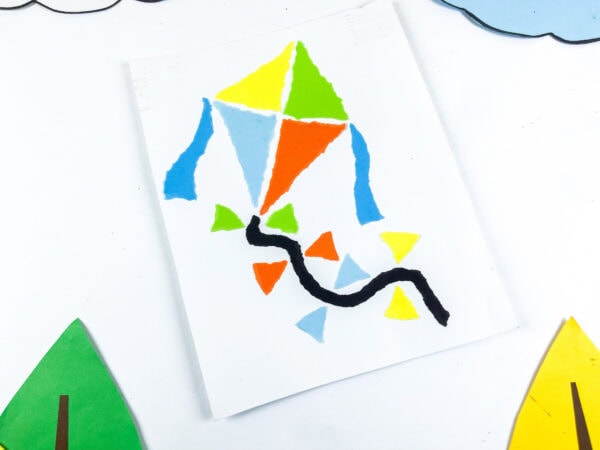
If you used thin or wax-coated paper, the sheen becomes more noticeable, making the colors appear richer and more vibrant.
Displaying your kite paper design near glass allows each color choice to stand out beautifully.
Creative Ways to Customize
There are many ways to personalize your kite paper layout. Try adding a small heart or extra star accent near the center. You could also create a symmetrical window star effect by repeating pieces evenly.
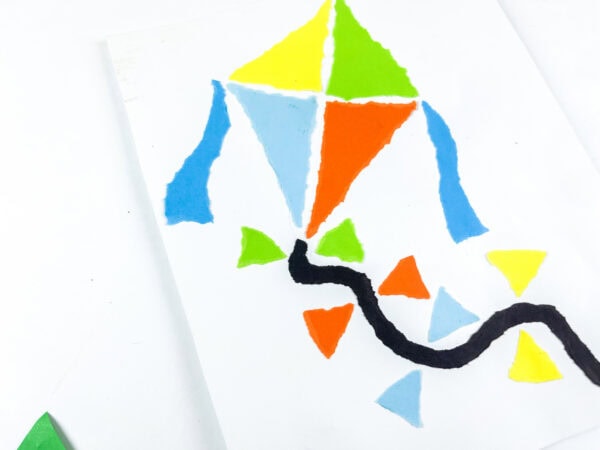
Another option is attaching the backing to a wooden strip so the finished piece hangs freely as a decorative display. This adds structure while keeping the project lightweight.
You can also alternate tones to build a repeating pattern, or mix opaque and translucent pieces to enhance the glowing effect.
This simple kite paper craft offers a calming way to learn basic composition skills. Because the shapes are forgiving, you can move pieces around before gluing and still achieve a polished result.
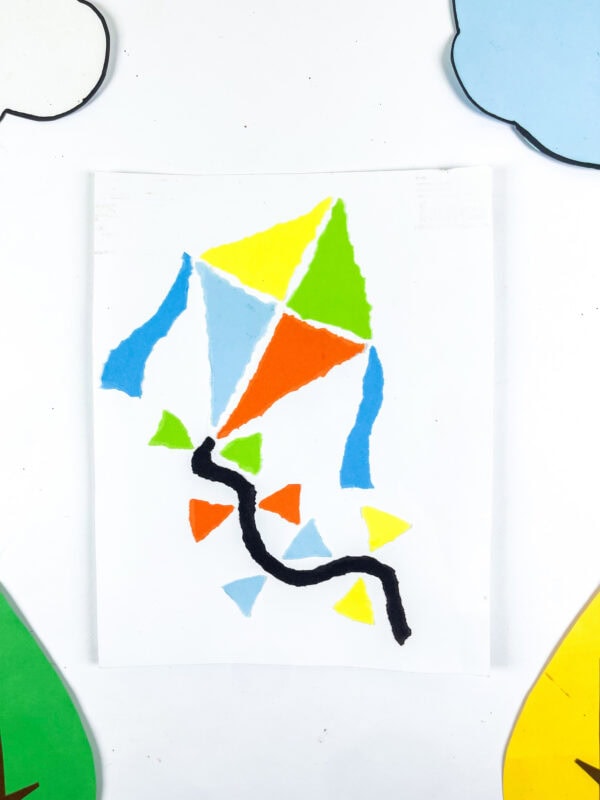
The layering process feels similar to assembling Waldorf window stars or experimenting with beginner origami folds. Even if edges aren’t perfectly straight, the final arrangement still looks cohesive.
Perfect for Celebrations and Seasonal Displays
A colorful kite works beautifully for many settings. It can brighten a creative space during a small celebration, add interest to a board, or simply mark a cheerful occasion.
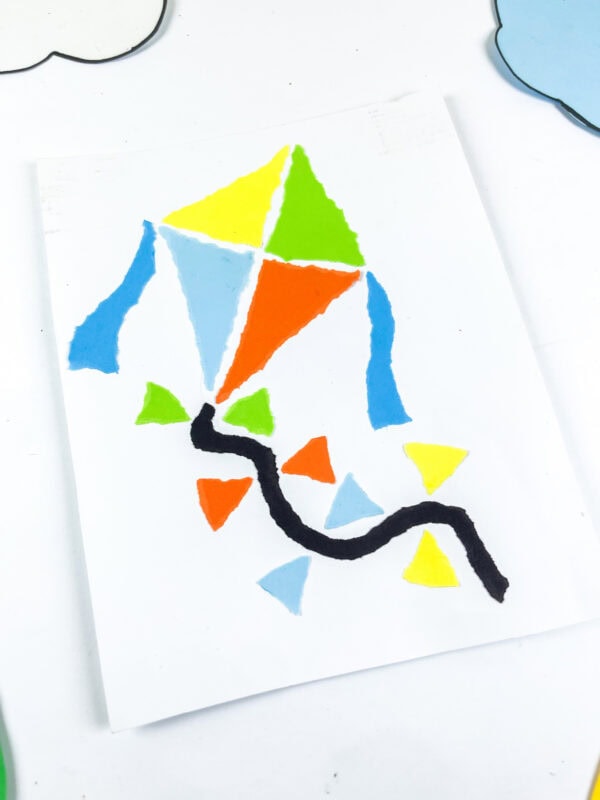
Because the materials are accessible, you can easily make paper kites in multiple palettes, from soft pastels to bold rainbow combinations.
Helpful Tips for Best Results
- Choose colored paper with a subtle sheen so the finished piece catches the light.
- Mix opaque and translucent materials for added depth.
- Keep your shapes consistent in size for a balanced layout.
- Mount the finished kite onto thicker backing paper for extra durability.
Why This Project Stays a Favorite
Simple diy paper creations continue to be loved because they transform everyday materials into something meaningful. Arranging each piece allows you to experiment with fold, placement, and color choices.
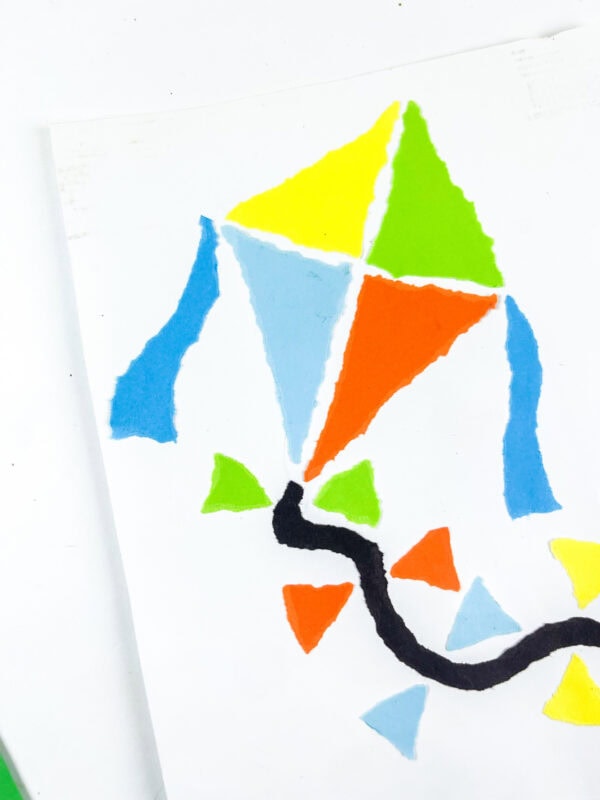
When you make a kite using only basic supplies, the result feels satisfying and personal. The finished piece is lightweight, bright, and perfect for hanging where it can catch the light from any nearby window.
More Creative Paper Craft Ideas
If you’re having fun with this Kite Paper Craft, these playful paper projects are great additions to your craft lineup and work well for different themes throughout the year.
- Lobster Handprint Paper Craft – A bright ocean-themed craft that combines paper fun with handprint creativity.
- Nemo Fish Handprint Paper Craft – A colorful underwater-inspired craft perfect for little sea-life fans.
- Valentine’s Day Horse Paper Craft – A charming animal-themed craft that adds a sweet Valentine’s touch.
- Grinch Handprint Paper Craft – A festive handprint craft inspired by a classic holiday character.
- Turtle Handprint Craft
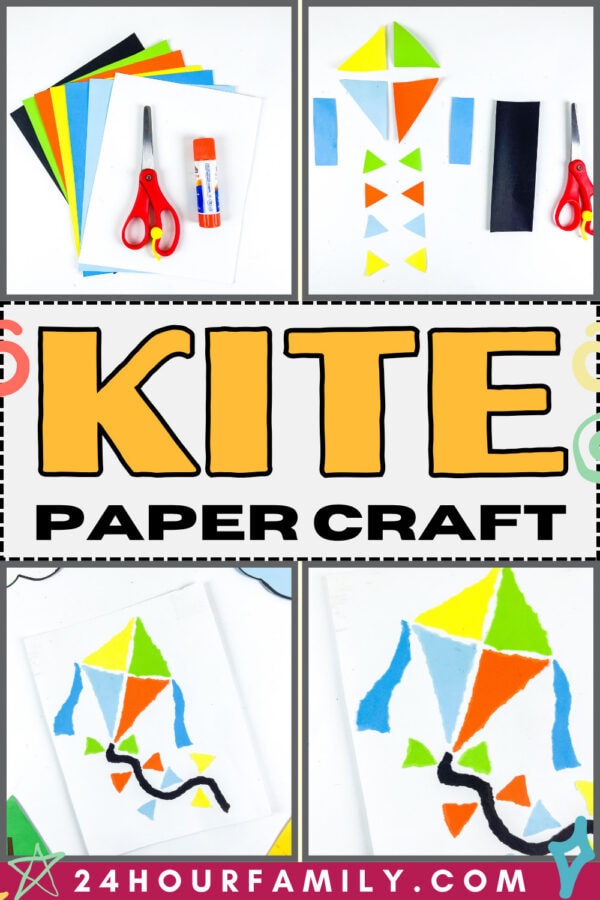
If you’ve been searching for a relaxed, hands-on activity that doesn’t require complicated tools, this kite paper project is a wonderful place to begin. With just a few sheets of paper and some simple shapes, you can create something cheerful and eye-catching.
Whether you keep it as a decorative accent or share it as a handmade gift, this project proves that creativity doesn’t have to be complicated to feel rewarding.
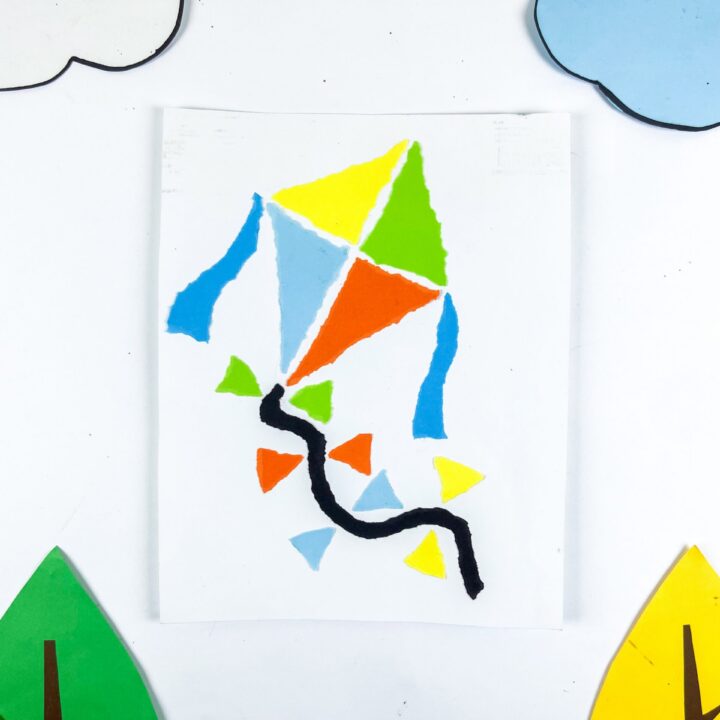
Kite Paper Craft
This Kite Paper Craft is a bright and creative project made with simple paper shapes. It’s a fun way to explore layering, texture, and color combinations. The torn edges give the design a soft, handmade look. Kids can arrange the pieces to create their own unique kite pattern. The finished craft looks beautiful displayed on a wall or board.
Materials
- Colored paper
- Glue stick
- Scissors
Instructions
1. Prepare the Paper Shapes
Start with a square piece of paper slightly larger than your desired kite size. Lightly fold it once to mark the center line. Cut small triangle, rectangle, and circle shapes from additional colored paper to use as decorative accents.
2. Add Soft Texture
Instead of cutting every edge evenly, gently tear around some of the shapes. This creates a softer outline and gives the finished kite a layered, handmade feel.
3. Arrange the Layout
Place a clean backing sheet on your workspace. Position the larger triangle pieces first to form the main body of the kite, then arrange smaller shapes below to create the tail. Adjust the placement until the design feels balanced.
4. Glue the Pieces in Place
Once you are satisfied with the layout, glue each piece down one at a time. Apply the glue lightly to keep the paper smooth. Allow everything to dry before displaying your finished kite.
