
Easy LEGO Brownies Recipe
This Easy LEGO Brownies Recipe turns four store-bought ingredients into an adorable dessert—without having to bake or even preheat the oven.
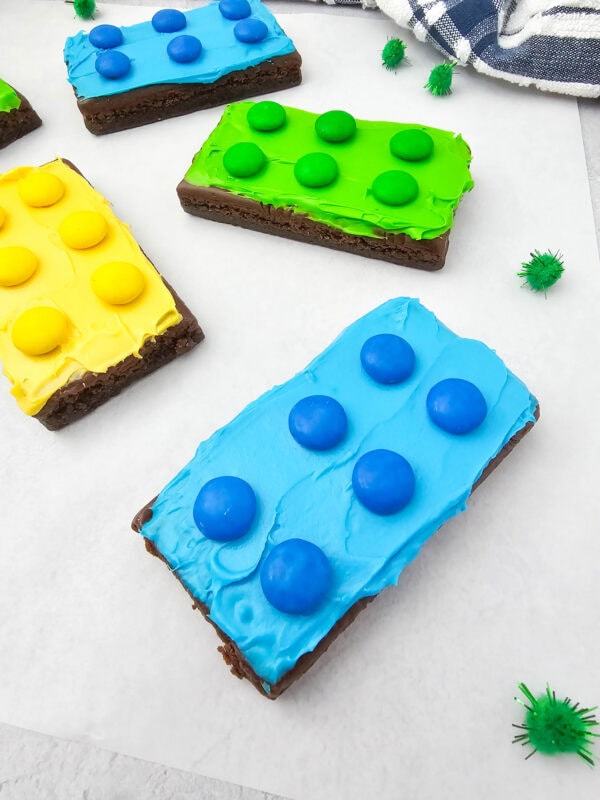
Each rectangular LEGO brownie is covered with brightly colored frosting and six matching M&M’s to resemble the studs on a classic LEGO piece.

Super Easy LEGO Brownies Recipe
They are easy to make, easy enough for children to help decorate, and simple enough to prepare when you already have a long birthday-party checklist. Serve them at a LEGO birthday party, LEGO-themed classroom celebration, play date, or family movie night.
The recipe makes 12 brownies and requires about 30 minutes of preparation followed by 30 minutes of chilling.
Why You’ll Love These LEGO Brownies
- Only four ingredients are needed.
- There is no baking or complicated decoration.
- The recipe makes 12 individual party treats.
- Children can help sort the candies and add the LEGO-style studs.
- The frosting colors can be changed to match your party decorations or any different color theme.
- They can be prepared ahead of the celebration.
If you are planning an entire themed celebration, visit our collection of LEGO birthday party ideas.
Ingredients for LEGO Brownies
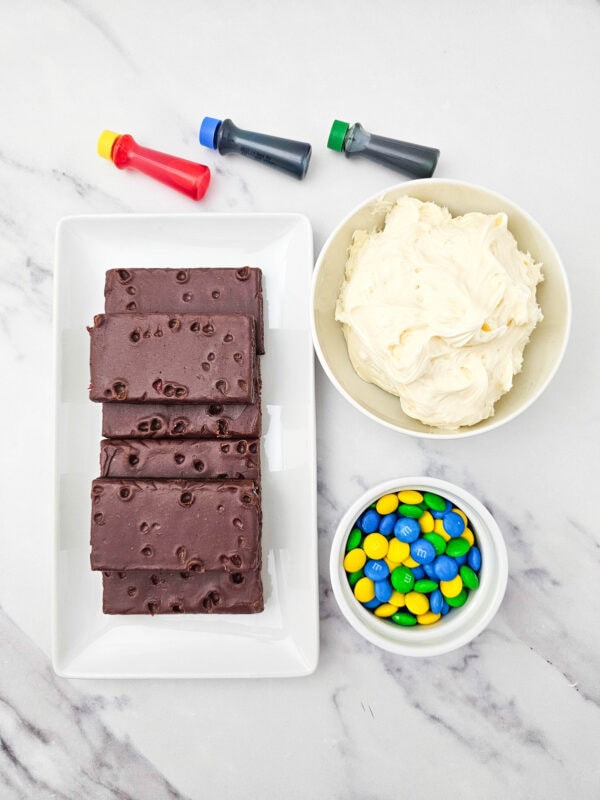
You will need:
- 12 individually wrapped rectangular brownies, such as Little Debbie brownies
- 1 cup white frosting (vanilla)
- Blue, green, and yellow food coloring
- 72 regular M&M candies: 24 blue, 24 green, and 24 yellow
You need six pieces for each brownie. Sorting them by color before you begin makes decorating considerably faster.
Equipment
You will need:
- Three small bowls
- Three spoons
- Three butter knives or small offset spatulas
- Baking sheet or tray
- Parchment paper
How to Make this LEGO Brownies Recipe
Step 1: Prepare the Brownies
Line a baking sheet or tray with parchment paper.
Unwrap the brownies and place them on the prepared tray. If the brownies have candy bits or decorations on top, carefully remove them so that you have a reasonably flat surface for the frosting.
Step 2: Color the Frosting
Divide the vanilla icing among three small bowls. Add food coloring to each bowl—blue to one, green to the second, and yellow to the third.
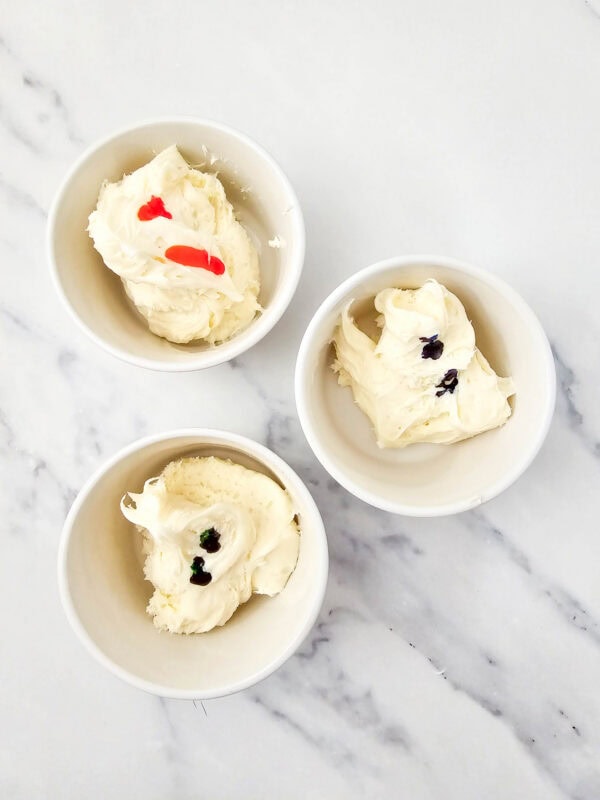
Stir each bowl until the food coloring is evenly distributed. The icing used in the photographs started with approximately four drops of yellow, two drops of blue, and ten drops of green food coloring. Different food coloring brands vary in strength, so begin with a small amount and add more until you reach the desired shade.
For the brightest colors, gel food coloring generally produces vivid results without making the icing too soft.
Step 3: Frost the Brownies
Spread blue icing over four brownies, green over four brownies, and yellow over the remaining four.
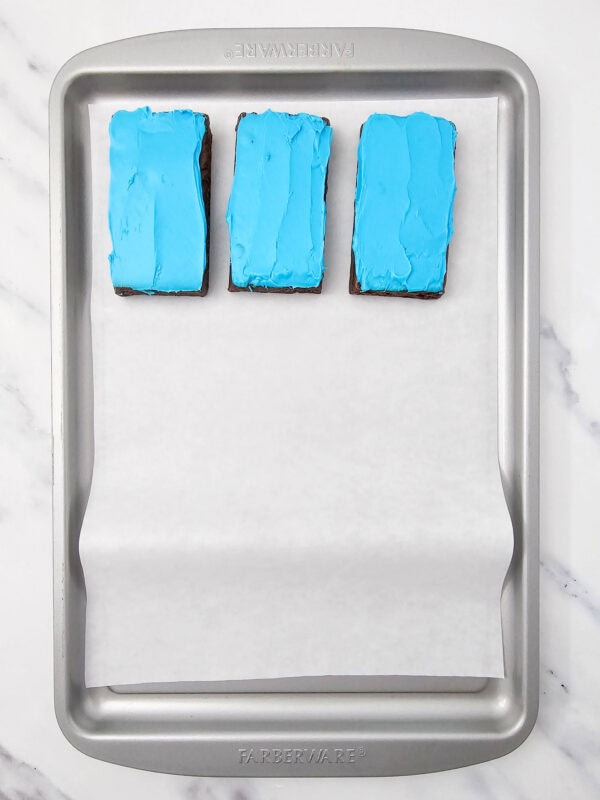
Smooth the icing to the edges. It does not need to look perfectly polished—the colorful topping creates most of the LEGO effect.
Step 4: Add the M&Ms
Place six matching chocolate candies on each brownie, arranging them in two rows of three.
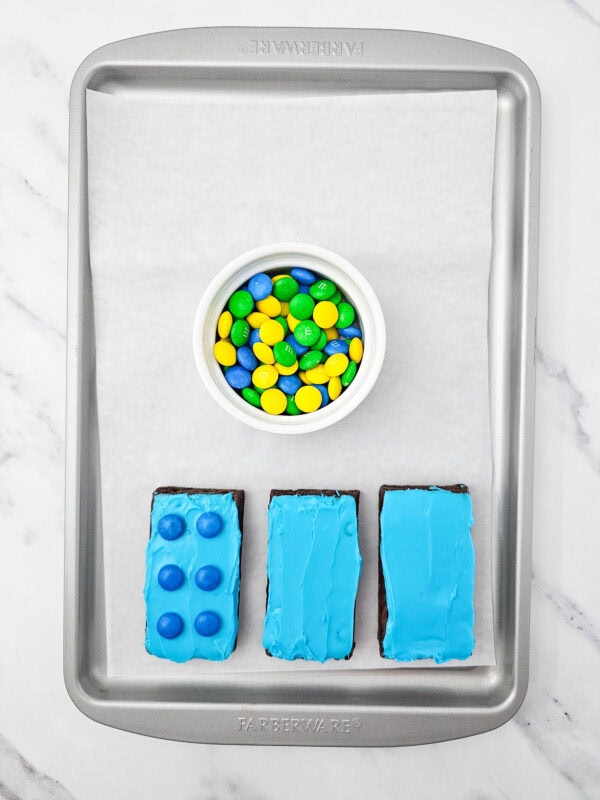
Starting with the two pieces closest to the center can help you space all six evenly. Press each one lightly into the icing so it stays in place.
Step 5: Chill the Brownies
Refrigerate the finished brownies in the fridge for about 30 minutes. This allows the icing to firm slightly and helps hold everything in place before serving.
This step is not only satisfying but also gives you that perfect match between the topping and decorations for a seamless LEGO look.
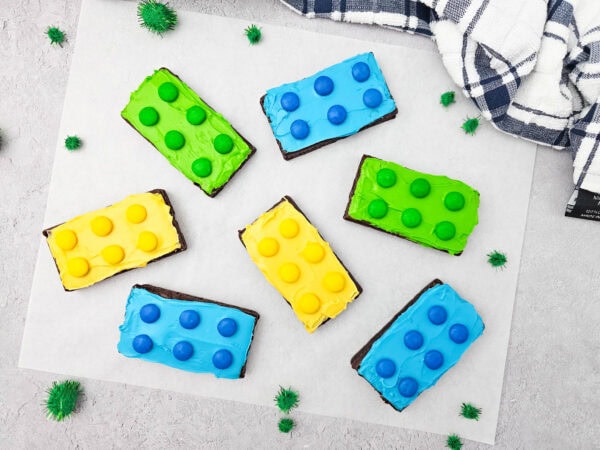
The colors should coordinate with the topping to achieve the perfect LEGO look. So if the brownie is blue, add blue pieces. The same goes for green and yellow.
This step is like the cherry on top—but better, because it’s chocolate!
Chilling also gives the surface a slightly firmer texture, which makes these treats even more satisfying to bite into.
Tips for the Best LEGO Brick Brownies
Use Rectangle Brownies
A rectangle brownie that is approximately twice as long as it is wide creates the most recognizable LEGO shape. Individually wrapped brownies are particularly convenient because they are already evenly sized.
Sort the Colors First
Separate the blue, green, and yellow candies before coloring the frosting. You will need 24 candies of each color.
Keep the Colors Together
Use blue pieces on blue icing, green pieces on green icing, and yellow pieces on yellow icing. Matching the colors helps the brownies look like LEGO bricks.
Use Two Rows of Three
Six candies arranged in two straight rows create the classic brick appearance. You can also make smaller square brownies and use four candies arranged in a two-by-two pattern.
Chill Before Transporting
If you are taking the brownies to a party, chill them before placing them in a covered container. The firmer topping is less likely to smear in transit.
Can I Make This Recipe with Homemade Brownies?
Of course. Prepare your favorite brownie recipe or boxed brownie mix and allow the brownies to cool completely before decorating.
Cut the cooled brownies into even rectangles, spread on the icing, and add the matching chocolate pieces. A clean, sharp knife will produce neater pieces. Wiping the knife between cuts also helps prevent crumbs from collecting along the edges.
The no-bake recipe card below is specifically written for individually wrapped brownies, so the preparation and total times will change if you bake them from scratch.
LEGO Brownie Color Ideas
Blue, green, and yellow help your treats look like LEGO bricks, but you can easily introduce other colors.
Try:
- Red frosting with red M&M’s
- Orange icing with orange chocolate pieces
- Purple frosting with purple candy-coated chocolates
- A combination of your child’s favorite colors
- Party colors that match the invitations and decorations
Seasonal candy packages may be useful when you need a large quantity of one particular color.
How to Serve LEGO Brownies at a Party
Arrange the brownies in rows on a large white tray, stack a few at different angles, or display them around a toy construction scene for a colorful party idea.
For a larger dessert table, pair them with these LEGO cupcakes and decorate the table with a printable LEGO Happy Birthday banner.
You can also add a simple party activity using our LEGO man printable or play Pin the Head on the LEGO Man.
Make-Ahead and Storage Instructions
The brownies can be prepared up to one day before the party. Place them in a single layer in a covered container and refrigerate them so everything remains in place.
Remove them from the refrigerator shortly before serving. Always follow the storage directions printed on the brownie and icing packages you use.
Avoid stacking the brownies unless sheets of parchment paper and enough clearance prevent the frosting from touching the layer above.
For longer storage, freeze undecorated brownies and add the icing and chocolate pieces after thawing. Freezing fully finished brownies can cause the coating to spot or bleed into the icing.
More LEGO Party Ideas to Explore
If you loved making these Easy LEGO Brownies, here are more LEGO-themed ideas to help you plan an unforgettable birthday party. From decorations and invitations to activities and printables, there’s something for every LEGO fan.
- LEGO Birthday Party Ideas for Kids – Discover fun games, decorations, food, and activities to help you plan the ultimate LEGO-themed celebration.
- Printable LEGO Birthday Banner for Girls – Add a colorful touch to your party with a printable birthday banner designed especially for LEGO-loving girls.
- LEGO Head Printable Banner – Decorate your party space with a fun banner featuring classic LEGO head designs.
- LEGO-Themed Happy Birthday Banner – Print and hang this festive birthday banner to complete your LEGO party decorations.
- Printable LEGO Birthday Party Invitations – Kick off the celebration with matching LEGO-inspired invitations that are easy to print and share.
- Earth Day LEGO Mats Printable – Keep the building fun going with printable LEGO challenge mats that encourage creativity and hands-on learning.
- LEGO Building Coloring Pages – Give kids a relaxing activity with LEGO-inspired coloring pages that are perfect before or after the party.
This super cute LEGO brownies recipe combines a familiar, fudgy chocolate treat with a super simple finishing touch that children will immediately recognize.
With no baking required and only four ingredients, they are a practical addition to almost any building-themed celebration and are perfect for kids’ birthday parties as well as family gatherings.
How many M&M’s do I need?
You need 72 candies for 12 brownies. This allows six candies per brownie: 24 blue, 24 green, and 24 yellow.
Can children help make LEGO brownies?
Absolutely. Children can sort the candies, stir the frosting colors, spread frosting, and arrange the studs. An adult should handle any cutting if homemade brownies are used.
Can I use mini M&M’s?
Yes, although regular mini pieces create larger studs that are easier to see. Mini pieces are a good choice for bite-sized brownies.
How can I prevent the frosting from getting runny?
Add food coloring gradually. Gel food coloring is particularly helpful because it creates concentrated color without adding much liquid.
Can I make the brownies without artificial food coloring?
You can leave the icing white, use naturally colored icing, or purchase icing colored with plant-based ingredients. The finished treats will have a slightly different look but will still work well with chocolate pieces on top.
Is refrigeration necessary for these brownies?
Refrigerating them for 30 minutes helps set the topping. For longer storage, follow the instructions on the packaged brownies and frosting used in your recipe.
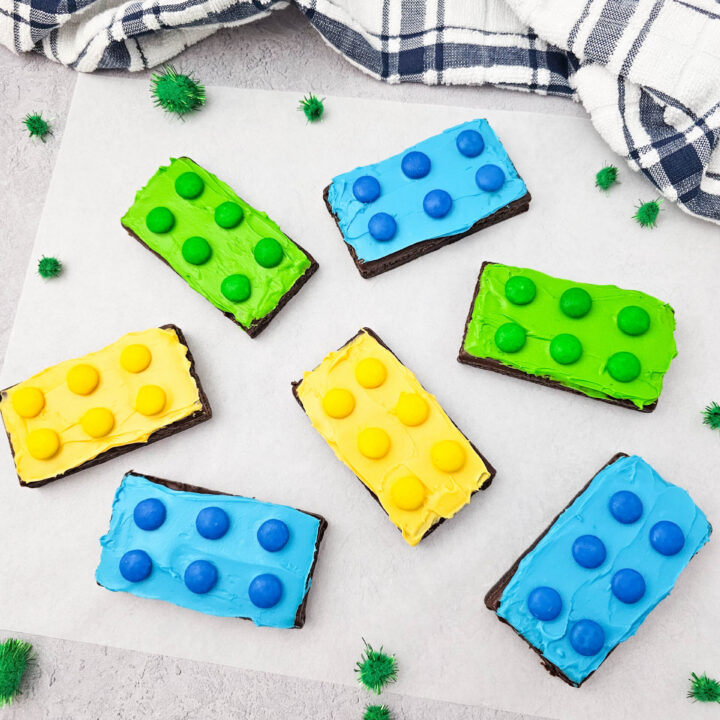
Easy No-Bake LEGO Brownies
Colorful rectangular brownies decorated with frosting and matching M&M’s to resemble LEGO bricks. This four-ingredient, no-bake treat is perfect for LEGO birthday parties.
Ingredients
- 12 individually wrapped rectangular brownies
- 1 cup white vanilla frosting
- Blue, green, and yellow food coloring
- 24 blue M&M’s
- 24 green M&M’s
- 24 yellow M&M’s
Instructions
- Line a baking sheet or large tray with parchment paper.
- Unwrap the brownies and arrange them on the prepared tray. Remove any candy decorations from the tops, if necessary.
- Divide the frosting evenly among three small bowls.
- Tint one bowl blue, one green, and one yellow. Stir until each color is evenly blended.
- Frost four brownies with each frosting color.
- Arrange six matching M&M’s on every brownie in two rows of three.
- Refrigerate the decorated brownies for 30 minutes to help the frosting set.
- Serve or transfer the brownies to a covered container until needed.
Notes
- Begin with a small amount of food coloring and add more as needed.
- Gel coloring creates vivid frosting without adding much liquid.
- Homemade brownies may be substituted but must cool completely before decorating.
- Nutrition information will vary significantly according to the brands of brownies, frosting, and candy used.
Nutrition Information:
Yield: 12 Serving Size: 1Amount Per Serving: Calories: 620Total Fat: 28gSaturated Fat: 15gTrans Fat: 0gUnsaturated Fat: 11gCholesterol: 20mgSodium: 137mgCarbohydrates: 90gFiber: 3gSugar: 77gProtein: 5g

These are so much fun! Featuring when my link party opens. Thanks for sharing!