
Moses Paper Bag Puppet Craft for Kids | Bible Story Sunday School Activity
This Moses Bible paper bag craft is a free, easy activity for kids that doubles as a puppet — perfect for Sunday school, VBS, or homeschool Bible lessons on Exodus.
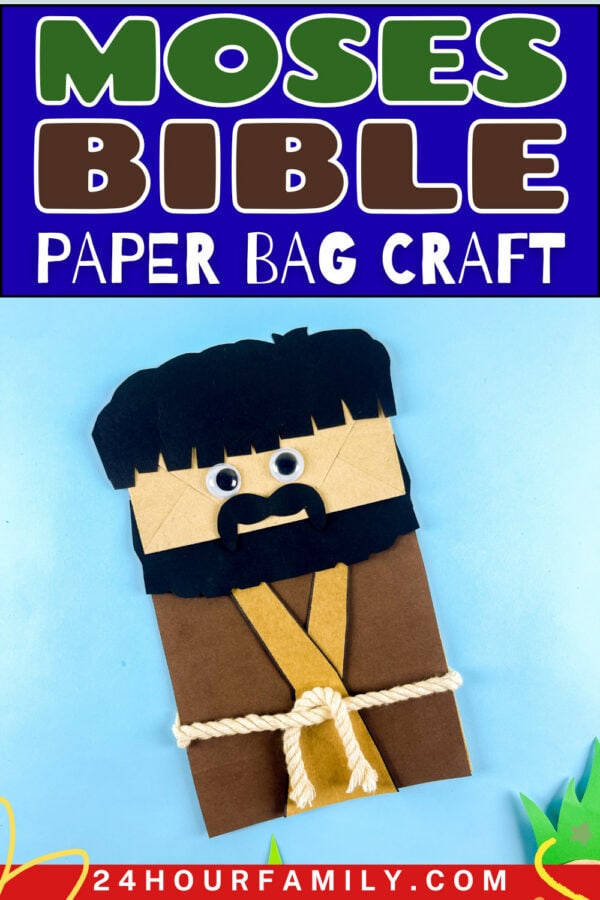
Teaching kids about Moses just got more fun with this easy Moses Bible Craft — a simple, hands-on activity that brings the story of Moses to life.
Whether you’re planning a Sunday school lesson, a homeschool Bible unit, or a kids’ church activity, this Moses craft is the perfect way to combine creativity and scripture into one colorful project. Little ones will love creating their own Moses paper-bag puppet to retell this beloved Old Testament story.
Moses Bible Paper Bag Craft
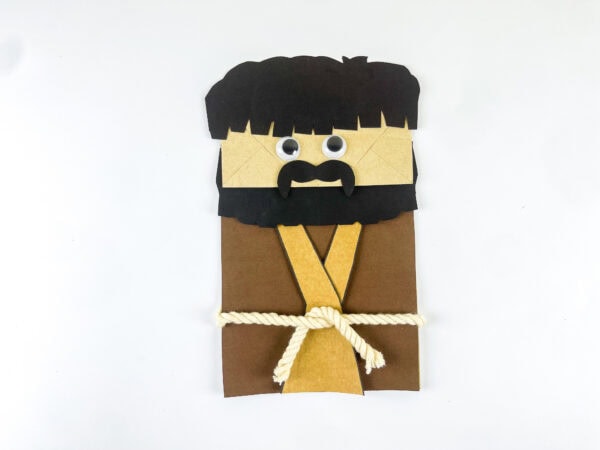
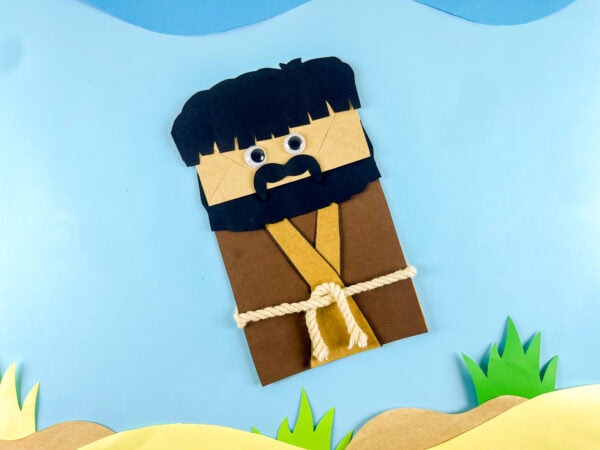
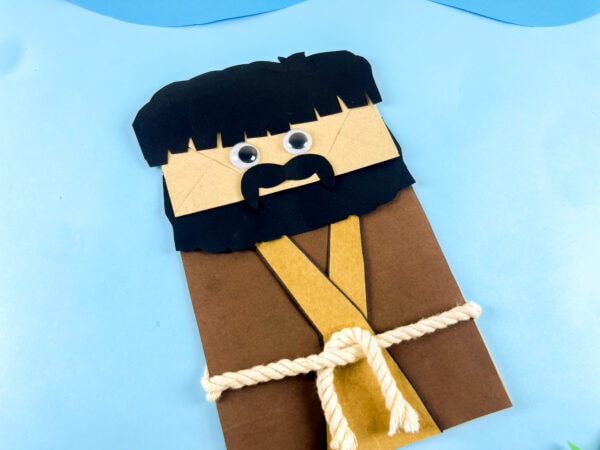
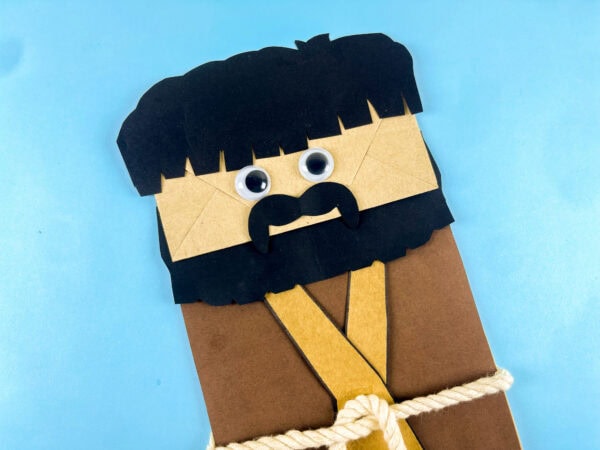
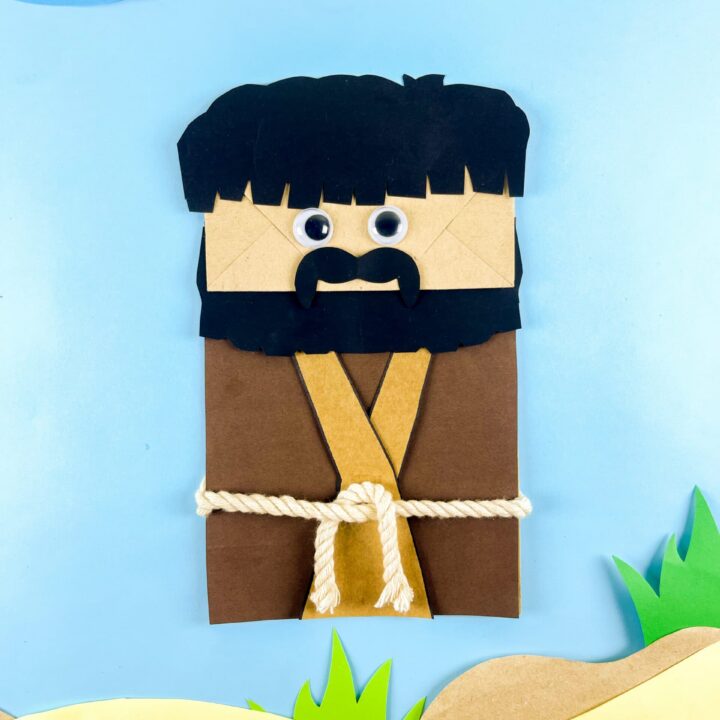
This Bible craft uses basic supplies and a simple paper bag to create an adorable Moses character complete with a beard, robe, and googly eyes.
Children will have fun putting the pieces together while learning about Moses’ life, from baby Moses floating in the Nile River to the crossing of the Red Sea, the receipt of the Ten Commandments, and the leading of the Israelites on their journey.
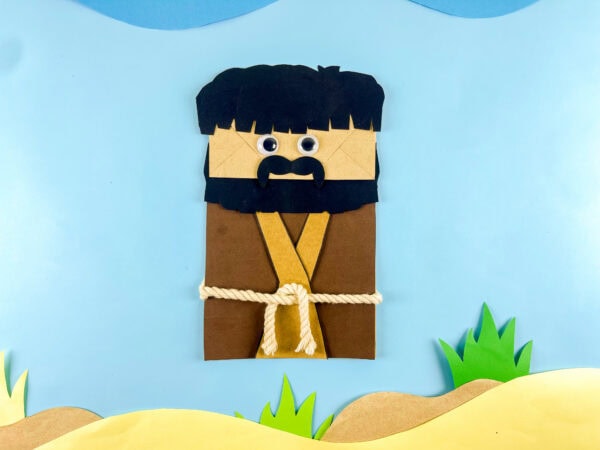
The finished craft also works as a Moses puppet that children can use during storytelling time.
This post may contain affiliate links. As an Amazon Associate and a participant in other affiliate programs, I earn a commission on qualifying purchases. Read our disclosure policy here.
AJM Brown Paper Lunch Bags 40 Count Crafty DAB GLUES DAB N STIC SchoolElmer’s Disappearing Purple School Glue Sticks Washable 22 Grams 3 CountHuhuhero Kids Scissors, 5” Safety Toddler Scissor Blunt Tip with Cover, Small Craft Cutting Paper Scissors for Child Kid Age 4-7 8 9, Assorted Colors, 4 PackCrayola Construction Paper, 120 SheetsCrayola 587722 Non-Washable Markers, Broad Point, Classic Colors, 10/Set




Supplies Needed To Make This Bible Craft:
Before you begin, gather these simple materials:
Material List
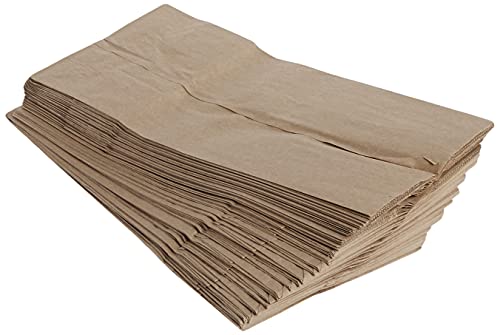
- Paper bag
- Colored paper
- Yarn
- Googly eyes
- Glue
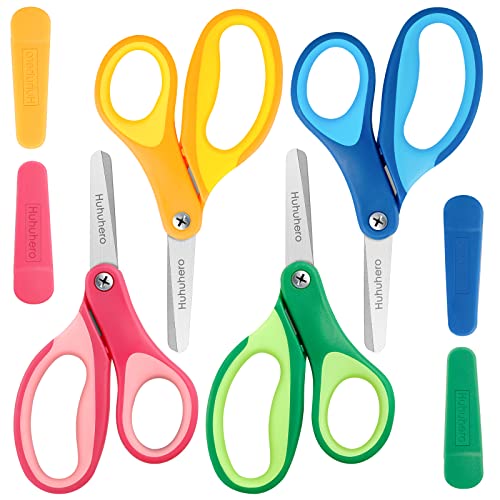
- Scissors
- Marker
- Printable template
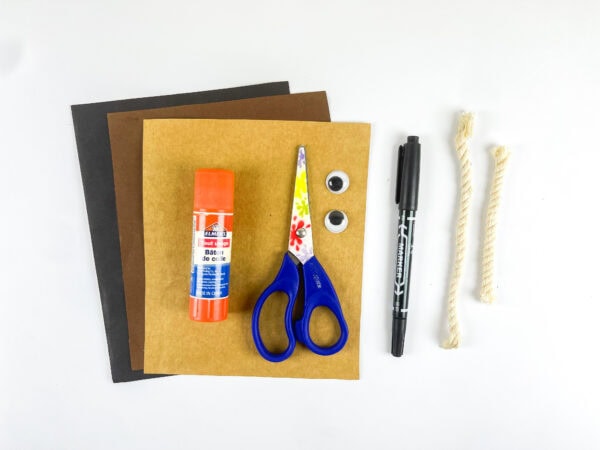
These basic supplies are easy to find and make this craft perfect for home, church, or Sunday school activities.
How To Make This Moses Bible Paper Bag Craft
This craft comes together in a few simple steps.
Cover the Paper Bag
Start by cutting a brown sheet of paper to match the size of your bag.
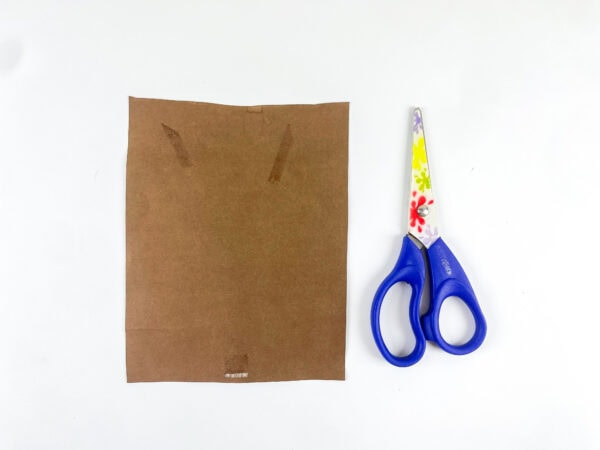
Attach the paper to the front of the bag using glue.
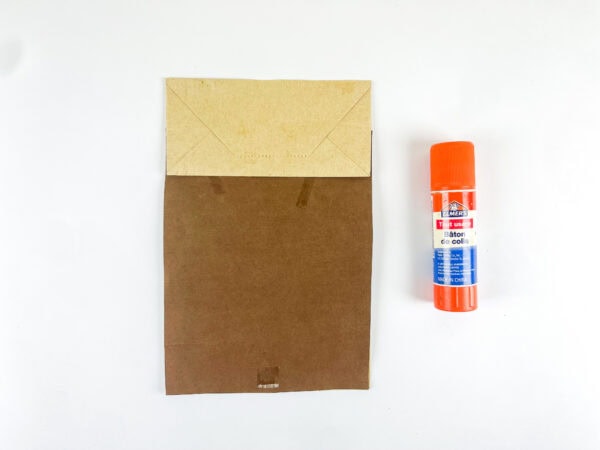
This creates the base for your Moses craft and gives the project a finished look.
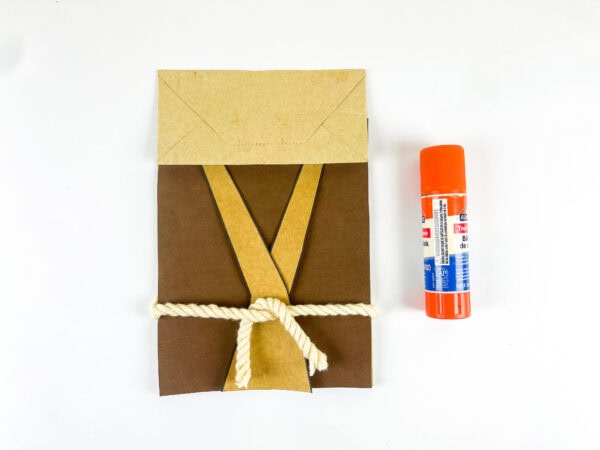
Trace and Cut the Robe Pieces
Using the template, trace the robe pieces onto tan construction paper.
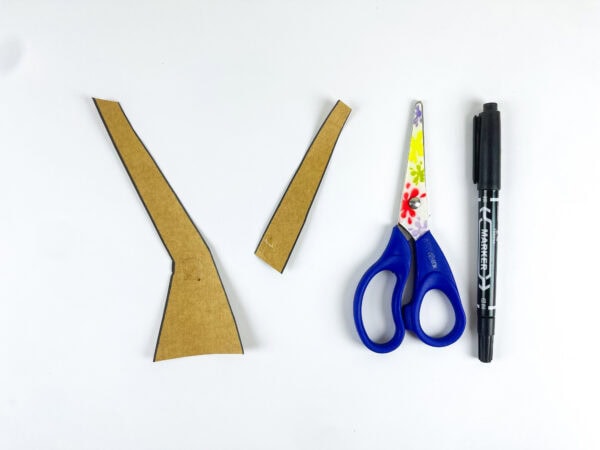
Carefully cut out each piece.
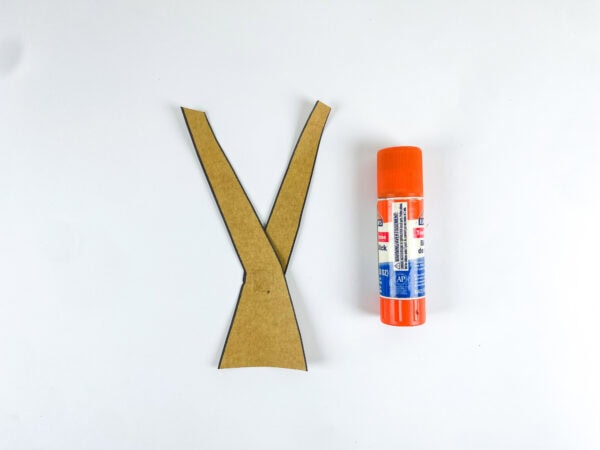
Once cut, arrange the pieces into a robe shape and glue them together.
Attach the Robe
Glue the completed robe onto the front of the paper bag. Attach it to the front center of the bag to form Moses’ outfit.
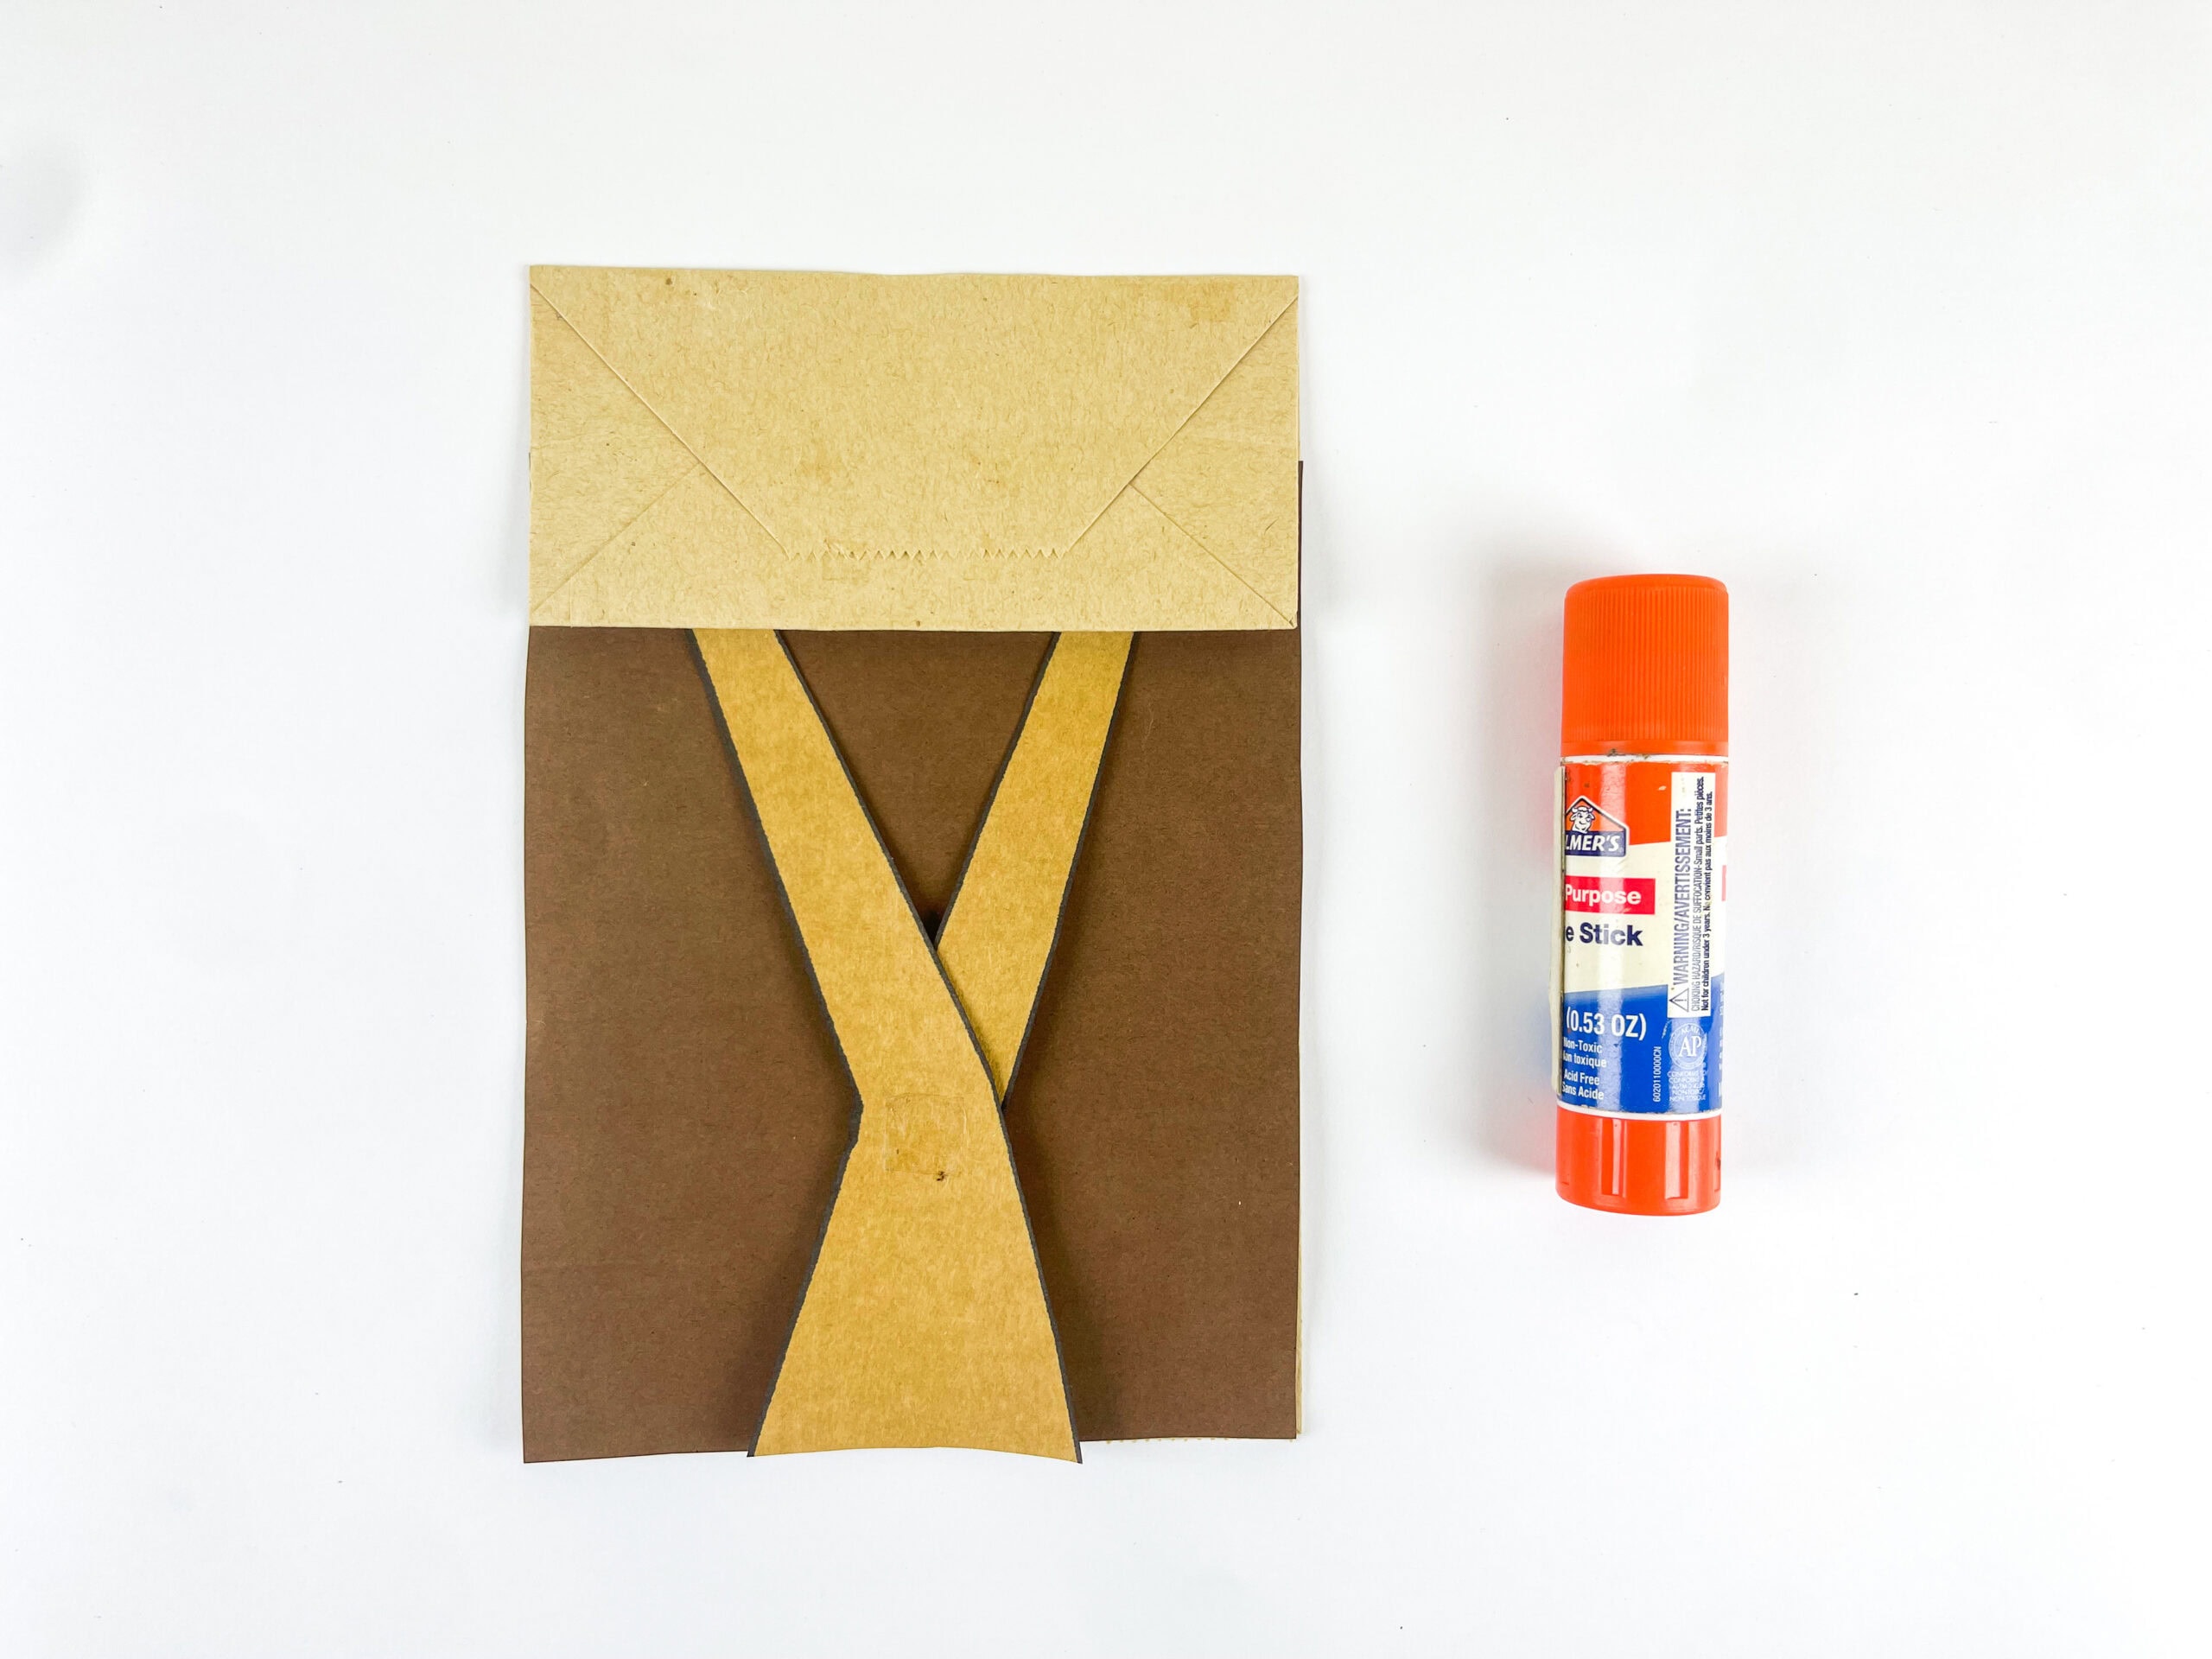
Use a marker to outline the robe if you’d like extra definition.
Create the Belt
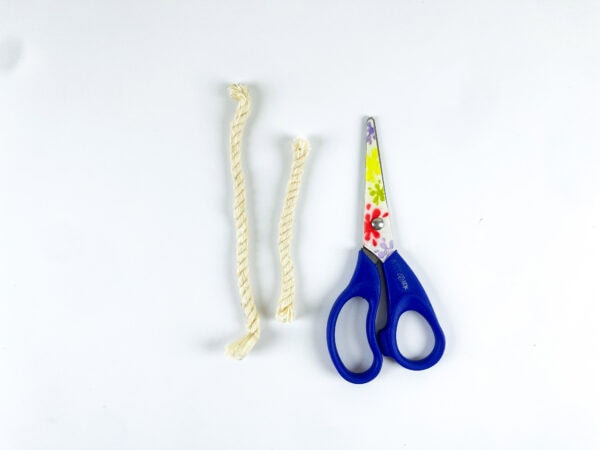
Cut the macrame yarn into sections and tie them together to form a simple belt.
Attach the yarn around the waist area of the robe.
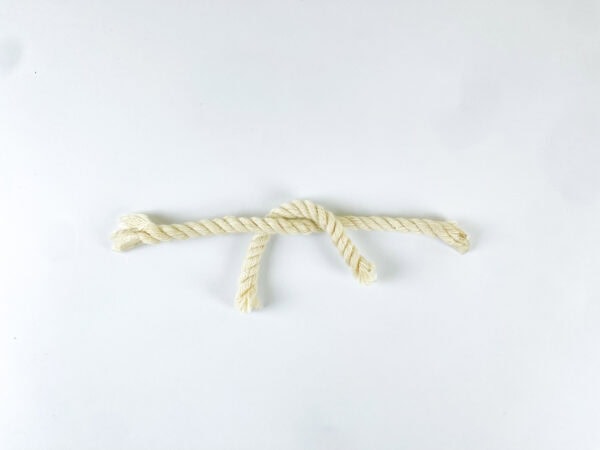
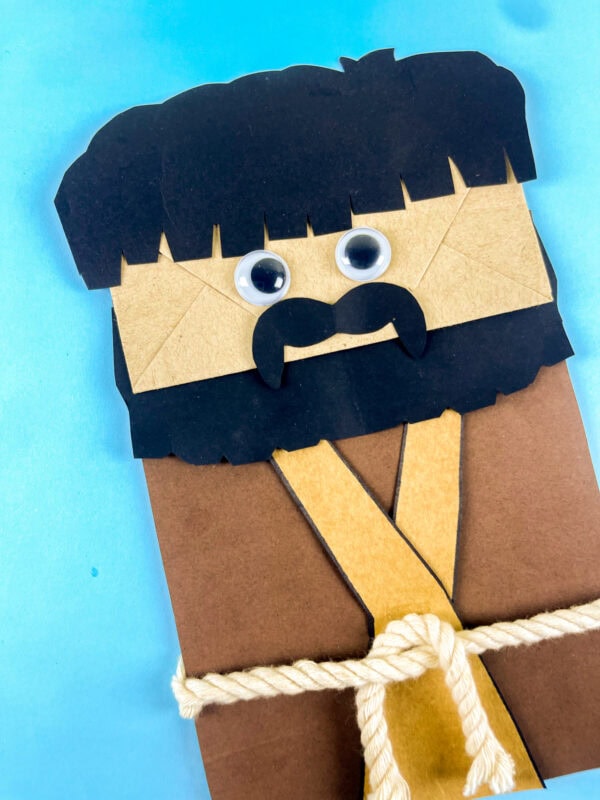
The textured yarn gives the craft a fun three-dimensional effect.
Add the Hair and Beard
Trace the hair, beard, and mustache pieces onto black construction paper and cut them out.
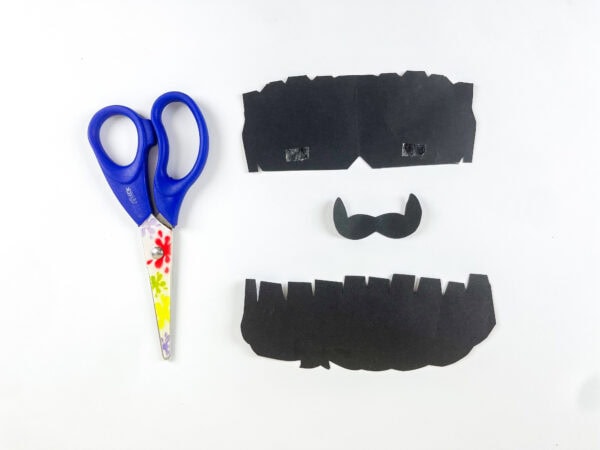
Glue the pieces onto the top section of the bag to create Moses’ face.
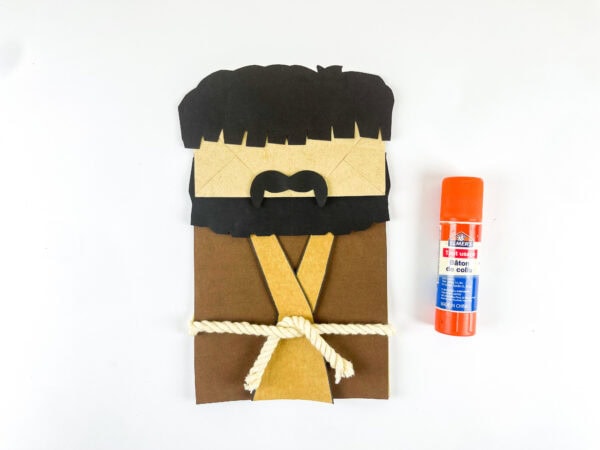
Finish With Eyes
Attach the googly eyes above the mustache.
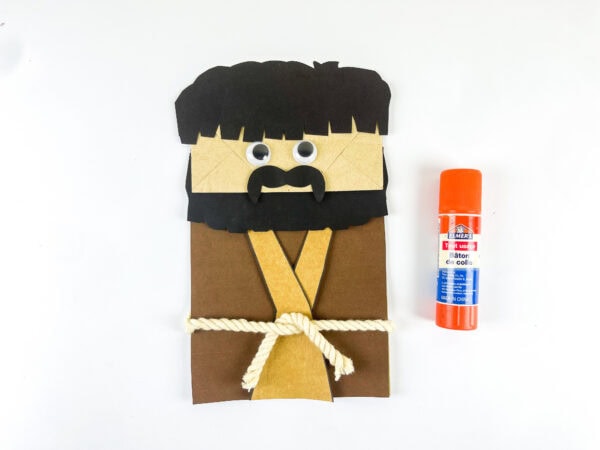
Allow everything to dry completely before displaying your finished project.
The Story Behind Moses
One reason this craft is so popular is that it connects directly to an important Bible story. Moses was born in Egypt during a time when Pharaoh ordered Hebrew baby boys to be killed. To protect him, his mother placed baby Moses in a basket and set him among the reeds along the Nile River.
The story of baby Moses is a wonderful reminder of God’s care and protection. As a baby, Moses was placed in a basket and set among the reeds along the river, while Miriam watched nearby to make sure he stayed safe. Pharaoh’s daughter found the basket, took Moses into her home, and raised him in the royal palace.
As he grew older, God chose Moses to lead the Israelites out of Egypt. The book of Exodus tells how he guided God’s people through the Red Sea and later received the Ten Commandments, which became an important part of God’s instructions for His people.
This craft provides a great opportunity to discuss each part of the Bible story while children create.
Ways To Use This Craft In Your Bible Lesson
This Bible craft for kids can fit into many different learning settings.
- Sunday school classes
- Homeschool Bible studies
- Church activity days
- Preschool learning centers
- Vacation Bible School
- Children’s ministry programs
Because the project is simple and inexpensive, it works well for both small and large groups.
Why Kids Enjoy This Craft
There are many reasons children love this Moses bible paper bag craft.
- Easy for young children to complete
- Encourages creativity
- Supports hands-on learning
- Reinforces Bible teachings
- Uses simple materials
- Creates a memorable keepsake
The combination of cutting, gluing, and assembling keeps kids engaged while helping them better understand the story of Moses.
More Bible Crafts to Make
If you enjoyed creating this Moses Bible Paper Bag Craft, here are a few more Bible-themed activities that help children learn important stories from Scripture while having fun with hands-on creativity.
- Cross Paper Plate Craft – A simple and meaningful craft that helps kids create a cross display using everyday craft supplies.
- Jonah and the Whale Paper Plate Craft – A fun paper plate activity that brings the story of Jonah and the great fish to life.
- Eve and the Garden of Eden Craft – A creative project that introduces children to the story of creation and the Garden of Eden.
- Palm Sunday Donkey Craft – A hands-on activity that helps kids learn about Jesus’ arrival in Jerusalem and the meaning of Palm Sunday.
- Abraham Paper Plate Craft
- Baptism of Jesus Craft
- Elijah Paper Plate Craft
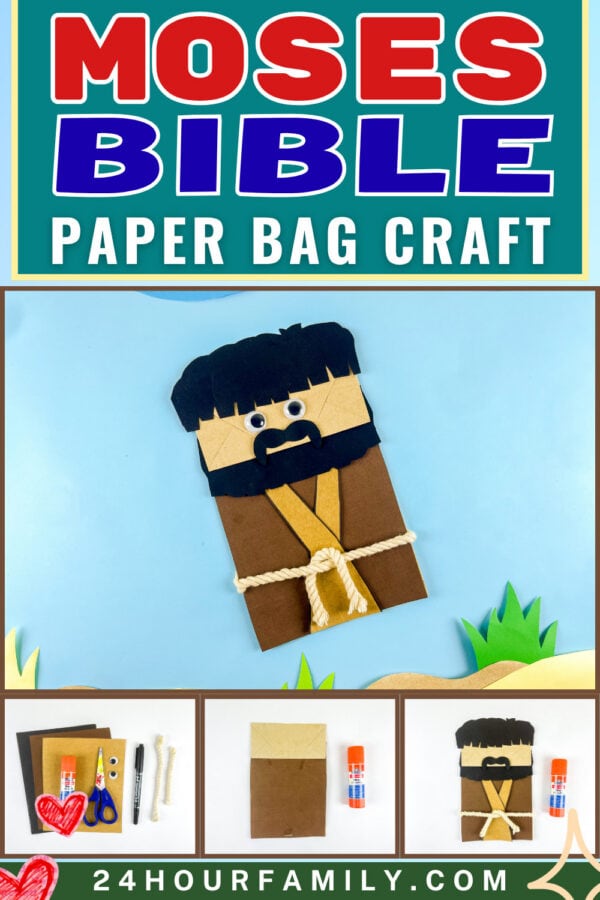
This Moses Bible Paper Bag Craft is a wonderful way to combine faith, learning, and creativity into one engaging activity. Using simple materials like a paper bag, construction paper, yarn, and glue, children can create a fun representation of Moses while learning important lessons from the Bible.
Whether you’re teaching a Sunday school lesson, preparing a Bible craft for kids, or searching for fresh craft ideas, this project offers a meaningful way to help children connect with Scripture.
What age group is this craft best for?
This activity works well for preschool, elementary-aged children, and even older kids who enjoy Bible-themed crafts. Little ones may need assistance when cutting out the pieces.
Can I use a lunch bag instead of another type of paper bag?
Absolutely. A standard lunch bag works perfectly for this project and is easy to find at most stores.
Is there a printable version available?
Of course. A Moses craft printable or PDF template makes preparation much easier and helps maintain consistent sizing for each piece.
Which part of the Bible does this craft help illustrate?
This craft pairs well with lessons about Baby Moses in a basket, the burning bush, the Exodus, the parting of the Red Sea, and the moment Moses received the Ten Commandments from God.
Moses Bible Paper Bag Craft
This Moses Bible Paper Bag Craft is a simple activity that lets children create a paper bag character inspired by the story of Moses. Kids will assemble the robe, hair, beard, and other features using easy-to-find supplies. The project encourages creativity while helping children practice cutting, gluing, and assembling paper pieces. It works well for Sunday school, homeschool lessons, or Bible-themed classroom activities. The finished craft can be displayed or used during storytelling time.
Materials
- Paper bag
- Colored paper
- Yarn
- Googly eyes
- Glue
- Scissors
- Marker
- Printable template
Tools
Instructions
1. Cover the Paper Bag
Cut a piece of brown paper to fit the front of the paper bag. Glue it securely in place and smooth it down to create a neat background for the craft.
2. Trace and Cut the Robe Pieces
Use the printable template to trace the robe pieces onto colored paper. Carefully cut out each section, then arrange the pieces together to form Moses' robe.
3. Attach the Robe
Glue the assembled robe onto the center of the paper bag. Press the pieces firmly into place and use a marker to outline the robe if you would like additional detail.
4. Make the Belt
Cut the yarn into short pieces and tie them together to create a simple belt. Glue the belt around the waist area of the robe and allow it to set.
5. Add the Hair and Beard
Trace the hair, beard, and mustache pieces onto colored paper and cut them out. Glue the pieces onto the top flap of the paper bag to create Moses' face and beard.
6. Finish the Craft
Attach the googly eyes above the mustache and make any final adjustments to the pieces. Allow the glue to dry completely before displaying the finished craft or using it as a paper bag puppet.
