
Eve And The Garden of Eden Craft (Free Printable Template)
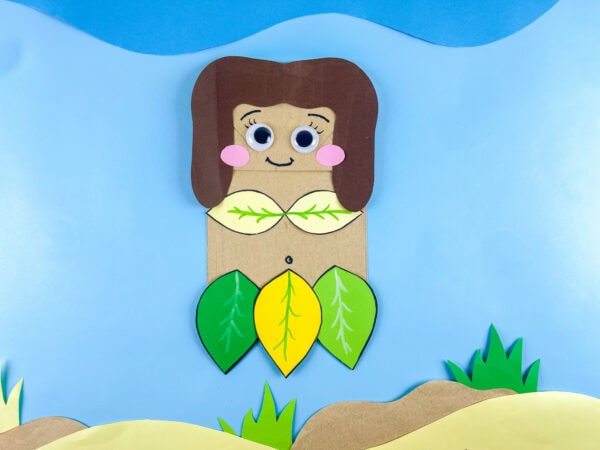
Creating an Eve and the Garden of Eden Craft is a fun way to combine creativity, simple crafting, and an easy introduction to one of the first bible stories many kids learn. This colorful paper-bag character gives children a hands-on way to explore the story of the Garden of Eden while enjoying cutting, gluing, and decorating.
Whether you’re planning a Sunday school project, preparing a preschool activity, or gathering fresh Garden of Eden craft ideas, this easy craft is simple to make and full of creative fun.

Eve Garden of Eden Craft
The Garden of Eden story is one of the most recognized stories in the Bible. In the book of Genesis, God created Adam and Eve and blessed them with a beautiful garden filled with nature, animals, and everything they needed to live.
But along with those blessings came one important command: they were told not to eat from the tree of the knowledge of good and evil.
Later, the snake tempted Eve, and Adam and Eve’s decision changed everything. This is the moment when sin entered the world, making the story an important lesson many teachers and parents want to teach in a simple, age-appropriate way.
This post may contain affiliate links. As an Amazon Associate and a participant in other affiliate programs, I earn a commission on qualifying purchases. Read our disclosure policy here.
AJM Brown Paper Lunch Bags 40 Count Crafty DAB GLUES DAB N STIC SchoolElmer’s Disappearing Purple School Glue Sticks Washable 22 Grams 3 CountHuhuhero Kids Scissors, 5” Safety Toddler Scissor Blunt Tip with Cover, Small Craft Cutting Paper Scissors for Child Kid Age 4-7 8 9, Assorted Colors, 4 PackCrayola Construction Paper, 120 SheetsCrayola 587722 Non-Washable Markers, Broad Point, Classic Colors, 10/Set


Materials Needed
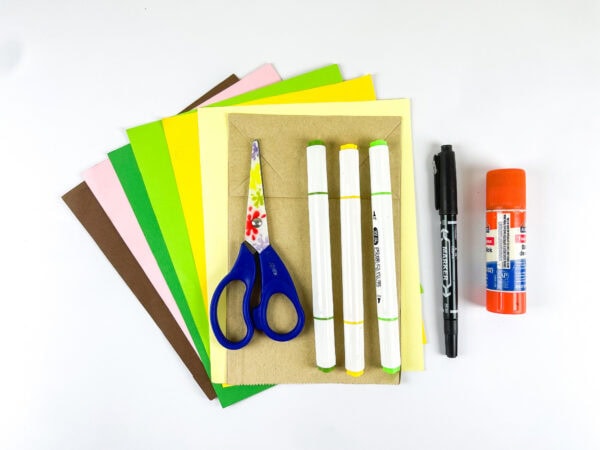
Before starting this Garden of Eden paper craft, gather these supplies:
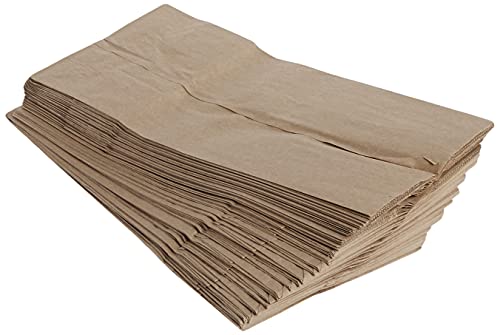
- Paper bag
- Construction papers
- Color pencils
- Googly eyes
- Marker
- Glue
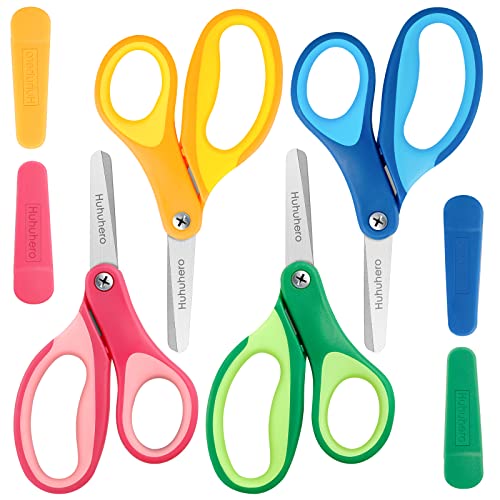
- Scissors
This simple supply list uses materials many teachers, parents, and classrooms already have on hand.
How To Make This Eve Garden of Eden Craft
This great bible craft activity comes together in a few easy steps.
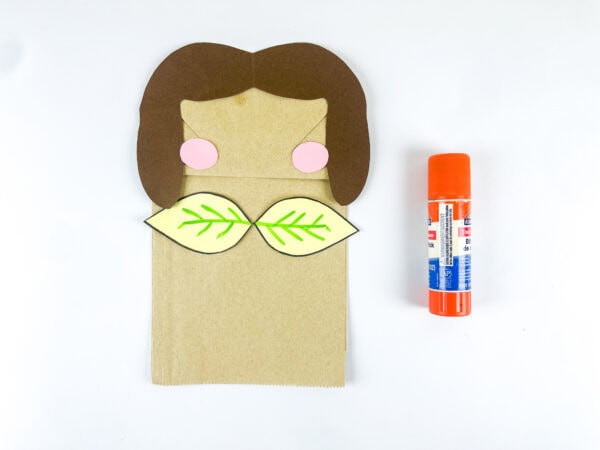
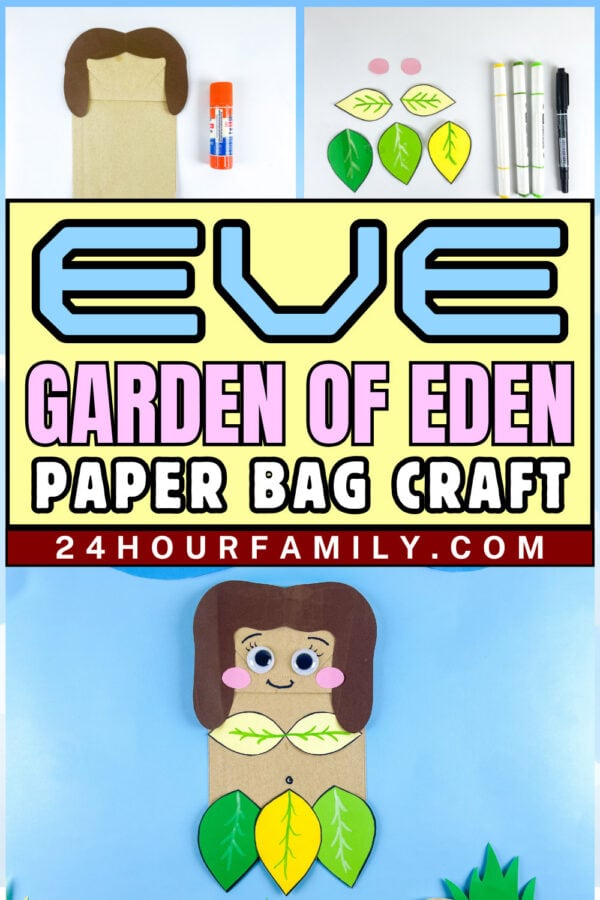
Step 1: Cut and Trace the Templates
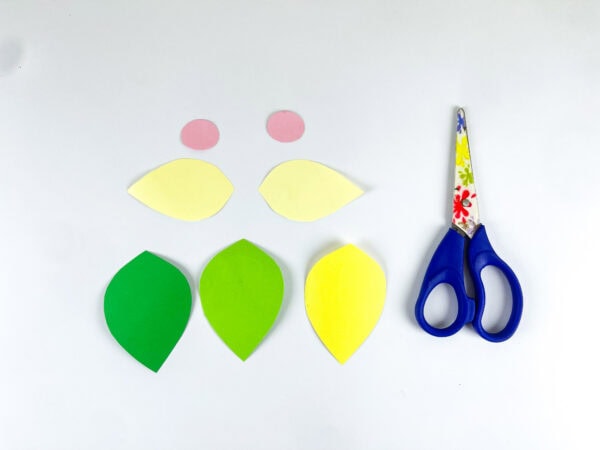
Start by cutting out your printable templates. Trace the template pieces onto the matching construction paper colors and carefully cut them out again.
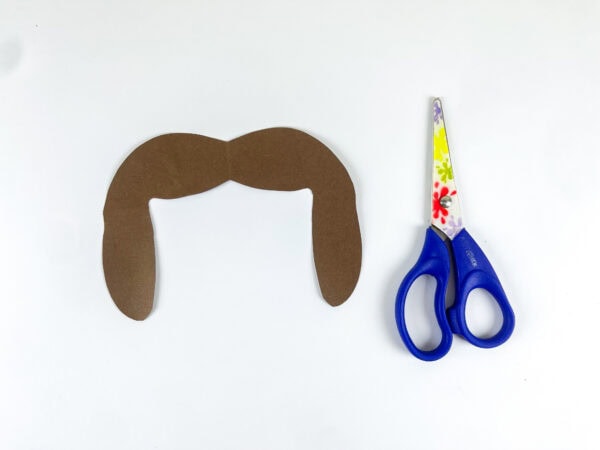
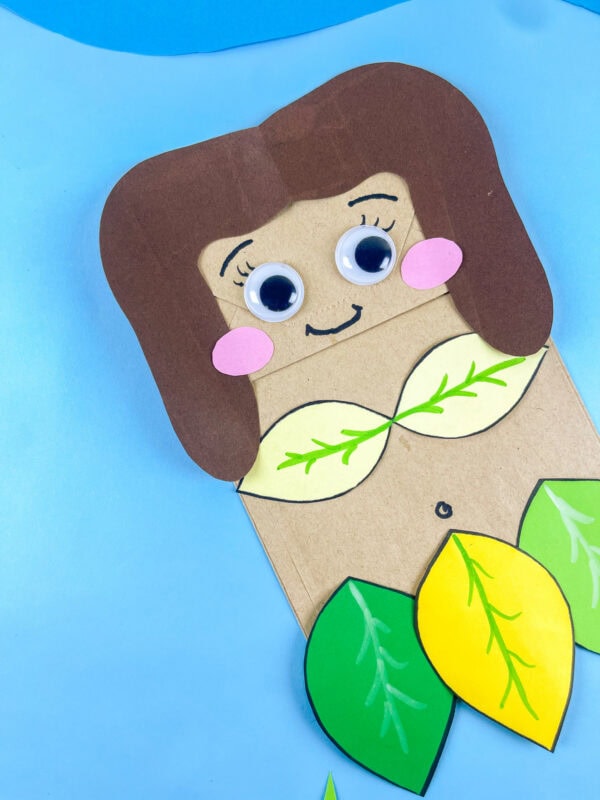
You’ll need the hair piece, leafy clothing pieces, blush circles, and other details that make this Adam and Eve craft come together.
These detailed instructions help make the project easy for both younger kids and older children.
Step 2: Assemble the Hair Piece
Take the brown hair template and assemble it onto the top section of the paper bag.
A little glue or simple taping works well here, depending on your preference.
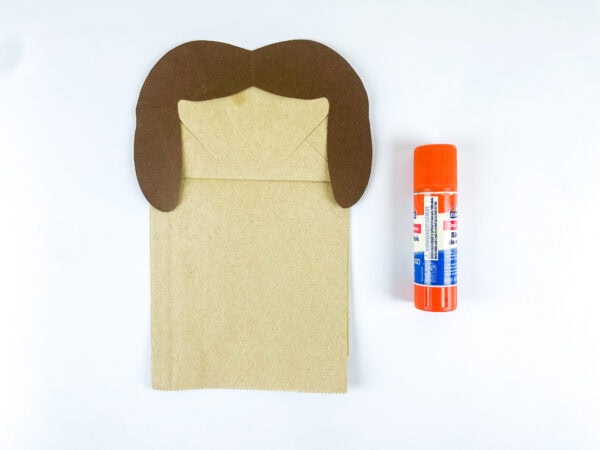
With the pieces added, the paper bag starts looking more like Eve from the Bible story of Adam and Eve.
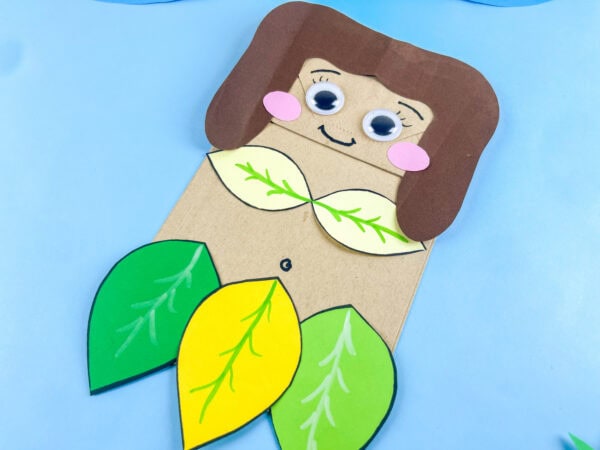
Step 3: Add The Leaf Details
Next comes one of the most fun parts of this craft.
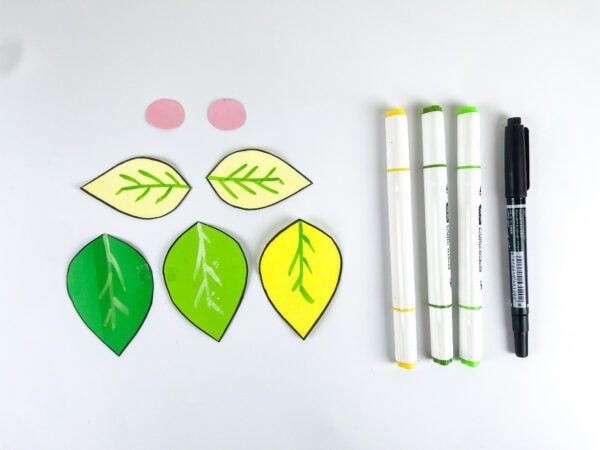
Use markers or colored pencils to draw leaf veins and decorative details onto the leaf pieces. This makes the project feel brighter and more creative.
Attach the upper leaves to create Eve’s top, then add the lower leaves to the bottom section of the paper bag.

This part of the Garden of Eden craft is a nice opportunity to talk about the story of this beautiful garden, the plants God created during creation, and the Garden of Eden’s setting.
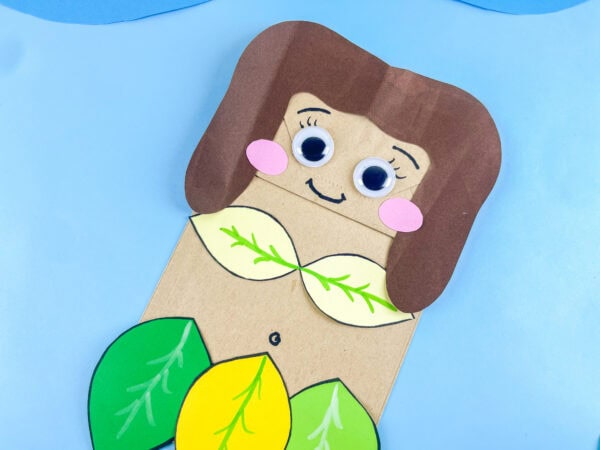
Step 4: Add The Face Pieces
Attach the pink blush circles and googly eyes to the face.
Kids always love this part of a craft activity because the character suddenly comes to life.
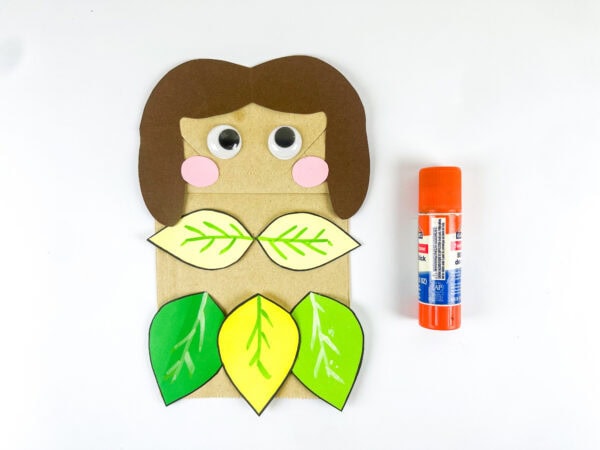
The googly eyes also make this bible craft feel playful and engaging for younger learners.
Step 5: Draw The Final Details
Use a marker to draw the eyebrows and smile.

That’s it! Your Eve Garden of Eden Craft is finished.
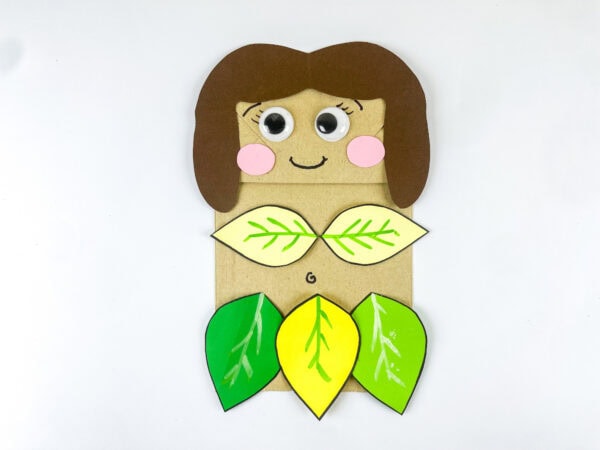
This simple step-by-step project is easy enough for preschool learners yet fun for older kids in Sunday school or church settings.
Tips For Making This Craft With Kids
- Pre-cut pieces for preschool kids if needed.
- Set out paper, scissors, and glue before starting.
- Read the Genesis story before the craft.
- Talk through the Garden of Eden story, including Adam and Eve and the snake, while making the craft.
- Let kids add their own color and creative details.
- Use the finished project for story retelling or quick lesson review.
Teaching The Bible Story With This Craft
One reason this Adam and Eve craft works so well is that it gives kids a visual way to understand an important Bible story.
As children work through the project, you can talk about:
- The creation story in Genesis
- Adam and Eve living in the Garden of Eden
- The snake and temptation
- The tree of knowledge
- Why God chose to forbid eating from the tree
- What happened when Adam and Eve disobeyed
This is a simple way to teach the story of Adam and continue into the full story of Adam and Eve without making the topic feel overwhelming for young learners.
Fun Ways To Use This Craft
Looking for more ways to use this Garden of Eden craft? Here are a few simple ideas about Garden of Eden activities you can try.
Pair It With Bible Reading
Read from Genesis before starting the craft. Pause throughout the story and let kids point out parts they remember as they work.
This turns the project into a meaningful bible craft experience.
Use It For Sunday School
This project makes a fun Sunday school craft for classrooms covering Adam and Eve, creation, or early bible stories.
Because it uses beginner-friendly cutting and assembly, it fits well in preschool and elementary settings.
Add A Matching Adam Craft
Want a complete set?
Pair this project with an Adam Garden of Eden Craft so children can create both Adam and Eve.
Having both characters can make storytelling, role play, and review activities even more engaging.
Use It As A Classroom Resource
Teachers, homeschool families, and children’s ministry leaders can use this project as a reusable resource.
Kids can display the finished character, retell the story, or use it during a review game after the lesson.
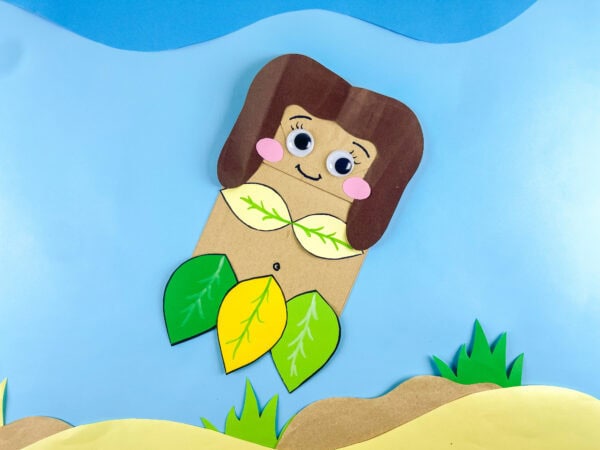
Why Kids Love This Eve And The Garden Of Eden Craft
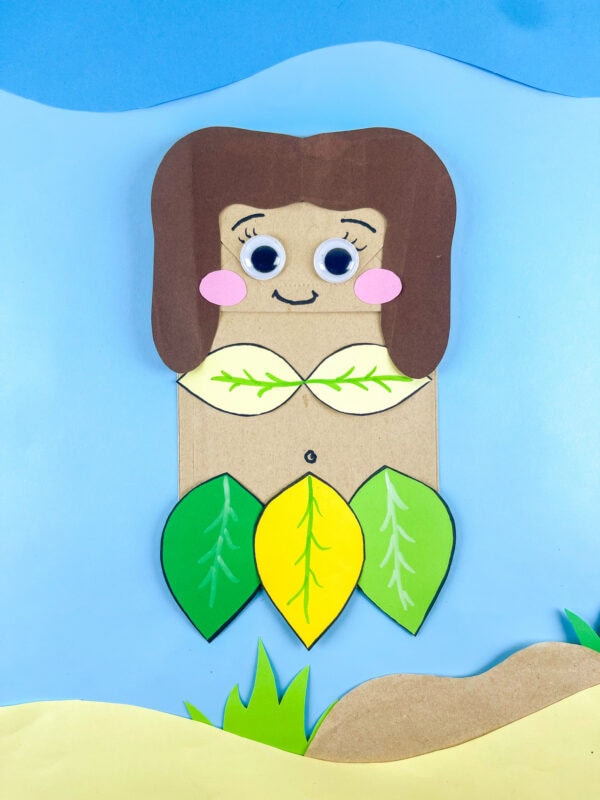
There are so many reasons kids enjoy this Eve Garden of Eden Craft. The bright leaf details, playful googly eyes, and simple paper-bag design make it a fun, hands-on project that feels creative without being complicated.
For younger learners in preschool or Sunday school, this activity offers lots of chances to practice cutting, coloring, tracing, and assembling. Older kids can focus more on the bible connection and the meaning behind the story of Adam and Eve.
More Bible Activities to Discover
If you enjoyed making the Eve Garden of Eden Craft, here are a few more faith-based projects that help children learn about important Bible stories through hands-on creativity.
- He Is Risen Easter Paper Craft – A meaningful Easter activity that celebrates the resurrection with a simple and engaging craft.
- Palm Sunday Donkey Craft – A creative project that helps kids explore the story of Jesus’ triumphal entry into Jerusalem.
- Nativity Toilet Paper Roll Craft – A fun recycled craft that transforms everyday materials into a nativity-themed creation.
- Hosanna Palm Leaf Craft with Palm Leaf Template – An easy Palm Sunday activity that encourages children to learn about and celebrate this special Bible event.
This beautiful garden is one of the most memorable settings in the Bible, making it a wonderful theme for creative projects.
Whether you’re teaching one of the first Bible lessons from Genesis, covering Adam and Eve, or simply looking for new craft ideas, this cheerful paper-bag Eve project is a fun way to bring the Garden of Eden story to life.
What age is the Eve Garden of Eden paper bag craft best suited for?
This craft is perfect for children ages 3–8, making it ideal for preschool, kindergarten, and early elementary students. It works beautifully as a Sunday school activity, VBS craft, or homeschool Bible lesson introducing the creation story and the first woman God created in Genesis.
How do I use this Eve craft in a Bible lesson?
This Eve paper bag puppet pairs perfectly with a Genesis creation lesson about God creating the first man and woman. After completing the craft, children can use their puppets to act out the Garden of Eden story, bringing scripture to life in a fun, memorable, hands-on way that little ones will remember long after class is over.
Can I make both Adam and Eve crafts together as a set?
Absolutely — and we highly recommend it! Making both the Adam and Eve paper bag puppets together creates a complete Genesis craft set, perfect for Sunday school, VBS, and homeschool Bible units. Kids love using both puppets together to retell the creation story and act out scenes from the Garden of Eden!
And when crafts are intended to make learning more meaningful, simple projects like this one can become a favorite classroom or home activity.

Eve Garden of Eden Craft
This Eve Garden of Eden Craft is a fun and easy activity that helps children learn about the Bible story of Adam and Eve. Using a paper bag and a few simple supplies, kids can create their own Eve character with colorful paper details. The project encourages creativity while building cutting, coloring, and gluing skills. It works well for church lessons, homeschool activities, or classroom crafts. The finished character can be used for storytelling, displays, or Bible-themed learning activities.
Tools
- Paper bag
- Free Eve Template
- Construction paper
- Colored pencils
- Googly eyes
- Marker
- Glue
- Scissors
Instructions
1. Cut and Trace the Templates
Trace the template pieces onto the appropriate colors of construction paper and carefully cut them out. Gather the hair piece, leaf pieces, blush circles, and facial details so they are ready for assembly.
2. Assemble the Hair Piece
Glue the hair piece onto the top flap of the paper bag. Position it carefully so it forms the top of Eve’s head and frames the face area.
3. Decorate and Attach the Leaves
Use colored pencils or markers to add simple details to the leaf pieces. Once decorated, glue the leaves onto the paper bag to create Eve’s outfit, placing some near the upper section and others toward the bottom.
4. Add the Face Pieces
Attach the googly eyes and blush circles to the front of the paper bag. Arrange them evenly to begin creating Eve’s facial features.
5. Draw the Final Details
Use a marker to draw the eyebrows, smile, and any additional facial details. These finishing touches help bring the character to life.
6. Let It Dry and Display
Allow all pieces to dry completely before handling the craft. Once finished, use the paper bag character for storytelling, classroom displays, or Bible lesson activities.