
Santa Craft with Moving Eyes (Free Printable Template)
This Santa craft with moving eyes is a fun, interactive Christmas craft for kids.
Using the free printable template, kids can create Santa’s face, red top piece, and nose, then add a simple slider behind the face so the eyes shift side to side.
This printable activity works well for preschool and elementary-age kids, classroom use, homeschool, or an afternoon of festive holiday crafting at home.
For even more ideas, browse our Christmas Crafts and Printables for Kids.
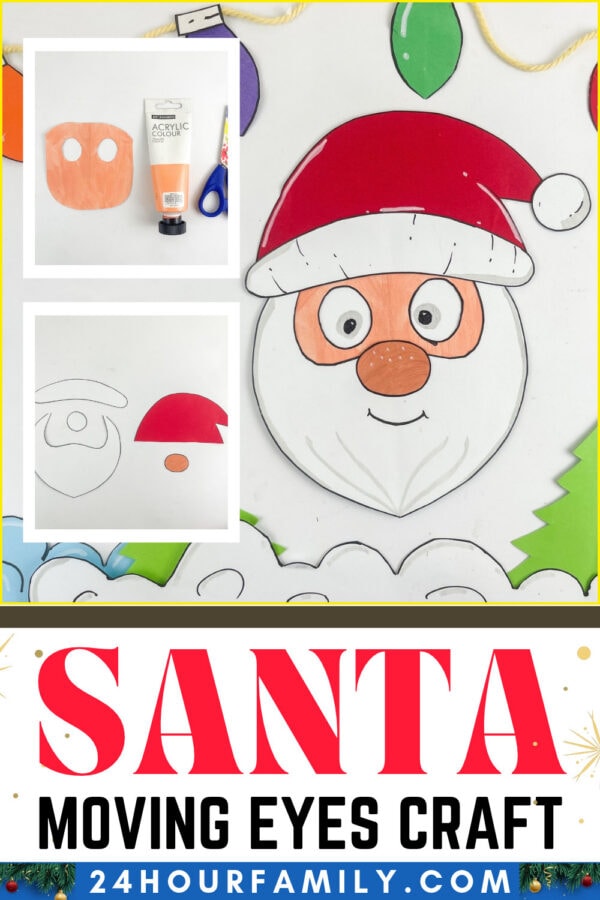
Santa Craft with Moving Eyes + Free Printable Template
The finished character is cute enough to display for the holidays, but kids will especially enjoy changing the eyes’ direction after they finish.
There are plenty of ways to make this holiday character, but the moving eyes make this version a little different.
Instead of attaching fixed eyes to the face, the template has two cut-out openings.
A white slider sits behind those openings. Kids can shift it from behind the design, which changes where the pupils appear.
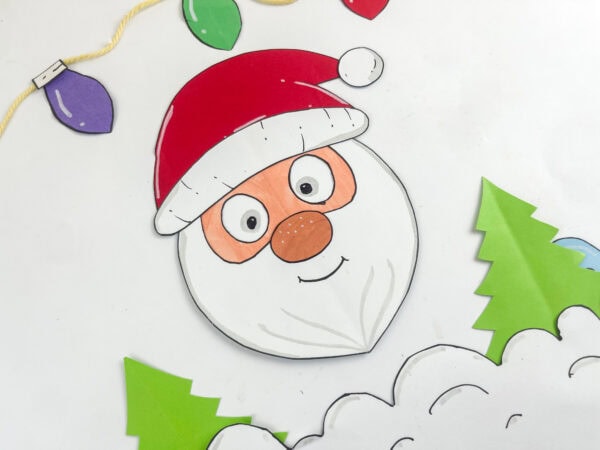
The free printable template also makes it easier to create the face, trim, pom-pom, nose, and main hat shape.
Kids can use the red-and-white look shown here or add their own artistic details.
For another easy option, try our Build a Santa Printable.
Supplies for the Moving Eyes Santa Project
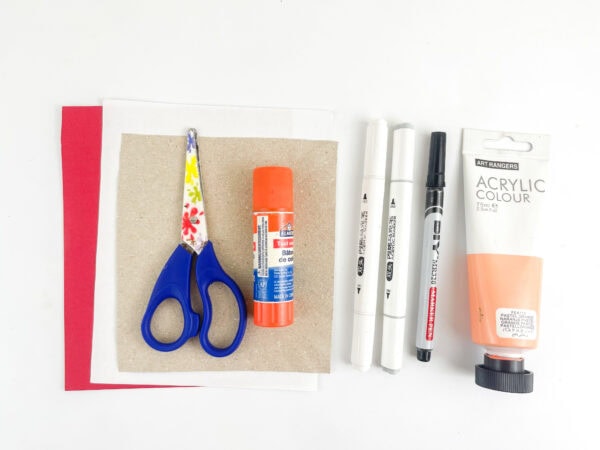
You will need these basic materials, and each supply is easy to find:
- Free printable template
- Construction paper
- Thin chipboard
- White printer paper
- Red sheet
- Peach acrylic paint
- Glue stick or school adhesive
- Scissors
- Black marker
- White and gray pens, optional
The peach shade works well for the face, while the red sheet creates the top piece.
White cardstock works for the trim, pom-pom, and sliding eye insert.
How to Make a Santa with Moving Eyes
Step 1: Print and Cut Out the Santa Template
Print the free template.
Carefully cut out each piece.
Trace the pieces onto the appropriate material and cut them out.
For younger children or a toddler group, an adult may want to prepare the smaller pieces in advance.
Step 2: Prepare the Face
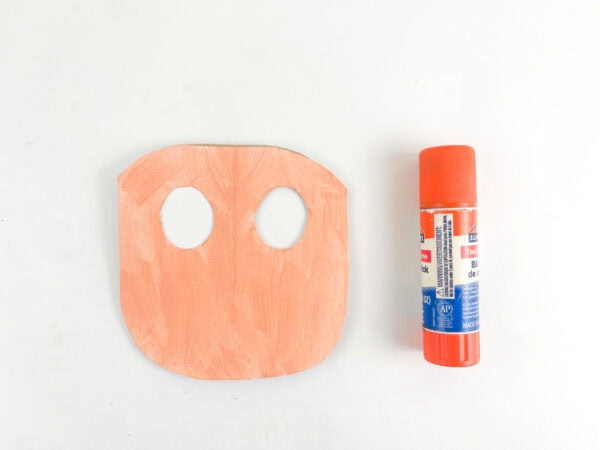
Trace the face piece onto the backing and cut it out.
Carefully cut out both eye openings.
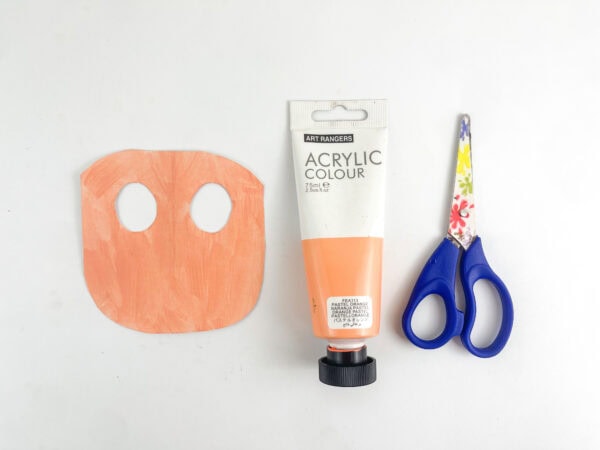
Paint the front piece and let it dry completely.
Once dry, use a black pen to outline the outside edge and eye openings.
Step 3: Make the Backing
Cut another backing piece that is slightly larger than the white slider.
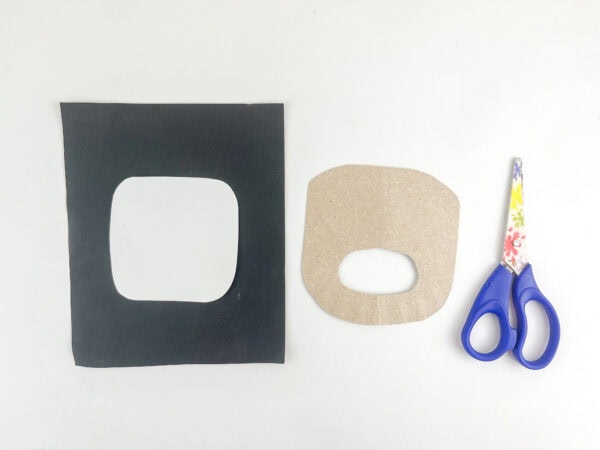
Cut an opening near the bottom.
This gives kids a place to reach behind the design and shift the slider with their fingers.
Step 4: Prepare the Moving Eye Piece
Cut a rectangle from a white sheet that is slightly smaller than the backing.
Place the sheet on top.
Do not attach it.
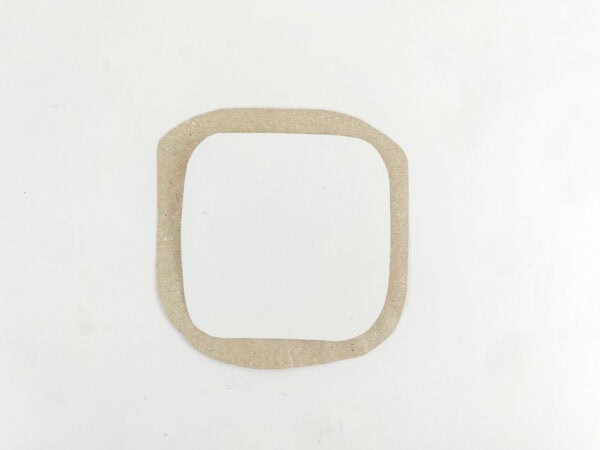
It needs to remain loose enough to slide from side to side.
Position the face over the slider so you can see white through both eye openings.
Step 5: Attach the Face
Glue the face to the backing around the outer edges.
Be careful not to secure the white slider underneath.
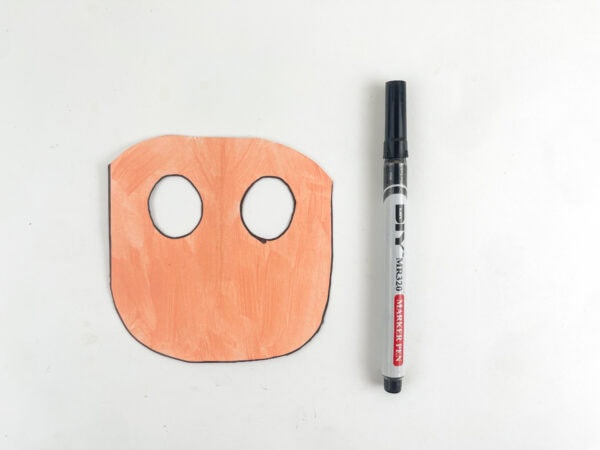
Test it before continuing.
You should be able to reach through the opening in the back and gently slide the insert behind the face.
Step 6: Add the Beard
Cut out the large white piece and attach it around the lower face.
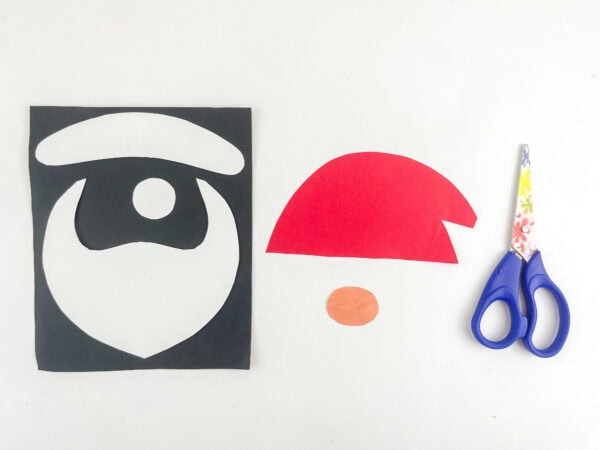
Make sure the top edge fits without covering the eye openings.
Outline it if desired, then add a few light gray curved lines for detail.
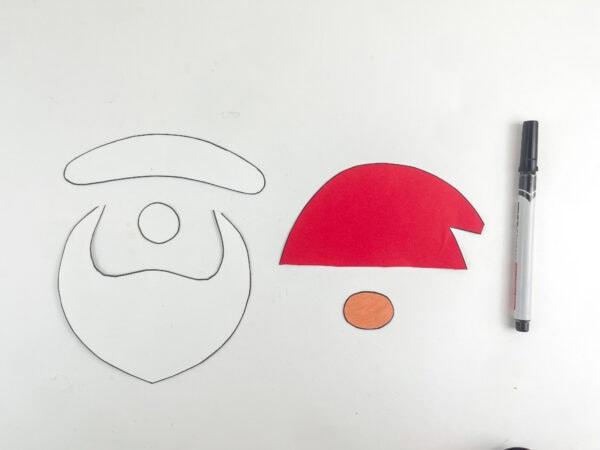
Step 7: Add the Nose
Cut out the oval nose piece.
Shade it a slightly darker peach or medium brown.
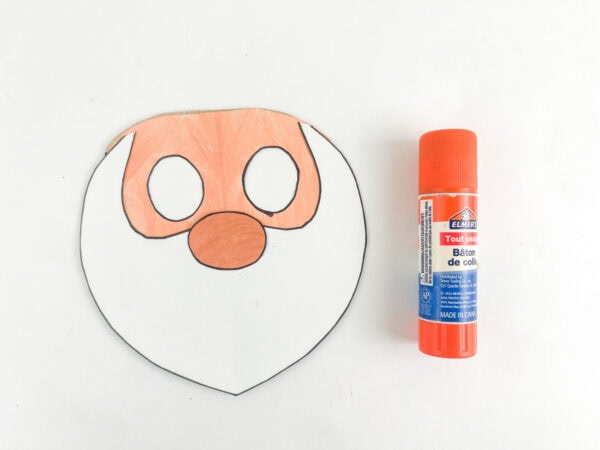
Attach the nose in the center beneath the eyes.
Use a white pen to add a few small highlights or dots if you like.
Step 8: Make the Hat
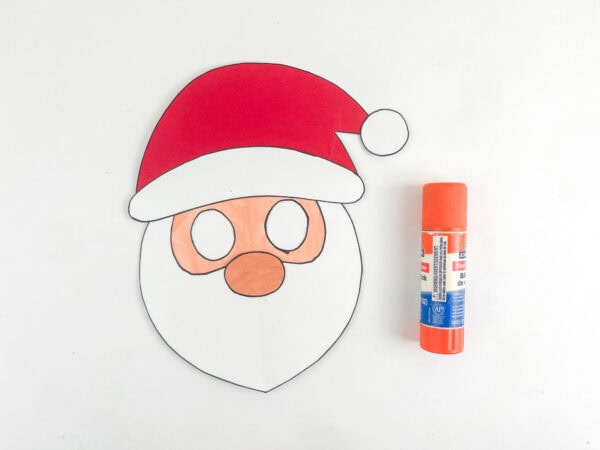
Trace the main piece onto the red sheet.
Cut the trim and pom-pom from white cardstock.
Glue the trim along the bottom and attach the pom-pom to the end.
Secure the finished piece to the top of the head.
For extra detail, use white and gray pens to add highlights and small lines.
Step 9: Add Face Details
Use a black pen to draw a smile.
Add any other facial details you like.
Now draw the pupils on the white slider showing through the eye openings.
Make sure they remain visible as the insert slides.
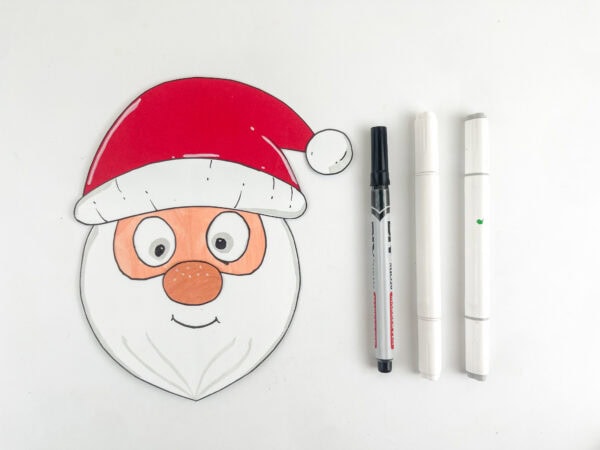
Step 10: Test the Moving Eyes
Turn the design over and place your fingers through the opening in the backing.
Gently slide the slider from side to side.
The pupils should shift with it.
Kids can make Santa Claus look left, right, or straight ahead.
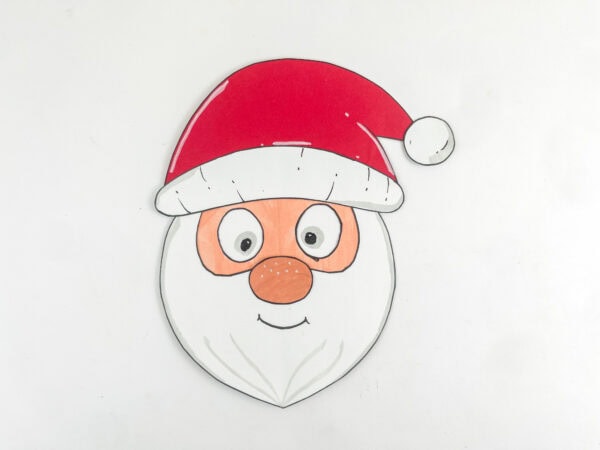
How Do Santa’s Moving Eyes Work?
This version uses a very simple sliding mechanism.
The white insert sits loosely between the face and backing.
The pupils are drawn on it and show through the two eye openings.
When the slider shifts behind the face, the pupils change position.
No brads, fasteners, or complicated moving parts.
That simple movement turns an ordinary printable into an interactive design.
Tips for Making the Eyes Move Smoothly
A few small adjustments can improve the mechanism.
Do not secure the eye insert. It needs to remain loose enough to slide.
Keep adhesive away from the center and attach the face around the outer edges instead.
Use lightweight paper because it slides more easily than heavy cardstock.
Make the back opening large enough for little ones to comfortably reach the slider with a finger.
Test before decorating. Check the eye movement before adding the finishing pieces.
Easier Version for Preschoolers
If you are making this with preschoolers or a large classroom group, prepare the sliding mechanism ahead of time.
Children can then:
- Attach the white face piece
- Add the nose
- Assemble the red top piece
- Draw the smile
- Decorate with pom poms or another small item
- Try the moving eyes
This hands-on activity builds fine motor skills and leaves room for creativity.
You can also skip the sliding mechanism completely and attach a white sheet behind the openings before drawing the pupils. This easier option can work well as a toddler kit.
Ways to Use This Santa Project
Christmas Classroom Craft
Prepare the templates and backing pieces before class and let students assemble and decorate their own versions.
Display the finished art as a large ornament on a bulletin board, near a Christmas tree or Christmas lights, or beside a snowman.
Homeschool Christmas Activity
Add this design to a December lesson, winter unit, or holiday season theme.
Pair it with a book, writing task, advent calendar, gift theme, or another printable.
Santa-Themed Craft Day
Make several themed designs and let kids compare different ways to create the same festive look.
Try a paper plate, cup, tube, toilet paper rolls, wooden dowel, straw, or small box as the base for another version, or add 3D details with fabric or a pipe cleaner.
You can also make our Santa Paper Bag Craft or Santa Paper Plate Craft for more holiday magic.
More Moving Eyes Christmas Crafts
If your kids enjoy the moving-eye feature, make several interactive holiday characters and display them together.
- Moving Eyes Mouse King
- Moving Eyes Nutcracker
- Moving Eyes Elf
- Moving Eyes Gingerbread
- Moving Eyes Reindeer
These designs make an adorable interactive collection for kids and add a playful touch to the season.
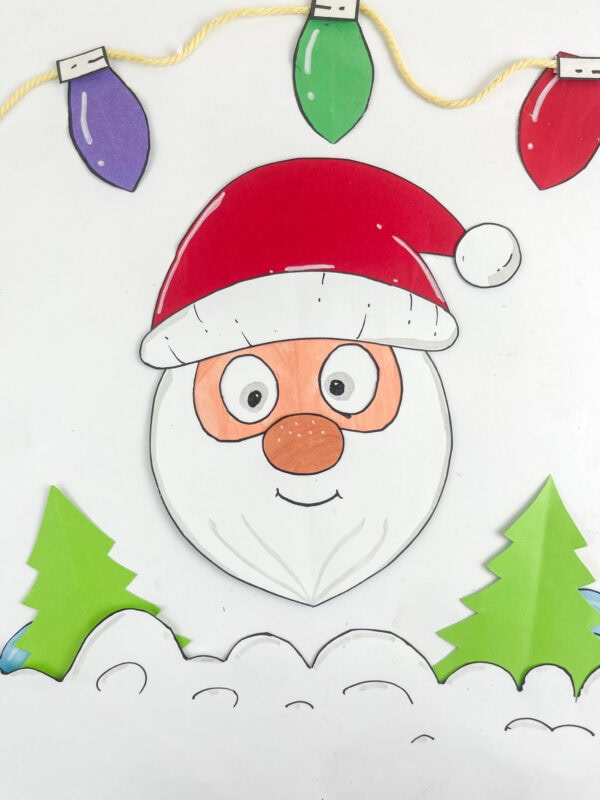
Make Your Own Moving Eyes Santa
This design combines a traditional paper look with a simple interactive element kids can enjoy after they finish.
The free printable template makes the pieces easy to prepare, while the sliding mechanism adds a playful surprise.
Use it for a classroom celebration, homeschool lesson, December crafting day, or a fun option at home.
For a crafty display, place the finished face near a sleigh, candy decorations, or an illustration of a red coat, belt, and buckle to build a cheerful scene.
And don’t forget to browse our seasonal activities for more ways to celebrate.
What ages is this Santa craft with moving eyes best for?
Kindergarten and elementary-age children can complete much of the assembly independently. Preschoolers can participate with adult help, especially if you prepare the backing and eye openings ahead of time.
Do I have to use cardboard?
A thin backing board works best because it provides structure and a sturdy base for the sliding eye mechanism. Heavy cardstock may also work.
Can kids color the printable instead?
Yes. You can simplify the process by having each child’s design use crayons, colored pencils, or markers instead of tracing every piece.
Do the eyes have to slide?
No. For a simpler version, attach a white sheet behind the eye openings and draw the pupils directly onto it.
Can I use googly eyes?
Yes. If you do not want to make the sliding mechanism, self-adhesive eyes are another easy option.
Can this Santa project be used in a classroom?
Yes. For classroom use, I recommend preparing the backing and eye openings ahead of time. Each kid can assemble and finish it independently.
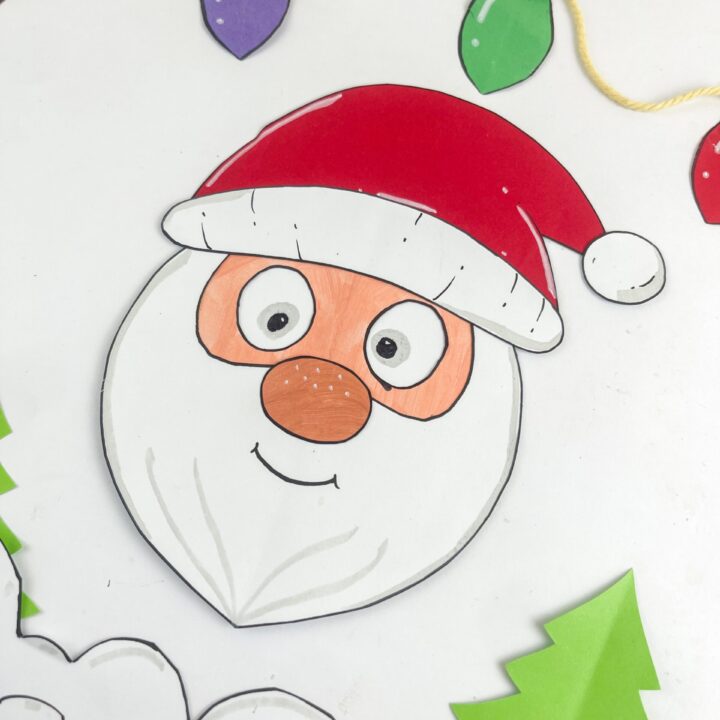
Santa Craft with Moving Eyes
Make a fun Santa craft with moving eyes using the free printable template. Kids can assemble Santa's beard, hat, nose, and face, then slide the paper behind his eyes to make him look from side to side.
Materials
- Free printable Santa template
- Construction paper
- Thin cardboard
- White paper
- Red construction paper
- Peach acrylic paint
- Glue stick or school glue
Tools
- Scissors
- Black marker
- White marker or paint pen, optional
- Gray marker or paint pen, optional
- Colored pencils, optional
Instructions
- Print and cut out the Santa template pieces.
- Trace the pieces onto construction paper or cardboard and cut them out.
- Cut Santa's face from thin cardboard and carefully cut out both eye openings.
- Paint Santa's face peach and let it dry completely.
- Outline the face and eye openings with a black marker.
- Cut a piece of white paper slightly smaller than the cardboard backing.
- Cut another piece of cardboard slightly larger than the white paper and make an opening near the bottom for your fingers.
- Place the white paper on the cardboard without gluing it.
- Position Santa's face over the white paper and glue the face to the cardboard backing around the edges. Keep the white paper loose so it can move.
- Cut and attach Santa's white beard.
- Add the peach or light brown nose.
- Assemble the red Santa hat with its white trim and pom-pom, then glue it to the top of Santa's head.
- Draw Santa's smile and add decorative details with markers.
- Draw pupils on the white paper so they show through the eye openings.
- Reach through the opening in the back and gently slide the white paper from side to side to make Santa's eyes move.
Notes
- Do not glue the white eye paper to the cardboard.
- Keep glue away from the area where the paper needs to slide.
- Lightweight white paper usually moves more easily than heavy cardstock.
- Test the eye movement before adding all the final decorations.
- For preschoolers, prepare the cardboard and eye openings ahead of time.
- For an easier version, glue the white paper in place and draw stationary pupils.
