How to Make a Santa Stick Puppet (Free Template)
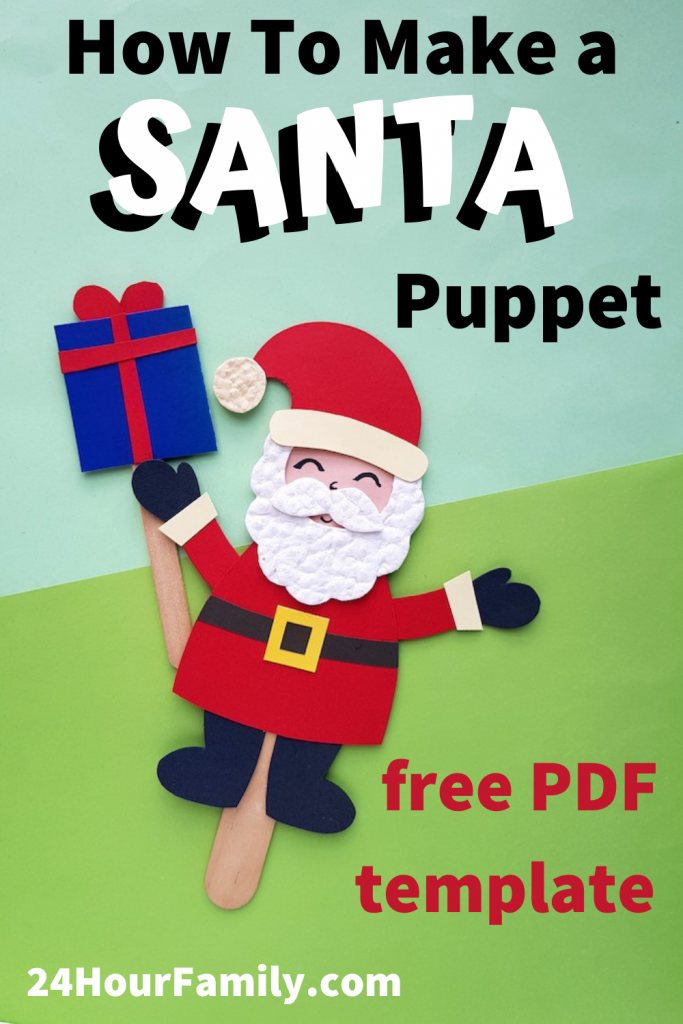
Christmas stick puppets are super fun and super simple to make with our free SANTA template printable. Your kids are sure to have fun hosting their own Christmas puppet show!
One of the best holiday memories you can make is spending quality time making Christmas Crafts with your child. Making a Santa craft allows children to use their imagination and creativity to design and create their own unique popsicle stick Santa puppet.

As an Amazon associate, this post contains affiliate links meaning I get commissions for purchases made through links in this post at no cost to you.
Table of Contents
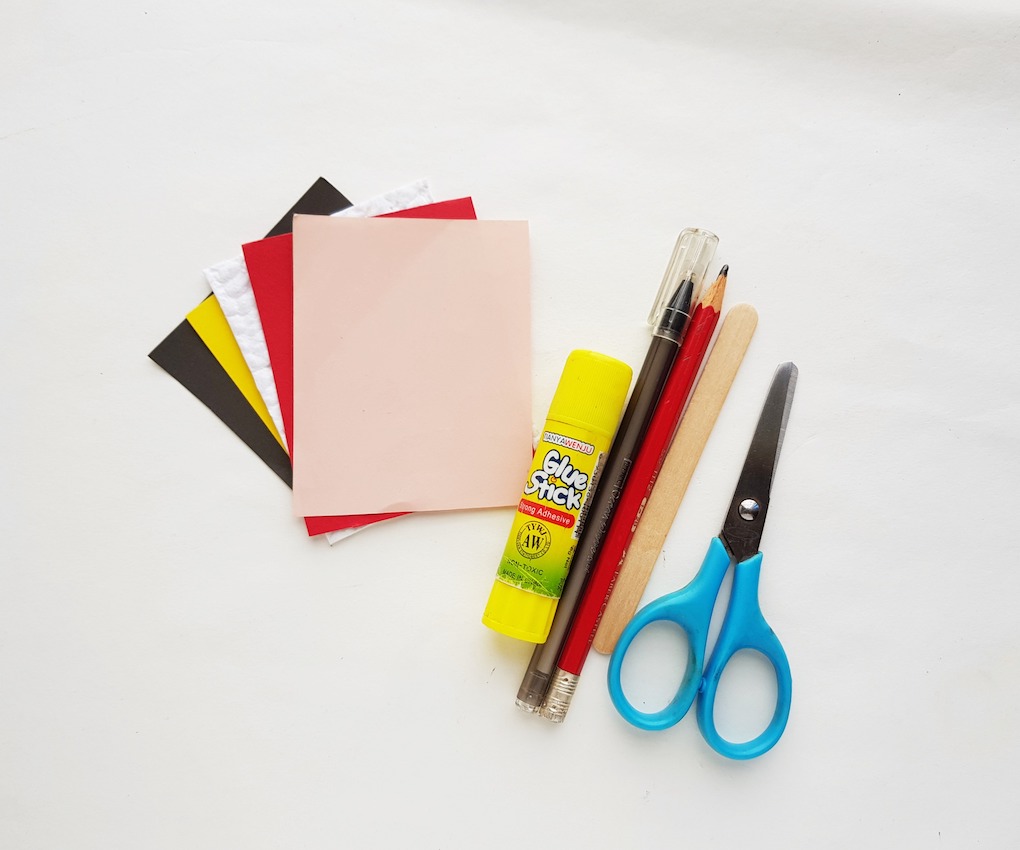
List of Supplies to make a Santa Stick Puppet:
- Construction paper
- Craft glue
- Popsicle stick
- Sharpie
- Pencil
- Scissors
- Free Santa Template (Get the free resource below)

This Santa Craft is a simple Santa Stick Puppet craft made with colored craft papers, popsicle sticks, sharpies, and glue.
Step 1:
Select red, black, off-white, or cream and yellow colored craft papers for the puppet craft. Select white-colored embossed paper for the beard and mustache of the Santa Clause puppet craft. Trace the patterns on the selected craft papers and embossed paper and cut them out nicely.

Step 2:
Grab the hat and the belt patterns. Stick the small square in the middle of the big square and then stick the big square in the middle of the belt strip. Stick the small round cut-out on the tip of the hat cut-out and stick the curved-end strip along the straight side of the hat pattern. The belt and the hat of the Santa puppet are ready.

Step 3:
Take the hand and sleeve cutouts. Stick the small rectangle patterns on either small side of the sleeve (arm) patterns and then stick the hand (glove) patterns on the open side of the small rectangle to complete the paper handcrafts of the Santa puppet.

Step 4:
Take the body pattern and stick the 2 arm patterns on both sides of the body pattern.

Step 5:
Take the beard, mustache, and the big round cut-out (head). Stick the beard and the mustache on the big round cut-out (head).

Step 6:
Stick the paper hat pattern on the opposite side of the beard, on the big round cut-out to complete the head craft of the Santa puppet.

Step 7:
Attach the belt pattern along the middle part of the body pattern.

Step 8:
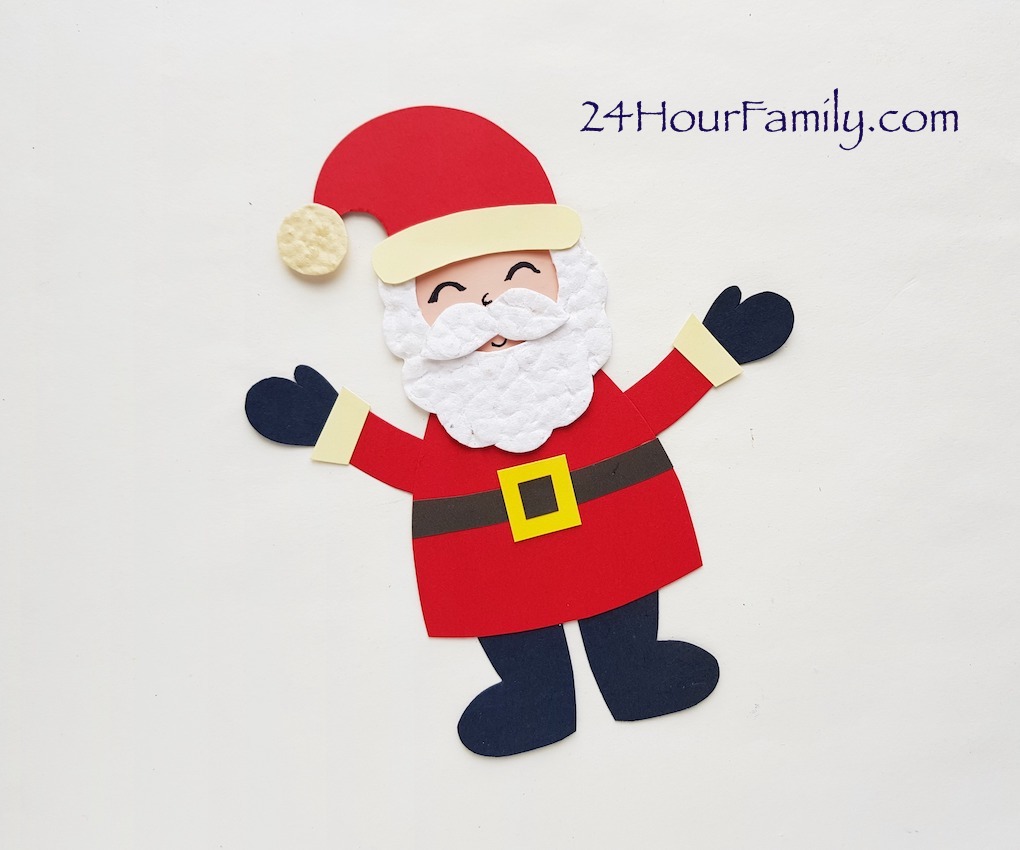
Stick the head on the top side of the body pattern and the shoe patterns on the bottom side of the body pattern. Use a black Sharpie to draw the eyes, nose, and mouth of the Santa paper craft.

Step 9:
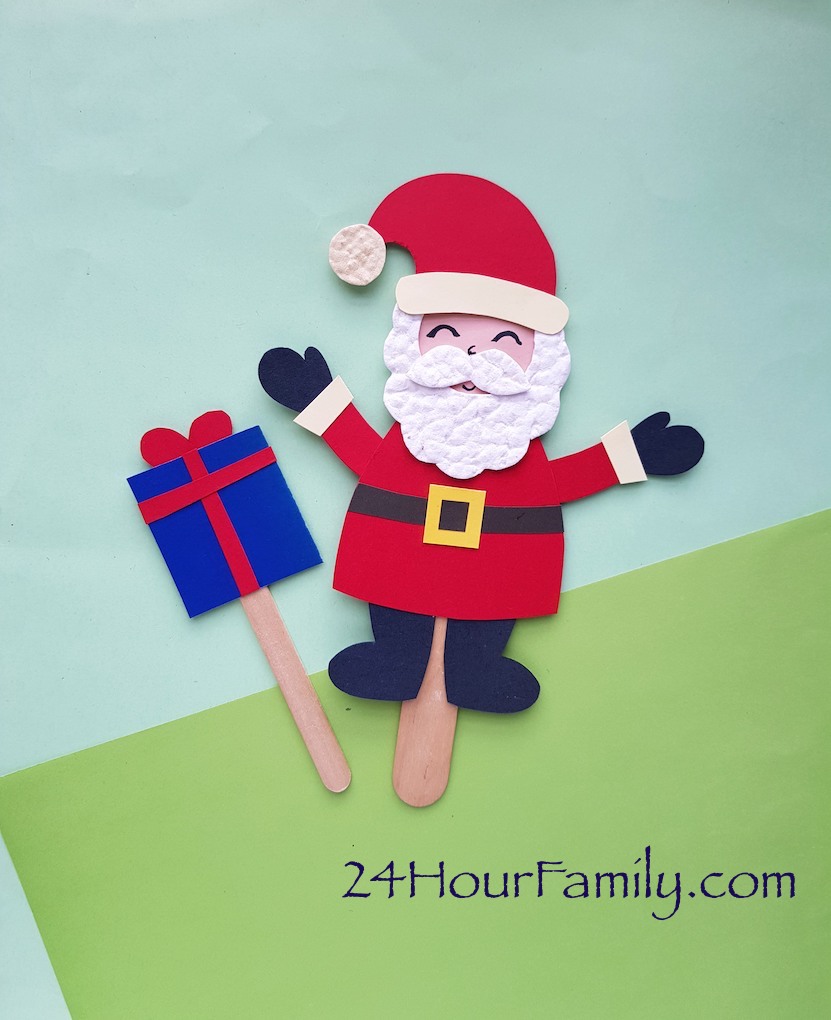
Attach the Santa Clause paper craft on a popsicle stick to complete the puppet craft.

Benefits of Making Popsicle Crafts:
Develops fine motor skills: Creating a Santa stick puppet requires the use of small muscles in the hands and fingers, which can help develop fine motor skills.
Improves hand-eye coordination: Assembling the puppet and manipulating it with a stick can improve hand-eye coordination.
Enhances storytelling skills: Once the puppet is created, children can use it to tell stories and develop their storytelling skills.
Builds confidence: Completing a craft project like making a Santa stick puppet can boost a child’s confidence and sense of accomplishment.
Making a Santa stick puppet can be a fun and engaging activity for children that offers numerous developmental benefits. From enhancing creativity and fine motor skills to providing a sense of accomplishment and bringing joy to the holiday season. It’s a versatile and enjoyable activity with something to offer for everyone.
This is a simple and enjoyable craft project that can be customized with additional details and embellishments if you wish. Enjoy the Christmas Season!


