
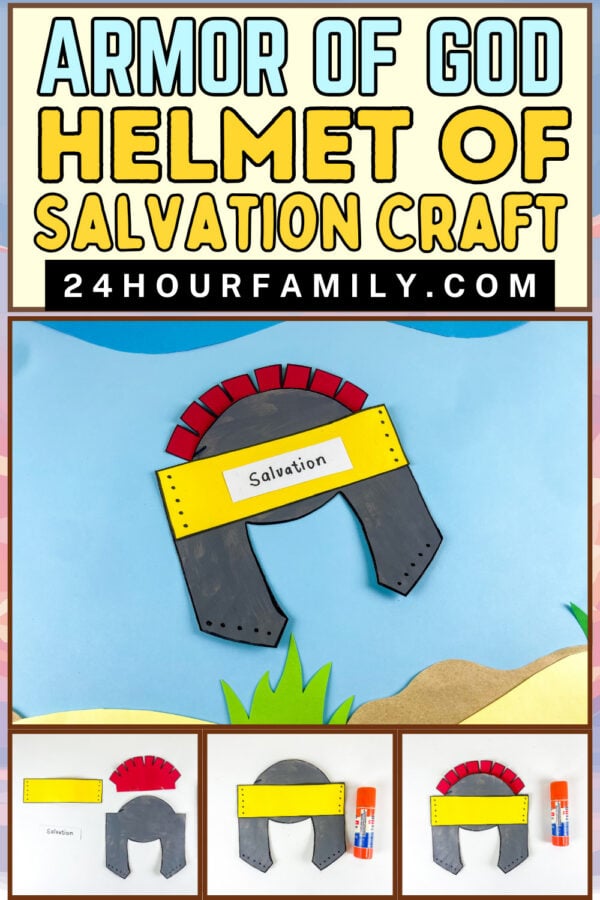
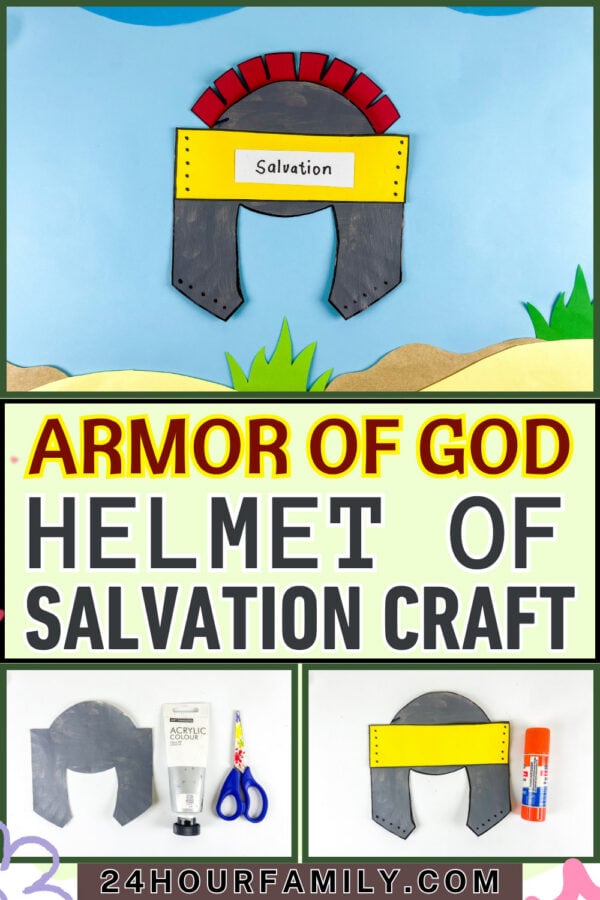
Armor of God Helmet of Salvation Craft
Making an Armor of God Helmet of Salvation Craft is a fun way to combine creativity, hands-on learning, and an easy bible lesson in one activity. This simple project gives kids a colorful way to learn about the helmet of salvation while staying busy with cutting, coloring, and crafting.
Whether you’re planning Sunday school, organizing vacation Bible School activities, or adding another easy Armor of God craft to your lesson plans, this project is simple, engaging, and easy to make.
Armor of God Helmet of Salvation Craft
The helmet of salvation is one important part of the full armor of god described in Ephesians. Just as a Roman soldier wore protective gear into battle, the Bible uses armor imagery to teach believers about spiritual strength, faith, and trust in the Lord.
In Ephesians 6, believers are encouraged to stand firm, resist the devil’s schemes, and remember the protection found in Christ.
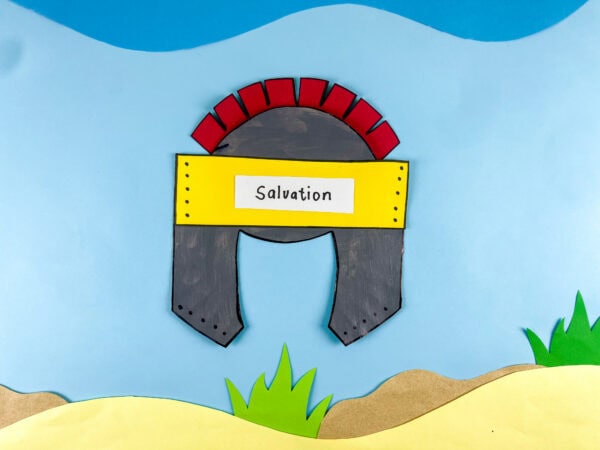
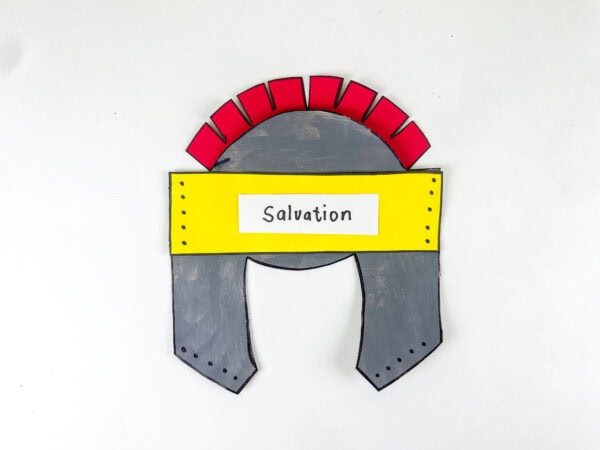
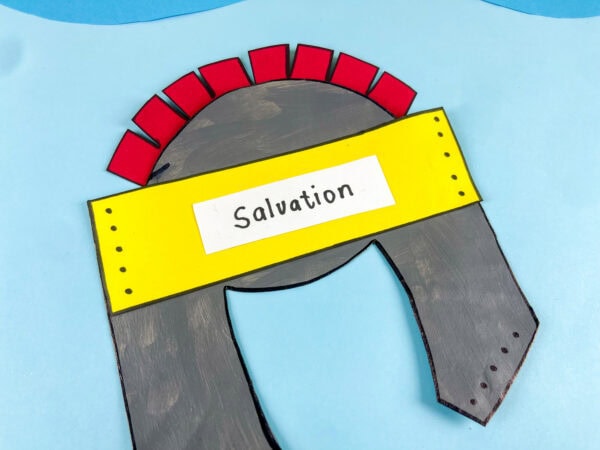
This easy diy paper project turns a plain paper plate into an Armor of God helmet complete with a bright band, bold crest, and “Salvation” label.
Materials Needed
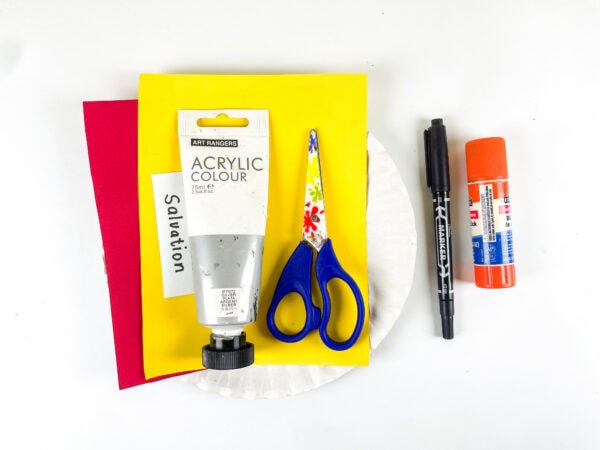
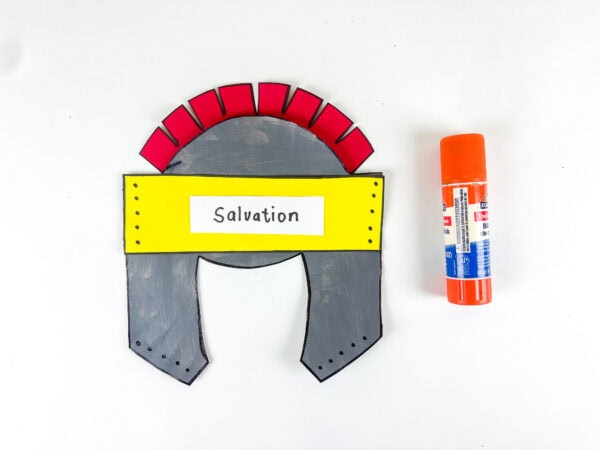
Before starting this paper helmet craft, gather these supplies:
- Paper plate
- Gray paint
- Construction paper
- Glue
- Scissors
- Marker
- Printable template
You can even swap the paint color choices if you’d like. Silver, gold, bronze, or metallic shades all work well if you want more of a medieval helmet or centurion’s style look.
Want extra texture? Try adding crumpled aluminum foil details for a shiny medieval armor effect.
How To Make This Armor of God Helmet of Salvation Craft
This helmet comes together in a few simple steps.
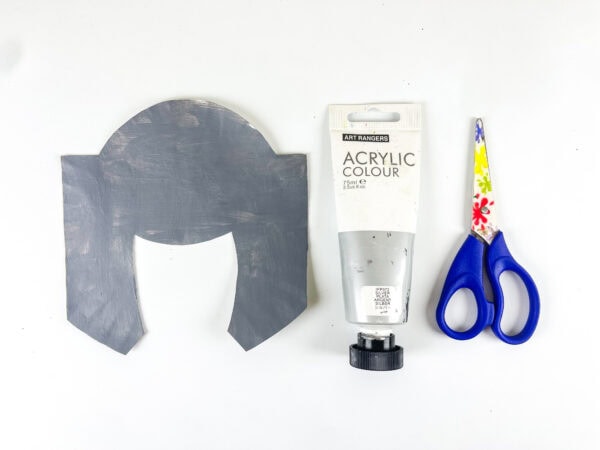
Step 1: Trace and Paint the Helmet
Start by tracing your template onto the paper plate. Carefully cut along the outline to create the helmet shape.
After cutting out the shape, paint the paper plate gray or silver and let it dry completely before proceeding to the next step.
This is a great time to talk about the helmet of salvation bible meaning and how armor helped a soldier stay protected.
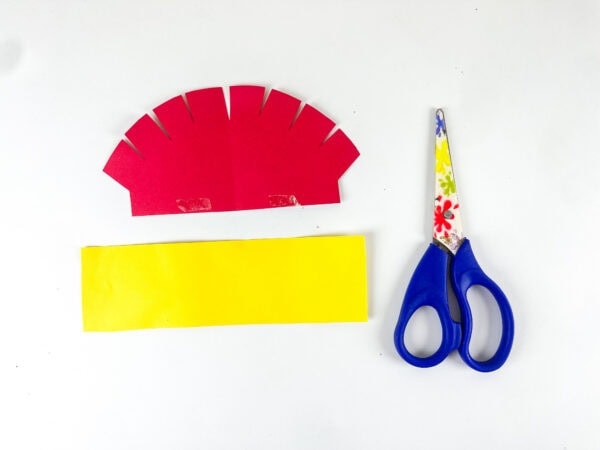
Step 2: Prepare the Paper Pieces
Next, cut and trace the remaining pieces onto the matching construction paper colors.
You’ll need the yellow middle strip and the red top piece. Cut them out carefully and place them aside for assembly.
If you’re using a downloadable file, now is the time to download, print, and prepare your shapes.
Step 3: Add Marker Details
Use a black marker to outline the shapes and add decorative details.
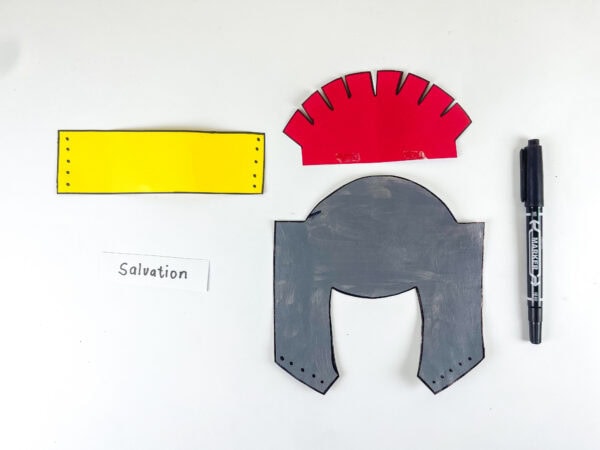
Small dots, lines, and trim details help give your helmet mask a finished look. You can even create a fun color scheme inspired by a knight, a centurion, or a classic medieval-style armor design.
Step 4: Attach the Yellow Center Piece
Use glue to attach the yellow strip across the center of the painted helmet.
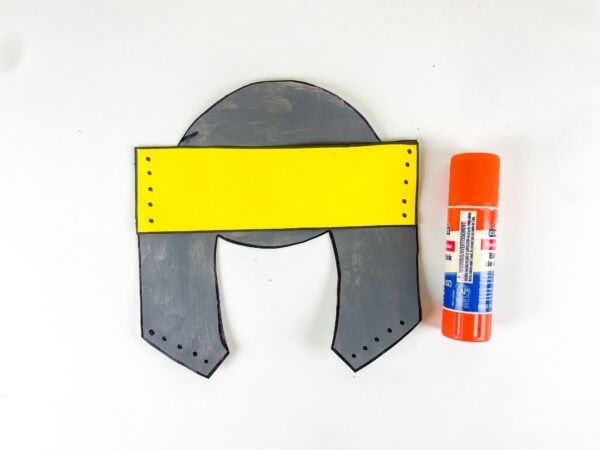
This bright section helps the project pop with extra color and gives kids another area to personalize.
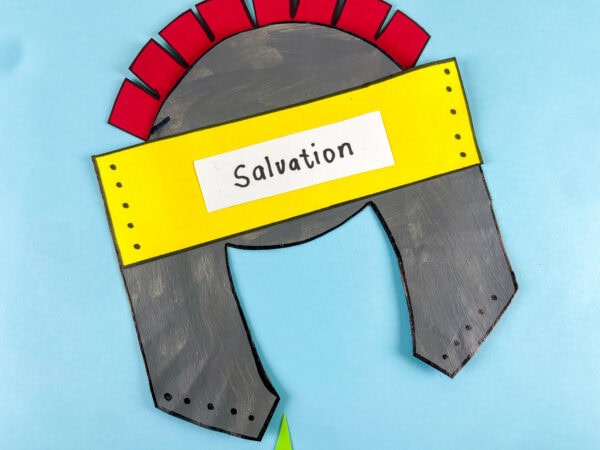
Step 5: Add the Red Crest
Attach the red top section to the top of the helmet.
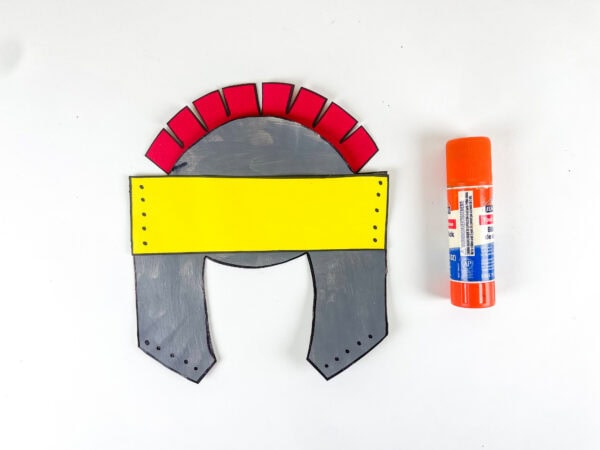
This piece gives the project a dramatic, costume-like feel, almost like a cross between a paper crown, a warrior hat, and classic battle armor.
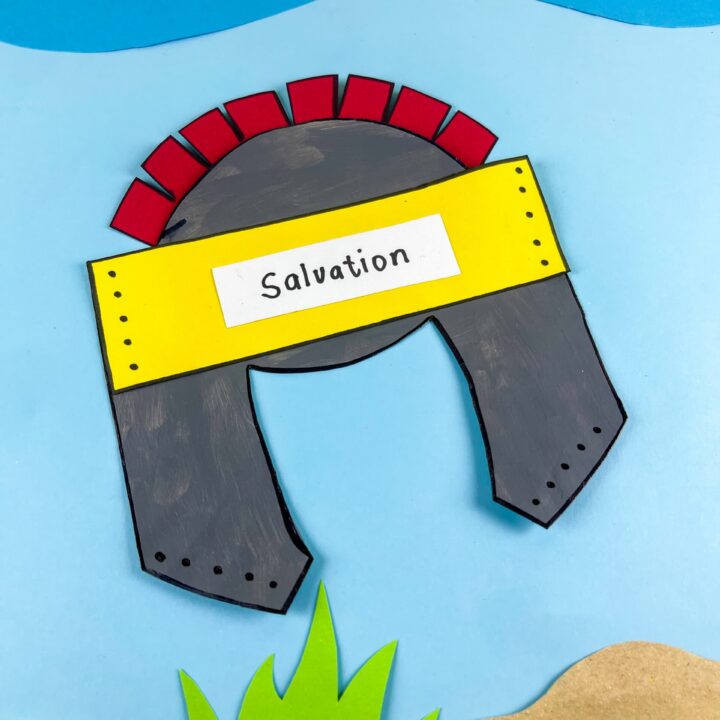
Step 6: Add the Salvation Label
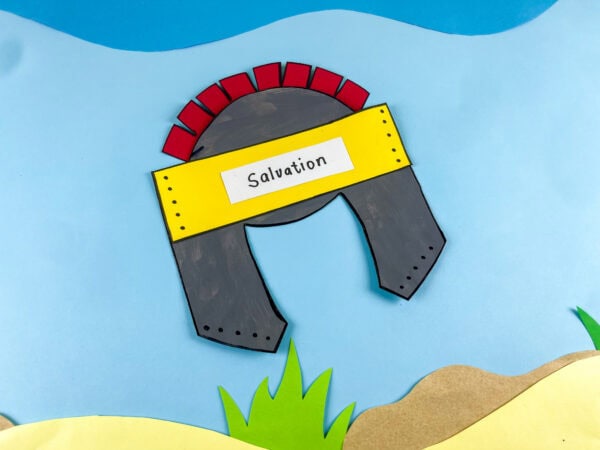
Finish by attaching the “Salvation” label to the center.
With that final step, your Helmet of Salvation creation is complete and ready for your Armor of God lesson!
The Meaning Behind the Helmet of Salvation
The helmet of salvation comes from the scripture passage about the armor of god in Ephesians.
A helmet helps protect the head, so this part of the lesson focuses on guarding thoughts, remembering God’s promises, and trusting Jesus Christ.
When teaching this Bible lesson, many people connect the helmet with hope, faith, and remembrance of the gift of salvation.
You can pair this activity with a favorite bible verse, discussion questions, or a short bible study.
For older kids, try comparing the helmet of salvation with other pieces of armor, such as the shield of faith, the sword of the Spirit, and the shield used by ancient warriors.
Fun Ways To Customize Your Helmet
Want to make your armor-of-god helmet-of-salvation craft even more unique? Here are a few creative ideas to try.
- Add stickers, glitter, or extra paper accents to decorate the design.
- Use metallic paint for a stronger medieval helmet look.
- Turn it into a wearable Armor of God activity by attaching string or elastic.
- Add feathers, stars, or bold shapes for extra color.
- Create a matching sword and shield of faith to complete the Armor of God set.
- Make a matching paper crown craft version for younger kiddos.
You could even combine this with coloring pages, a worksheet, or a printable coloring page for extra learning fun.
A Fun Bible Learning Tie-In
This project fits perfectly into a themed Armor of god bible lesson or Sunday school lesson.
You can connect it with a short bible story, read through Ephesians, or compare armor references found in Romans or Matthew.
Try creating an entire kit featuring every piece of armor:
- Breastplate
- Belt
- Helmet
- Shield
- Sword of the Spirit
By the end, kids can see how each part works together to form the complete armor of God.
More Faith-Based Craft Ideas for Kids
If you enjoyed making the Armor of God Helmet of Salvation Craft, here are a few more meaningful activities that help bring Bible stories and lessons to life through creativity.
- Cross Suncatcher Craft – A colorful craft that creates a beautiful cross decoration for windows, classrooms, or church activities.
- Hosanna Palm Leaf Craft with Palm Leaf Template – A simple Palm Sunday activity that helps kids learn about Jesus’ arrival in Jerusalem.
- He Is Risen Easter Paper Craft – A meaningful Easter project that celebrates the resurrection with a fun hands-on activity.
- Palm Sunday Donkey Craft – A creative craft that pairs well with Palm Sunday lessons and helps children connect with the Bible story.
This Armor of God helmet-of-salvation craft is such a fun way to combine creativity with faith learning. Between the bright color, simple supplies, and meaningful lesson, it turns an ordinary paper plate into something memorable.
Whether you’re planning Sunday school, creating a diy church activity, building a themed poster display, or adding hands-on learning to your next bible lesson, this project is easy to adapt.
Can I make this into a wearable project?
Yes! Turn it into a fun wearable Armor of God activity by adding yarn, elastic, or a headband attachment.
Is this good for Sunday school crafts?
Absolutely. This project works wonderfully for Sunday school crafts, homeschool activities, church classes, or vacation bible school.
Can younger children make this craft?
Totally. Younger children may just need a little help cutting or using glue, but the steps are simple and beginner-friendly.
Can I use a printable version?
Yes, please enter your email at the bottom of this blog post, and the free template will be sent to your inbox.
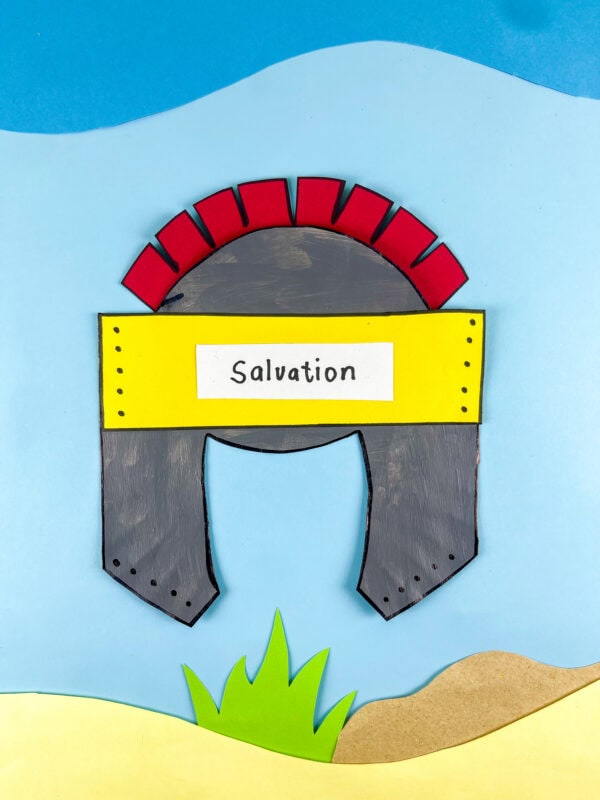
Armor of God Helmet of Salvation Craft
This Armor of God Helmet of Salvation Craft is a fun and simple activity that helps children learn about the Helmet of Salvation. Using a paper plate and colorful paper pieces, kids can create their own helmet while practicing cutting, painting, and gluing skills. The project is easy to prepare and works well for church lessons, homeschool activities, or VBS programs. Children will enjoy assembling the different parts and adding decorative details. The finished helmet is a great addition to an Armor of God craft collection.
Tools
- Paper plate
- Gray paint
- Construction paper
- Glue
- Scissors
- Marker
- Helmet template
Instructions
1. Trace and Paint the Helmet
Trace the helmet template onto a paper plate and carefully cut out the shape. Paint the front of the helmet gray and allow it to dry completely before moving on to the next step.
2. Cut Out the Paper Pieces
Use construction paper to trace and cut out the yellow center strip and red crest piece. Set the pieces aside until you are ready to assemble the helmet.
3. Add Decorative Details
Use a black marker to outline the helmet and paper pieces. Draw simple lines, dots, or trim details to give the helmet more definition and character.
4. Attach the Yellow Center Strip
Glue the yellow strip down the center of the helmet. Press it firmly into place and smooth it out so it lays flat against the painted surface.
5. Add the Red Crest
Attach the red crest to the top of the helmet using glue. Position it so it stands out above the helmet and adds a bold decorative touch.
6. Attach the Salvation Label
Glue the "Salvation" label to the front center of the helmet. Make sure it is positioned where it can be clearly seen.
7. Let It Dry and Display
Allow all pieces to dry completely before handling the craft. Once finished, display the helmet during an Armor of God lesson or add it to your collection of themed crafts.
looks like a great craft!