
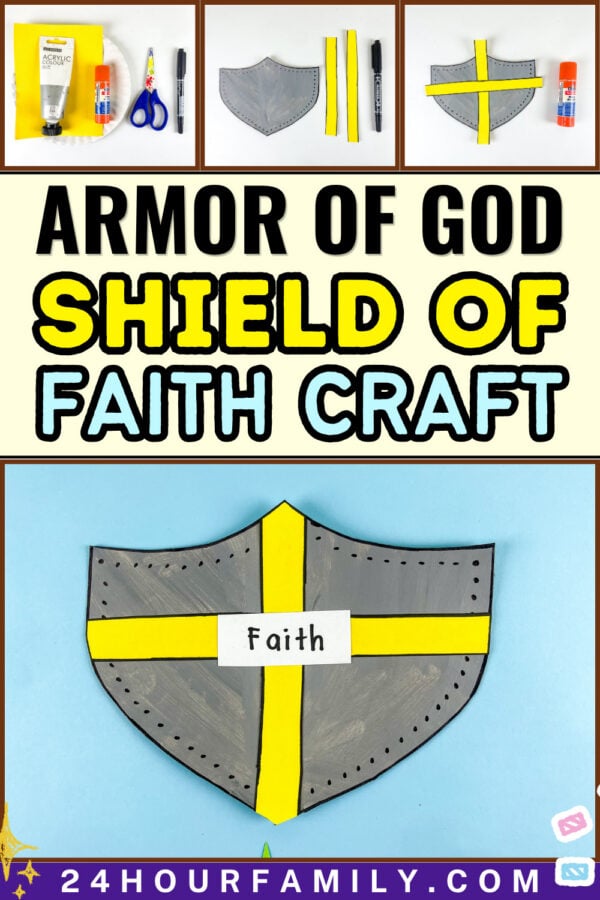
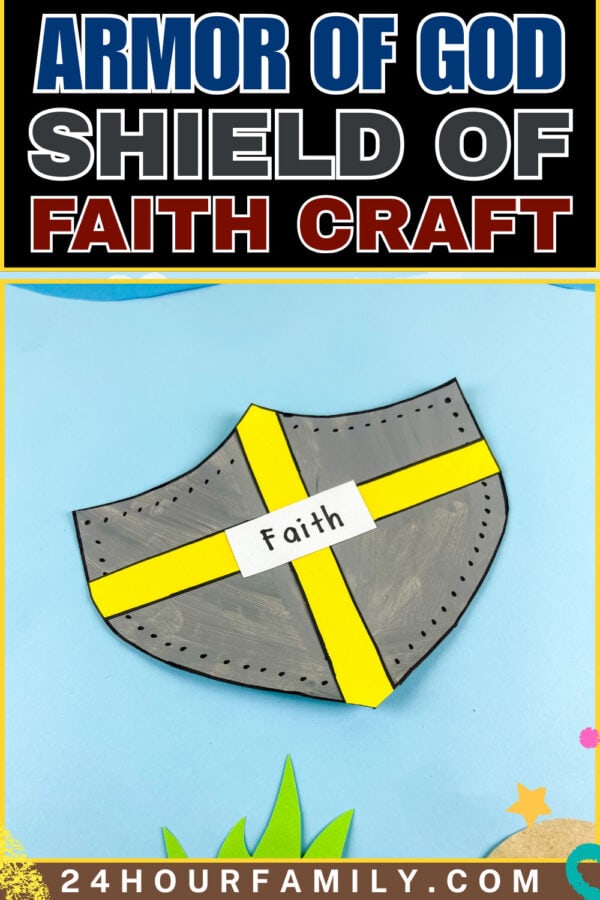
Armor of God Shield of Faith Craft
Bible lessons become even more memorable with hands-on activities that bring scripture to life. This Armor of God Shield of Faith Craft combines creativity with an important reminder about trusting God’s promises in a simple, engaging way.
Using a paper plate, gray paint, bright construction paper, and a few basic supplies, kids can create their own shield while learning about the shield of faith from Ephesians.
Armor of God Shield of Faith Craft
The shield of faith is one of the most recognizable pieces from the armor of god found in Ephesians 6. In scripture, the shield is used to protect believers against challenges, doubts, and the enemy’s flaming arrows.
That makes this god shield of faith craft more than just a fun afternoon project. It becomes a visual reminder of trusting God during difficult moments.
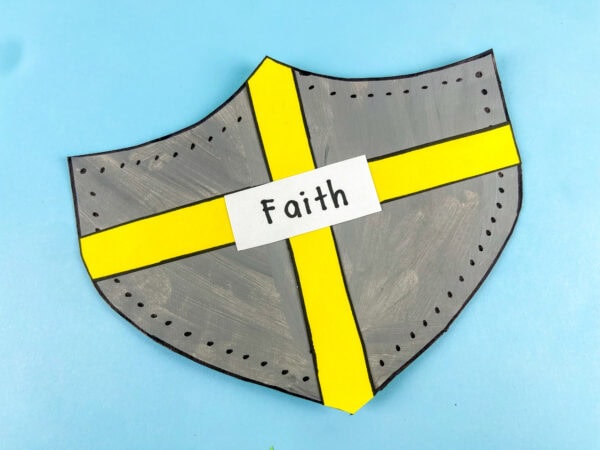
This project uses a simple paper plate base to create a sturdy shield shape. The bright yellow cross design stands out against the silver background, creating a colorful finished look that is easy enough for little ones, elementary students, or preschool learners to enjoy.
This post may contain affiliate links. As an Amazon Associate and a participant in other affiliate programs, I earn a commission on qualifying purchases. Read our disclosure policy here.
Stock Your Home 9-Inch Paper Plates Uncoated, Everyday Disposable Plates 9KTOJOY 100Pcs Jumbo Wooden Craft Sticks Popsicle Stick 6” Long x 3/4”Wide Treat Ice Pop for DIY Crafts,Home Art Projects, Classroom SuppliesMod Podge Gloss Sealer, Glue & Finish: All-in-One Craft Solution- Quick Dry, Easy Clean, for Wood, Paper, Fabric & More. Non-Toxic – Craft with Confidence, Made in USA, 16 oz., Pack of 1Crayola Construction Paper – 480ct (2pck), Bulk Teacher Supplies, Back to School Essentials For Kids, Classroom Must Have, Arts & Crafts Art PaperGoodyKing Arts and Crafts Supplies for Kids – 1170Pcs+ Craft Art Supply Kit for Toddlers Kids Craft Supplies & Materials Age 4 5 6 7 8 9 – All in One D.I.Y. Crafting School Supplies900 PCS Pom Poms, Multicolor Bulk Pom Poms Arts and Crafts, Soft and Fluffy Craft Pom Poms, Assorted Sizes Pompoms, for Arts and Craft Making Decorations


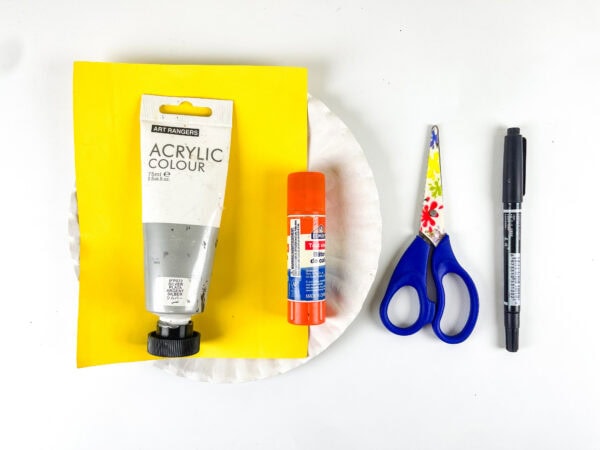
Materials Needed
Before you make a shield, gather these supplies:
- Paper plate
- Gray or silver paint
- Yellow construction paper
- Glue
- Scissors
- Black marker
- Printable or shield template
This simple supply list keeps prep easy for classrooms, home activities, or children’s ministry groups.
If you are using a free printable or shield template, you can download the pattern, print the page, and have everything ready in minutes.
How To Make This Armor of God Shield of Faith Craft
This shield-of-faith craft comes together in just a few easy steps.
Step 1: Create the Shield Base
Start by using your template to trace the shield onto a paper plate.
Carefully trace around the outline and cut out the shield shape using scissors.
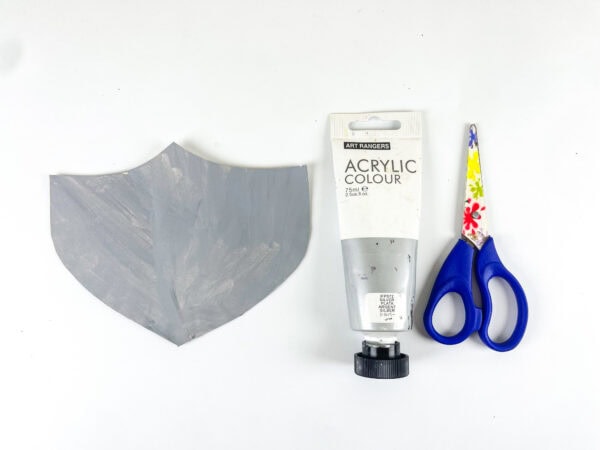
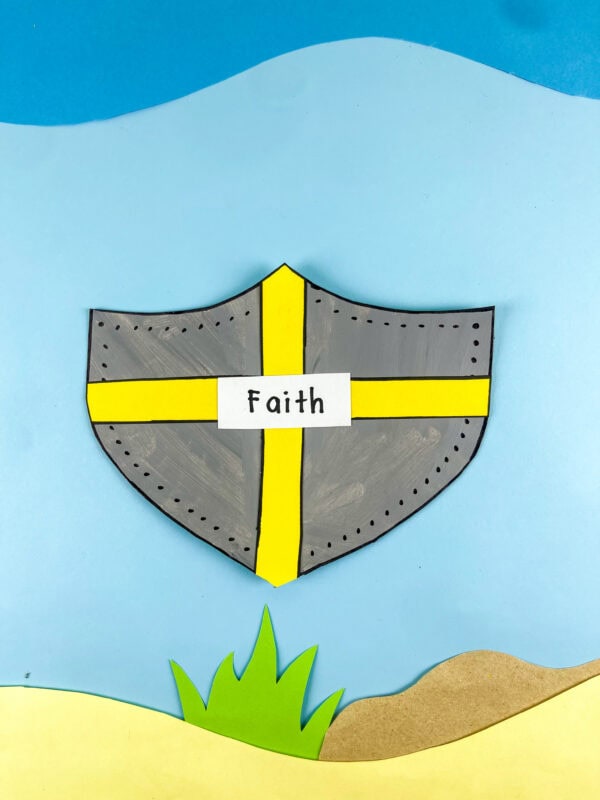
Once your paper plate shield is ready, paint it gray or silver. The silver painted finish gives the project a timeless Armor of God feel.
Set the shield aside until the paint dries completely, then continue.
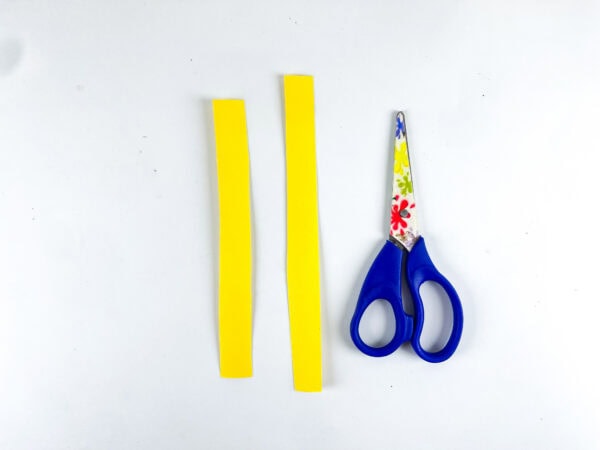
Step 2: Prepare the Cross Pieces
Cut two long strips from yellow construction paper.
These strips will form the cross across the center of the shield.
If you want to add extra detail, kids can outline the paper pieces with a marker to create bold edges and stronger contrast.
This is a great place to get creative with small personal touches or unique designs while still keeping the project simple.
Step 3: Add Details to the Shield
Using your black marker, outline the outer edge of the painted shield.
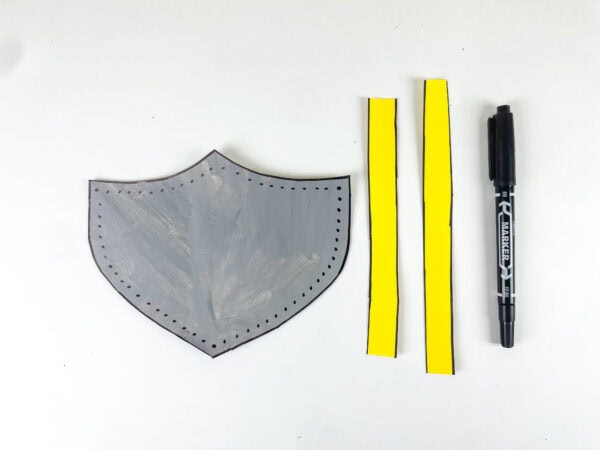
You can also add dotted details around the border to mimic decorative armor accents.
This small detail adds texture, extra color, and a finished handmade feel.
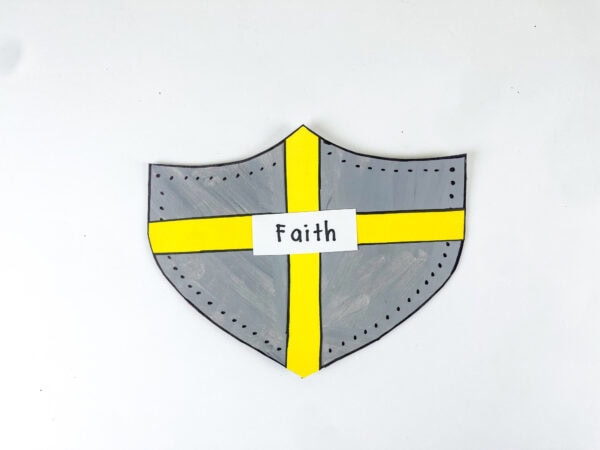
Step 4: Attach the Cross Design
Use glue to attach the yellow strips in a cross pattern across the center of the shield.
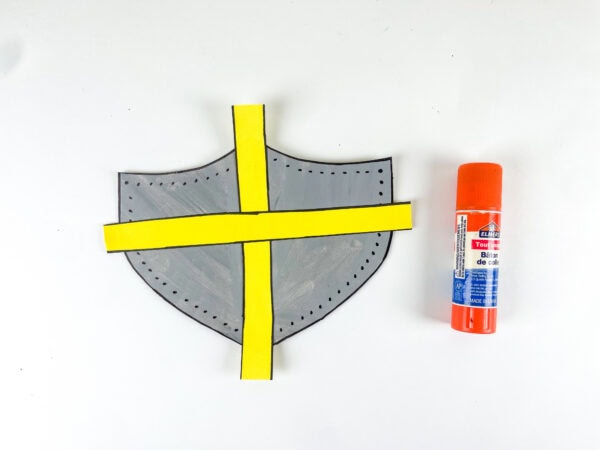
Trim the excess paper from the edges to match the shape of the paper plate.
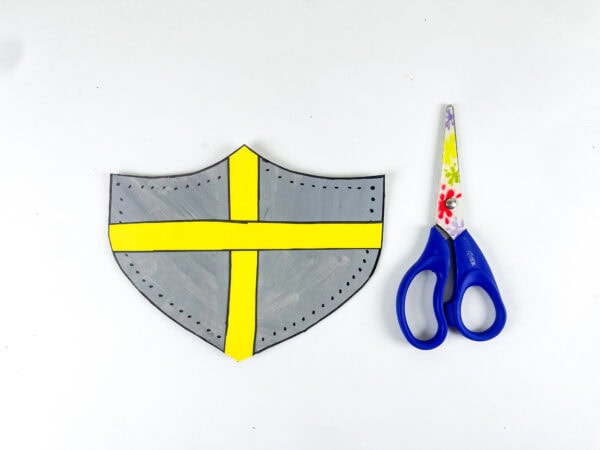
You now have the main design completed.
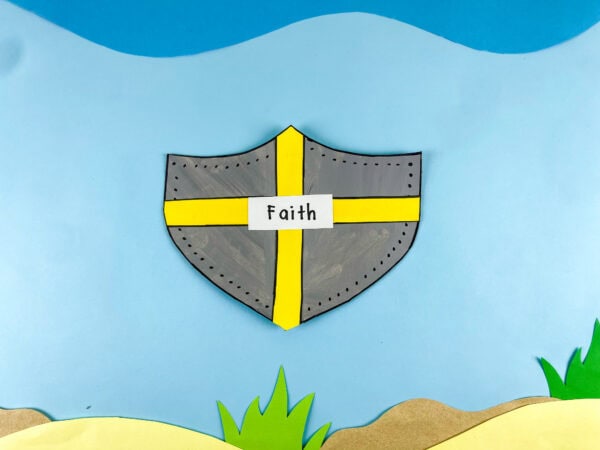
The bright yellow cross against the gray background creates a striking finished shield that stands out beautifully.
Step 5: Add the Faith Label
Create a small label that says “Faith.”
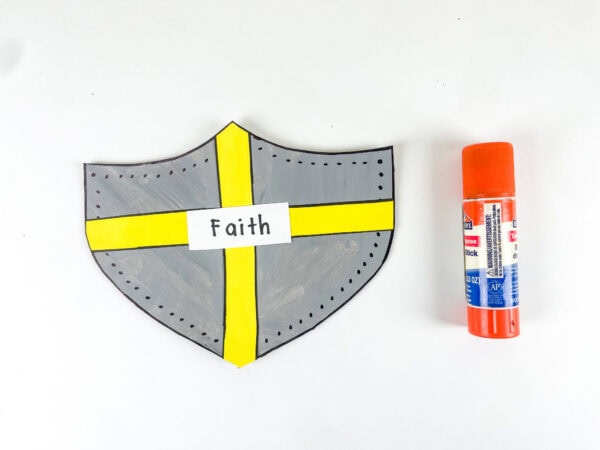
Attach it to the center using glue.
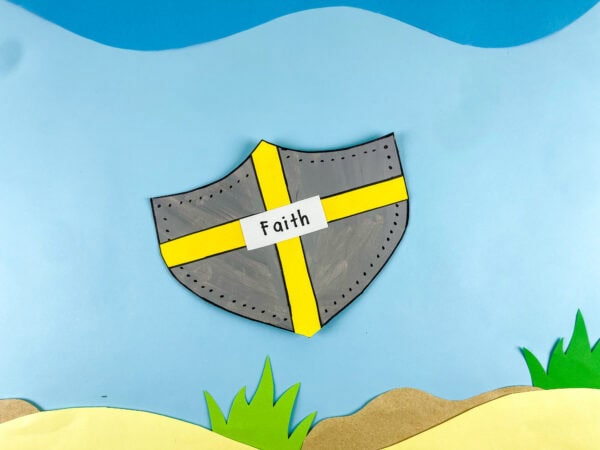
And just like that, your shield-of-faith project is complete.
What Is the Shield of Faith?
Before making the shield, take a moment to talk about what the shield of faith means.
In Ephesians 6:16, believers are told to take up the shield of faith to extinguish the enemy’s flaming arrows. Some translations describe these attacks as fiery darts or as arrows aimed at creating fear, doubt, or discouragement.
When kids read Ephesians, it can be a wonderful conversation starter about choosing to have faith in God even when life feels uncertain.
You can also connect this to Hebrews and discuss things hoped for and things not seen. Faith means trusting God’s promises even when we cannot immediately see the outcome.
Turning This Craft Into a Bible Learning Activity
This armor-of-god shield-of-faith craft can easily become more than just a simple activity.
After everyone has finished, invite kids to hold up your shield and share ways they can trust God in hard situations.
You might ask:
- What helps you remember God’s promises?
- When can you pray for courage?
- How can faith help you make good choices?
This makes the craft feel connected to everyday life instead of just another art project.
You could even pair this with a short bible verse memory challenge or a simple scripture reading.
Creative Ideas To Try
Want to personalize your armor-of-god shield-of-faith craft even more?
Here are a few easy ideas:
- Add silver accents using extra paint for a shiny foil-inspired look.
- Decorate with hand-drawn details, patterns, or creative borders.
- Let kids use different shades of paper for more colorful results.
- Use a thicker sheet of paper or cardstock for added durability.
You can also create a matching bundle of projects using other Armor of God pieces, such as the Armor of God Sword Craft, the Ephesians Breastplate Craft, or the Helmet of Salvation Activity.
That turns one simple project into a full Armor of God lesson series.
Helpful Tips For Success
A quick tip before you begin: allow the paint plenty of drying time.
Working with wet paint can make the paper plate soft and harder to decorate.
If you need a quick classroom solution, you can prepare painted bases in advance for Sunday school or Bible school groups.
Some teachers like to organize supplies using labeled trays, printables, and pre-cut pieces for easier setup.
You could even use small loops of tape or masking tape on tables to keep templates from sliding during tracing.
More Bible Crafts to Explore
If you enjoyed making the Armor of God Shield of Faith Craft, here are a few more faith-based activities that encourage creativity while helping kids learn about important Bible stories and themes.
- Hosanna Palm Leaf Craft with Palm Leaf Template – A fun Palm Sunday activity that helps children remember Jesus’ entry into Jerusalem.
- Nativity Scene Printable Craft – A hands-on printable project that lets kids create their own nativity scene.
- Baby Jesus Craft – A simple and meaningful activity that focuses on the birth of Jesus and the Christmas story.
- Nativity Toilet Paper Roll Craft – A creative recycled craft that transforms toilet paper rolls into a charming nativity display.
This craft is the perfect way to combine creativity, scripture, and hands-on learning. From painting the paper-plate shield to attaching the bright cross pieces, every step reinforces the message of trust, courage, and unwavering faith.
What Bible verse goes with the Shield of Faith craft?
This craft is based on Ephesians 6:16 which tells us to take up the Shield of Faith with which we can extinguish all the flaming arrows of the evil one. After completing the shield, this is a wonderful opportunity to help children memorize this verse and discuss how trusting God protects our hearts and minds every single day, just like a shield protects a soldier in battle.
What age group is this Shield of Faith craft best suited for?
This Armor of God craft is perfect for children ages 4 and up. Younger preschoolers can complete it with a little adult help cutting the shield and cross pieces, while elementary-aged children ages 6–10 can assemble it largely independently. The simple bold design makes it accessible and enjoyable for mixed-age Sunday school classes, VBS groups, and homeschool co-ops alike.
How does the Shield of Faith fit into a complete Armor of God lesson?
The Shield of Faith is one of six pieces of the full Armor of God described in Ephesians 6:10-18. This craft pairs perfectly with lessons and crafts about the Belt of Truth, Breastplate of Righteousness, Sword of the Spirit, Helmet of Salvation, and Gospel of Peace shoes — making it an ideal addition to a multi-week Armor of God Sunday school unit, VBS series, or homeschool Bible curriculum.
Can I use this Shield of Faith craft for a large VBS or Sunday school group?
Absolutely! This no-prep Shield of Faith craft is designed with large groups in mind. It requires no special tools or expensive materials, can be prepped in minutes by cutting pieces in advance, and can be completed by an entire classroom in under 30 minutes. Kids love decorating their own shield and taking it home as a bold hands-on reminder that their faith in God is their greatest protection!
Whether you’re planning a Sunday classroom project, a homeschool resource, or a simple activity for your next Bible study, this easy shield-of-faith project offers a memorable way to explore God’s truth.

Armor of God Shield of Faith Craft
This Armor of God Shield of Faith Craft is a simple and meaningful activity that helps children learn about the Shield of Faith. Using a paper plate and a few basic supplies, kids can create a shield decorated with a bold cross and faith label. The project encourages creativity while reinforcing an important Bible lesson. It works well for church classes, homeschool activities, or VBS programs. The finished shield can be displayed or used with other Armor of God crafts.
Tools
- Paper plate
- Gray or silver paint
- Yellow construction paper
- Glue
- Scissors
- Black marker
- Shield template
Instructions
1. Create the Shield Base
Trace the shield template onto a paper plate and carefully cut out the shape. Paint the front of the shield gray or silver and allow it to dry completely before continuing.
2. Cut Out the Cross Pieces
Cut two long strips from yellow construction paper. These strips will be used to create the cross design on the front of the shield.
3. Add Decorative Details
Use a black marker to outline the edges of the shield. Add small dots or simple designs around the border to give the shield extra detail and a finished appearance.
4. Attach the Cross Design
Glue the yellow strips onto the center of the shield to form a cross. Trim any paper extending beyond the edges so the cross fits neatly within the shield shape.
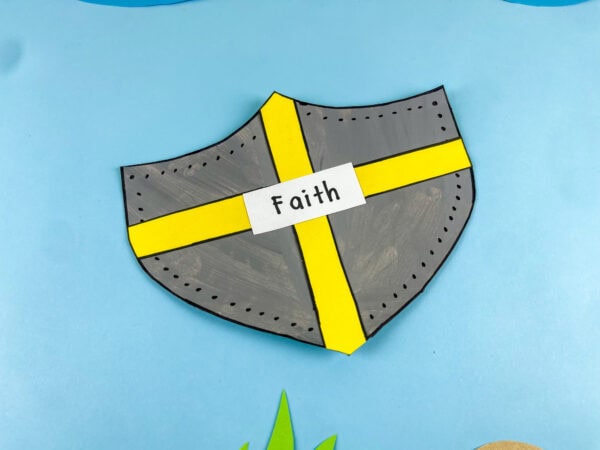
5. Add the Faith Label
Attach the "Faith" label to the center of the shield using glue. Position it where it can be clearly seen as the focal point of the design.
6. Let It Dry and Display
Allow the glue to dry completely before moving the craft. Once finished, display the shield on a bulletin board, use it during a lesson, or add it to a complete Armor of God craft set.