
Cookie Butter Marshmallow Chocolate Eggs Recipe
If you’re the kind of person who believes Easter isn’t complete without marshmallow-filled treats, then buckle up—because these Cookie Butter Marshmallow Chocolate Eggs are about to blow your mind.
Whether you’re looking to impress at an Easter party, make a fun family baking project, or simply treat yourself to a gooey, chocolatey delight, this recipe is a must-try. And the best part? You don’t need to be a professional chocolatier to pull it off (because, honestly, who has time for that?).

Let’s dive into what makes these marshmallow chocolate eggs a game-changer in the world of Easter candies.
This post may contain affiliate links. As an Amazon Associate and a participant in other affiliate programs, I earn a commission on qualifying purchases. Read our disclosure policy here.
Cookie Butter Marshmallow Chocolate Eggs Recipe
You’ll Need:
- Piping Bags
- Microwave-safe bowl
- Spatula
- Spoon
- Egg Mold
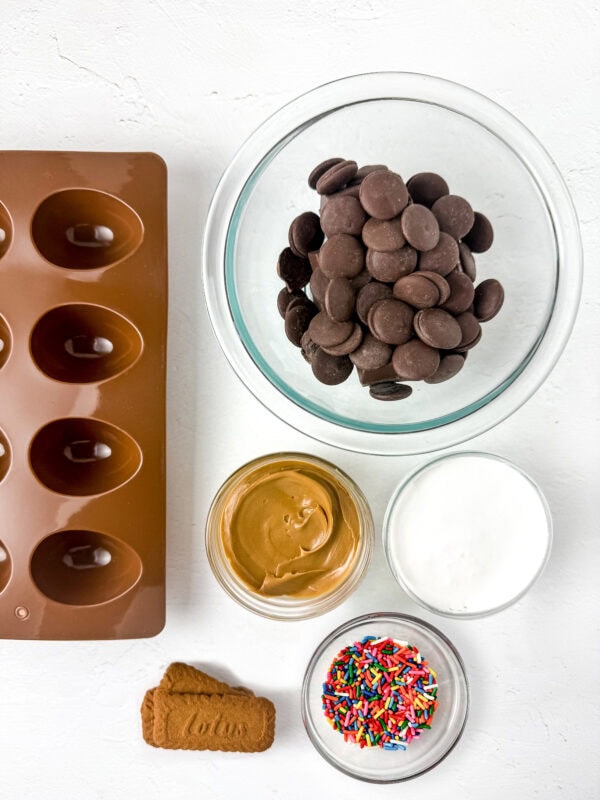
Ingredients:
Place the chocolate melts in a microwave-safe bowl and melt them in 30-second intervals until liquid.
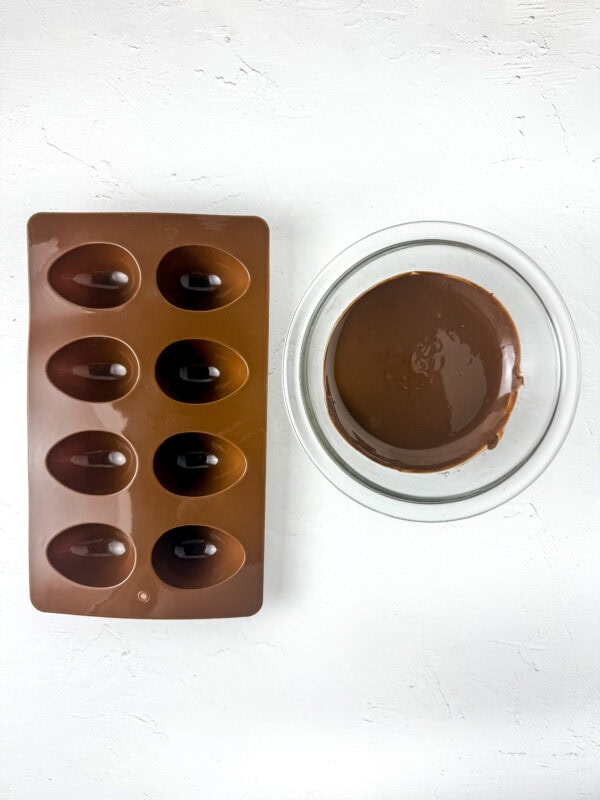
Pour a spoonful of melted chocolate into each slot of the egg mold. Use the back of a spoon to spread the chocolate evenly inside the mold.
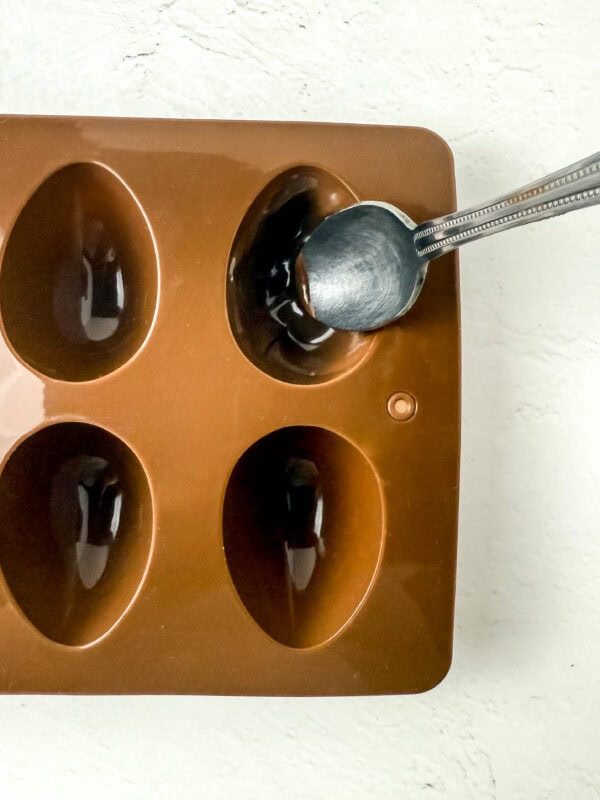
Place the mold in the freezer for 10 minutes to let the chocolate solidify.
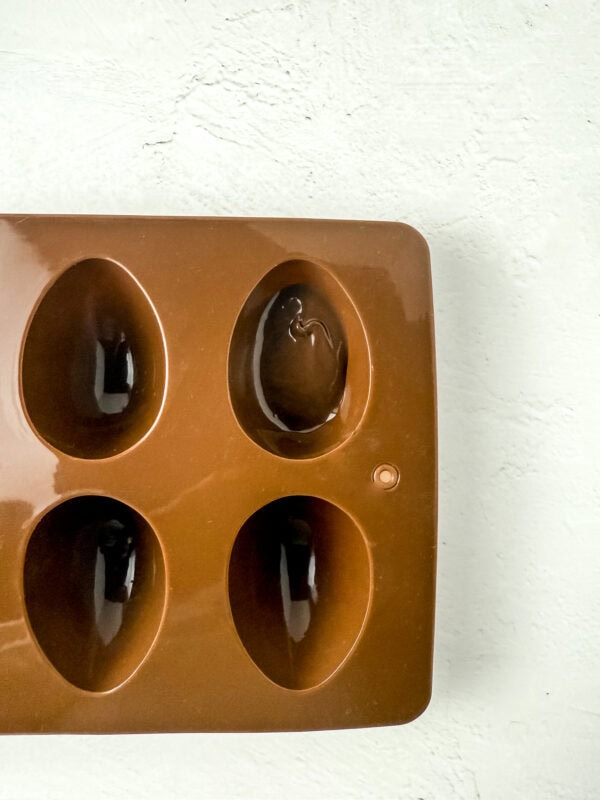
Remove the mold from the freezer and apply a second layer of melted chocolate using the back of a spoon to reinforce the egg shape. Freeze for another 5 minutes.
Once set, carefully remove the chocolate egg shells from the mold and place them on a flat surface.
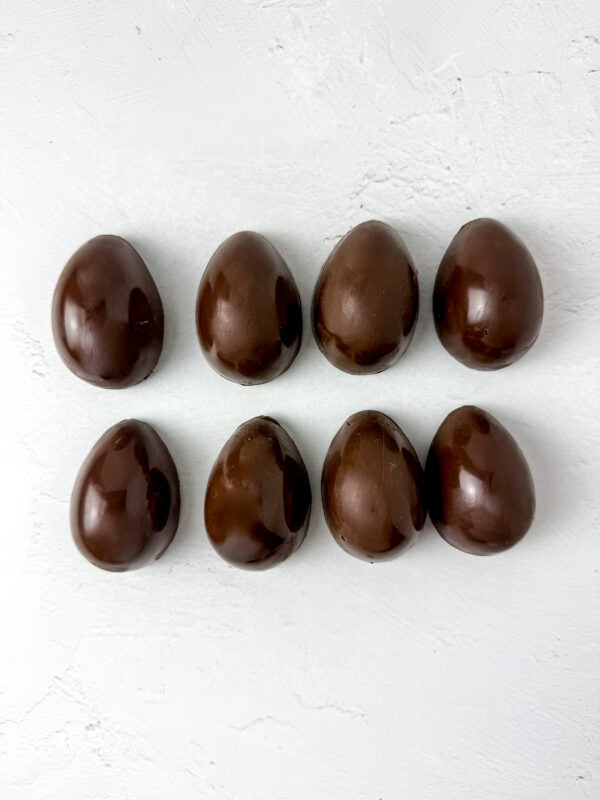
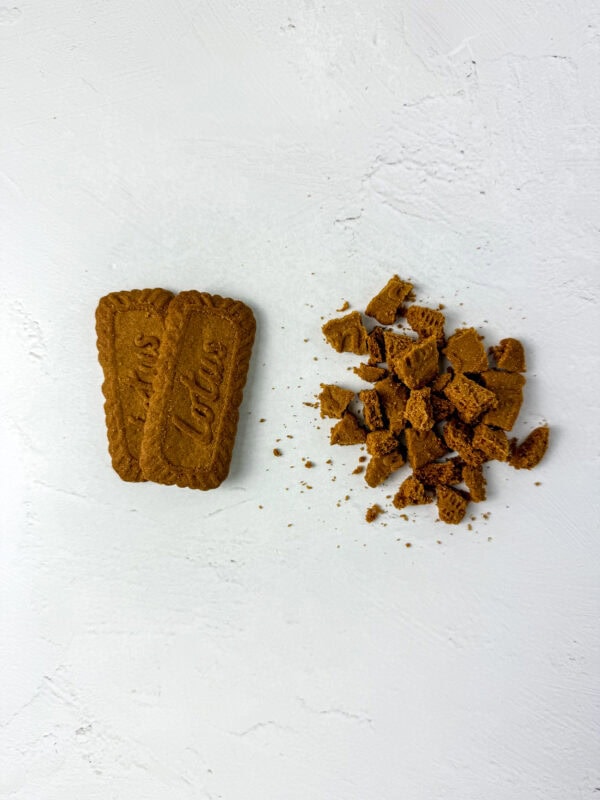
Crush some Biscoff cookies into small pieces and set them aside.
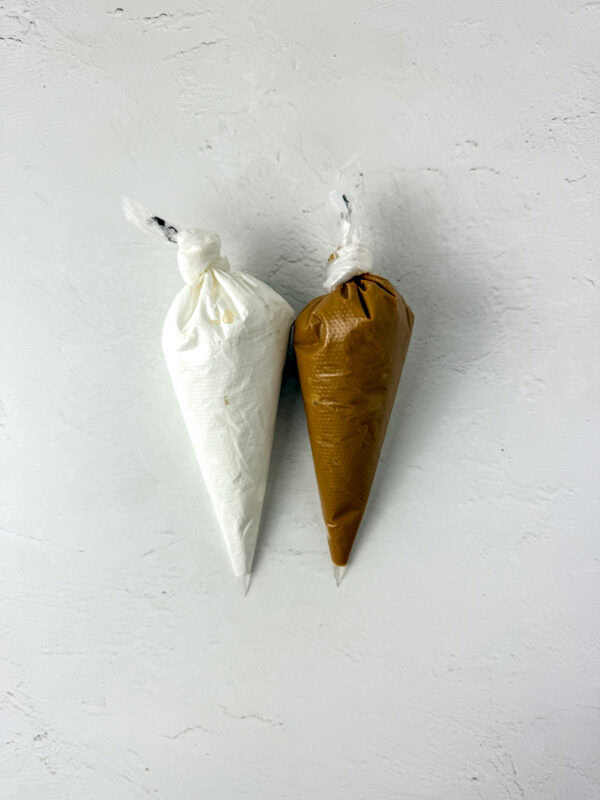
Fill separate piping bags with marshmallow fluff and cookie butter, cutting a small hole at the tip of each bag.
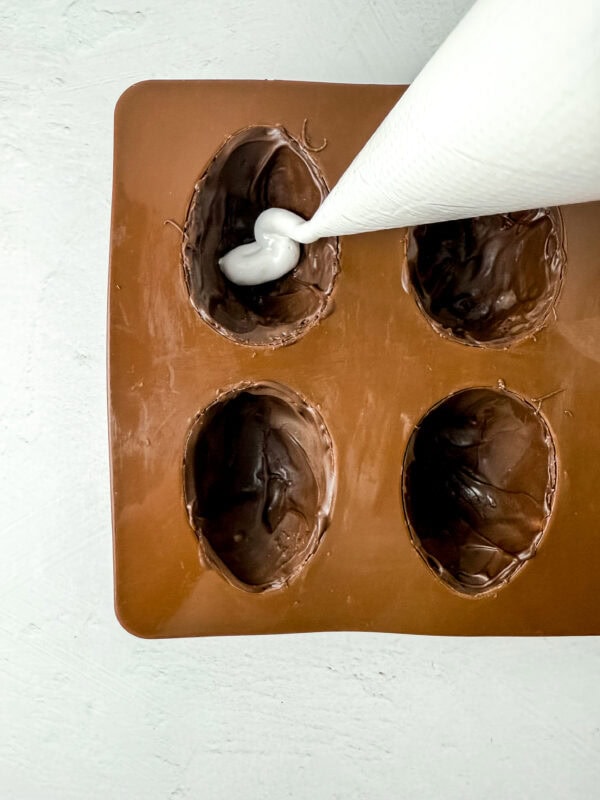
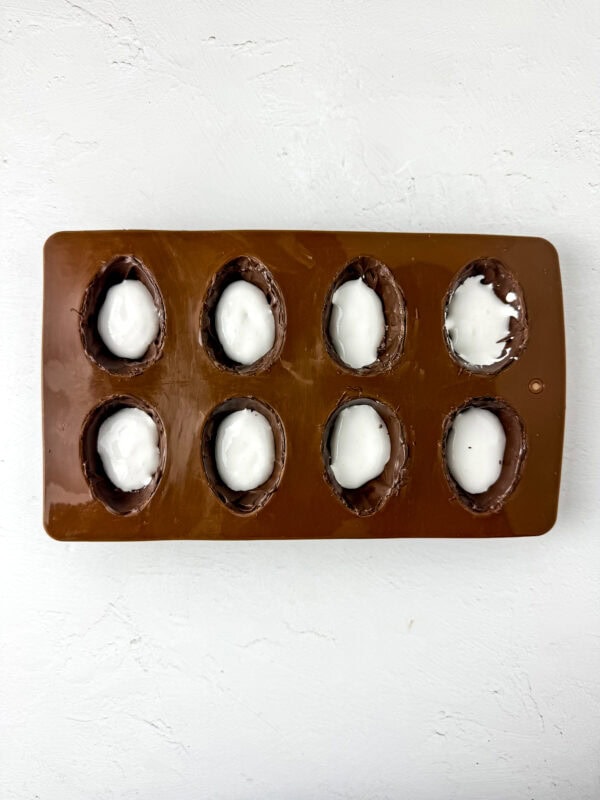
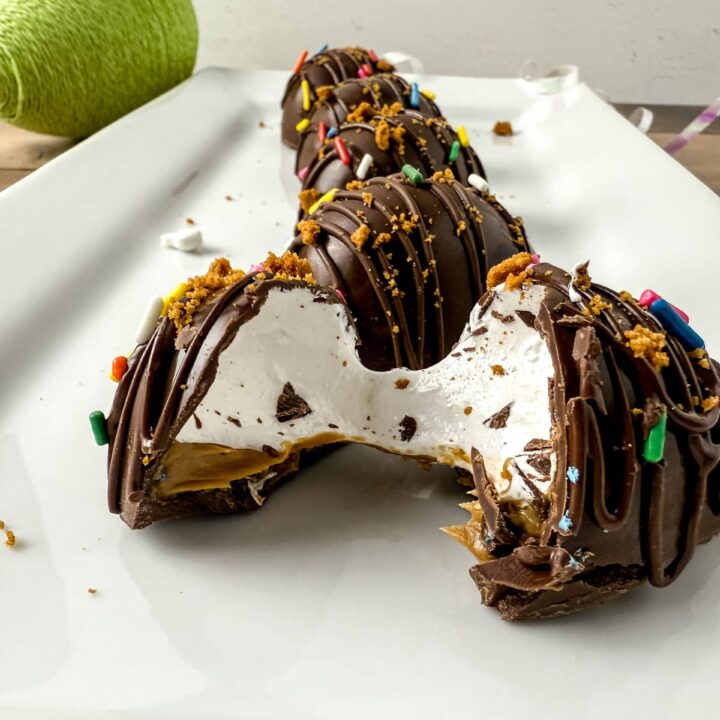
Pipe marshmallow fluff into the egg shells, filling them halfway.
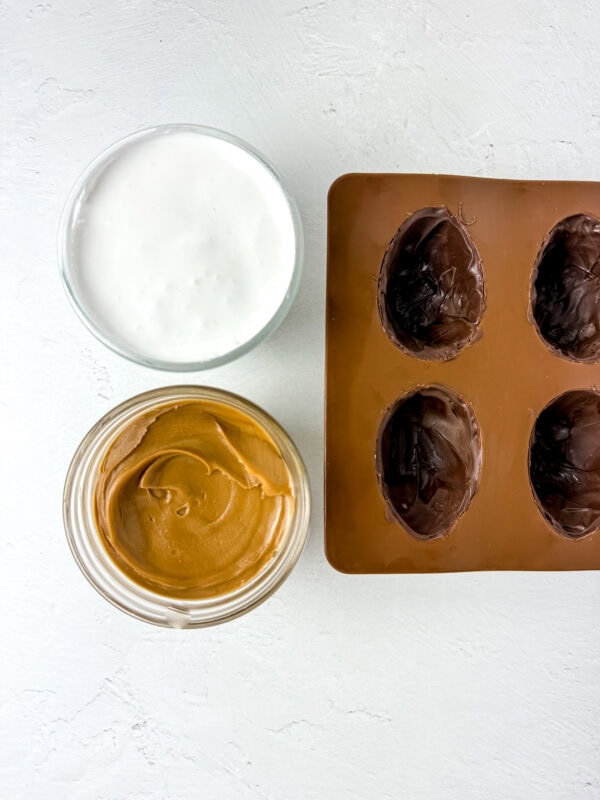
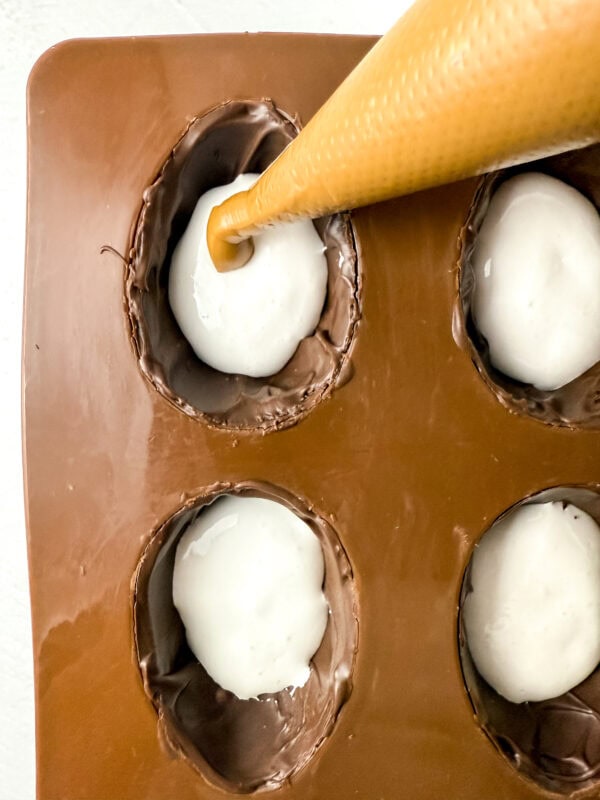
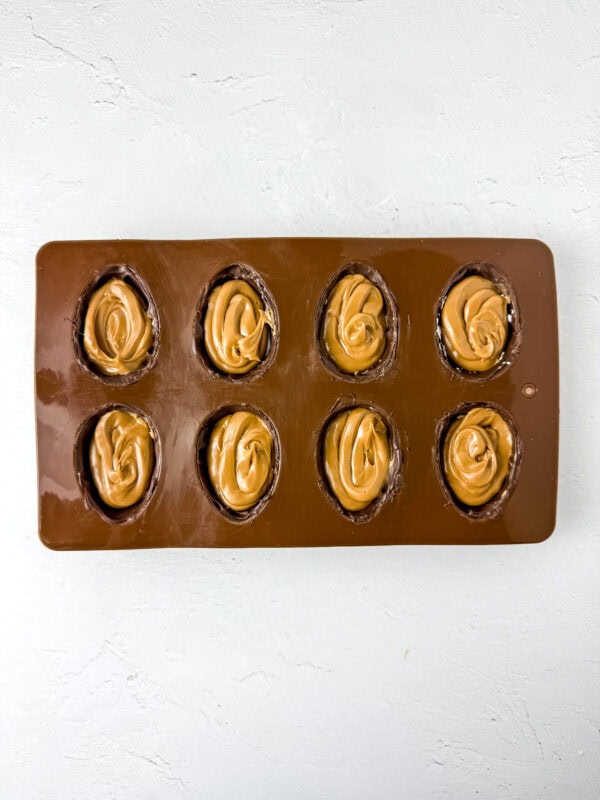
Then pipe cookie butter on top of the marshmallow fluff.
Sprinkle crushed cookies over the cookie butter.
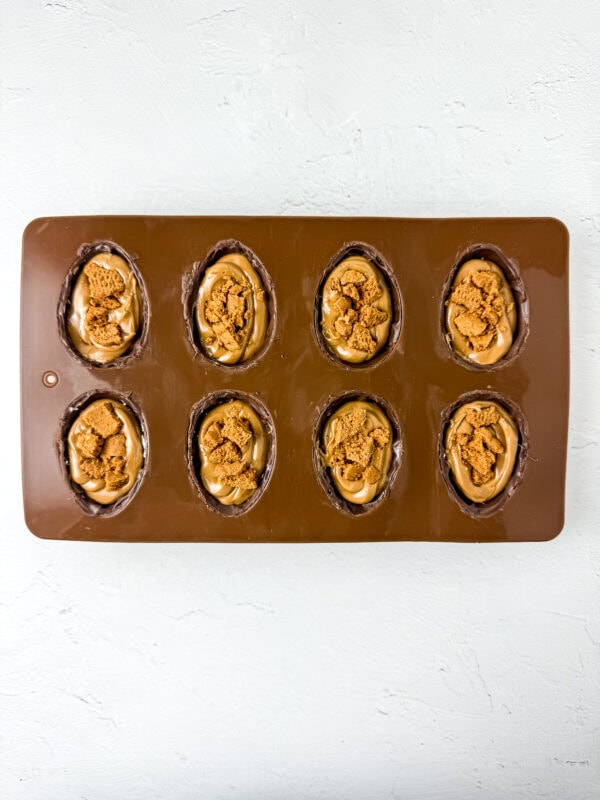
Melt any remaining chocolate and place it in a piping bag. If needed, reheat the chocolate for 30 seconds.
Pipe the melted chocolate around the edges of the eggshells to seal them shut. Smooth out the chocolate if desired.
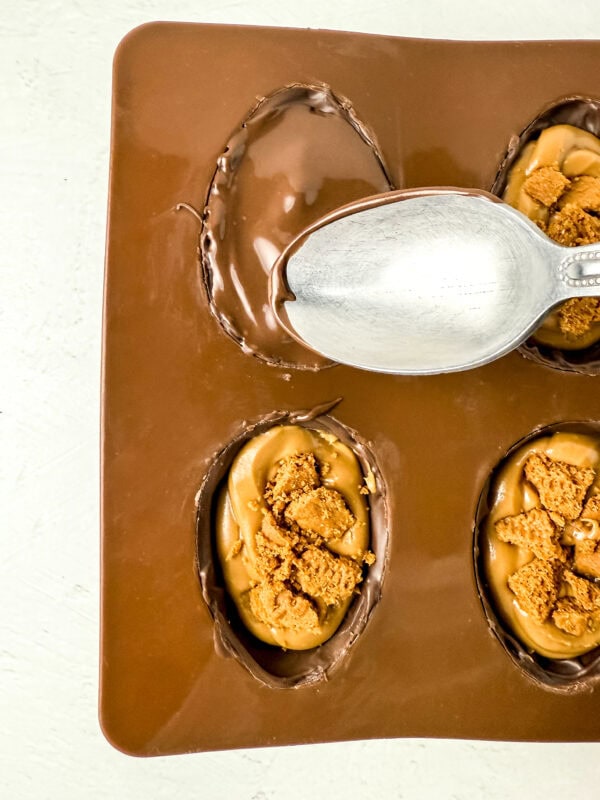
Refrigerate the eggs for 5-8 minutes to set.
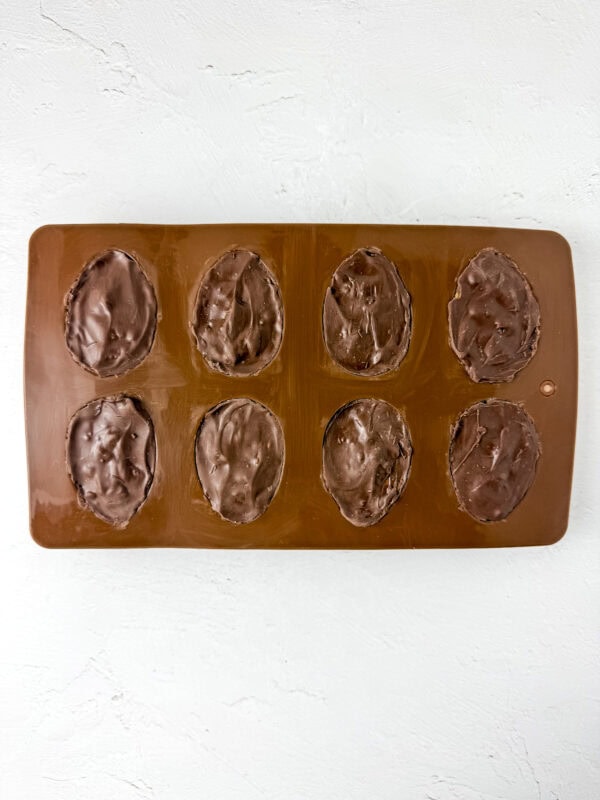
Carefully remove any excess chocolate from the edges.
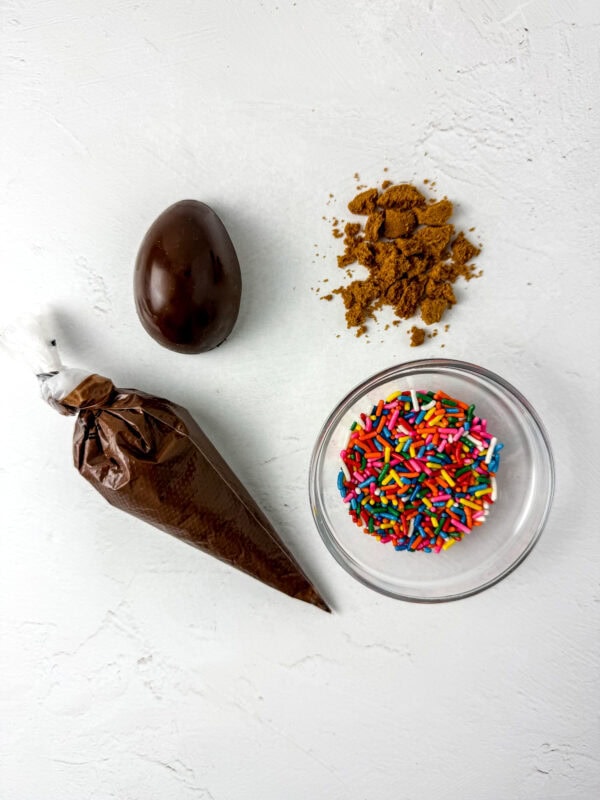
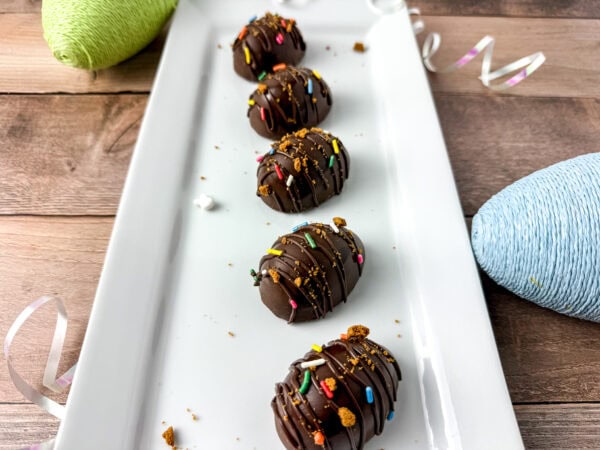
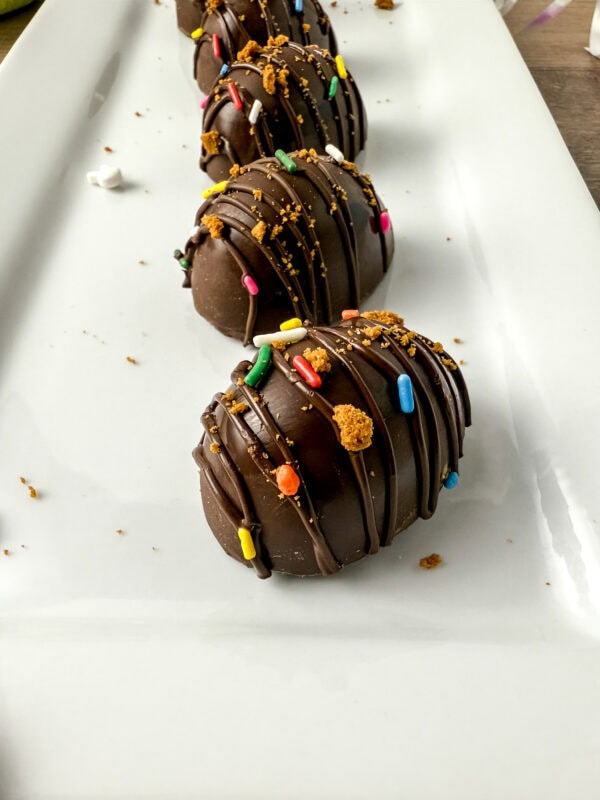
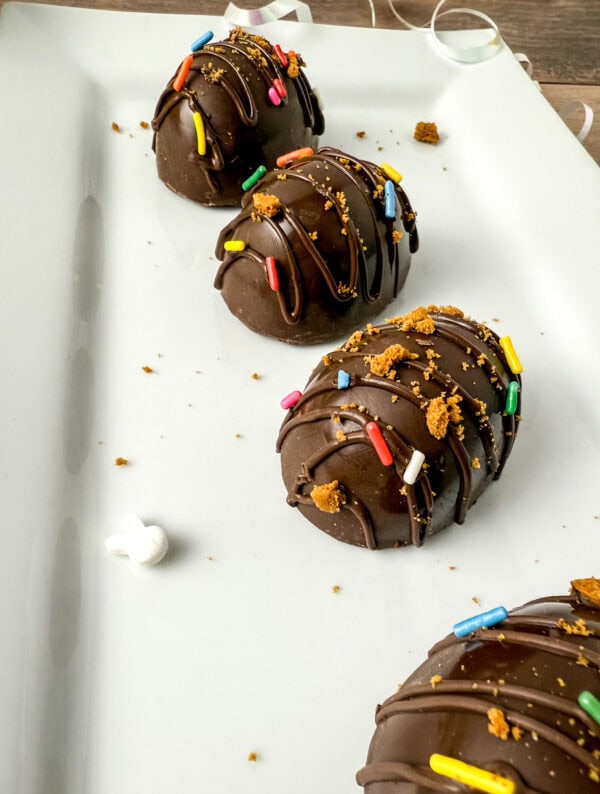
Drizzle melted chocolate over the eggs.
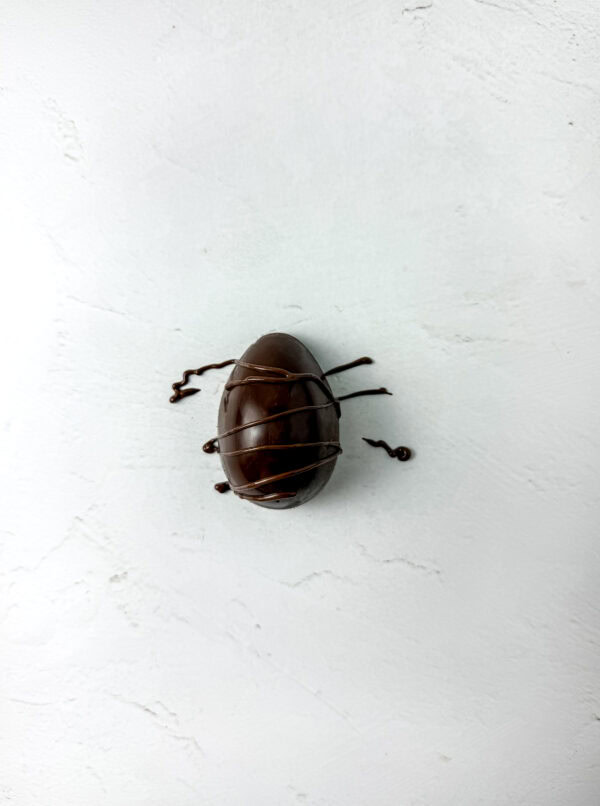
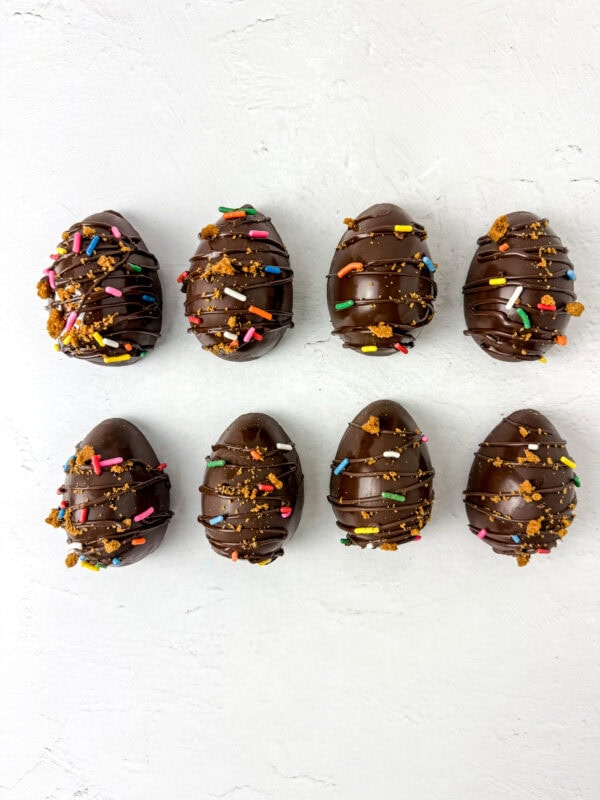
Add crushed cookies and sprinkles while the drizzle is still wet.

Once the drizzle sets, the eggs are ready to serve. Enjoy!
Why You Need This Chocolate Eggs Recipe
Chocolate eggs are a classic Easter treat, but let’s be honest—store-bought versions can be a little predictable. That’s why making homemade marshmallow eggs is a game-changer.
You control the quality of ingredients, the amount of cookie butter, and, most importantly, just how gooey and rich they turn out. Plus, who doesn’t love the satisfaction of making their marshmallow chocolate eggs from scratch?
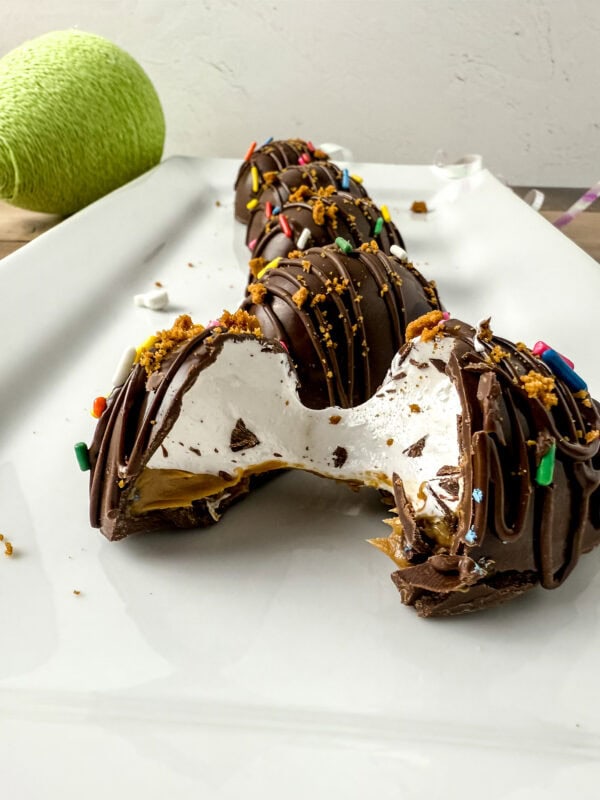
These Easter eggs are filled with a light and airy marshmallow filling, thanks to the magic of gelatin and a stand mixer. They’re then coated in milk chocolate, creating a sweet, crunchy shell that cracks perfectly when you bite.
And the best part? That cookie butter center adds an irresistible depth of flavor that pairs beautifully with the soft marshmallow fluff and chocolate coating.
The Secret to Perfect Homemade Marshmallow Eggs
Making this recipe might seem like a big task, but don’t worry—it’s easier than you think! The key is getting your marshmallow mixture just right. You’ll be using granulated sugar to create a sticky, stretchy marshmallow creme, and the magic happens when you whisk it into fluffy perfection.
Pro Tip: Temperature Matters!
- Make sure your ingredients are at room temperature for the best consistency.
- When heating your corn syrup and granulated sugar, keep it at medium heat to avoid burning.
- When you pour the hot sugar syrup into the bowl of a stand mixer, turn the speed to high to get that perfectly fluffy texture.
Tips for the Best Chocolate Eggs
- Use Quality Chocolate—The better your chocolate, the better your final result. Chocolate chunks, chips, and mini eggs all work well.
- Keep Everything at Room Temperature – If your ingredients are too cold, it can mess with the texture.
- Don’t Worry if They’re Not Perfect – Homemade treats are meant to be a little rustic. A few drips of chocolate? No problem.
Assembling the Ultimate Marshmallow-Filled Eggs
To get that signature egg shape, you’ll need an egg molder. Once your chocolate is melted, coat the inside of the mold, ensuring the chocolate reaches around the edge of each cavity.
After setting, you’ll pipe in your homemade marshmallow filling and a generous dollop of cookie butter, making these filled eggs even more decadent.
Once the eggs are filled, seal them up with another layer of melted chocolate and let them chill until firm. That’s it! You now have many eggs ready for Easter gifting or, let’s be real, devouring all by yourself.
Decorating Your Cookie Butter Chocolate Eggs
Now comes the fun part—decorating!
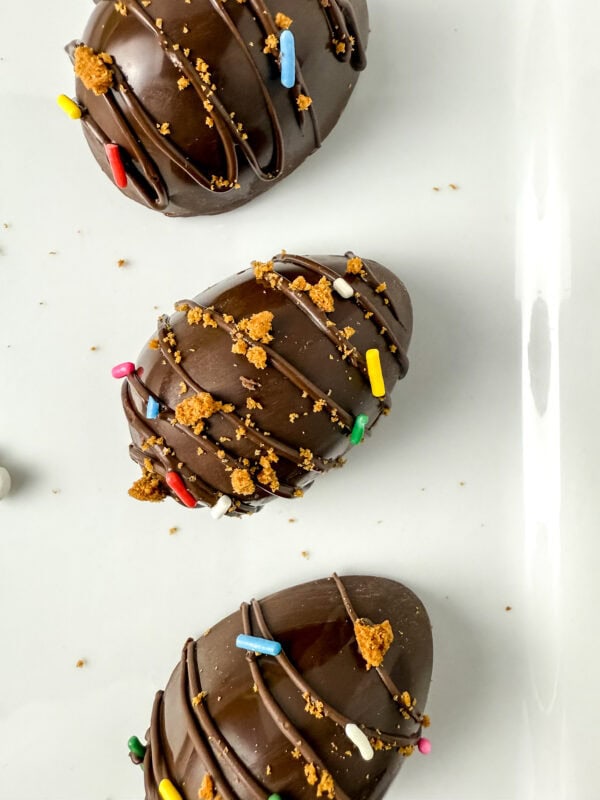
- Drizzle with extra melted chocolate chips for a glossy, professional touch.
- Dust off the excess chocolate flakes for a clean presentation.
- Top with cookie bits to hint at that delicious cookie butter filling inside.
- Add colorful sprinkles to make them look like festive Easter candies.
How to Store Your Chocolate Eggs
If you don’t eat them all in one sitting (we won’t judge if you do), here’s how to keep them fresh:
- Store the bars in an airtight container at room temperature for up to a week.
- If you want to keep them longer, pop them in the fridge, but let them sit at room temperature before eating so the cookie butter marshmallow cookies stay soft.
- You can also freeze them, but again, let them thaw before digging in.
Why Homemade Marshmallow Eggs Are Better
Sure, you could buy marshmallow Easter eggs at the store, but where’s the fun in that? Making homemade marshmallow treats lets you customize them exactly how you want. You control the fluffiness, the butter, and even the chocolate chunks inside.
Other Ways to Use This Recipe
- Cookie Marshmallow Cookies – Sandwich a layer of marshmallow cream and cookie butter between two cookies.
- S’mores Cookie Butter Bars – Create s’mores cookie bars by layering graham crackers, melted chocolate, and marshmallows.
- Marshmallow Cream-Filled Donuts – Pipe the homemade marshmallow filling into freshly baked donuts for a soft, gooey center.
Common Questions About Cookie Chocolate Eggs
1. Can I Use Store-Bought Marshmallow Fluff?
Yes. If you don’t want to make homemade marshmallow creme, substitute marshmallow fluff or marshmallow creme for a quicker version.
2. What If I Don’t Have an Egg Mold?
If you don’t have an egg mold, you can form the eggs by hand or use a cookie scoop to shape them. Place them on a cookie sheet lined with parchment before dipping them in chocolate.
3. Can I Make These Ahead of Time?
Yes. These eggs keep well, so you can make them a few days in advance. Store them in an airtight container at room temperature until ready to serve.
4. Can I Replace Cookie Butter with Something Else?
While cookie butter adds a unique flavor, you can substitute it with peanut butter, almond butter, or even a chocolate spread. The texture will remain similar, but the flavor will change slightly.
More Delicious and Fun Treats Recipes
If you loved making the Cookie Butter Marshmallow Chocolate Eggs, here are more tasty treats to try:
- Mickey Mouse Peppermint Cookies Recipe – Festive and fun Mickey-shaped cookies with a refreshing peppermint flavor.
- Strawberry Cookies and Cream Cupcake Recipe – A delicious blend of strawberries, cookies, and cream in a soft and fluffy cupcake.
- Chocolate Strawberry Cookie Crabs Recipe – Adorable crab-shaped cookies feature a delicious combination of chocolate and strawberry.
- Eggless Cookie Dough Recipe – A safe-to-eat, no-bake cookie dough perfect for snacking or adding to desserts.
These Cookie Marshmallow Eggs are more than just an Easter treat—they’re a must-have for any marshmallow lover. Every bite is filled with joy, from the delicious marshmallow center to the lot of chocolate coating.
So whether you’re making these for a holiday, a fun baking project, or just because you need some salted sweets, try this recipe. Don’t worry—you’ll be hooked after the first bite.
Happy baking!
Cookie Butter Marshmallow Easter Eggs Recipe
These easy-to-make chocolate marshmallow easter eggs are the perfect kids-friendly recipe for this Easter!
Ingredients
- 10 Ounces Chocolate Melts
- 4 Ounces Creamy Cookie Butter
- 4 Ounces Marshmallow Fluff
- 1 Pack Bischoff Cookies
- Rainbow Sprinkles
Instructions
- Melt the Chocolate
Place the chocolate melts in a microwave-safe bowl. Heat in 30-second increments, stirring each time, until completely melted and smooth. - Coat the Mold (First Layer)
Spoon a bit of melted chocolate into the first cavity of your egg mold. Use the back of a spoon to spread the chocolate evenly, coating the inside of the shape. Repeat for each cavity. - Freeze and Recoat
Put the mold in the freezer for 10 minutes to let the chocolate harden. Afterward, add a second coating of melted chocolate to reinforce the walls of each egg cavity. Smooth again with the back of a spoon, then return the mold to the freezer for an additional 5 minutes. - Prepare Your Fillings
While the chocolate sets, crush some cookies into small pieces and set them aside. Transfer the marshmallow fluff and cookie butter into separate piping bags, each with a small opening cut at the tip. - Fill the Eggs
Remove the mold from the freezer and place it on a flat surface. Pipe marshmallow fluff into each cavity until it’s halfway full. Then pipe cookie butter on top and sprinkle a few crushed cookie bits over that layer. - Seal with Chocolate
Transfer the remaining melted chocolate into another piping bag (reheat for 30 seconds if it has thickened). Cut a small opening at the tip and pipe chocolate on top of the cookie layer to seal the eggs. Smooth out the surface if desired. - Set the Eggs
Place the mold in the refrigerator for 5–8 minutes, allowing the chocolate to harden fully. - Remove and Decorate
Carefully pop the eggs out of the mold and place them upright. Trim any excess chocolate from the edges if needed. Use the chocolate in the piping bag to drizzle over each egg. - Garnish and Enjoy
While the drizzle is still soft, sprinkle the remaining crushed cookies and any sprinkles on top. Once the chocolate drizzle sets, your filled eggs are ready to serve. Enjoy!
Notes
Nutrition Information:
Yield: 8 Serving Size: 1Amount Per Serving: Calories: 339Total Fat: 18gSaturated Fat: 7gTrans Fat: 0gUnsaturated Fat: 9gCholesterol: 8mgSodium: 86mgCarbohydrates: 42gFiber: 1gSugar: 31gProtein: 4g
