
Daniel in The Lion’s Den Craft: 3D Paper Bag Bible Craft for Kids
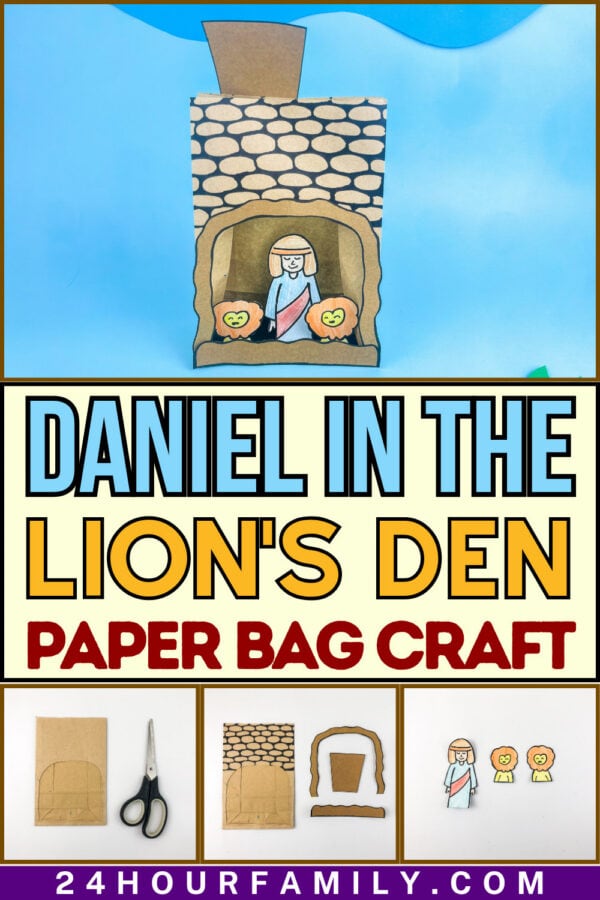
The story of Daniel and the Lion’s Den is one of the most beloved lessons in the Bible, teaching children about faith, courage, and trusting God even during difficult situations. This Daniel in the Lion’s Den Craft gives kids a fun and creative way to explore that powerful story while making a craft they can play with afterward.
It’s a great addition to Bible lessons, homeschool activities, VBS, or family devotional time.
The Bible Story Behind the Craft: Daniel and The Lion’s Den
In Daniel 6, Daniel is thrown into a den of lions after refusing to stop praying to God, even though a law had been passed forbidding it. The king, though he didn’t want to punish Daniel, was bound by his own decree and had him sealed into the den overnight.
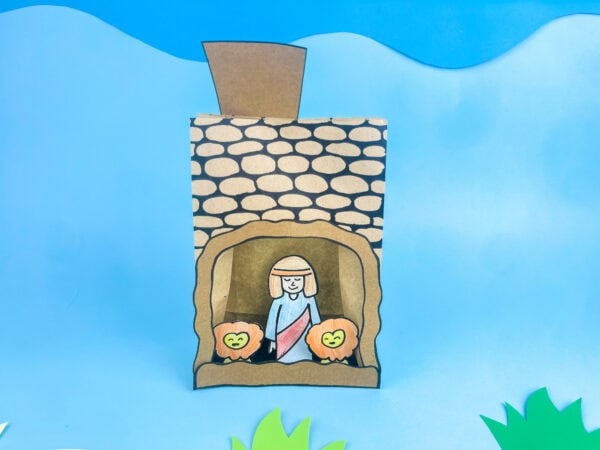
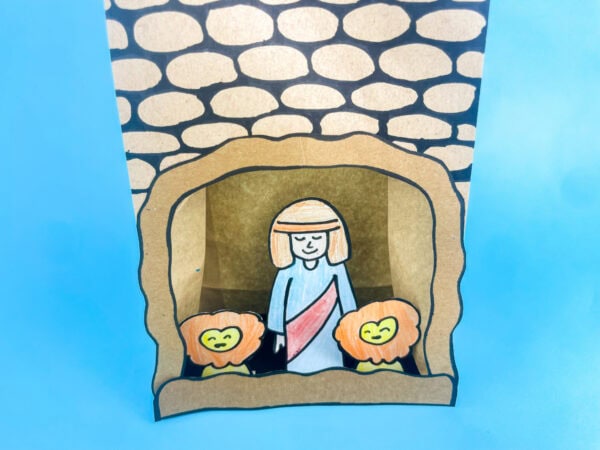
In the morning, the king rushed to the den and found Daniel completely unharmed. Daniel explained that God had sent an angel to shut the lions’ mouths, because he had done nothing wrong. This craft recreates that morning-after moment: Daniel standing safely in the den, lions on either side, calm instead of threatening.
It pairs well with a reading of Daniel 6:16-23, since kids can build the den while hearing how the story resolves. This particular craft for the Daniel and the lions story uses simple materials, making it budget-friendly and easy to put together. No fancy supply list required, just things you probably already have at home.
The lesson behind Daniel and the lion’s den is one of courage and faith, and this craft gives you a natural opening to talk about that with your kids.
As they cut, color, and glue, you can chat about the bible verse tied to the story and why Daniel trusted God even when things looked scary. It’s a sweet way to blend creativity with a meaningful bible lesson.
Age Guidance
This craft suits children ages 5 to 10. Cutting the arched opening into the front of the paper bag is the trickiest step and works best with adult help or supervision, since it involves cutting through multiple layers of the bag at once.
Drawing the brick pattern with a marker and coloring the Daniel and lion templates are both manageable for kids working mostly on their own, once the bag itself is prepped.
What This Daniel In The Lion’s Den Craft Teaches
- Cutting through thicker material (a folded paper bag) with control
- Drawing a repeating pattern (the brick wall) freehand
- Coloring small figures within detailed lines
- Building a 3D scene rather than a flat one
- Retelling a Bible story that centers on courage and faithfulness
This post may contain affiliate links. As an Amazon Associate and a participant in other affiliate programs, I earn a commission on qualifying purchases. Read our disclosure policy here.
Crayola Construction Paper Bulk Pack (480 Sheets) – 10 Assorted Colors, 9×12, Classroom Arts & Crafts Supplies for Kids, Art Paper for School Projects Paper Crafts for Kids: 25 Cut-Out Activities for Kids Ages 4-88 Rolls Colored Masking Tape Rainbow Colors Painters Tape Colorful Craft Art Paper Tape for Kids Labeling Arts Crafts DIY Decorative Coding Decoration Teaching Supplies, 0.6 Inch x 16 Yard, 8 ColorsARTISTRO 24 Acrylic Paint Markers for Rock, Fabric, Wood, Glass, Craft, Decoration – Dual-Tip Paint Pens – Stocking Stuffers, Christmas Gift Idea for Teens, Grandkids, Kids – Art Supplies900 PCS Pom Poms, Multicolor Bulk Pom Poms Arts and Crafts, Soft and Fluffy Craft Pom Poms, Assorted Sizes Pompoms, for Arts and Craft Making DecorationsElmer’s Disappearing Purple School Glue Sticks, Washable, 6 Grams, 12 Count – Poster, Vision Board, Back to School, #1 Teacher Brand




Gathering Your Supplies:
Before you dive in, grab these basics:
- A paper bag
- Construction paper (a few colors will do)
- Color pencils
- Glue
- Scissors
- Printable Template
- Marker
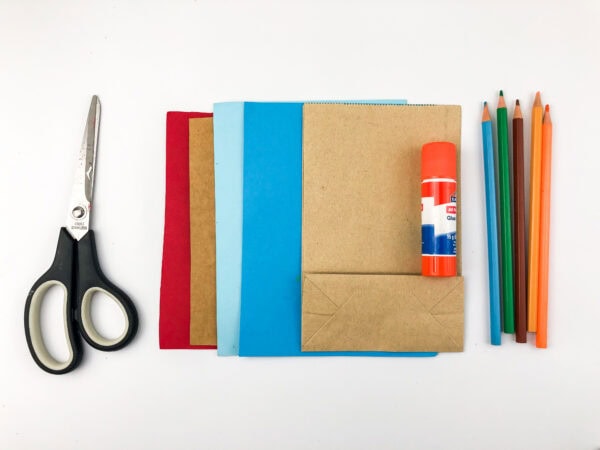
That’s it! This isn’t one of those crafts that needs a trip to the craft store. Most of this is sitting in a drawer somewhere in your house right now. If you want a shortcut, there’s also a printable template option, which makes this even easier for preschoolers or kindergarteners who might struggle with freehand cutting.
How to Make a Daniel in The Lion’s Den Craft
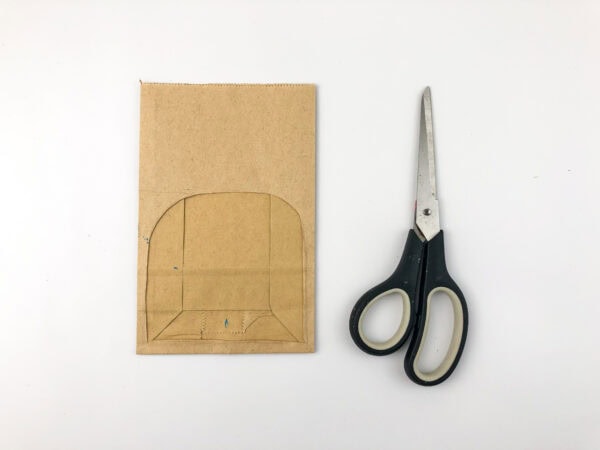
Step 1: Cut the den opening.
Cut an arc shape into the front part of your paper bag.
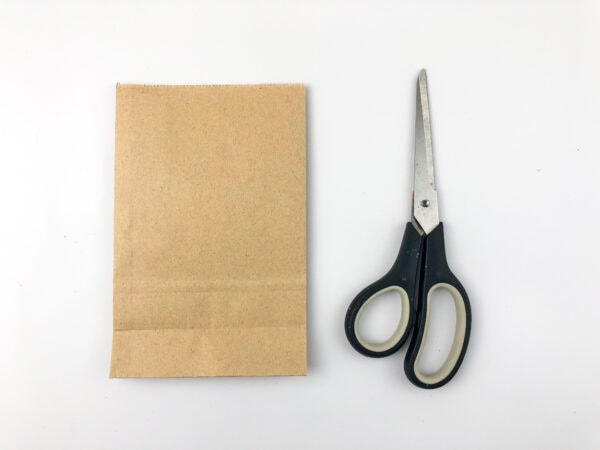
This curved opening serves as the doorway to your den, almost like a little cave carved into stone.
Step 2: Trace and cut your templates.
Trace your templates onto the construction paper, then cut them out.
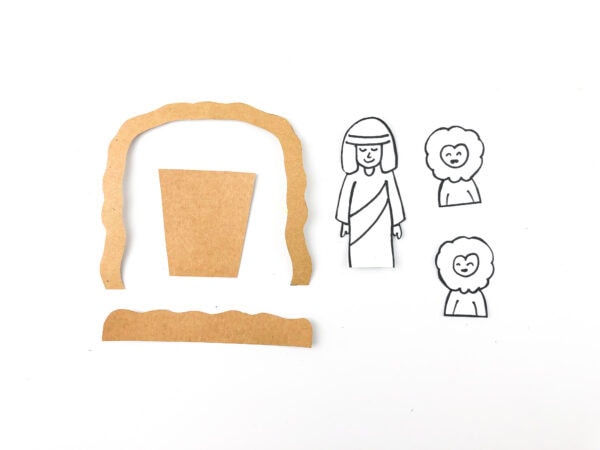
This step is where the magic starts; you’ll see your Daniel figure and lions begin to take shape.
Step 3: Color your characters.
Color the Daniel and lion pieces using your colored pencils, just like in the reference pictures.
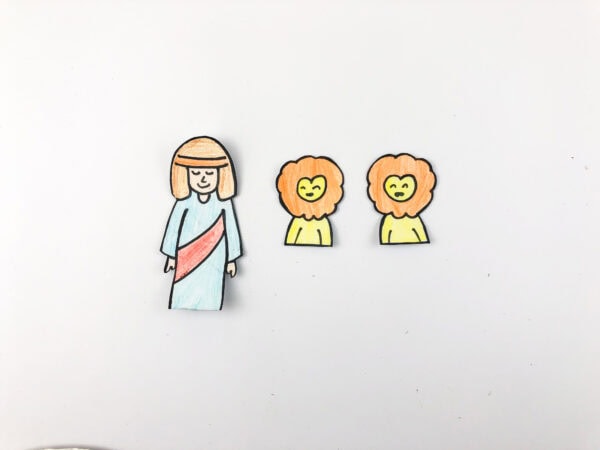
A light blue robe with a red sash gives Daniel a classic, gentle look, while golden-orange tones help the lions stand out with warmth instead of looking scary.
Step 4: Draw the bricks.
Use your marker to draw bricks directly onto the bag.
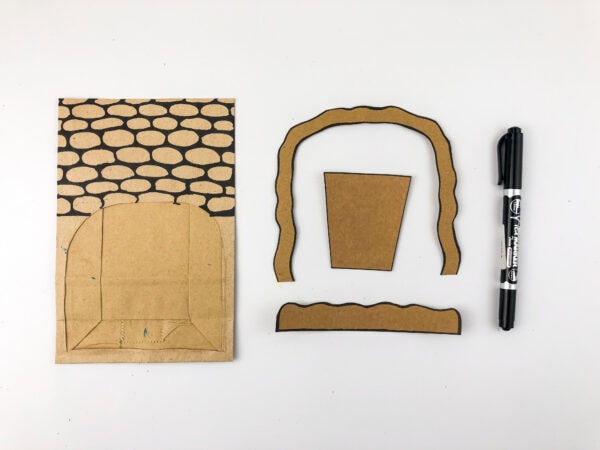
This little touch instantly transforms a plain brown bag into a stone wall, and it’s honestly one of the most satisfying parts of the whole craft.
Step 5: Outline and attach the pieces.
Outline all your pieces with the marker to make everything pop. Then attach them to the bag.
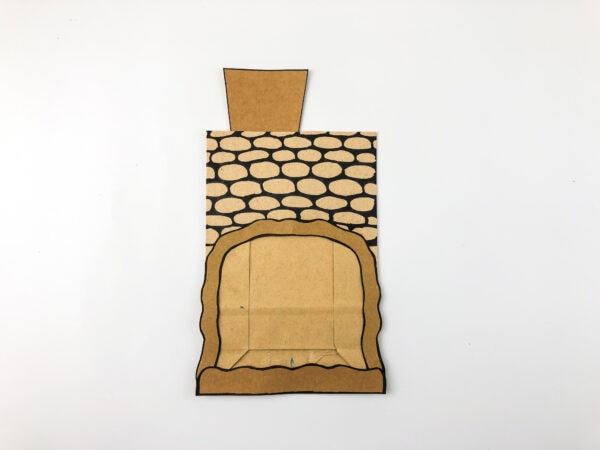
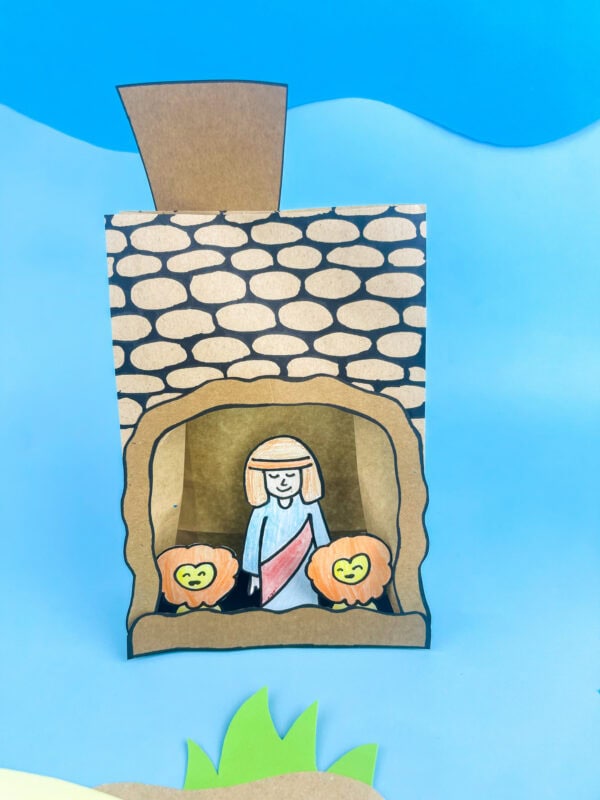
The chimney piece goes at the top, and the arc outline frames the opening.
Step 6: Attach Daniel and the lions inside.
Finally, attach Daniel and the lions inside.
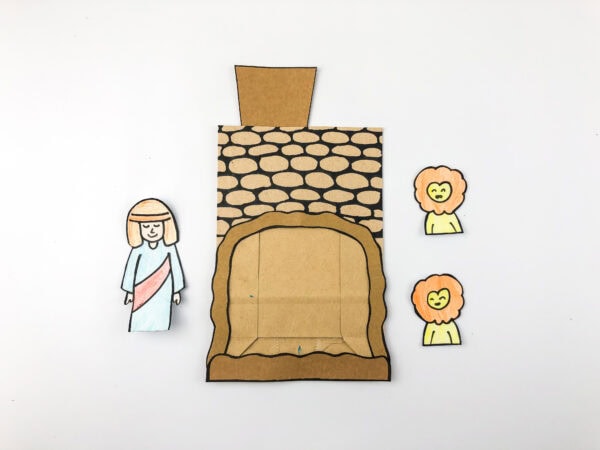
Position Daniel standing calmly in the middle with a lion on either side.
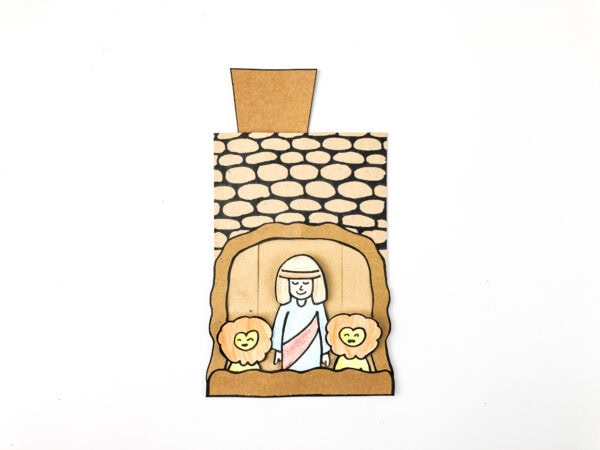
The lions in this version have happy, smiling faces with heart-shaped noses, which makes the whole scene feel friendly rather than frightening.
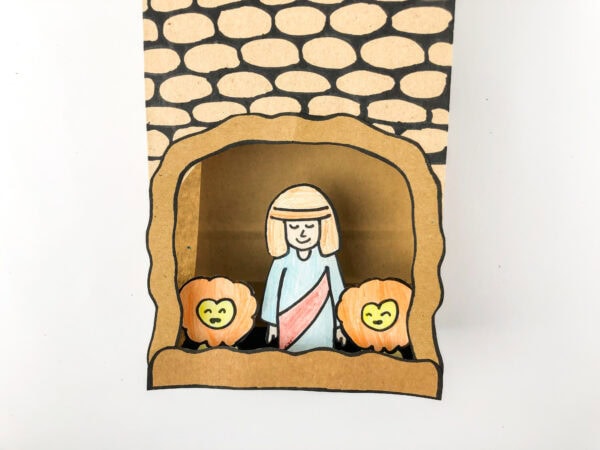
That’s perfect for younger audiences since you want kids to walk away from this Bible Daniel in the lion’s den craft feeling inspired, not scared.
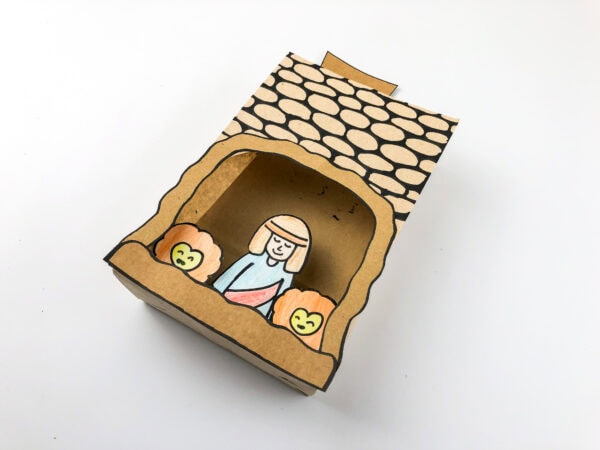
Making It a Puppet
Here’s a fun twist. Because this is built on a paper bag, you can use it like a puppet. Slip your hand inside, and you’ve got a moving scene that kids can act out themselves. This is such a creative way to reinforce the lesson because acting things out helps cement it in a way that just talking about it doesn’t always achieve.
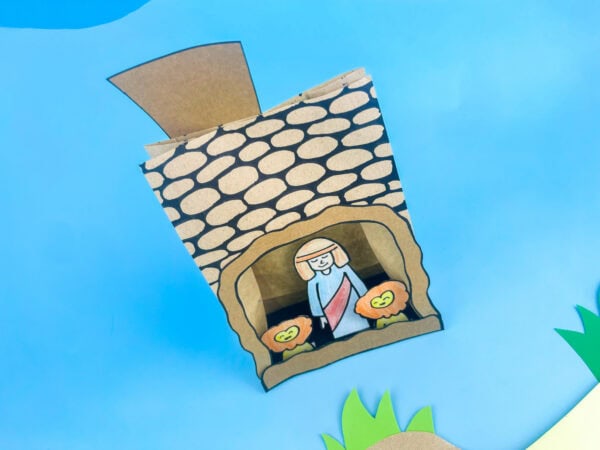
If puppetry isn’t your thing, that’s okay too — the finished piece stands beautifully on its own as a little 3D diorama. Either way, it’s a flexible resource that works for bible class, homeschooling, or a rainy afternoon at home.
Printable Daniel Template
The Daniel figure, both lions, and the cave frame pieces used in this craft are included as full-page printables in the ebook below, along with a photo for each step above.
Get the Full Step-by-Step Ebook
Want the printable template and a photo for every step, all in one place, so you can follow along without any guesswork?
The Daniel in the Lion’s Den Craft Ebook includes the print-and-color template for Daniel, the lions, and the cave frame, the complete materials list, a photo walkthrough of every step above, discussion questions to use with kids after the craft is finished, and a gallery of the finished project from multiple angles.
Tips for the Best Results
Cut the den opening before you draw the brick pattern, so you can see exactly how much space you have left for the stone wall above it.
Keep the marker lines for the brick pattern loose and slightly uneven rather than perfectly uniform. Real stone walls aren’t perfectly regular, and a slightly imperfect pattern reads as more natural.
Glue the trapezoid back-wall piece in before attaching Daniel and the lions, so there’s a solid surface for them to stand against inside the den.
If the paper bag is flimsy once the opening is cut, glue a small piece of scrap cardboard or extra construction paper inside as reinforcement before attaching the cave frame.
Fun Variations to Try
Add a small drawn or cut-out angel above the den opening, referencing how God sent an angel to protect Daniel.
Use a larger grocery-sized paper bag instead of a lunch bag for a bigger den with room for more than two lions.
Turn it into a matching set with a companion piece showing the king peering into the den the next morning, using a second bag or a flat cutout scene.
Tips for Different Age Groups
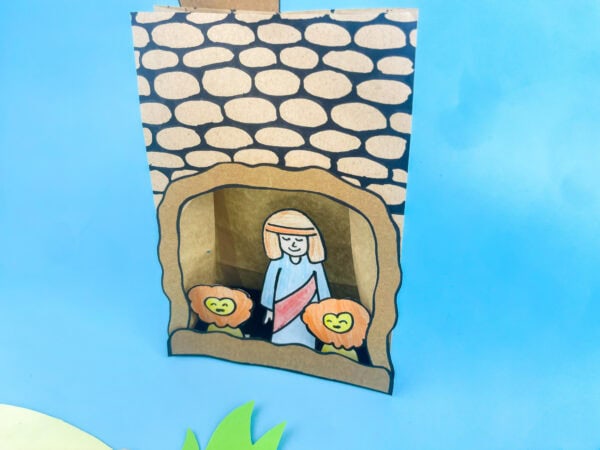
For preschool kids, you might want to pre-cut some of the trickier shapes, especially the rounded arch and the lion mane details. Little hands sometimes struggle with curves, so having a printable coloring page version on hand can simplify things while still letting them participate in the coloring and gluing parts.
For older kids, let them handle more of the cutting and tracing themselves. It’s a great fine-motor skill builder, and there’s real pride that comes from saying “I made this craft myself.”
If you’re running a full Sunday school lesson or VBS session, consider making a lion crown out of construction paper as a bonus activity. A simple crown with cut-out triangle “mane” pieces is a fun way to let kids personalize their own lion look and tie the whole session together with a wearable extra.
More Bible Craft Adventures
If you had fun making this Daniel in the Lion’s Den Craft, here are a few more Bible crafts that help children explore inspiring stories through creative, hands-on activities.
- Joseph Coat of Many Colors Craft – Teach kids about Joseph’s colorful coat and his incredible journey with this fun Bible craft.
- Baptism of Jesus Craft for Kids – Help children remember the baptism of Jesus with an easy craft that’s perfect for Bible lessons.
- Abraham Father of Nations Craft – Explore the life of Abraham and God’s promises through a simple activity kids will enjoy.
- Palm Sunday Donkey Craft – Celebrate Palm Sunday by making a cute donkey craft that brings this special Bible event to life.
- Jesus Walks on Water Craft
- Noah and The Ark Craft
At the end of the day, this Daniel in the lion’s den craft is more than just cutting and gluing — it’s a doorway into a story about trust, courage, and standing firm even when things feel uncertain. This craft is approachable, affordable, and genuinely fun to make, which is exactly what you want from a Bible activity.
So grab your colored pencils, a little glue, and your supplies, and give this one a try.
Is this craft good for a Sunday school class?
Absolutely. This Daniel in the lion’s den craft is one of the easiest bible Sunday school projects to pull off with a group, since the supply list is short and most steps are simple enough for kids to follow along with minimal help.
What ages is this best for?
This works well for preschool through early elementary kids. For very young preschoolers or kindergarteners, an adult might want to pre-cut the trickier curl shapes in the mane, but the coloring and gluing parts are great for little hands.
Do I need a printable template, or can I draw it freehand?
You can absolutely freehand it if you’re comfortable sketching simple shapes, but a printable version makes things faster and more consistent, especially if you’re making several for a group activity.
What if I don’t have a paper bag?
No problem. A toilet paper roll or even a folded piece of construction paper can substitute as your base, especially if you’re after a smaller version of the project.
Daniel in The Lion's Den Craft
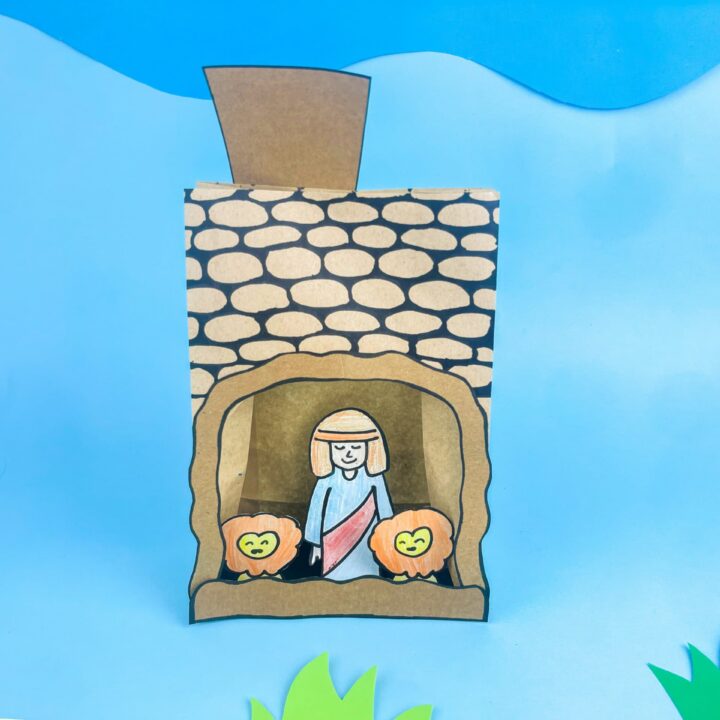
This Daniel in the Lion's Den Craft is a fun way for children to recreate a well-known Bible story with simple supplies. Kids will build a paper bag lion's den and place Daniel alongside friendly lions inside. It encourages creativity while practicing cutting, coloring, and gluing skills. The finished craft is perfect for storytelling, Bible lessons, or imaginative play. It's a great activity for home, homeschool, or church.
Materials
- 1 paper bag (a standard lunch-sized bag works well)
- 1 sheet of tan or light brown construction paper
- 1 sheet of black construction paper
- 1 sheet of light blue construction paper
- 1 sheet of darker blue construction paper
- 1 sheet of red construction paper
- Colored pencils in blue, red, brown, orange, and yellow
- Printable Template
Tools
- A Glue Stick or Glue
- Scissors
- Markers
Instructions
1. Cut the Den Opening
Cut a large curved opening in the front of the paper bag to create the entrance to the lion's den. Make the opening wide enough to show the characters inside.
2. Cut Out the Craft Pieces
Trace and cut out all the construction paper pieces, including Daniel, the lions, and the den decorations. Keep the pieces together so they're ready to assemble.
3. Color the Characters
Use colored pencils to color Daniel and the lions. Add simple details to make each character bright and easy to recognize.
4. Decorate the Den
Use a marker to draw brick or stone lines on the front of the paper bag. This gives the bag the appearance of a stone lion's den.
5. Attach the Decorations
Glue the den decorations onto the paper bag, including the pieces that frame the opening and any additional details. Press each piece firmly so it stays in place.
6. Add Daniel and the Lions
Glue Daniel and the lions inside the den opening. Arrange Daniel in the center with the lions beside him, then allow the craft to dry completely before displaying or using it during Bible lessons.
