
Noah’s Ark Paper Plate Craft
This Noah’s Ark paper plate craft brings one of the most beloved Bible stories to life in a way children will want to keep and display long after they finish making it.
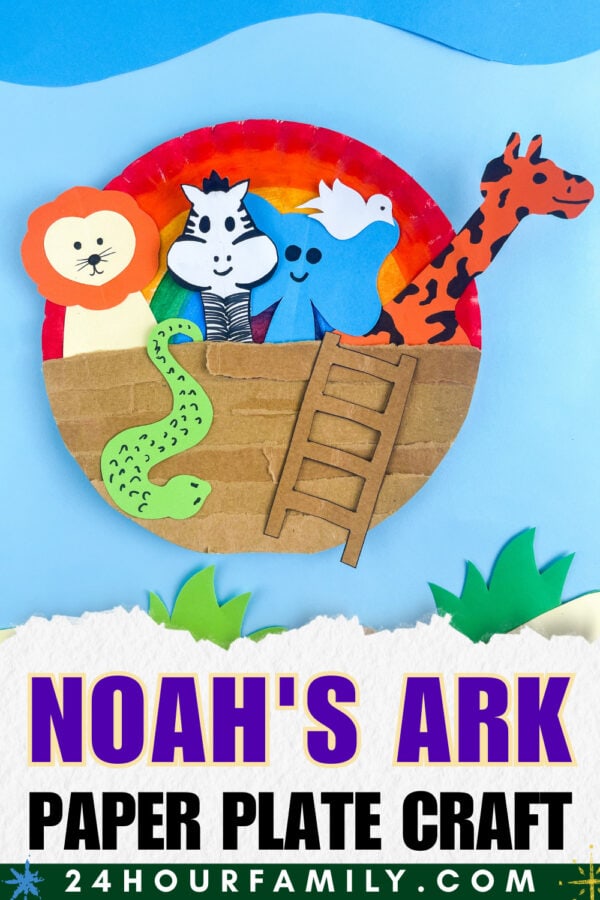
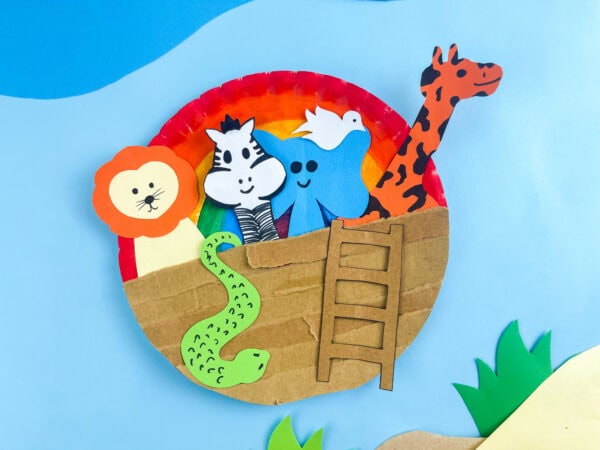
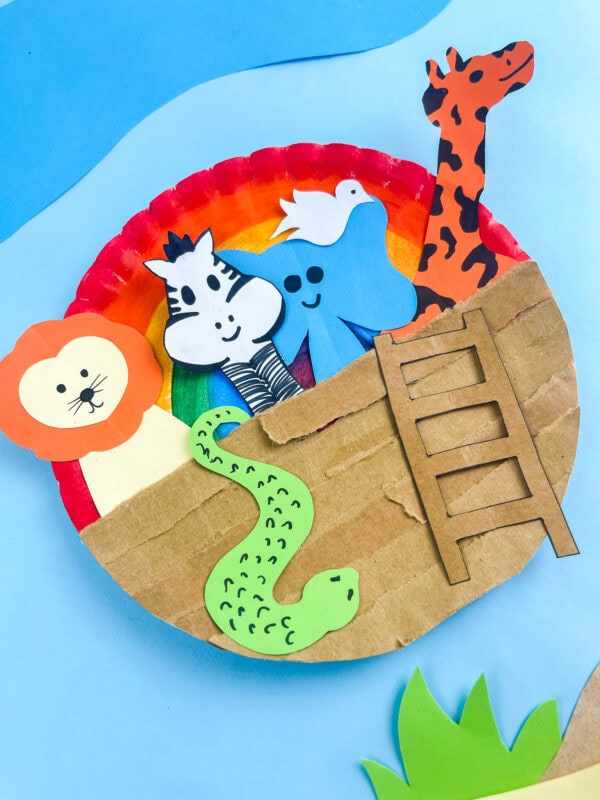
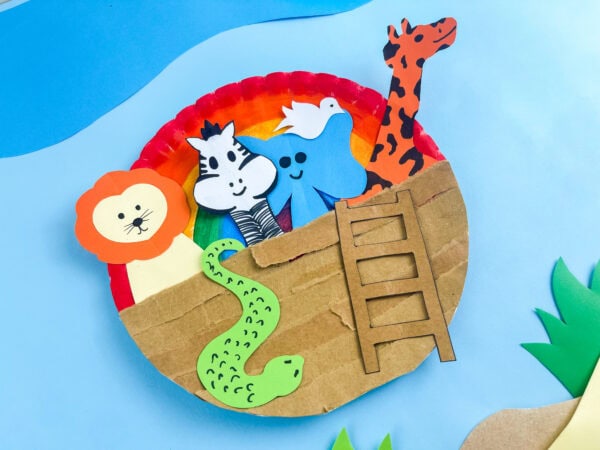
A paper plate becomes a painted rainbow sky. Torn strips of corrugated cardboard build the textured wooden hull of the ark. And five paper animals — a giraffe, a lion, a zebra, an elephant, and a snake — cut from the printable template peek out from the ark with a white dove soaring above. Add a cardboard ladder on the side, and you have a complete, dimensional Noah’s Ark scene that looks like it came from a children’s book.
This craft works beautifully for Sunday school, VBS, homeschool Bible lessons, kids church, and faith-based family craft time. The rainbow painting step is especially satisfying — children paint the full spectrum from red through violet in concentric arcs, and the plate’s natural circular shape makes it the perfect canvas for a complete rainbow.
The Story of Noah’s Ark — Genesis 6-9
Before making the craft, here is a brief overview of Noah’s story — the details that connect directly to what children will build.
God looked at the earth and saw that people had turned away from Him. Their hearts were full of wickedness. But Noah was different. The Bible says Noah “found favor in the eyes of the Lord” (Genesis 6:8) — he walked faithfully with God when no one else was.
God told Noah to build an ark — a massive wooden vessel — and to bring his family and two of every kind of animal onto the ark before He sent a great flood. Noah did everything exactly as God commanded. He built the ark, gathered the animals, and waited.
Then the rains came. For forty days and forty nights, water covered the earth. But Noah, his family, and the animals were safe inside.
When the waters receded, Noah sent out a raven and then a dove. The dove returned the first time with nothing. The second time, it came back carrying a fresh olive leaf — a sign that the waters had gone down and the earth was recovering. The third time, the dove did not return — it had found a place to land.
Noah and his family came out of the ark. And God made a covenant — a promise — that He would never again destroy all life with a flood. As a sign of that promise, God placed a rainbow in the sky.
The rainbow on this paper plate is not just decoration. It is God’s promise — visible, vibrant, and permanent. Every time children see a rainbow after rain, they are seeing the sign God gave Noah. That is what makes this craft more than a paper plate activity. It is a reminder of who God is.
Key verses to share with children:
“I have set my rainbow in the clouds, and it will be the sign of the covenant between me and the earth.” — Genesis 9:13
“Noah found favor in the eyes of the Lord.” — Genesis 6:8
This post may contain affiliate links. As an Amazon Associate and a participant in other affiliate programs, I earn a commission on qualifying purchases. Read our disclosure policy here.
Stock Your Home 9-Inch Paper Plates Uncoated, Everyday Disposable Plates 9KTOJOY 100Pcs Jumbo Wooden Craft Sticks Popsicle Stick 6” Long x 3/4”Wide Treat Ice Pop for DIY Crafts,Home Art Projects, Classroom SuppliesMod Podge Gloss Sealer, Glue & Finish: All-in-One Craft Solution- Quick Dry, Easy Clean, for Wood, Paper, Fabric & More. Non-Toxic – Craft with Confidence, Made in USA, 16 oz., Pack of 1Crayola Construction Paper – 480ct (2pck), Bulk Teacher Supplies, Back to School Essentials For Kids, Classroom Must Have, Arts & Crafts Art PaperGoodyKing Arts and Crafts Supplies for Kids – 1170Pcs+ Craft Art Supply Kit for Toddlers Kids Craft Supplies & Materials Age 4 5 6 7 8 9 – All in One D.I.Y. Crafting School Supplies900 PCS Pom Poms, Multicolor Bulk Pom Poms Arts and Crafts, Soft and Fluffy Craft Pom Poms, Assorted Sizes Pompoms, for Arts and Craft Making Decorations


What You Need:
Printable Noah’s Ark template (download below)
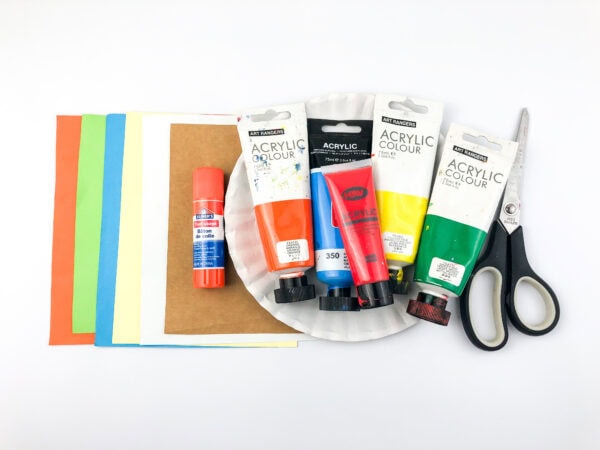
1 standard white paper plate (dinner size)
Corrugated cardboard or a brown paper grocery bag (for the ark hull and ladder)
Construction paper in these colors: orange (giraffe), green (snake), blue (elephant), white (zebra body and dove), cream or light yellow (lion face and body), orange-red (lion mane)
Acrylic paint in red, orange, yellow, green, blue, and purple or violet
Paintbrush (medium flat brush works best)
Glue stick or white school glue
Scissors
Black marker
What’s Included in the Printable Template
The printable template includes traceable outlines for all the animals and elements:
Animals and scene elements:
- Giraffe (neck and head — trace onto orange paper, add black spots with marker)
- Lion (round mane — trace onto orange-red paper; face/body — trace onto cream paper; add facial details with black marker)
- Zebra (body and head — trace onto white paper; add black stripes with marker)
- Elephant (four-lobed shape with trunk — trace onto blue paper; add face details with black marker)
- Snake (S-curve body — trace onto green paper; add scale details with black marker)
- Dove (small bird silhouette — trace onto white paper)
- Ark ladder (trace onto brown cardboard or kraft paper; cut out carefully)
How to Make the Noah’s Ark Paper Plate Craft — Step by Step
Step 1: Download and print the template.
Download the Noah’s Ark template PDF below and print on standard white paper. You will use this as a tracing guide — not as the final craft.
Step 2: Paint the rainbow on the paper plate.
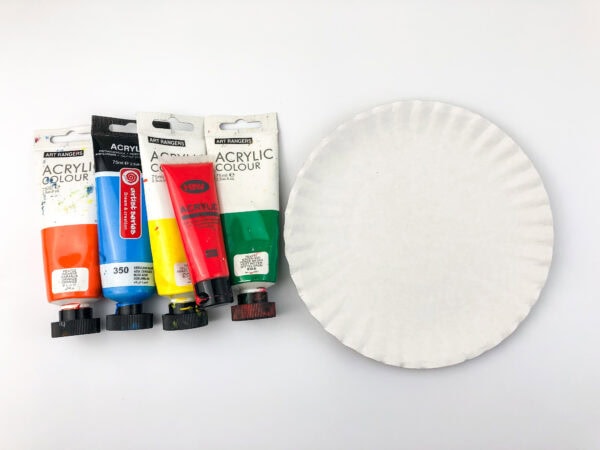
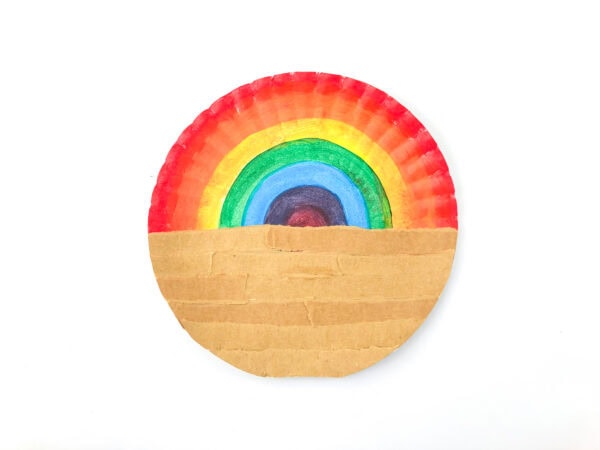
This is the most important and most satisfying step of the entire craft. The painted rainbow becomes the sky of the finished scene — the background against which all the animals and the ark will appear.
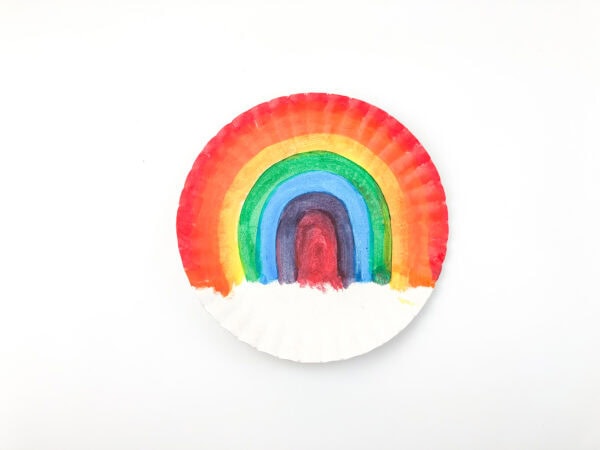
Start from the outside rim of the plate and work inward, painting concentric arcs of color in rainbow order:
Outermost arc — red (paint the full outer rim of the plate red, going all the way around). Second arc — orange. Third arc — yellow. Fourth arc — green. Fifth arc — blue. Sixth (innermost) arc — purple or violet
Leave the bottom quarter of the plate unpainted white — this is where the cardboard ark will cover the plate.
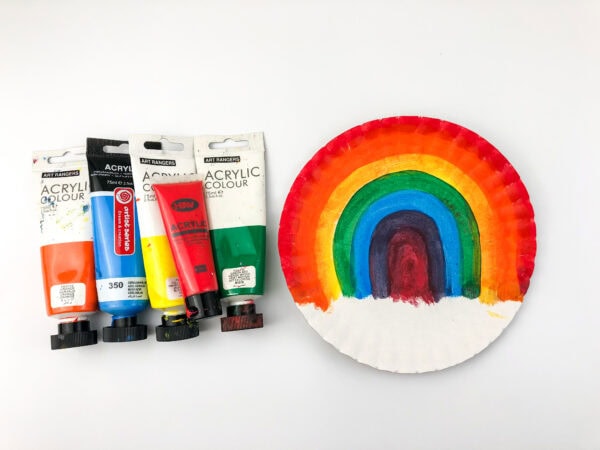
The paint colors will mix slightly at the edges where they meet, which actually adds to the beauty of the finished rainbow. Don’t worry about perfect lines — the natural blending gives the rainbow a warm, soft quality.
Allow the rainbow to dry completely before moving to the next step. This usually takes 15–20 minutes with acrylic paint.
Step 3: Prepare the cardboard ark strips.
While the rainbow is drying, prepare the cardboard for the ark hull.
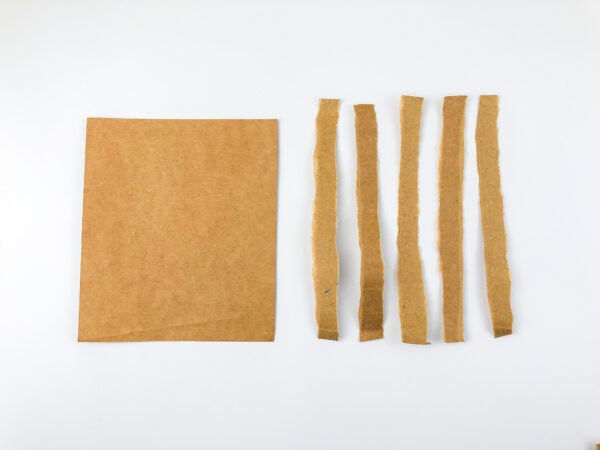
Take a piece of corrugated cardboard or a brown paper grocery bag. Tear it (rather than cutting it) into horizontal strips about half an inch wide. The torn edges create a naturally rough, organic texture that looks remarkably like weathered wooden planks — far more convincing than cut edges would.
Make 8–10 strips, roughly the same length as the diameter of the paper plate.
Step 4: Glue the cardboard strips to the plate.
Once the rainbow is dry, take your torn cardboard strips and begin gluing them horizontally across the bottom half of the plate, working from the bottom edge upward. Overlap them slightly as you go, the way real wooden planks are laid.
The strips should fill the bottom third to half of the plate, creating the wooden hull of the ark. The torn, slightly uneven edges of the strips facing upward give the hull a textured, dimensional look that photographs beautifully.
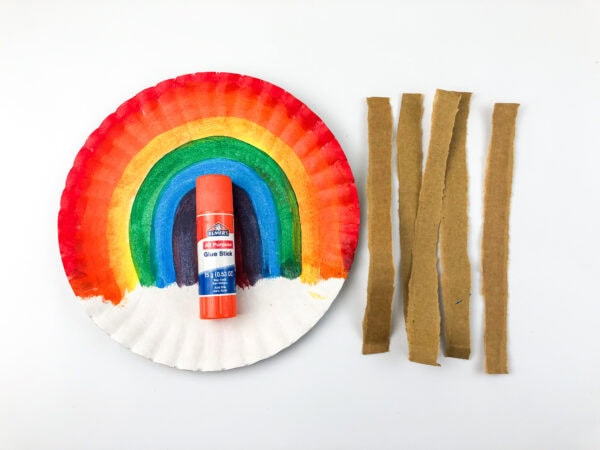
Allow the glue to set for a few minutes before proceeding.
Step 5: Print, trace, and cut out the template pieces.
Print the template. Using a pencil, trace each animal shape onto the correct color of construction paper:
Giraffe: trace onto orange paper, then use the black marker to add irregular spots across the neck and head.
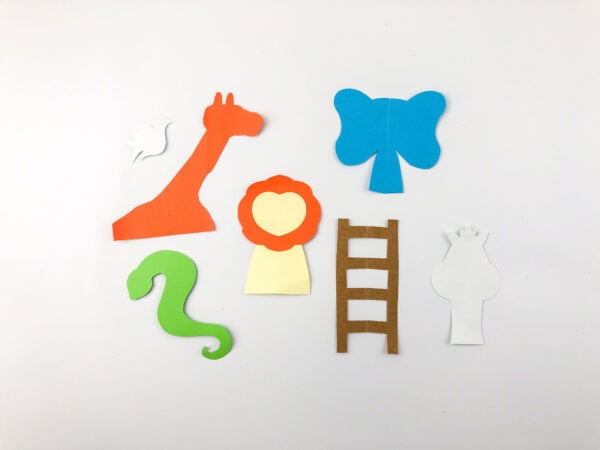
Lion: trace the round mane shape onto orange-red paper. Trace the face and body cone shape onto cream or light yellow paper. Glue the mane circle on top of the cream face oval and add eyes, a nose, and whiskers with the black marker.
Zebra: Trace the zebra body and head shape onto white paper. Add bold black stripes horizontally across the neck and head with the black marker. Add eyes, nostrils, and a small topknot of hair.
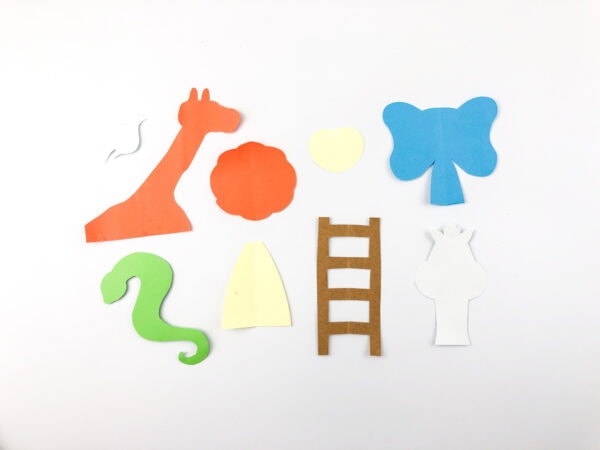
Elephant: Trace the four-lobed elephant shape (which looks like a rounded cross or clover) onto blue paper. Add two small dot eyes and a small curved smile with the black marker.
Snake: Trace the S-curve snake shape onto green paper. Add small U-shaped scale marks all over the body with the black marker.
Dove: Trace the small dove silhouette onto white paper. Cut carefully around the wings and body.
Ladder: trace the ladder onto brown cardboard or kraft paper. Cut carefully around the rungs — the interior cuts require scissors or a craft knife for older children.
Step 6: Add detail drawing to all the animals.
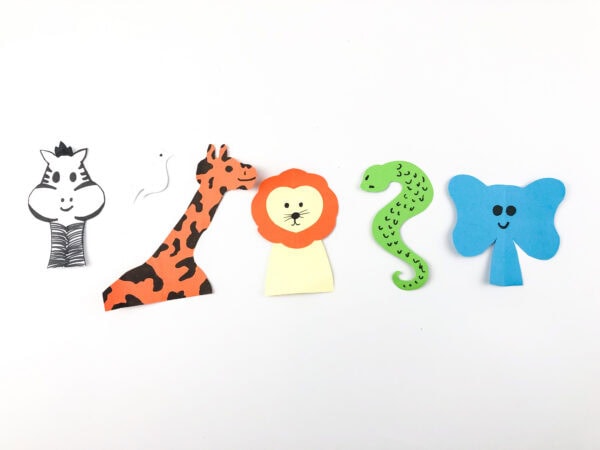
Before assembling on the plate, use the black marker to add all facial and texture details to each animal. Working on flat pieces before gluing is always easier than adding details to pieces already on the plate.
Giraffe: irregular spots, a small eye, and two tiny horns at the top of the head. Lion: small dot eyes, a tiny triangle nose, and three whisker lines on each side. Zebra: bold horizontal stripes across the neck, dot eyes, and a small topknot drawn in black. Elephant: two dot eyes and a gentle curved smile — the simple face gives the elephant a sweet, friendly expression that children love. Snake: rows of small U-shaped scale marks covering the entire body.
Step 7: Assemble the animals on the ark.
Now comes the most satisfying part — arranging the animals on the finished plate.
Glue the animals so they appear to be inside the ark or peering over the top edge of the cardboard hull:
Position the giraffe’s long neck and head so it rises up from behind the hull and extends upward and slightly to the right — its head and neck visible above the plank edge.
Glue the lion on the left side behind the hull, its round face and mane visible above the planks.
Glue the zebra in the center, positioned so its striped neck rises above the hull.
Glue the elephant beside the zebra, its rounded blue head peeking over the planks.
Position the snake so it curves up and over the front of the hull — as if it is sliding up the side of the ark.
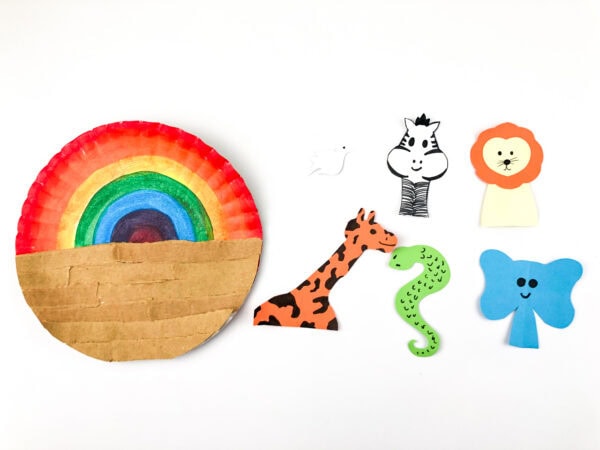
Glue the dove high on the rainbow section of the plate — flying above the ark as a symbol of peace and the receding floodwaters.
Glue the ladder on the lower right side of the ark hull, leaning against the planks as if the animals have just used it to board.
Step 8: Display or display on a blue background.
The finished Noah’s Ark paper plate looks especially beautiful displayed on a blue background — blue poster paper or blue construction paper creates the impression of sky and water around the circular ark scene. Tape or pin a piece of blue paper behind the plate for instant display.
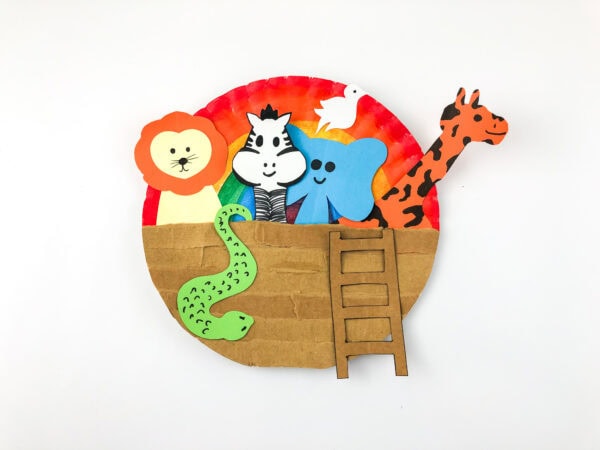
For a classroom bulletin board, a row of completed Noah’s Ark plates is one of the most stunning Bible craft displays possible — each plate slightly different depending on how children arranged their animals and painted their rainbows.
What Makes This Craft Special
This is a different type of craft from most paper plate Bible activities. Several elements give it genuine depth and visual complexity:
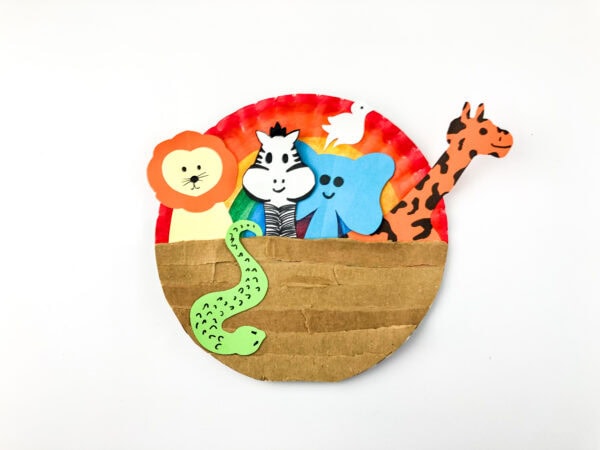
The torn cardboard technique for the ark hull is the most distinctive element. Rather than painting the bottom half of the plate brown, the layered torn strips create a real three-dimensional texture. When the finished craft is displayed, the torn cardboard has shadow and depth that makes the ark look genuinely wooden rather than flat.
The rainbow painting technique using concentric arcs on the plate’s natural circular shape is unusually satisfying to complete. Because the plate is round, the rainbow arcs follow its shape naturally — children don’t need to draw guidelines. The paint process, from outer red to inner violet, flows logically around the plate, and the result looks genuinely polished.
The five animals add narrative complexity to the scene. A Noah’s Ark craft with one or two animals feels incomplete. Five animals — giraffe peering over the back, lion on the left, zebra in the center, elephant beside it, and snake climbing the side — create the feeling of a crowded, joyful ark.
The dove flying above the rainbow is theologically significant and visually beautiful. It references the moment in Genesis 8 when the dove returned with an olive branch — the sign that the earth was ready. Children who know the story will recognize the moment immediately.
Using This Craft as a Teaching Tool
Before the craft: ask children, “If you had to bring two of every animal onto a boat, which animal would you be most excited about? Which one would you be most nervous about?” This gets children emotionally invested in the story before they hear it.
During the craft: while children paint their rainbows, talk through the colors — red, orange, yellow, green, blue, violet — and note that seven colors in a rainbow match the seven days of creation. Some Bible scholars find this connection meaningful.
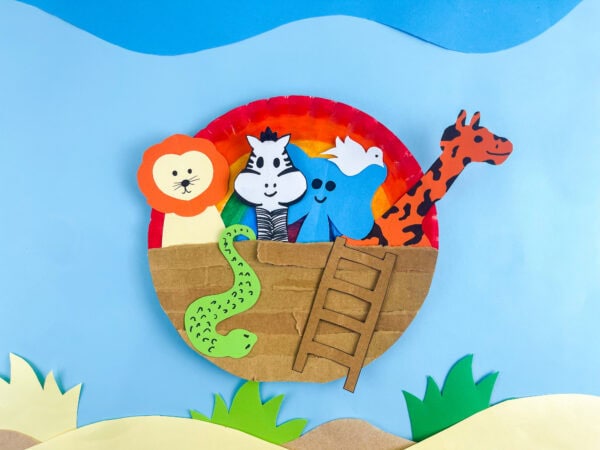
After the craft: hold up the finished rainbow plate and ask: “What does the rainbow mean in this story?” Then share Genesis 9:13 — “I have set my rainbow in the clouds, and it will be the sign of the covenant between me and the earth.” Ask: “What is a covenant?” (A very serious, unbreakable promise.) “What has God promised you?”
Take-home application: send each child home with a small card that says “When you see a rainbow, remember: God keeps His promises.” Attach it to the back of the plate with a ribbon loop for hanging.
What Age Is This Craft For?
Ages 4–5 (preschool): An adult paints the rainbow and pre-cuts all template pieces. The child glues the cardboard strips to the plate, adds the animals, and places the dove. Focus on naming each animal and the colors of the rainbow.
Ages 5–7 (kindergarten and first grade): Children can paint the rainbow with guidance and cut most template pieces independently. The marker detail work on the animals is manageable at this age, and children enjoy the personalization it allows.
Ages 7–10 (second through fourth grade): Fully independent completion including the rainbow painting, template tracing and cutting, all marker detail work, and final assembly. For this age group, add the ladder cutting (which requires more scissor control around the interior rungs).
Sunday school and VBS: Pre-trace and pre-cut the template pieces before class to focus session time on painting, detail drawing, and assembly. The rainbow painting can also be done in advance for very young classes, leaving only the assembly step for children to complete.
More Bible Crafts to Make
If you enjoyed creating this Noah’s Ark Paper Plate Craft, here are a few more Bible-themed activities that are perfect for helping kids learn about faith and some of the Bible’s most memorable stories.
- Moses Bible Paper Bag Craft – Create a fun Moses puppet that helps bring the story of the Exodus to life.
- Baptism of Jesus Craft for Kids – Teach children about Jesus’ baptism with a simple craft that’s both meaningful and fun to make.
- Elijah Fire from Heaven Craft – Explore the story of Elijah and God’s amazing display of power through this creative project.
- Abraham Father of Nations Craft – Introduce kids to Abraham’s journey and God’s promise with an engaging Bible craft.
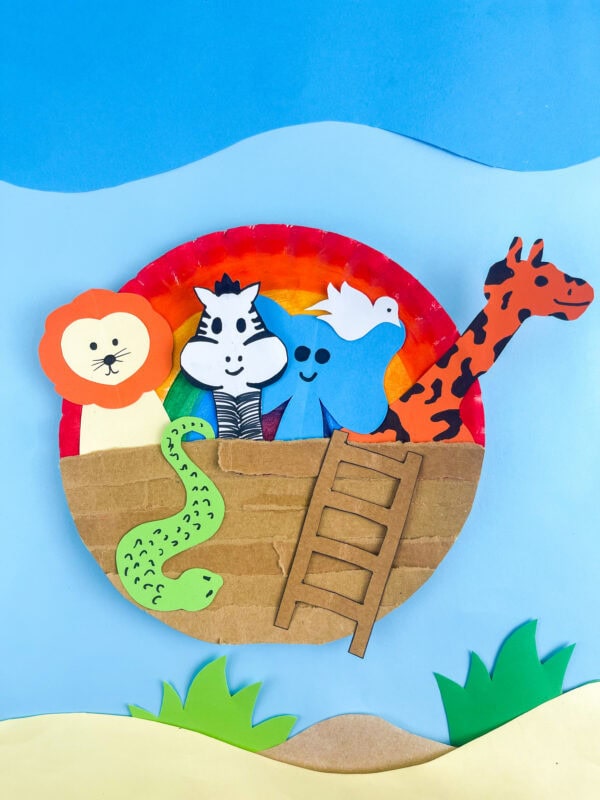
Rainbows, animals, and a sturdy ark. The story of Noah is one of the most recognizable in all of Scripture — and this paper plate craft captures every essential element of it in a scene children will want to keep on their wall long after the lesson is over.
The rainbow God placed in the sky after the flood is still there every time it rains. This craft is a reminder to look up, notice it, and remember what it means.
Download the template below, gather your paints and cardboard, and build your ark.
Is a printable template required for this craft?
Not at all — a printable template just makes the animal cutting step a little easier, especially for younger kids. If you’re comfortable free-handing simple shapes, you can skip the printable altogether.
What age is this craft best for?
This Noah’s ark paper plate craft is flexible enough for a wide age range. Preschoolers can help with painting and gluing, while elementary-aged kids can usually handle the cutting and design work on their own.
Can I use paper instead of cardboard for the ark?
Of course! Brown construction paper works fine for the ark strips. Cardboard just adds a bit more texture and durability if you have some on hand.
How long will this craft take to make?
Plan for about 45 minutes to an hour total, including drying time for the paint. You can also split it into two sessions — painting one day, then assembling the ark and animals the next.
Does this craft work well for group activities?
Definitely. It’s easy to prep supplies in advance, and each child ends up with a unique, personalized craft to take home.
Noah's Ark Paper Plate Craft
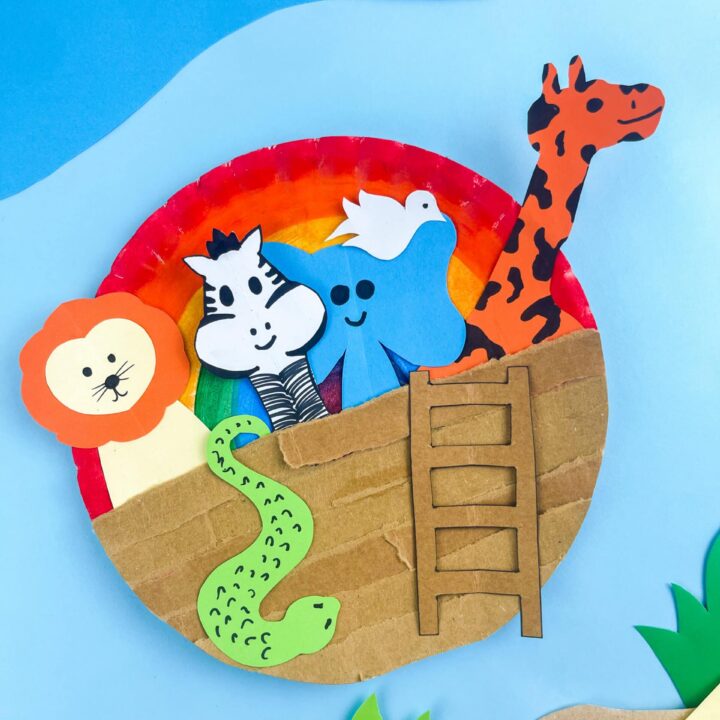
This Noah's Ark Paper Plate Craft is a fun way for kids to learn about one of the Bible's most well-known stories. Children will create a colorful rainbow, build an ark, and add their favorite animals to complete the scene. The project encourages creativity while practicing painting, cutting, and gluing skills. It's a great activity for Bible lessons, homeschool, or church. The finished craft also makes a wonderful keepsake or classroom display.
Materials
- Paper plate
- Paint
- Construction paper
- Colored pencils
- Glue or glue sticks
- Markers
Tools
- Scissors
Instructions
1. Paint the Rainbow
Paint a rainbow across the top half of the paper plate using bright colors. Let the colors blend slightly for a cheerful background, then allow the paint to dry completely.
2. Build the Ark
Cut several long strips from brown construction paper and glue them across the bottom half of the plate. Slightly overlap the strips to give the ark a wooden plank appearance.
3. Make the Animals
Cut simple animal shapes from different colors of construction paper. Create a variety of animals to fill the ark, such as a lion, giraffe, elephant, zebra, snake, or dove.
4. Add the Details
Use colored pencils or markers to decorate each animal with simple features like stripes, spots, eyes, and smiles. Add any extra details to make each one unique.
5. Arrange the Animals
Place the animals along the top of the ark before gluing them down. Position them so they appear to be looking out from inside the ark.
6. Finish the Scene
Check that all the pieces are securely attached and make any final touches with your markers. Add extra details to the ark or rainbow if desired.
7. Let It Dry and Display
Allow the craft to dry completely before moving it. Display it on a bulletin board, classroom wall, or use it while sharing the story of Noah's Ark.
