
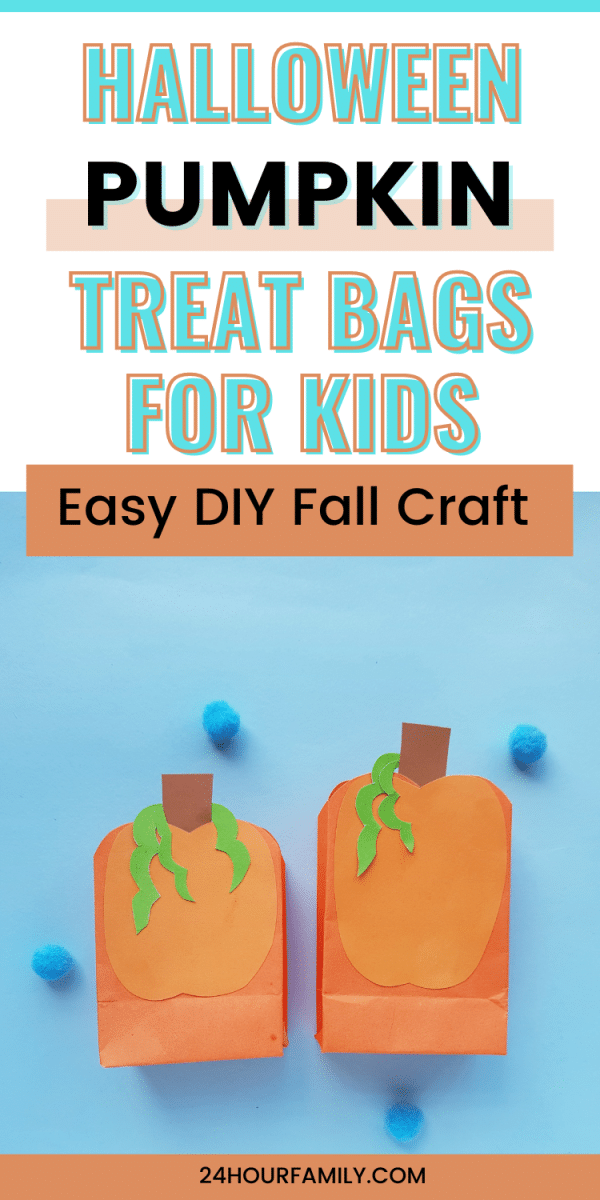
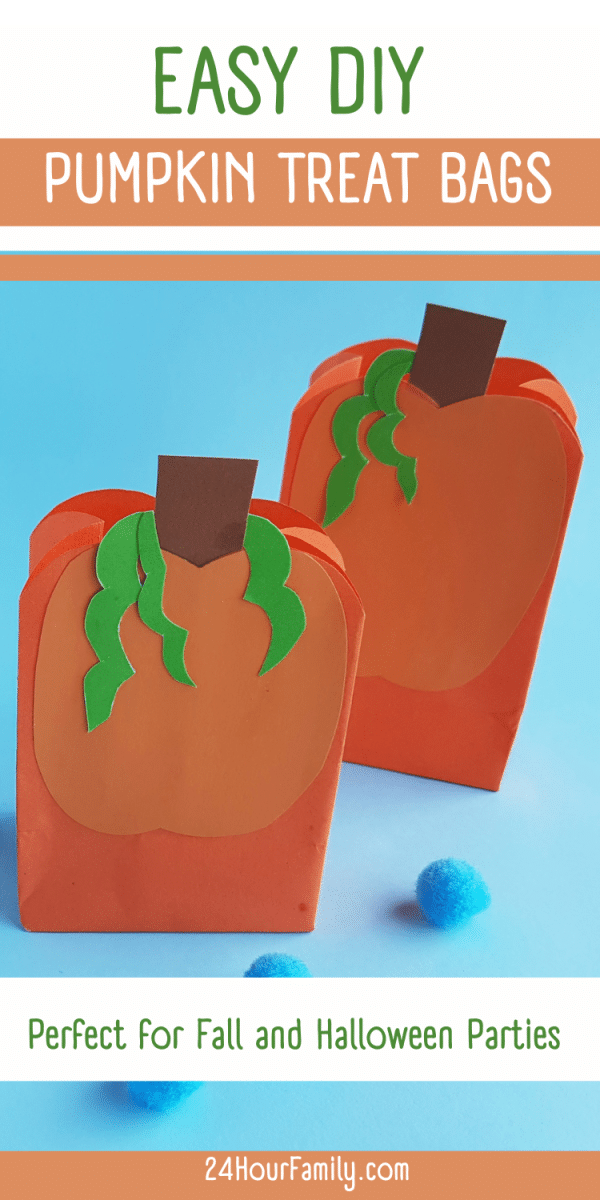
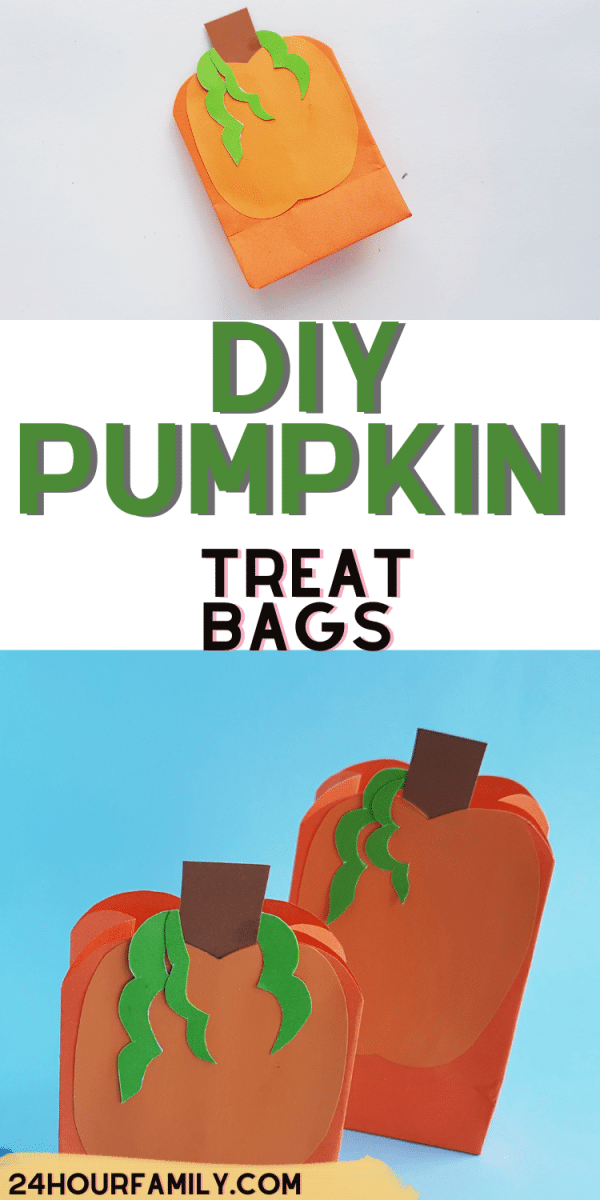
Easy DIY Pumpkin Treat Bags (Free Pumpkin Template)
As Fall approaches, the excitement for pumpkin decorations, creative costumes, and Halloween treats grows. Crafting your pumpkin bag is a fun fall craft project to add a personal touch to your Halloween celebrations. These charming Halloween treat bags can serve as party favors, gift bags, or even add a festive touch to your dessert table. In this blog post, we’ll guide you through creating DIY Pumpkin Treat Bags that will impress your guests.
We have also included a free pumpkin template that is easy to download and print in PDF format. You can use this pumpkin template to make fall crafts and pumpkin treat bags.
This post may contain affiliate links meaning I get commissions for purchases made through links in this post at no cost to you. Read my disclosure policy here.
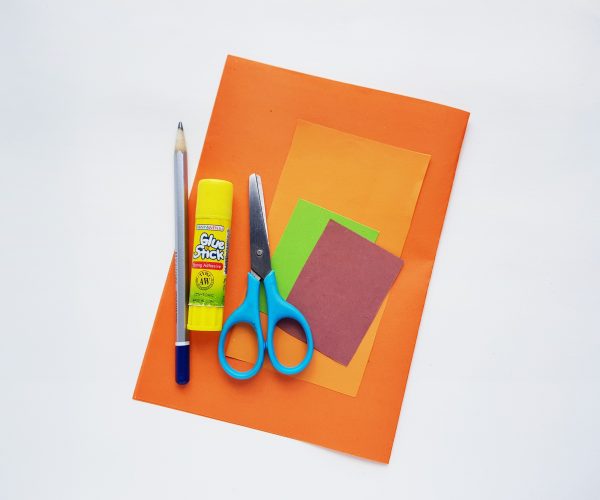
What materials are needed to make pumpkin treat bags?
- Printer (I have this one)
- Pencil
- Scissors
Free Pumpkin Template (Download at the bottom of this post)
How to Make DIY Pumpkin Treat Bags:
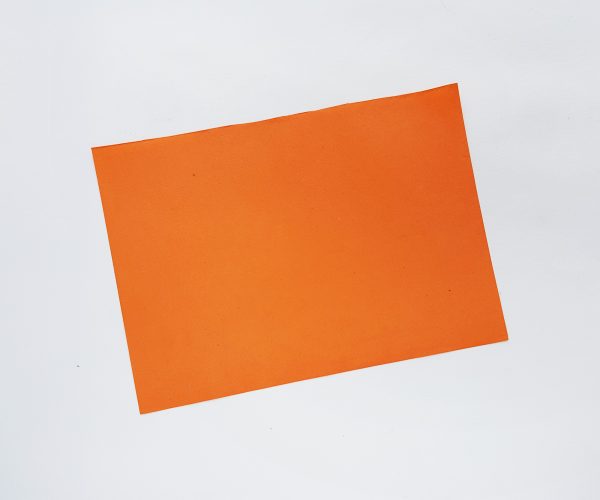
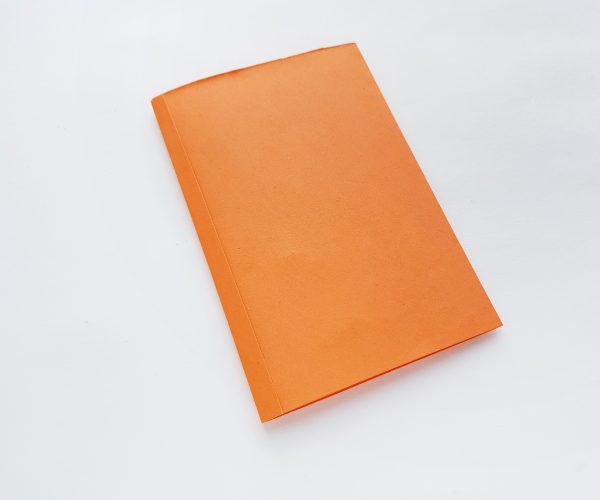
Step 1
Select orange-colored craft paper for the pumpkin treat bag craft. Select a lighter-colored paper for the bag and a different orange-colored craft paper for the pumpkin pattern. I’m using a 6-inch X 9-inch (you can keep this ratio) from the paper selected for the bag.
Step 2
Leave a cm intact, fold the paper into half lengthwise, and attach the open sides to close that end. Simply fold up the intact 1 cm part over the other open end and glue them together.
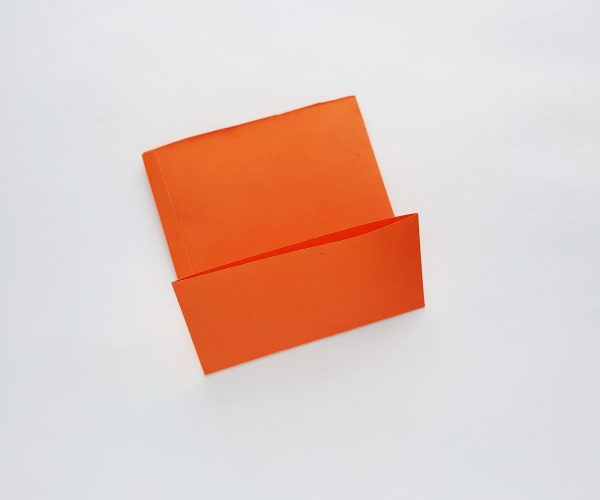
Step 3
Fold up 2 inches of the paper from either open end.
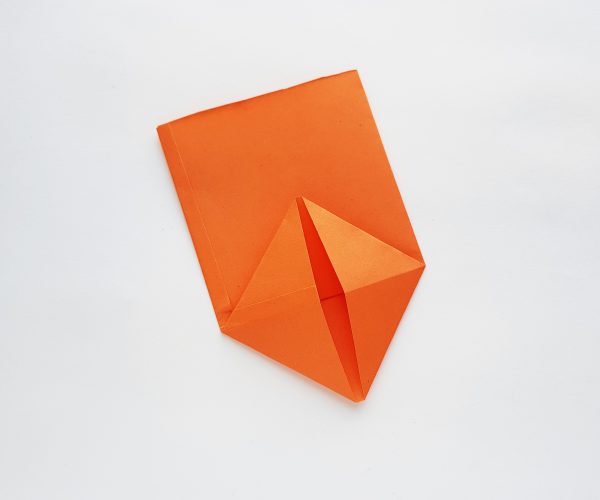
Step 4
Open the folded part from the bottom middle part and flatten the sides as neatly as possible. This will form 2 triangles on both sides.
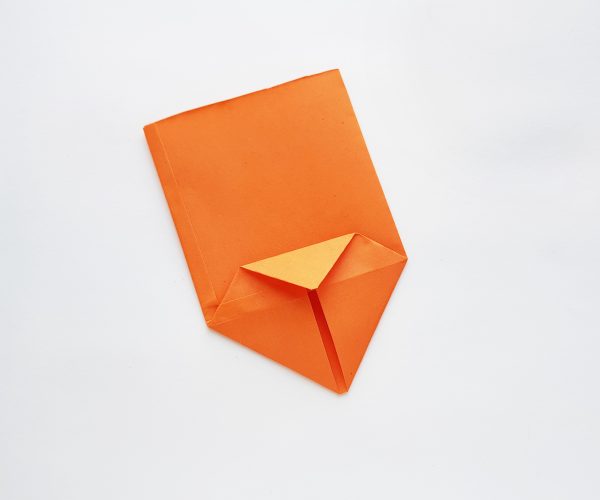
Step 5
Fold the top open pointy end of the flap halfway towards the inside.
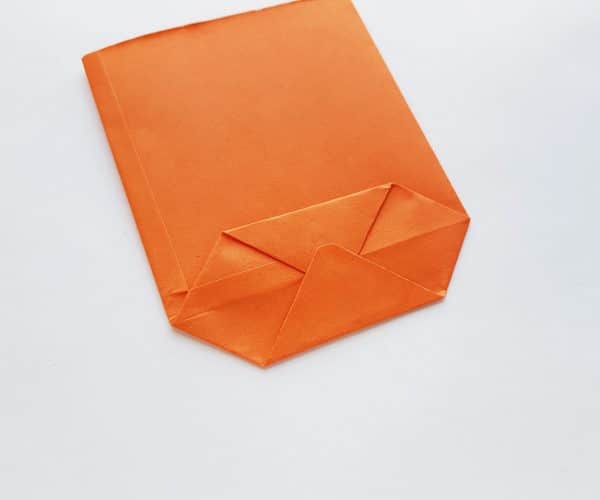
Step 6
Similarly, fold the other side towards the inside and overlap it with the previous part. Apply glue on the folded parts to close that end (this is the bottom side of the paper bag).

Step 7
Match the 2 opposite corners of the squares on both sides (of the bottom side) and create a crease on the bag on both sides.
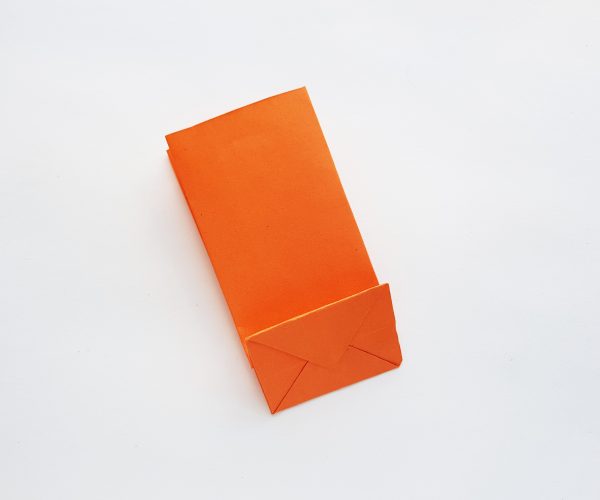
Step 8
Open the last folds and flatten the bag neatly.
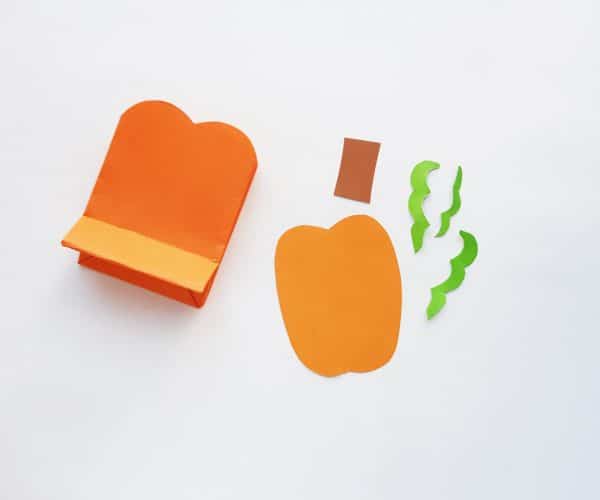
Step 9
Use scissors to cut two curved borders along the top side of the paper bag. Trace the pumpkin, vine, and stem patterns on colored craft papers and cut them out nicely.
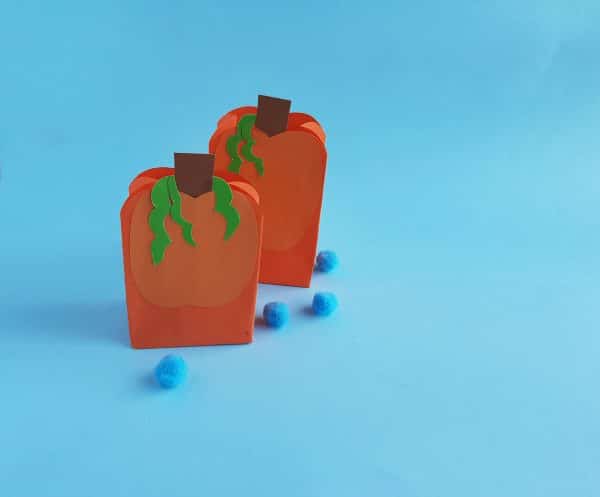
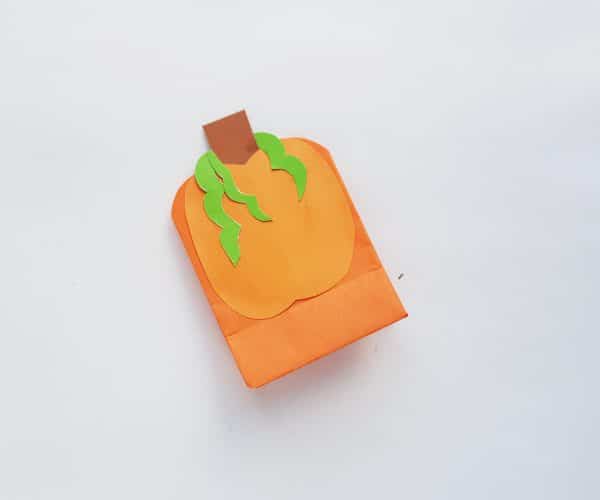
Step 10
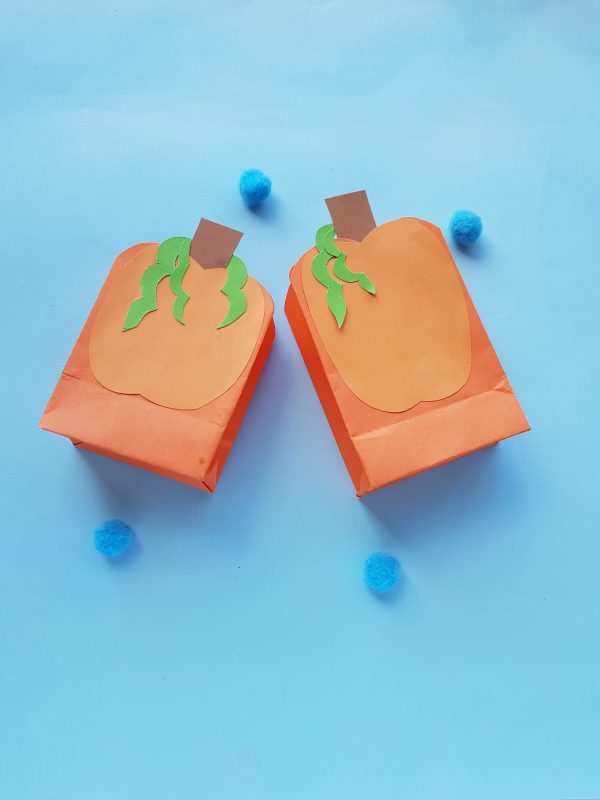
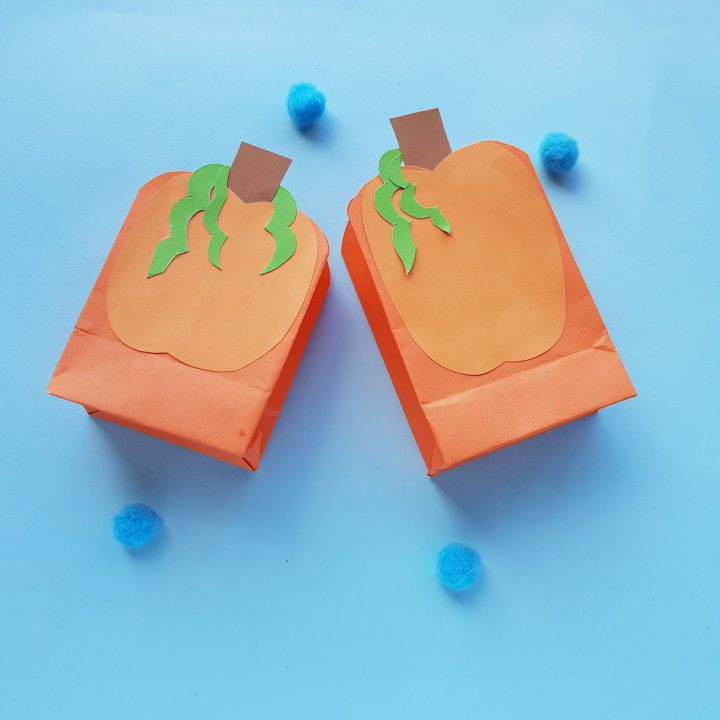
Attach the patterns on the paper bag to complete the pumpkin treat bag craft.
Here is another idea for a cute and unique pumpkin craft for kids. This fun pumpkin craft for kids uses simple supplies you may already have at home like beads, a paper plate, and glue.
How can I use these pumpkin treat bags?
Halloween Party Favors
These DIY pumpkin treat bags make fantastic party favors. Fill them with candy corn, chocolates, or other Halloween treats, and hand them out to your guests as a token of appreciation for attending your spooky celebration.
Dessert Table Decor
Arrange these pumpkin bags on your dessert table to add a touch of charm. They can hold individual portions of Halloween-themed goodies for your guests to enjoy.
Classroom Party Fun
These treat bags can be a hit if you’re hosting a classroom Halloween party. Fill them with small toys or stickers and let the kids blast.
More Fall Crafts and Printables:
How to Make Pumpkin Spice Bath Bombs
Thanksgiving Bingo Cards (Free Printable)
Printable Thanksgiving Activities for Kids
Personalize Your Pumpkin Treat Bags
Creating your own Halloween pumpkin treat bag can be a truly enjoyable and creative experience, and the best part is that you can personalize them in numerous ways to suit your Halloween ideas and preferences. Here are some tips to infuse even more personality into your easy pumpkin treat bags:
Elevate your Halloween bag
Instead of using craft paper, you can opt for orange and green felt. Cut out small leaves from the green felt and attach them to the top of the stem using floral tape. This tiny detail will give your pumpkin paper treat bag a more authentic look, like it just came from a pumpkin patch.
Customized Tags
Personalize each pumpkin bag by attaching custom-made tags. Cut out a pumpkin shape from card stock and write messages like “Happy Halloween” or your guests’ names. Attach the tags using ribbons, securing them near the top of the bag.
Handprint Pumpkin Gift Bag
If you’re looking for a creative twist, involve the kids in making handprint pumpkin gift bags. Trace their little hands onto orange felt, cut out the shapes, and follow the steps for assembling the bags. This adds a personal touch and becomes a keepsake for the recipients.
Creating easy pumpkin treat bags is a wonderful way to add a personal touch to your Halloween festivities. These delightful bags can serve as party favors, an adorable gift wrap, or even bring extra joy to a classroom party. With just a few simple materials and easy steps, you can have these cute pumpkin bags ready quickly. Happy Halloween crafting!
Easy DIY Pumpkin Treat Bags
This cute and easy DIY craft is a great way to add something unique to your fall holiday parties!
Materials
- Any printer
- The free pumpkin printable
- Various colored sheets of paper
- Elmer's glue
- A #2 pencil
Tools
- A pair of scissors
Instructions
1. Get some orange paper for the treat bag. Then, choose a lighter-colored paper and another orange paper for the pumpkin pattern. Preferably, use a 6-inch X 9-inch.
2. Leave a cm of paper left, fold it half lengthwise, attach the open sides, and close the end. Then, fold up the remaining cm part over the open end and glue them together.
3. Fold upward two inches of the orange paper from both ends
4. Now open the folded part from the middle bottom and flatten the sides as neatly as possible. This will form two triangles from both sides.
5. Fold the flap's open top end (it's pointy) about halfway inside.
6. Fold the other side to the inside and overlap that piece with the previous piece. Then, apply your glue on the folded pieces and close the end (the bottom side of the treat bag).
7. Match the two opposing corner pieces of the squares from both sides (the bottom side) to create a crease on both sides of the treat bag.
8. Now, to finish the bag part of this craft, open the last fold of the bag and flatten it as neatly as you can
9. Use scissors and cut two curved borders on the top of the treat bag. Now trace the pumpkin, vine, and stem shapes on various colored papers and cut each shape out.
10. Glue the cutout shapes onto your treat bag!