
Hop into Spring with This Adorable Easter Carrot Cupcake Cones Recipe
Springtime brings about longer days, blooming flowers, and a sense of renewal that’s hard to beat. If you’re looking for a whimsical, kid-friendly dessert, this Easter carrot cupcake cones recipe will surely delight you.
Imagine serving up what looks like giant carrots—topped with vibrant orange frosting and a charming green stem—only to reveal a soft, sweet cake hidden inside a crisp wafer.

Easter Dessert Recipes that Look Like Carrots
It’s a surprise that’s as much fun to make as it is to eat. In this post, we’ll walk you through everything you need to know about creating these unique Easter goodies that are perfect for an Easter party or celebration.
How to Make Carrot Patch Cupcakes
Before getting started, ensure you have all your ingredients and tools in place. Being prepared will help the process run smoothly and make baking more enjoyable.
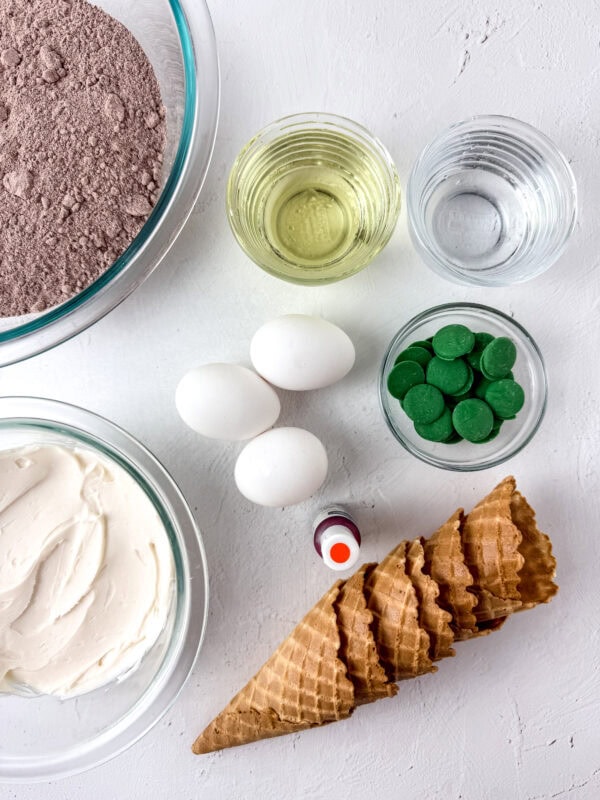
Cake Batter using a Cake Mix – You can use your favorite homemade vanilla or chocolate cake recipe or a box cake mix of your choice. The recipe will work with most flavors—funfetti, carrot cake, chocolate, vanilla, or even a fruity blend like strawberry. For Easter, a pastel-colored batter or confetti mix can add extra flair.
Ice Cream Cones – Choose wafer-style waffle cones. These have a classic carrot shape.
Frosting – You’ll need a generous amount of frosting on top of each cupcake. Buttercream works best for piping. You can either make a homemade buttercream or use store-bought frosting for simplicity.
Food Coloring – You’ll need orange food coloring for the carrot body. Gel food coloring is often preferable for achieving vibrant, consistent color without making the frosting too runny.
Green Melting Chocolate – I used Wilton’s brand of melting chocolate to make the carrot tops.
Tools Needed to Make This Easter Carrot Cupcake Cones Recipe
Mixing Bowls and Mixer – You’ll need these to prepare the pre-made cake mix and color your frosting.
Muffin Tin or Baking Tray – Add cupcake liners to the muffin tin. A muffin tin can help steady them if you gently nestle each one into the tin’s wells. Alternatively, you can arrange them closely on a baking tray and prop them up with crumpled foil.
- Piping Bags and Tips – A piping bag fitted with a large round or star tip will help you achieve that smooth, swirled frosting look on top. If you don’t have piping bags, a zip-top plastic bag with a corner snipped off works in a pinch.
- Cooling Rack – Once the cupcakes come out of the oven, you’ll want to transfer them to a cooling rack to prevent over-baking and allow them to cool quickly.
- Spatula or Spoon – Useful for transferring and smoothing frosting as needed.
Having these items at your fingertips will make for a seamless baking experience.
Step-by-Step Instructions:
Prepare the Cake Batter – Choose Your Flavor – Decide on your cake flavor. For a bright Easter look, a vanilla or confetti batter often works best because the white base takes on the color of the frosting nicely, but any flavor is perfectly fine.
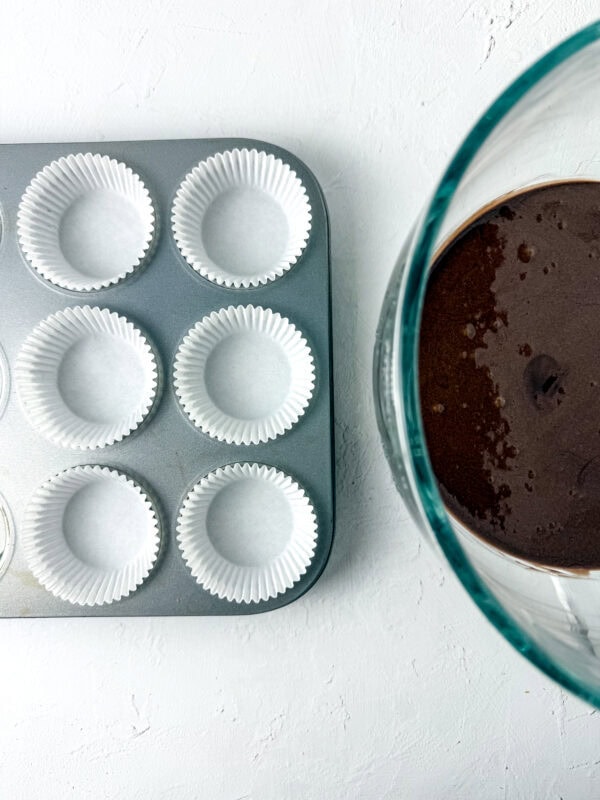
Follow Package or Recipe Directions – If using a boxed mix, follow the instructions on the package and combine the cake mix with eggs, oil, and water.
If making homemade, use your go-to recipe and prepare the batter accordingly.
Preheat Your Oven – Set your oven to 350°F (175°C), or follow the specific instructions on your cake mix or recipe.
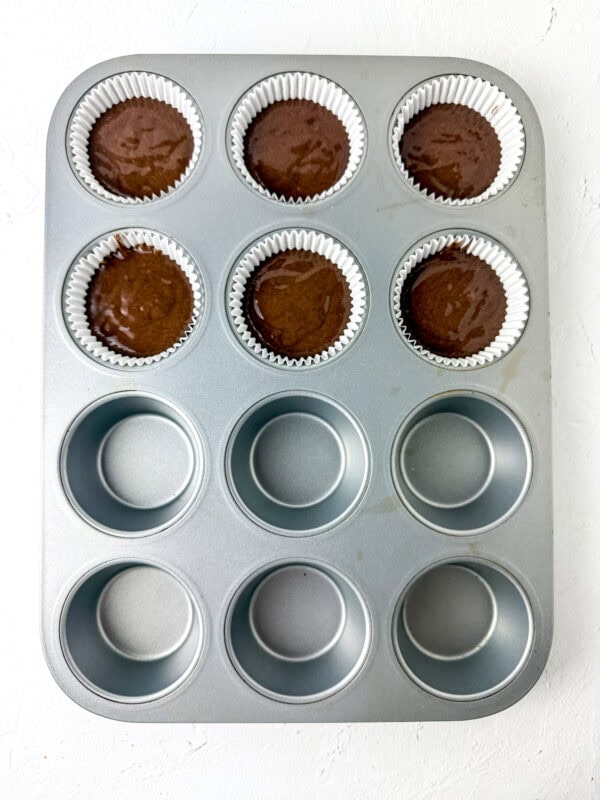
Fill the muffin tin – Spoon or pour the cake batter into each muffin liner until it’s about two-thirds full. Overfilling can lead to overflow in the oven, so be mindful of the batter level.
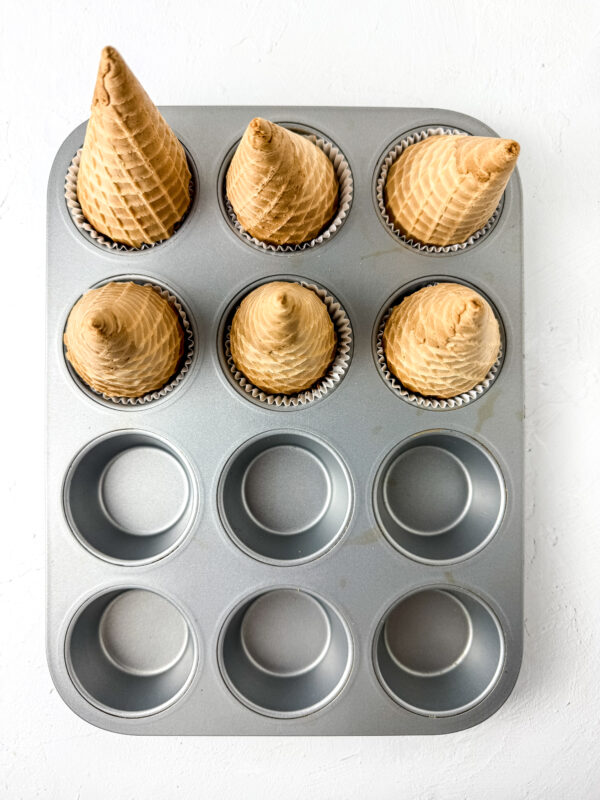
Stand them Upright – Place each cone into a muffin tin’s well. The cones should sit securely without tipping. Line a baking tray with aluminum foil if you don’t have a muffin tin. Make small nests or rings in the foil to cradle them upright.
Bake and Cool The Easter Carrot Cupcake Cones
- Bake – Carefully transfer the cupcakes to the oven, and do not spill the batter. Bake according to your cake recipe’s instructions, typically 18-20 minutes, or until a toothpick inserted in the center comes out clean.
- Check for Doneness – Gently open the oven and test with a toothpick or cake tester. You’re good to go if it comes out clean or with a few crumbs. If you see wet batter, give them a few more minutes and check again.
- Cool Down – Remove from the oven and let cool completely in the tin for a few minutes. Then, transfer them to a cooling rack. This is a delicate process—use caution not to tip them over while they’re still warm.
Prepare the Frosting
Choose or Make Your Frosting – Buttercream is a classic choice. You can opt for store-bought to save time or whip up a homemade batch.
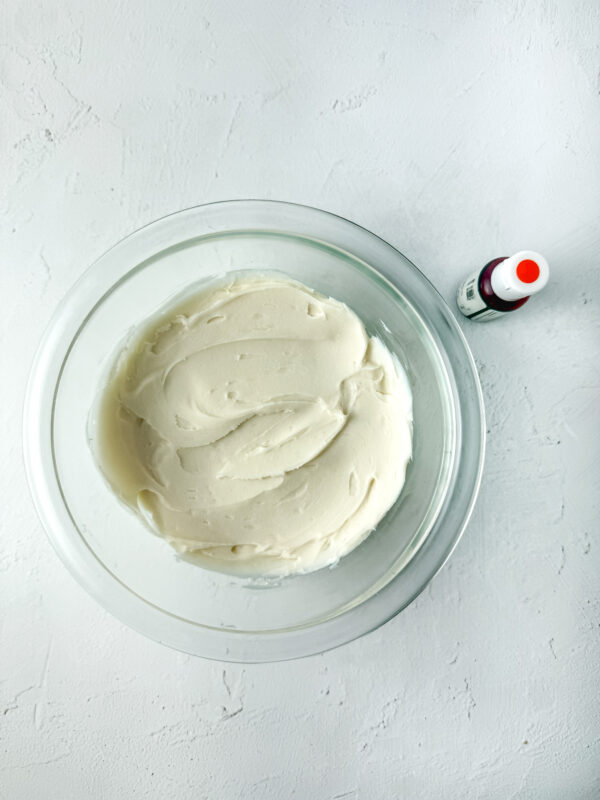
Homemade Buttercream involves beating softened butter with powdered sugar, a splash of milk or cream, and vanilla extract.
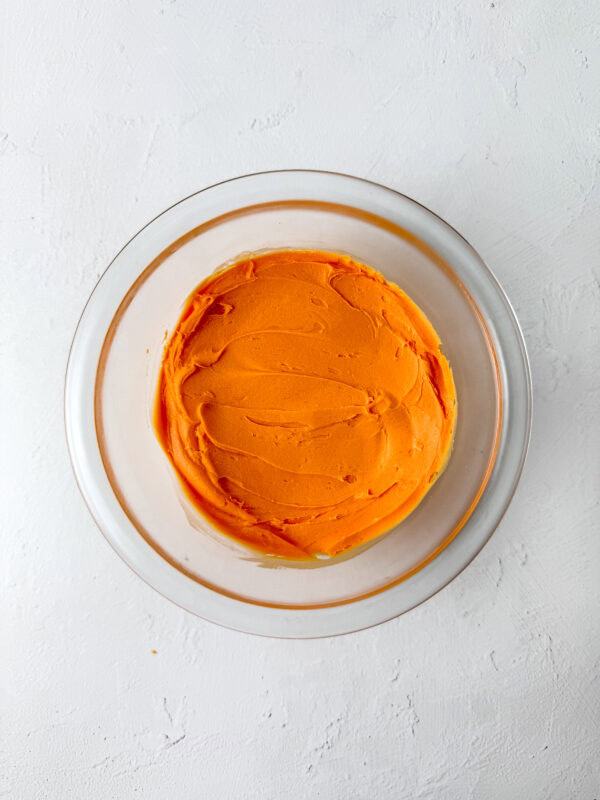
Color the Frosting – Using orange gel food coloring, tint the frosting until you achieve a vibrant orange hue.

Next add the orange frosting to a piping bag. Fill a piping bag with a large round or star tip with your orange frosting.
Decorate Your Easter Carrot Cupcakes
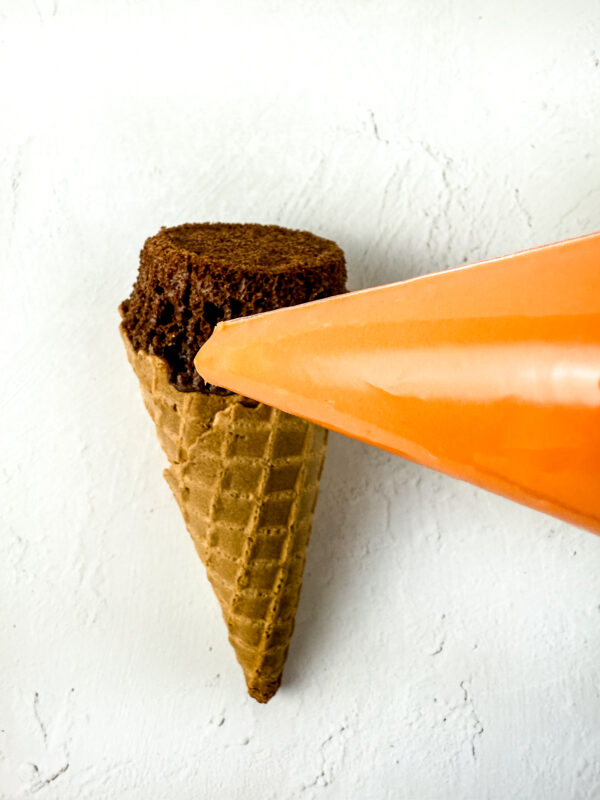
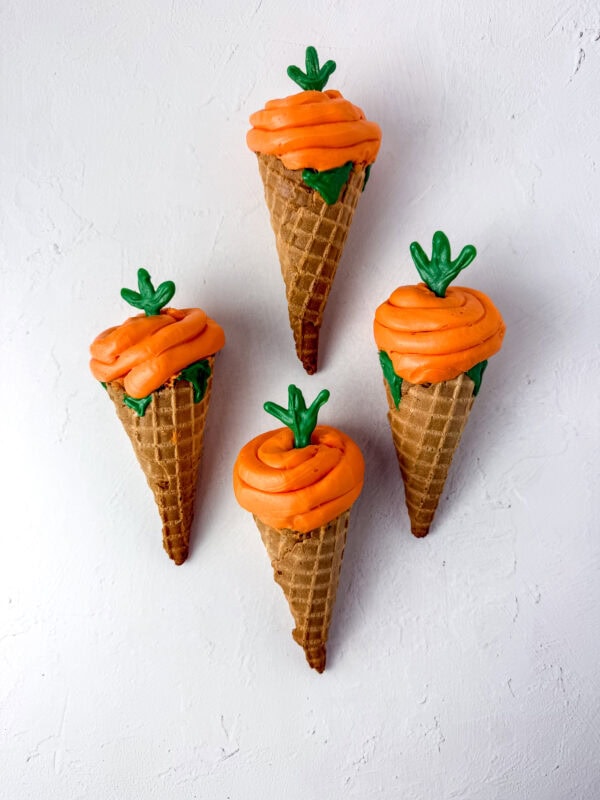
Starting from the edge of the rim, swirl the frosting inwards and upwards, creating a “soft-serve” style swirl.

The end result should resemble the top part of a carrot—rounded and slightly tapered.
Create the Green Carrot Tops
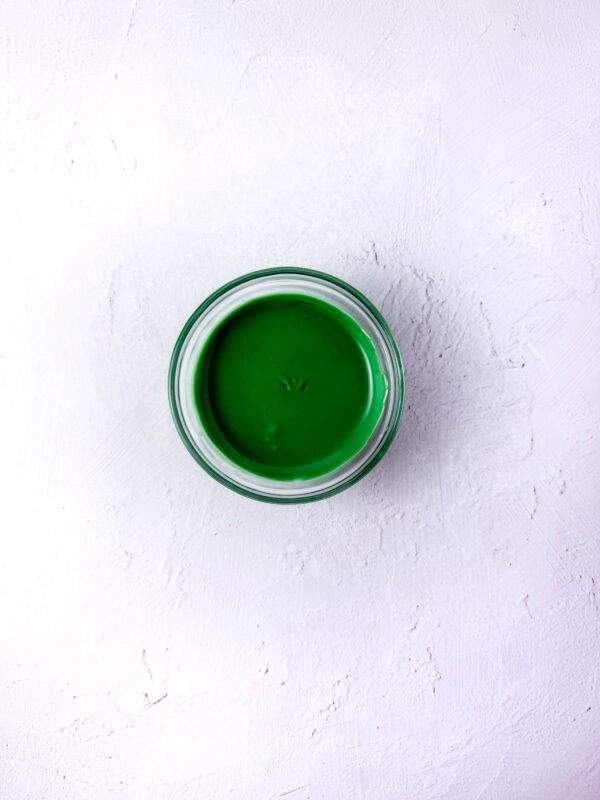
Melt the green wafers in a microwave-safe bowl for 30-second intervals. Stir in between each interval until the chocolate melts are liquid.
Melt green candy melts in the microwave, stirring every 15-20 seconds until fully melted.
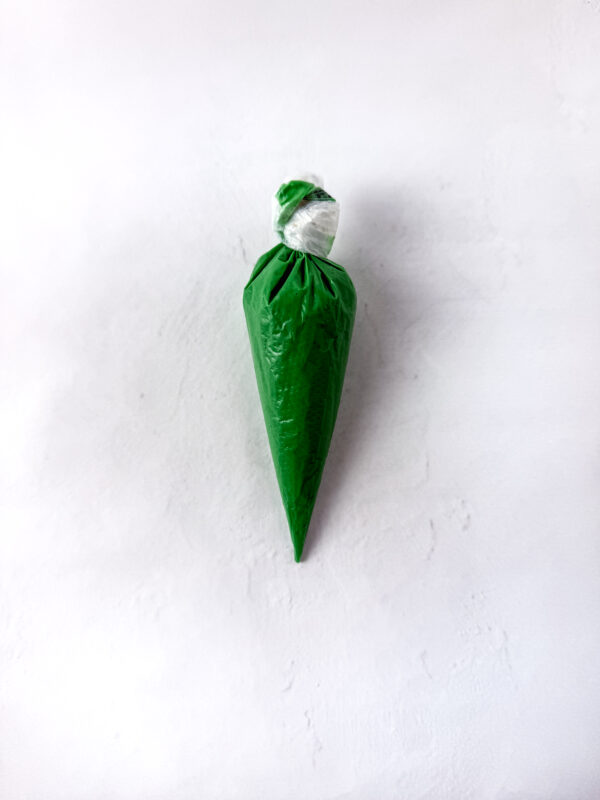
Transfer the melted candy to a piping bag or a zip-top bag.

Pipe leaf shapes onto parchment paper, set them in the refrigerator, and then carefully insert them into the top of the frosting.

Tips and Troubleshooting
The biggest challenge often lies in preventing cones from tipping over while baking. A muffin tin is typically the easiest solution, but if they still feel unsteady, you can crumple up small pieces of foil and place them around each cone for extra support.
Avoid Overfilling – Adding more batter is tempting, but overfilled cones may overflow and create a mess. Aim for two-thirds full, which generally offers a perfect rise.

Cool Before Frosting – Make sure your cupcakes have cooled completely before piping on the frosting.
Consistency of Frosting – If your frosting is too thick, add a teaspoon of milk to thin it out if it’s too soft, mix in a little more powdered sugar. The right consistency makes piping much easier and ensures your carrot swirl stays in place.
Storage – It’s best to enjoy them soon after making them. The cone can lose some crispness over time. Store them in an airtight container at room temperature for up to two days. If you need to keep them longer, place them in the refrigerator.
Variations and Serving Suggestions
- Carrot Cake Cupcakes
- For a playful twist on a classic, use carrot cake batter. You can mix in raisins, pineapple, or coconut for additional texture and flavor. Top it with a lightly sweetened cream cheese frosting tinted orange.
- Pastel Rainbow Flavor
- Easter is all about soft, bright colors. Swirl pink, yellow, and blue frosting together for a whimsical, rainbow effect—and then still pipe a green top for a carrot-inspired look. It’s unconventional but definitely eye-catching!
- Personalized Toppings
- Let your kids go wild decorating each “carrot.” Try edible glitter, confetti sprinkles, or shaped candy. This can be a fantastic family activity where each person personalizes their cupcake.
- Easter Dessert Table
- These carrot cupcakes look absolutely charming when displayed on a dessert table. Pair them with bunny-shaped cookies, pastel-frosted sugar cookies, or bright Easter egg cake pops to create a delightful, Instagram-worthy spread. Add crushed Oreos and orange candy to the bottom of the serving platter to give a feel of a carrot garden with edible “dirt.”

These carrot-shaped cupcakes’ beauty lies in their creativity, ease, and pure fun. They’re a delightful conversation starter—guests of all ages will appreciate the playful twist on a classic cupcake.
Beyond Easter, these cupcakes could be adapted for spring birthdays or garden-themed parties. They’re also a wonderful way to get children involved in the kitchen; from mixing the batter to helping with the frosting, these sweet treats are a perfect introduction to baking and decorating.
To me, Easter is about celebrating Jesus’s resurrection, shared meals, and joyous moments with friends and family. Your family may also enjoy a visit from the Easter Bunny!
Happy Easter and happy baking! May your holiday be filled with sweetness, color, and plenty of carrot-shaped cupcakes.

Easter Carrot Cupcake Cones Recipe
This is a super simple recipe to make, even though it looks like it would take all day! These adorable cupakes look just like a carrot and have a green candy top. Bake the cake mix in a waffle cone, add orange icing and green melted "Carrot tops" and your cupcakes will be the hit of the family Easter dinner!
Ingredients
- 1 Box Cake Mix
- 1/2 Cup Oil
- 1 Cup Water
- 3 Eggs
- 8 Ounces White Buttercream
- 6 Waffle Cones
- 2 Ounces Green Melting Chocolate
- Orange Food Gel Color
Instructions
- Mix the ingredients for the cake mix according to the box.
- Put the cupcake liners in the muffin tin and use a spoon or ice cream scoop to fill the liners a third of the way.
- Place the waffle cones inside of the cupcake liners, open side down.
- Bake the cupcakes according to the instructions for cupcakes on the box. Allow the cupcakes to cool.
- While the cupcakes are cooling, place the buttercream in a medium size bowl and add 3-4 drops of orange gel color. Mix it until all the buttercream is orange, place the buttercream in a piping bag and secure the end.
- Next place the green chocolate melts in a microwave safe bowl, heat them in 30 intervals. Stir in between each interval until the melts are liquid.
- Put the chocolate in a piping bag and cut a medium size hole in the tip.
- On a sheet of parchment paper, pipe a vertical straight line about 2 inches long and then pipe several horizontal small lines from the vertical line. This will be the fronds for the carrot. Let the fronds sit for 5 to 10 minutes to dry. (Tip: if the frond feels too thin, pipe over the original to make it thicker.)
- Repeat this step for all the carrot cones you plan to make.
- Once the cupcake cones are completely cooled and the the fronds are dry, its time to assemble the cupcake carrot cones.
- Start by turning the cupcake cones upright, carefully remove the cupcake liner.
- Pipe the orange buttercream in a swirl around the cupcake portion of the cone, until it is completely covered.
- Stick the green chocolate frond in the top portion of the cupcake. Try to make sure its in the middle.
- Use the remaining green chocolate in the piping bag to pipe leaves shapes wherever the buttercream doesn’t cover the cupcake. Let the chocolate dry.
- Serve and Enjoy!
Notes
These cupcake cone carrots are best eaten fresh but they can be stored in air tight container in a the fridge for 2-3 days.
If its hard to pipe on the cone while its in your hand, place the cone in a cup to hold it while you pipe around it.
If you want to lay the cupcake cones on a flat surface without them losing their shape, place the cupcake cones in the fridge upright for about 10-20 minutes to ensure they will keep their shape.
This recipe is for 6 cones but can be doubled to create more cones.
Nutrition Information:
Yield: 6 Serving Size: 1Amount Per Serving: Calories: 996Total Fat: 46gSaturated Fat: 13gTrans Fat: 1gUnsaturated Fat: 30gCholesterol: 169mgSodium: 1081mgCarbohydrates: 132gFiber: 2gSugar: 69gProtein: 14g

So stinking ADORABLE, Tonya! These would be fun to fill with carrot cake – LOL! Thanks for sharing! Creatively, Beth
LOVE these. So cute and festive. Featuring when my link party opens.
Tonya, this is such a fun twist on carrot cupcakes!
Thank you for sharing your carrot cupcake cones recipe at Create, Bake, Grow & Gather this week. I’m delighted to be featuring your recipe at today’s party and pinning too.