Handprint Flowers for Kids to Make
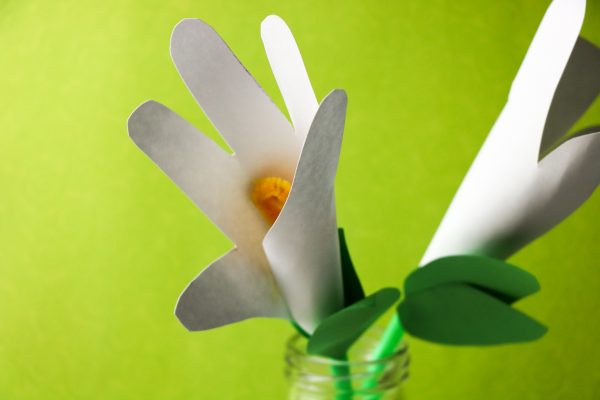
Looking for a fun and easy craft project to do with your kids? Why not try making some handprint flowers! This is a great activity for all ages, and it’s a lot of fun to see the floral Cala Lily handprint flower.
We love handprint art ideas and Mother’s Day Handprint Art and in this blog post, we will show you how to make this simple flower handprint craft using just a few basic supplies. So gather the kids and get ready to have some fun!
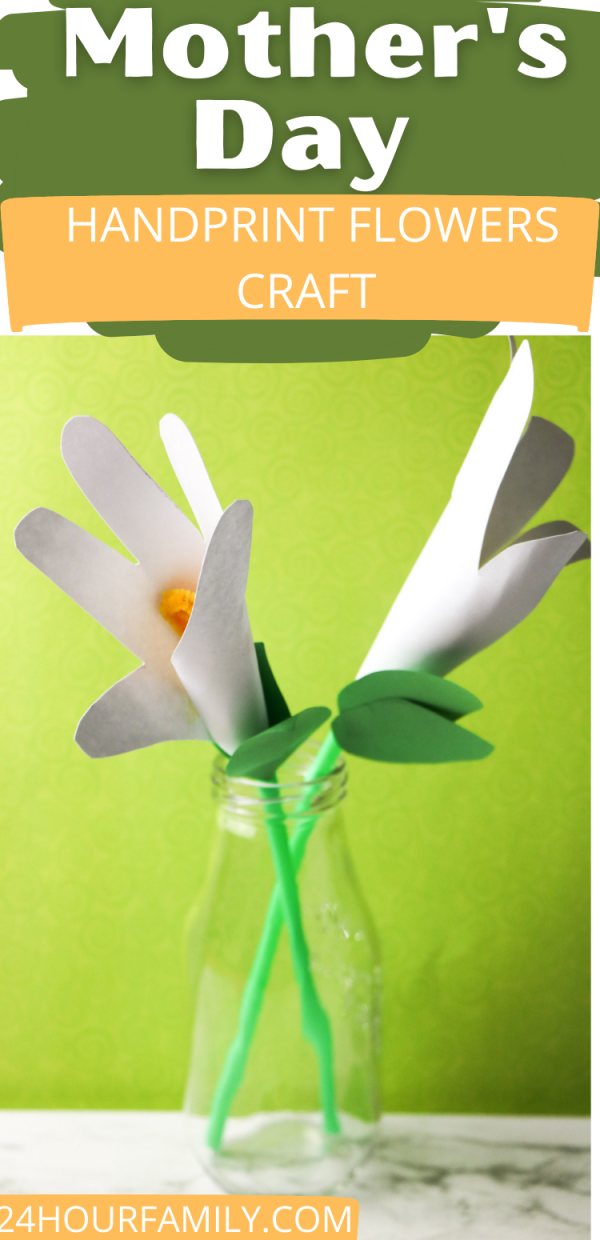
Table of Contents
Supplies Needed to Make Handprint Flowers
To start, you will need some craft supplies such as white paper, scissors, and glue.
This is a simple and easy project that even young children can participate in. This simple handprint craft is perfect for preschoolers, pre-k, kindergarten, or school-age kids. We will show you how to make these beautiful flowers in just a few easy steps.
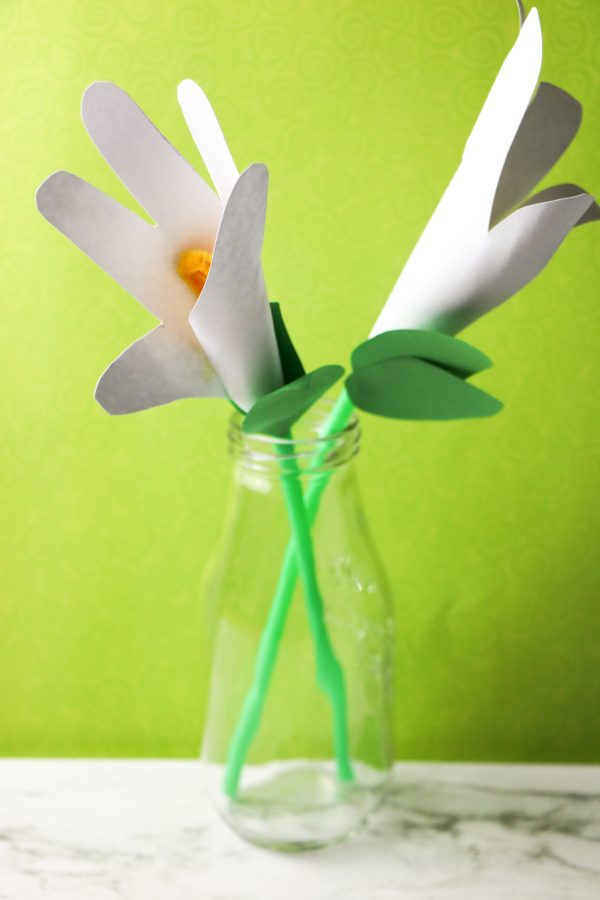
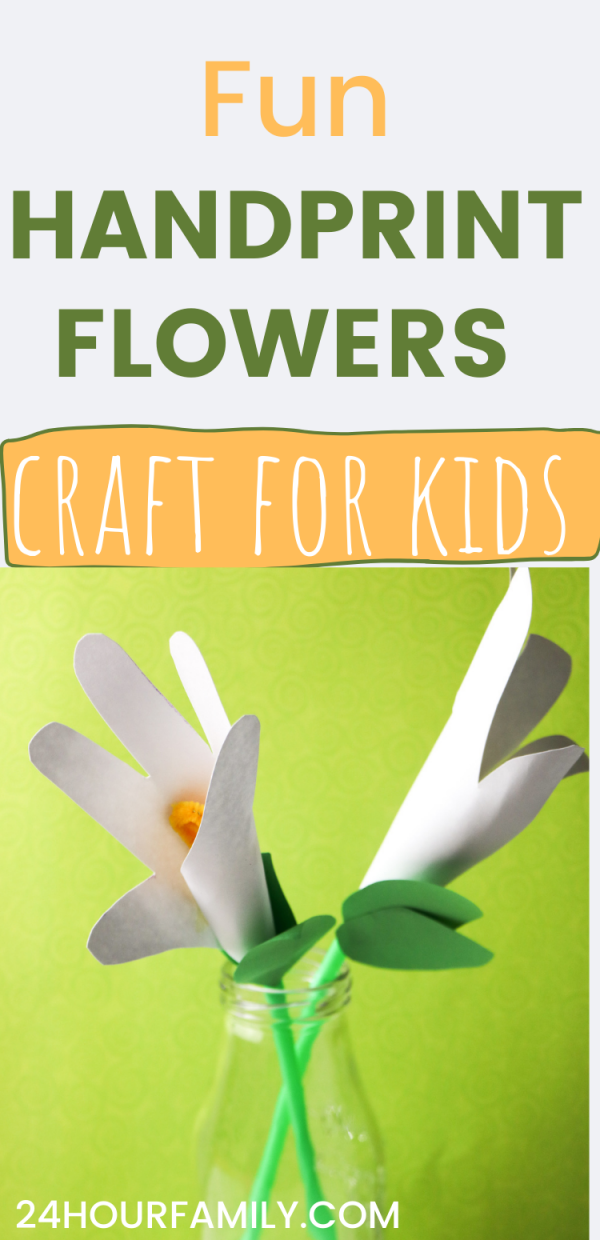
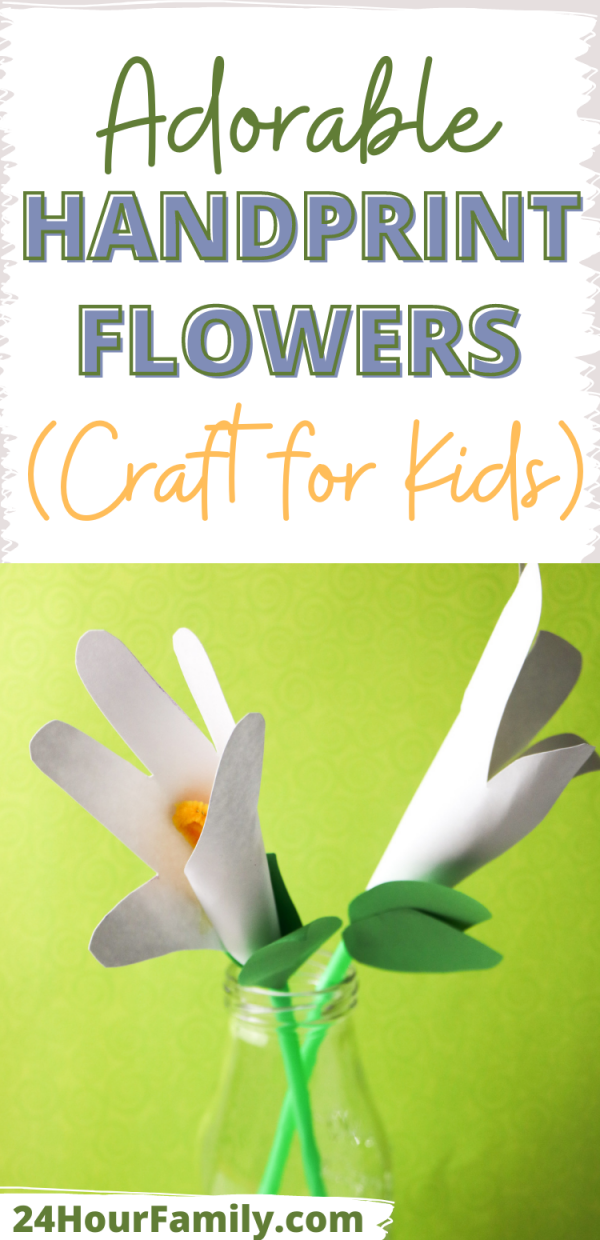
If you make several of these handprint flowers, you can add them to a simple vase and give the bouquet, to a mom on Mother’s Day, a grandmother, a family member, or a friend. You will capture your young child’s handprint for years to come.
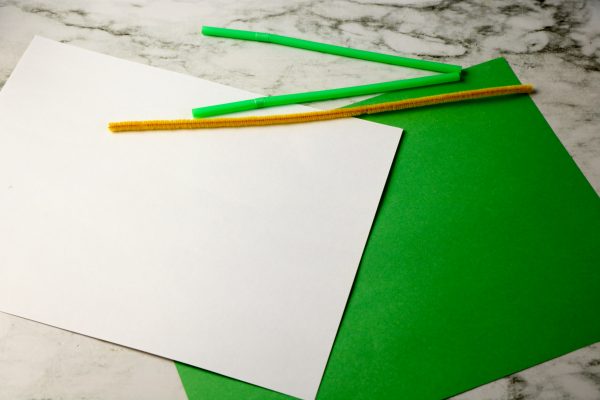
List of Supplies Needed to Make Mother’s Day Handprint Flowers:
White cardstock or construction paper
Green card stock or green construction paper
Glue dots or glue
Yellow or orange chenille stems
Scissors
Pencil
How to Make Handprint Flower Craft
If you’re looking for a fun and easy spring craft, try making a handprint flower craft. This project is perfect for kids of all ages, and it’s a great way to show off your child’s handprint for years to come. In just a few minutes, you’ll have a beautiful handprint flower that’s perfect for decorating your home or giving to a friend.
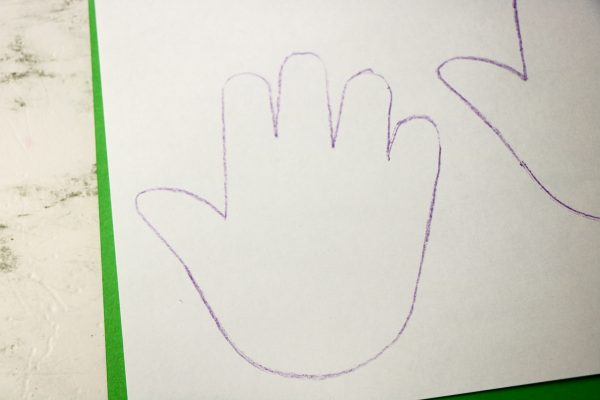
Trace child’s hand on the scrapbook paper, card stock paper, or construction paper and cut it apart. We used white paper since Cala lilies are white, but you can make the flower unique and use any color.
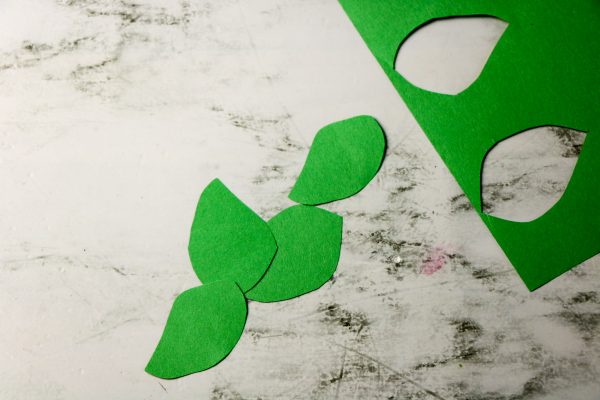
Cut out green leaves in several different shapes.
Mother’s Day Craft and Printables:
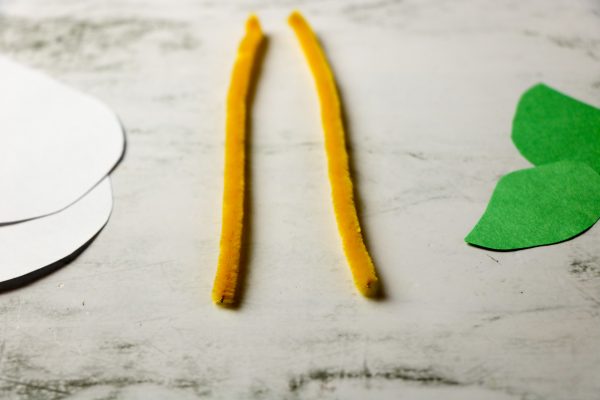
Cut the chenille stem in half and fold each half in half.
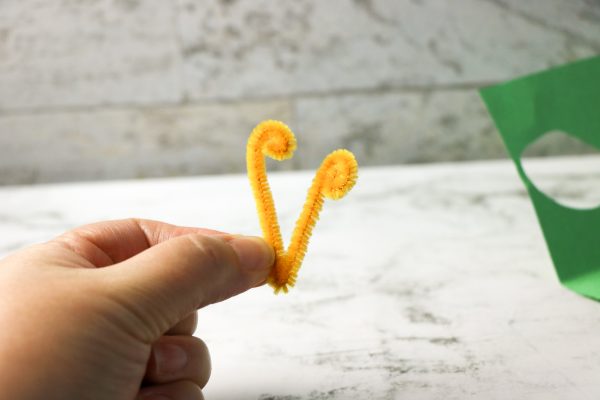
Curl the ends of the chenille stem.
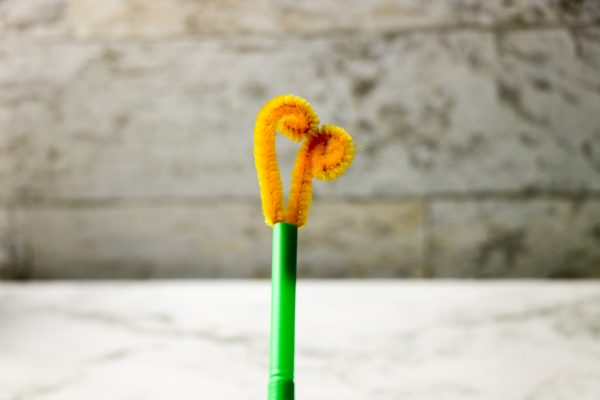
Place the folded corner into the mouth of a green straw.
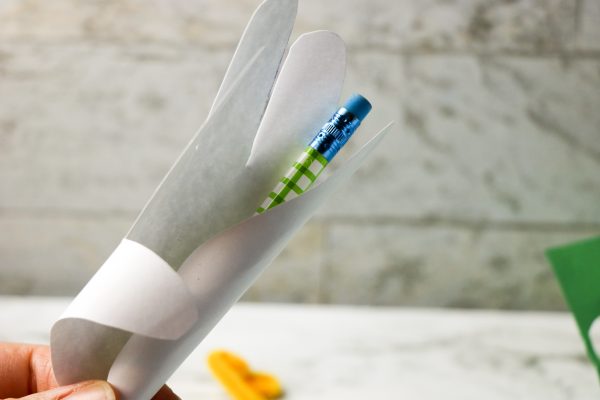
Wrap the hand cutout around a pencil to curl. You may need to leave the paper wrapped around the pencil for several hours so it will curl easier.
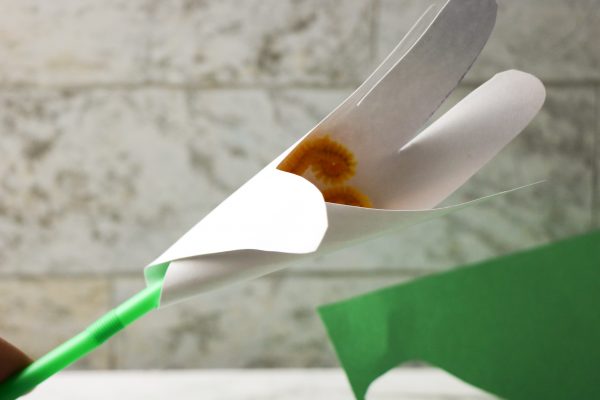
Wrap the hand cutout around the straw and secure it with glue. Allow to dry completely before playing or displaying.
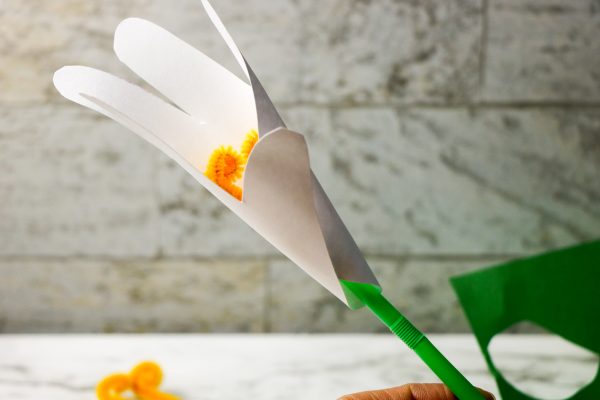
Now the handprint paper craft cutout will resemble a handprint flower.
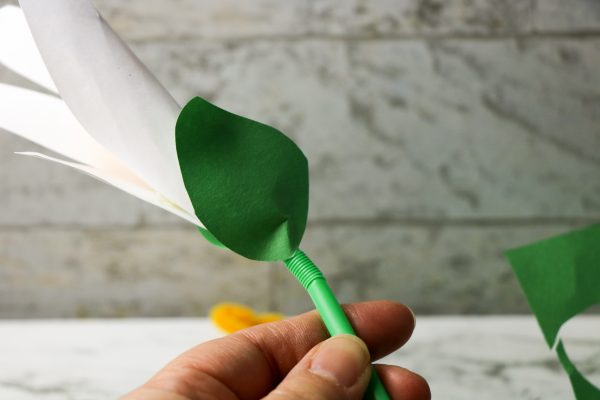
Attach one or several leaves that you previously cut out the the bottom of the handprint flower. Glue the leaves to the bottom of the flower and the top of the green straw.
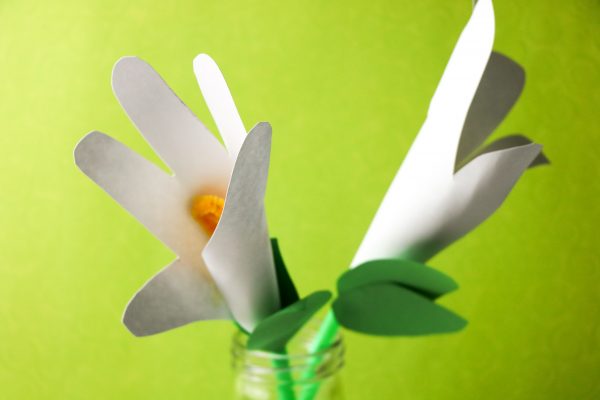
After you have made a few flowers, assemble them in a small, simple vase to display as a flower bouquet.
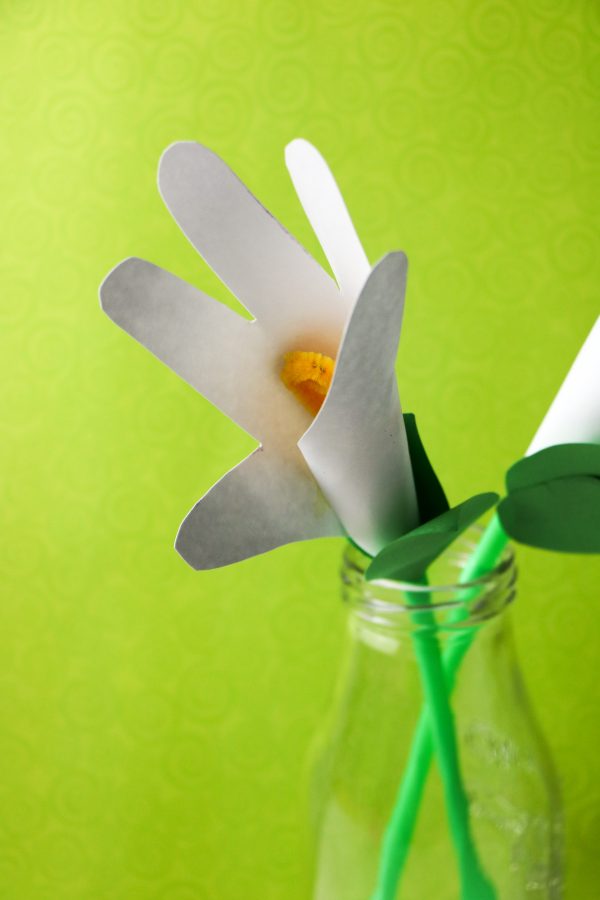
Spring is just around the corner, and that means it’s time to start thinking about Easter and Mother’s Day Crafts and gifts. These handprint flowers are the perfect gift for the spring season. Kids will love making these handprint flowers, and they make great decorations for your home or classroom.
We love to see your finished craft projects! Leave us photos and a comment in the comments section.
