
Hot Cocoa Cupcakes with Marshmallow Frosting
Indulge in the ultimate dessert experience with these hot chocolate cupcakes with marshmallow frosting! Combining hot cocoa’s rich, comforting flavors and the light, fluffy texture of marshmallow frosting, these cupcakes are a delightful way to celebrate the season.
Whether hosting a cozy gathering or looking for a festive dessert to share with family and friends, these cupcakes will warm hearts and satisfy sweet cravings. With every bite, you’ll experience the warmth of cocoa and the sweetness of marshmallows, making these cupcakes the ultimate treat for cold days. Let’s dive into this easy and fun recipe!
Delicious Hot Cocoa Cupcakes with Marshmallow Frosting
For this Hot Chocolate cupcake recipe, you’ll need the following ingredients:
- Flour
- Sugar
- Cocoa powder
- Baking powder
- Baking soda
- Salt
- Eggs
- Milk (or buttermilk for extra richness)
- Vegetable oil
- Vanilla extract
- Hot water or hot cocoa mix (for a rich chocolate flavor)
For the Marshmallow Frosting:
- Butter, softened
- Powdered sugar
- Marshmallow fluff (or marshmallow crème)
- Vanilla extract
- Salt
- Optional: mini marshmallows for decoration
These ingredients create decadent, chocolatey cupcakes with a fluffy marshmallow frosting, perfect for a cozy, festive treat!
This post may contain affiliate links. As an Amazon Associate and a participant in other affiliate programs, I earn a commission on qualifying purchases. Read our disclosure policy here.


How Do You Make Hot Cocoa Cupcakes?
Preheat your oven to 350°F (175°C) and line a muffin tin with cupcake liners.
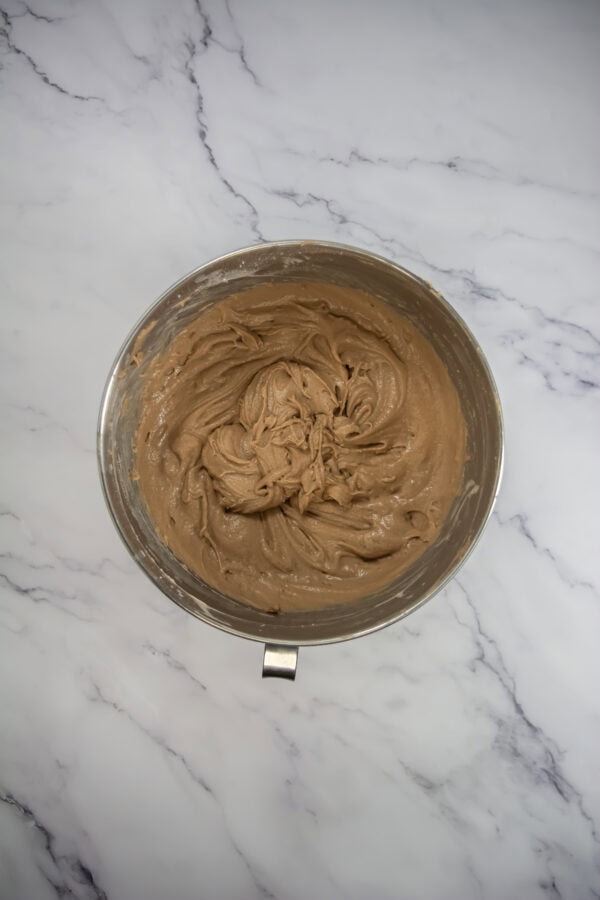
Mix the dry ingredients: In a large bowl, whisk the flour, cocoa powder, baking powder, baking soda, butter, and salt until well combined.
Combine the wet ingredients: In another bowl, beat the eggs, sugar, milk, vegetable oil, and vanilla extract together until smooth and mixed well.
Add the dry ingredients to the wet ingredients: Gradually mix the dry ingredients into the wet ingredients. Stir until just combined. Be careful not to overmix.
Add hot cocoa: Slowly pour the hot water (or hot cocoa mix if you want a more intense chocolate flavor) and stir until the batter is smooth and slightly thin. This will give the cupcakes their rich, moist texture.
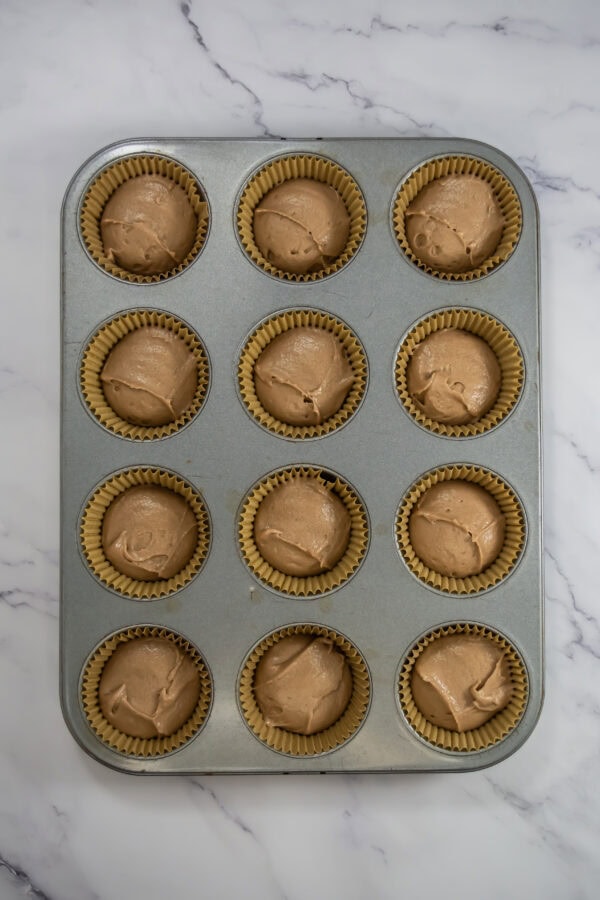
Fill the cupcake liners: Spoon the batter into the cupcake liners, filling each about 2/3 full.
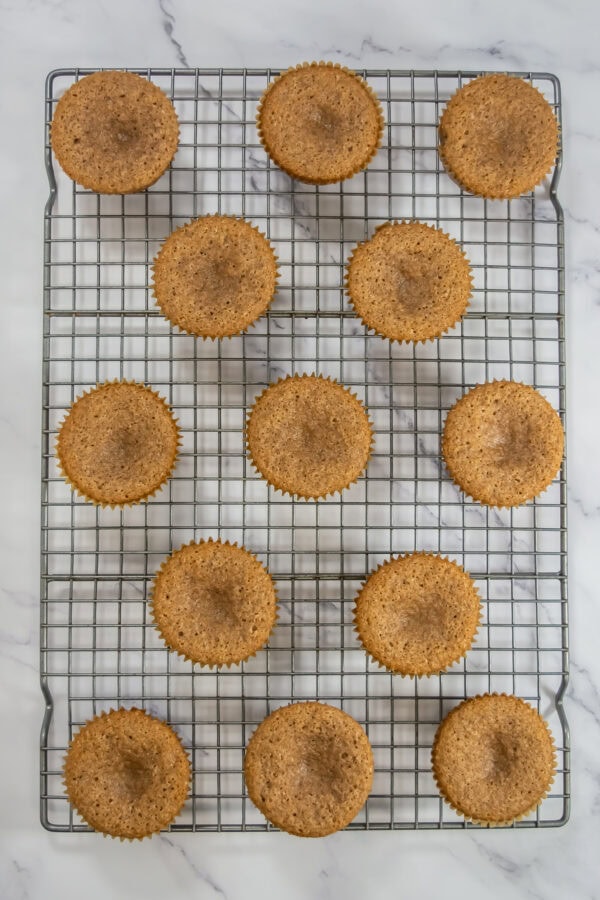
Bake: Pour the batter into a cupcake pan and bake the cupcakes in the preheated oven for 18–20 minutes, or until a toothpick inserted into the center comes out clean.
Cool: Allow the cupcakes to cool completely in the tin for about 5 minutes before transferring them to a wire rack to cool completely.
For the Marshmallow Frosting
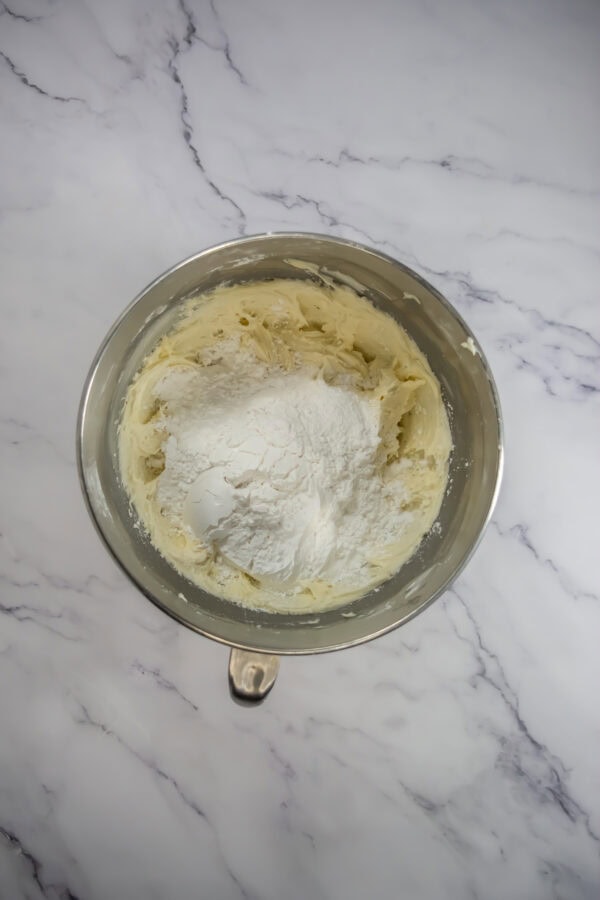
Cream the butter: In a large bowl, beat the softened butter until smooth and fluffy.
Add powdered sugar: Gradually add the powdered sugar, 1 cup at a time, beating until smooth.

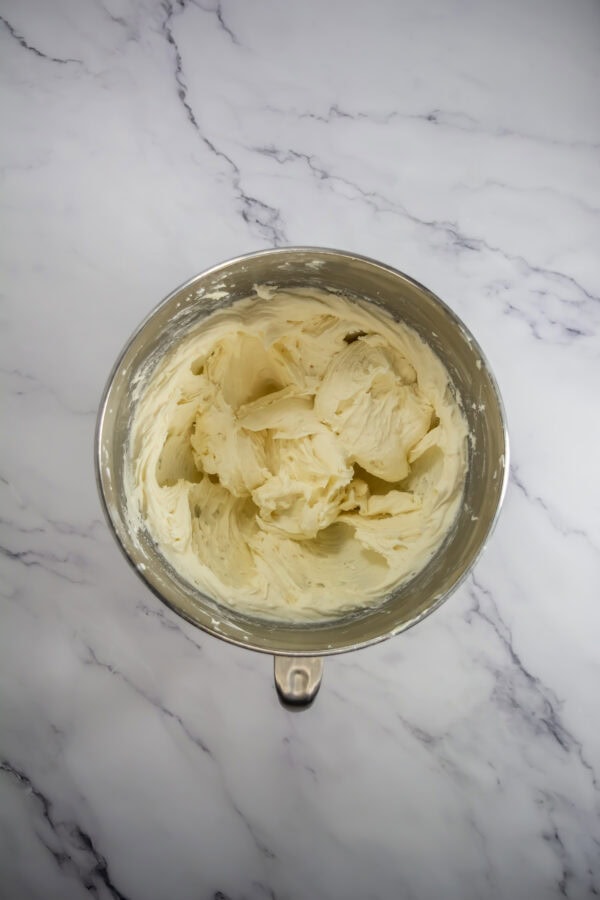
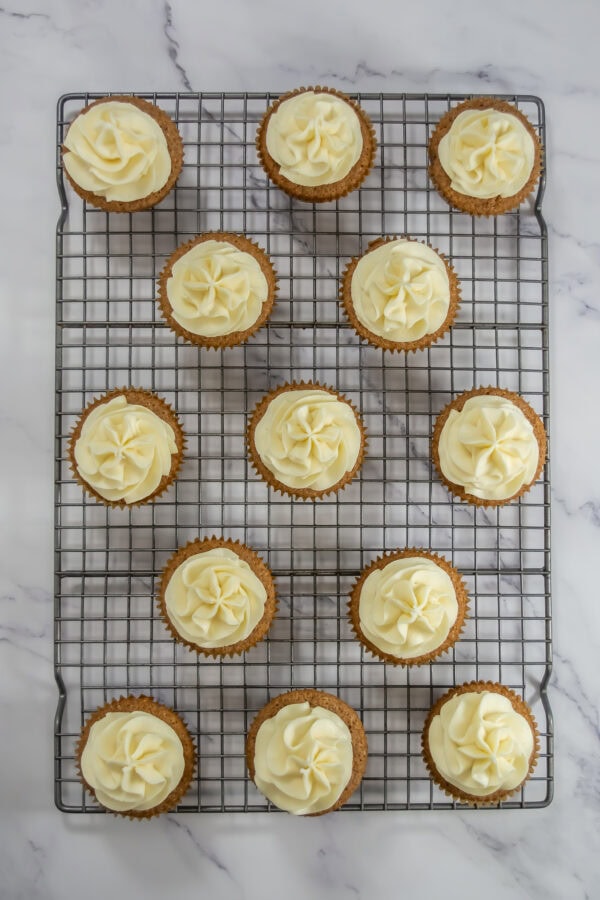
Add marshmallow fluff: Add the marshmallow fluff, vanilla extract, and a pinch of salt. Continue to beat until the frosting is light and fluffy.
Frost the cupcakes: Once the cupcakes are completely cool, spread or pipe the marshmallow frosting generously over each cupcake.
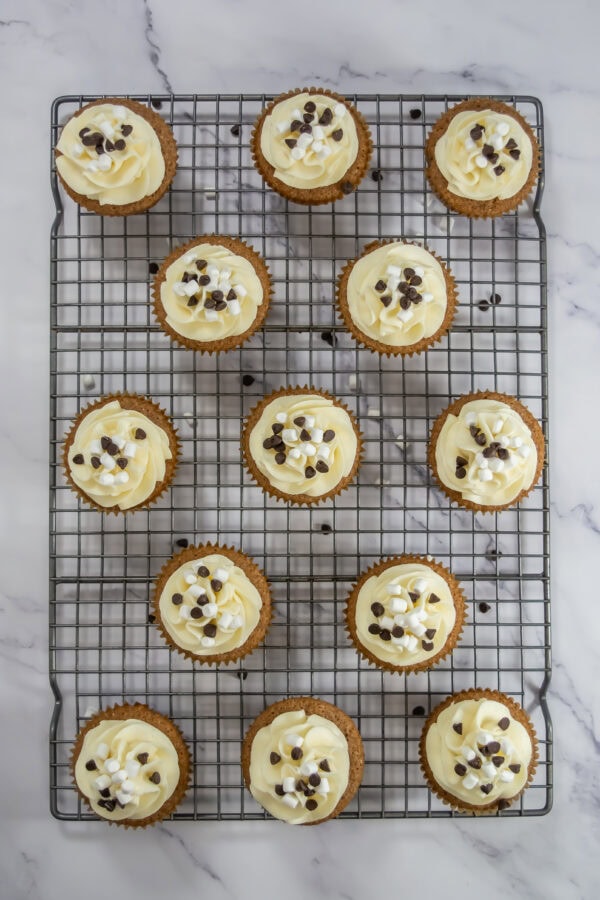
Decorate (optional): For extra flair, top with mini marshmallows or a drizzle of hot fudge for a fun finishing touch.
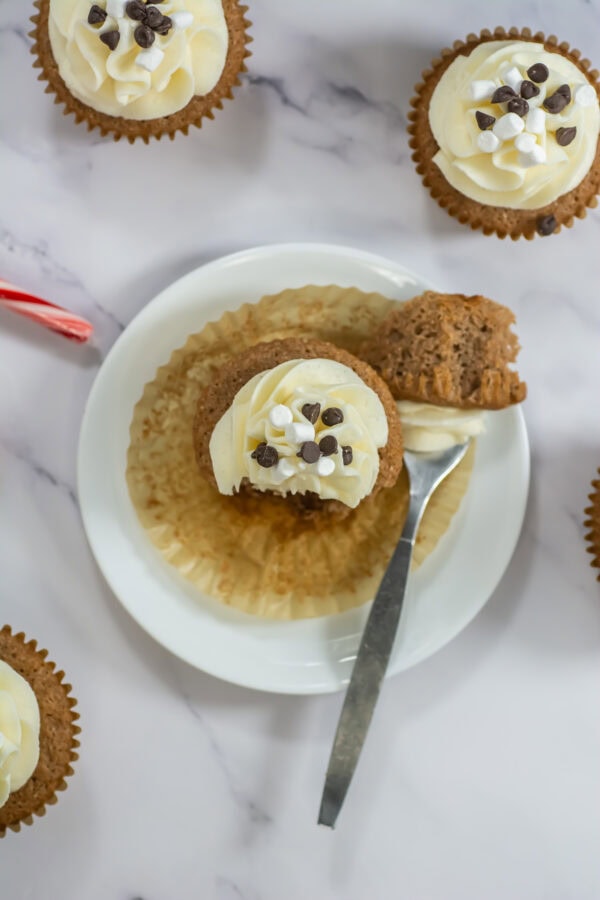
Enjoy your delightful Hot Cocoa Cupcakes with Marshmallow Frosting! They’re perfect for any celebrations, holiday parties, or craving a sweet, cozy treat.

Choosing the Right Cupcake Liners
Choosing the proper cupcake liners can make a big difference in the appearance and ease of baking.
Here are some tips to help you pick the perfect cupcake liners:
1. Consider the Material:
Paper liners: These are the most common and come in various colors and patterns. They’re perfect for adding a pop of color or theme to your cupcakes. Opt for greaseproof paper to prevent the liners from becoming too oily.
Foil liners: These offer a more durable and upscale look. They’re also great for preventing grease from seeping through. Foil liners are often used for more decadent or special cupcakes.
Silicone liners: These are reusable and flexible, making it easy to pop cupcakes out after baking. They’re a great eco-friendly choice but may not provide as sharp a finish in terms of appearance.
2. Size of the cupcake liners matter:
Standard size: The most common size, perfect for regular cupcakes and muffins.
Mini size: Great for bite-sized cupcakes or if you’re hosting a party and want smaller servings.
Jumbo size: For larger, bakery-style cupcakes that require a bigger liner.
3. Color and Design:
If you’re making themed cupcakes for holidays or special occasions (like Halloween, Christmas, or birthdays), opt for liners that match the theme (e.g., Halloween-themed liners with pumpkins or skulls).
For a classic or sophisticated look, wear white, metallic, or pastel colors.
For a fun and vibrant look, bright, bold colors or fun patterns like polka dots, stripes, or florals can make your cupcakes stand out.
4. Quality of the Liner:
Choose high-quality liners to avoid the risk of them sticking to the cupcakes or leaking grease. Greaseproof paper is a good choice because it prevents the cupcakes from becoming soggy.
Thicker liners usually work better for holding the shape and texture, especially for higher-rise cupcakes.
5. Bakeware Compatibility:
Some liners are designed to be used with specific bakeware. Paper or foil liners are ideal if using a non-stick muffin tin. For silicone bakeware, silicone liners can work well.
Consider the oven temperature; some liners are heat-resistant up to higher temperatures, so always check the manufacturer’s guidelines.
6. Environmental Impact:
If you want a more sustainable option, choose biodegradable or compostable liners. These are often made from unbleached paper and are eco-friendly.
7. Functionality:
Cupcake liners with a flat bottom ensure your cupcakes bake evenly and stand well without tipping over.
Fluted edges: For a more decorative appearance, fluted-edge liners give your cupcakes a traditional look.
By considering these factors—material, size, color, and quality—you can choose cupcake liners that enhance the aesthetic of your treats and ensure they bake perfectly every time.
How Can You Store and Freeze the Cupcakes?
To store and freeze your favorite chocolate cupcake, first, let the cupcakes cool completely on a wire rack. Once cooled, you can wrap each cupcake in plastic wrap to seal in the moisture.
For longer storage, place the wrapped cupcakes in an airtight container or a freezer bag. When you want to enjoy them, remove the cupcakes from the freezer and let them thaw at room temperature. If you’ve made these cupcakes topped with fluffy marshmallow frosting, make sure the frosting is also covered to prevent it from drying out.
To elevate your treats, try frosting made with marshmallow fluff and a sprinkle of hot chocolate powder for an extra kick. You can pipe onto the cupcakes a creamy hot chocolate frosting and garnish with marshmallow bits for a delightful finish. These tips will ensure that your hot chocolate brownies and chocolate recipes stay delicious, even after freezing!
What Variations Can You Try with Chocolate Cupcakes?
Chocolate cupcakes are incredibly versatile, and there are countless variations you can try to elevate their flavor and appearance. For a rich, indulgent twist, add chocolate chips, chunks, or swirls of Nutella to the batter.
To introduce a refreshing contrast, mix in peppermint extract or top the cupcakes with a mint frosting. Fruit lovers can incorporate raspberry or cherry preserves into the center for a surprise filling, or pair the chocolate with orange zest for a citrusy kick. For a grown-up version, add a splash of espresso or coffee to intensify the chocolate flavor, or mix in a bit of bourbon, rum, or red wine for a sophisticated touch.
Cupcakes That Waddle: Pink Penguin Cupcake Recipe – This is the perfect combination of adorable and delicious.
How to Make Lego Cupcakes: A Step-by-Step Guide – These are perfect for any LEGO lover in your life. Not only are they adorable, but they’re also easy to make.
Easter Jelly Bean Cake Recipe – This festive dessert is loved by all, thanks to its simple ingredients.
Experiment with different frostings to complement the chocolate base—peanut butter frosting for a sweet and salty combination, cream cheese frosting for a tangy balance, or coconut frosting for a tropical flair.
You can also try adding a crunchy texture by sprinkling crushed nuts, toffee bits, or pretzels on top. For themed cupcakes, swirl colorful frostings or incorporate festive toppings like sprinkles, candies, or edible glitter.
With so many options, chocolate cupcakes can easily be customized to suit any taste or occasion, ensuring they remain a crowd-pleasing favorite.
Hot Cocoa Cupcakes with Marshmallow Frosting
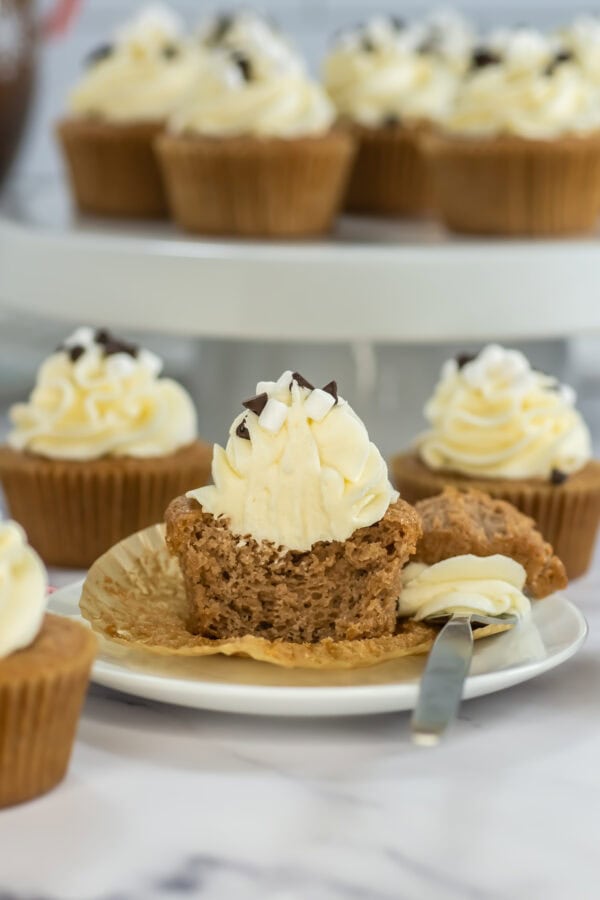
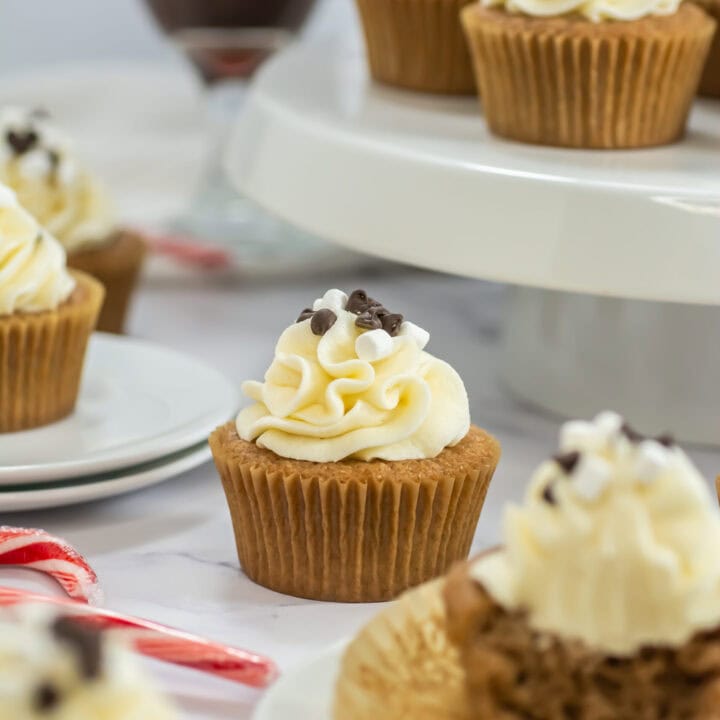
Hot cocoa cupcakes with marshmallow frosting are the perfect treat for cozy winter evenings or whenever you crave a warm, comforting dessert. These decadent chocolate cupcakes are infused with classic hot cocoa flavor and fluffy marshmallow frosting. Whisking together cocoa powder, sugar, and a hint of vanilla yields an indulgent batter that bakes into moist, decadent cakes. The sweet marshmallow frosting complements the chocolate base and offers a delightful contrast in both taste and texture. Top with mini marshmallows or a dusting of cocoa powder for a festive final touch.
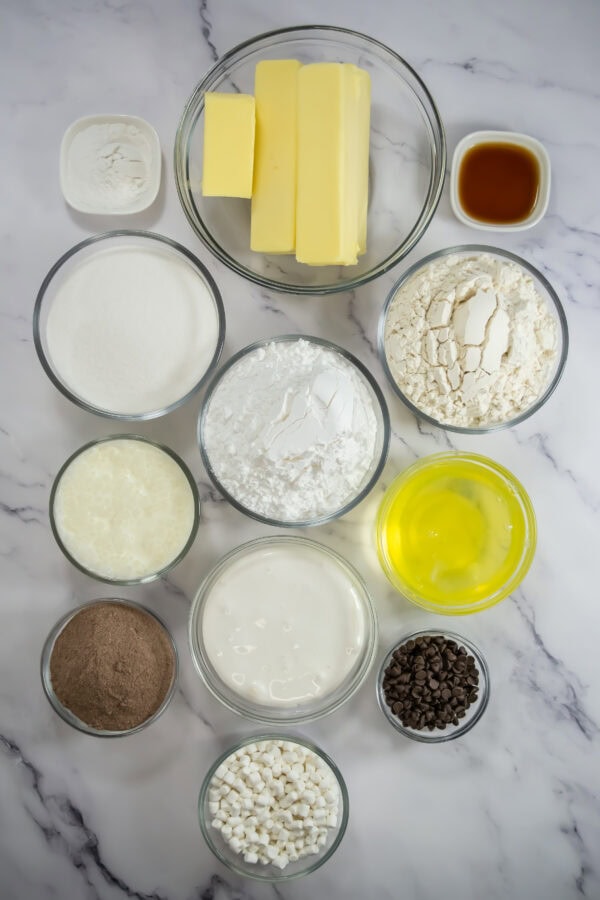
Ingredients
- Ingredients for Cupcakes:
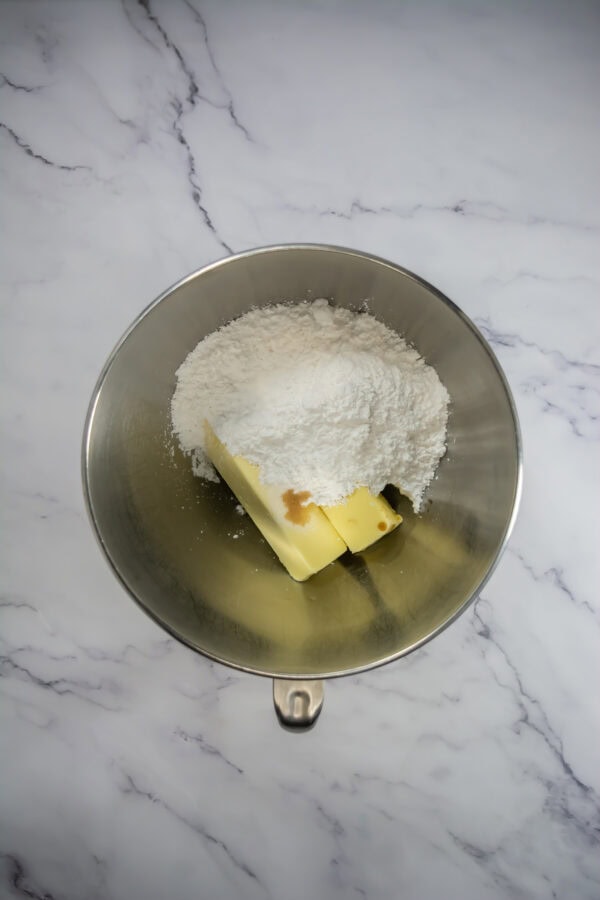
- ¾ c unsalted butter, softened
- 1 ¾ c sugar
- 1 t vanilla
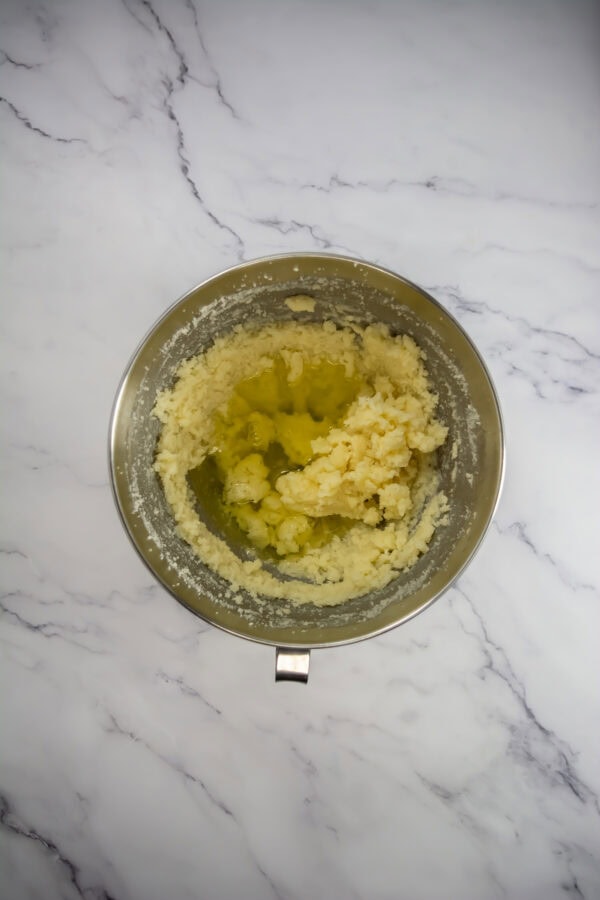
- 6 egg whites
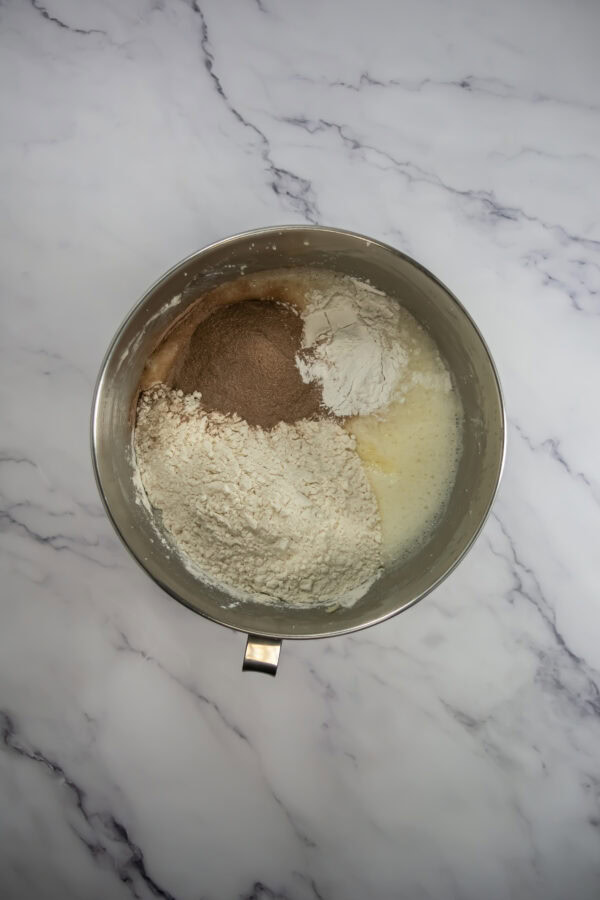
- 4 t baking powder
- 2 ¼ flour
- ¾ c hot cocoa powder
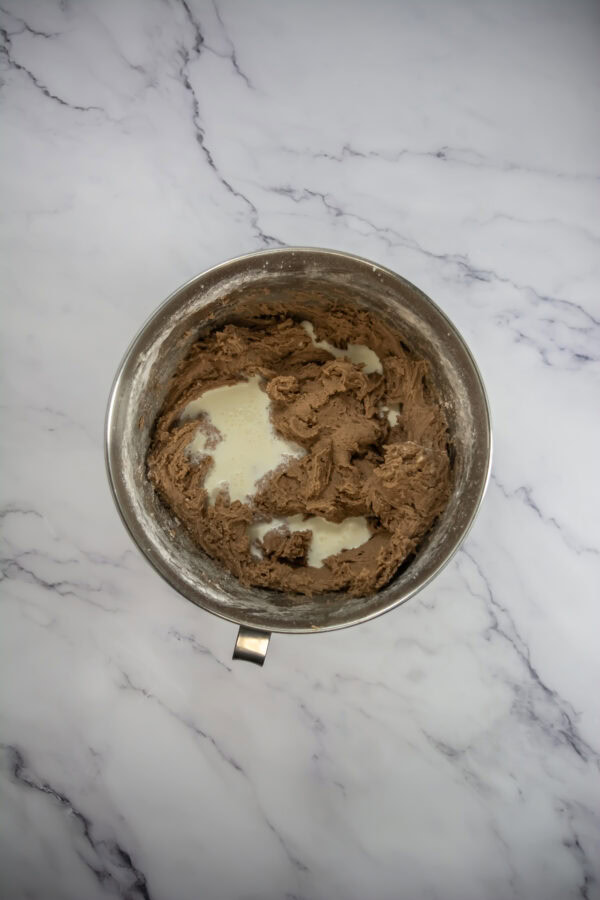
- 1 c milk
- For the frosting -
- 1 c unsalted butter, softened
- 4 c powdered sugar
- ½ t salt
- 1 t vanilla
- 7 oz marshmallow cream
- 2 T milk
Instructions
- Preheat the oven to 350 degrees. Line a standard muffin tin(s) with cupcake liners and set aside.
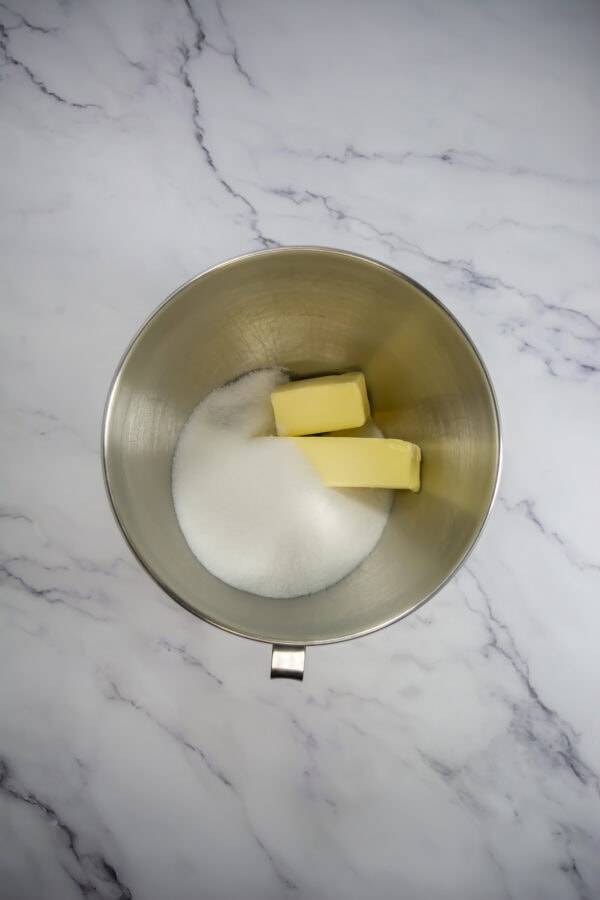
- Combine the softened butter, sugar, and vanilla in a stand mixer bowl. Cream until smooth.
- Add in the egg whites and mix until combined. Scrape down the sides often.
- Add in the flour, hot cocoa mix, and baking powder. Combine well.
- Add in the milk and mix until combined. Scrape the sides often and mix until smooth.
- Divide the batter into the prepared baking tins, filling about ½-⅔ full.
- Bake in the oven for 14-16 minutes or until the edges are slightly golden and the center is set. Allow to cool before decorating.
- For the frosting, combine the softened butter, salt, vanilla, and about half of the powdered sugar in the bowl of a stand mixer.
- Mix on low until combined. Bump up the speed and mix until smooth.
- Add in the marshmallow cream and mix until smooth. Scrape down the sides often and mix again.
- Add in the remaining powdered sugar and milk. Mix on low until combined, bump up the speed, and whip until smooth.
- Transfer the frosting to a piping bag fitted with a large star tip.
- Pipe a large dollop on each cooled cupcake.
- Decorate with mini marshmallows and mini chocolate chips.
Notes
Storage: Cupcakes should be stored in an airtight container in the fridge for up to 3 days.