
Jesus Calms the Storm Craft
Imagine a storm so fierce it terrified even seasoned fishermen—then imagine it stilled by a single word. That’s the miracle behind this Jesus Calms the Storm Craft, a simple, hands-on project that helps kids hold onto a powerful truth: Jesus is always with us, and we can trust Him no matter what storm we’re facing.
This simple paper plate craft is perfect for church lessons, homeschool, or family Bible time.
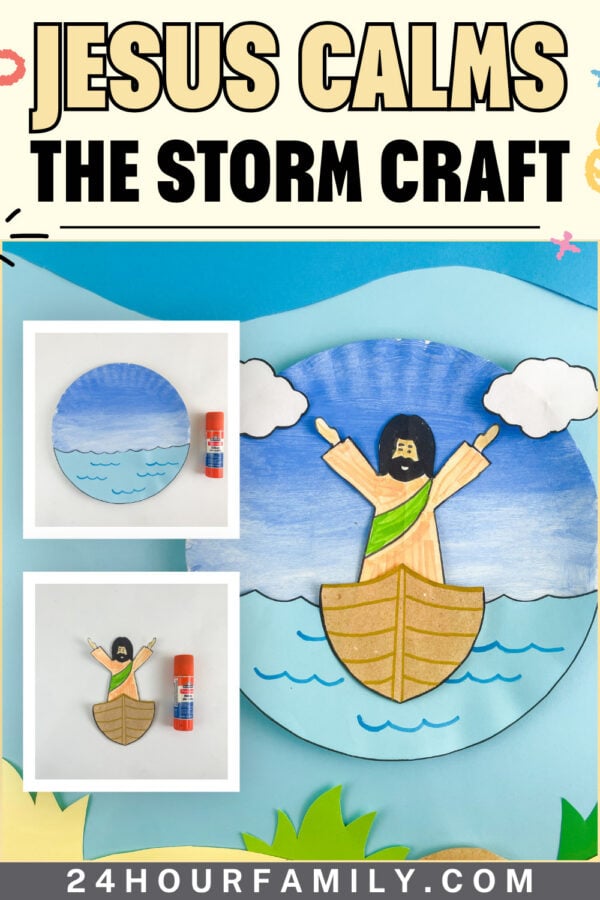
Jesus Calms the Storm Craft
This craft pairs with the story of Jesus calming the storm found in Matthew 8:23–27, Mark 4:35–41, and Luke 8:22–25. It is a meaningful activity for Sunday school, children’s church, Christian classrooms, homeschool Bible lessons, or family devotional time.
Jesus Calms the Storm Bible Story
One evening, Jesus and His disciples got into a boat to cross the Sea of Galilee. While they were sailing, Jesus fell asleep.
Suddenly, a powerful storm arose. Strong winds blew across the water, and waves began crashing into the boat. The disciples were frightened and thought the boat might sink.
They woke Jesus and asked Him to save them.
Jesus stood and commanded the wind and waves to be still. Immediately, the wind stopped and the water became calm.
The disciples were amazed that even the wind and waves obeyed Jesus.
This story shows children that Jesus has power over creation. It also reminds them that Jesus is present when they feel afraid, even when a situation seems out of control.
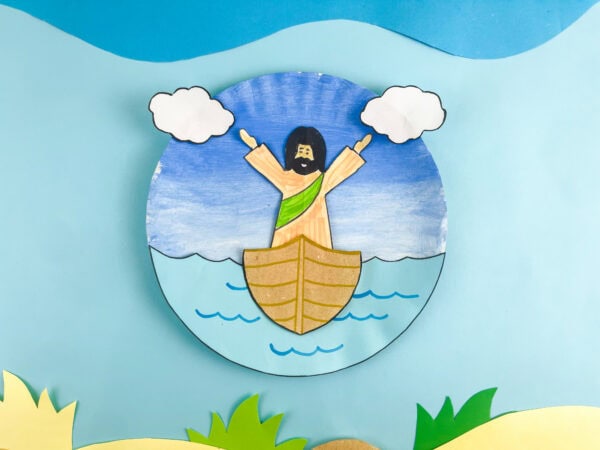
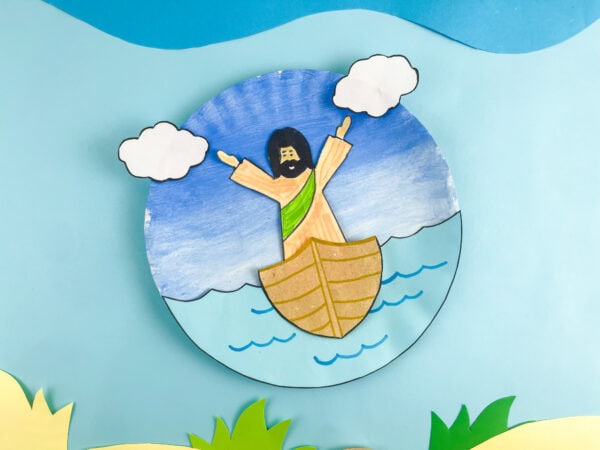
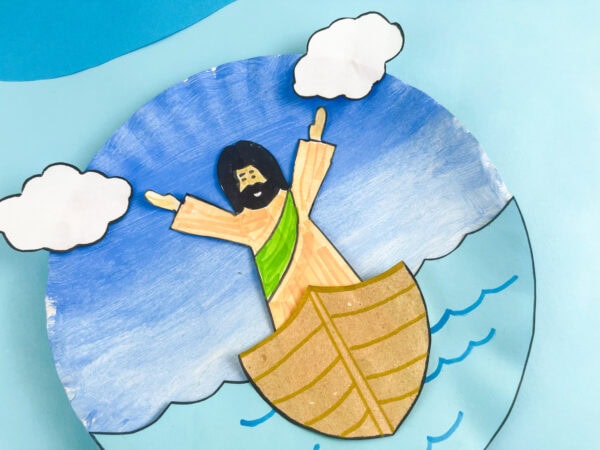
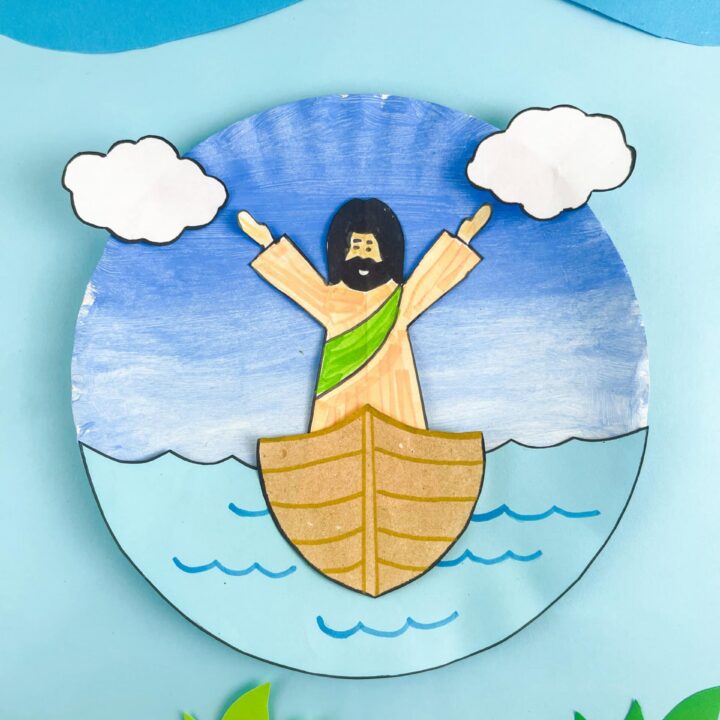
That message translates beautifully into a craft. The finished piece shows calm blue skies meeting the sea, with Jesus standing peacefully in his boat, arms wide open.
This post may contain affiliate links. As an Amazon Associate and a participant in other affiliate programs, I earn a commission on qualifying purchases. Read our disclosure policy here.
Stock Your Home 9-Inch Paper Plates Uncoated, Everyday Disposable Plates 9KTOJOY 100Pcs Jumbo Wooden Craft Sticks Popsicle Stick 6” Long x 3/4”Wide Treat Ice Pop for DIY Crafts,Home Art Projects, Classroom SuppliesMod Podge Gloss Sealer, Glue & Finish: All-in-One Craft Solution- Quick Dry, Easy Clean, for Wood, Paper, Fabric & More. Non-Toxic – Craft with Confidence, Made in USA, 16 oz., Pack of 1Crayola Construction Paper – 480ct (2pck), Bulk Teacher Supplies, Back to School Essentials For Kids, Classroom Must Have, Arts & Crafts Art PaperGoodyKing Arts and Crafts Supplies for Kids – 1170Pcs+ Craft Art Supply Kit for Toddlers Kids Craft Supplies & Materials Age 4 5 6 7 8 9 – All in One D.I.Y. Crafting School Supplies900 PCS Pom Poms, Multicolor Bulk Pom Poms Arts and Crafts, Soft and Fluffy Craft Pom Poms, Assorted Sizes Pompoms, for Arts and Craft Making Decorations


What You’ll Need
This is a low-stress materials list, which I always appreciate. Here’s what you’ll want to gather before you get started:
- Construction paper
- A paper plate
- White and blue paint
- Googly eyes (optional, but always fun)
- Glue
- Scissors
- Markers
- Printable template
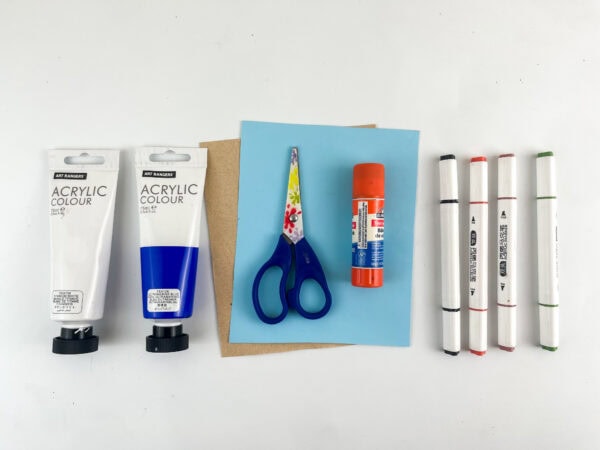
That’s it. No fancy supplies, no last-minute trip to the craft store for something obscure. Chances are good you’ve already got most of this in a drawer somewhere, which makes this an easy pick for a VBS activity or a last-minute lesson idea.
How to Make the Jesus Calms the Storm Craft
Follow these step-by-step instructions to create this Sunday school craft.
Step one: Paint your sky and sea.
Grab your craft base and start with the upper portion, painting it a solid blue. As you work your way down, blend white and blue paint to soften the color, and let the very bottom fade into white.
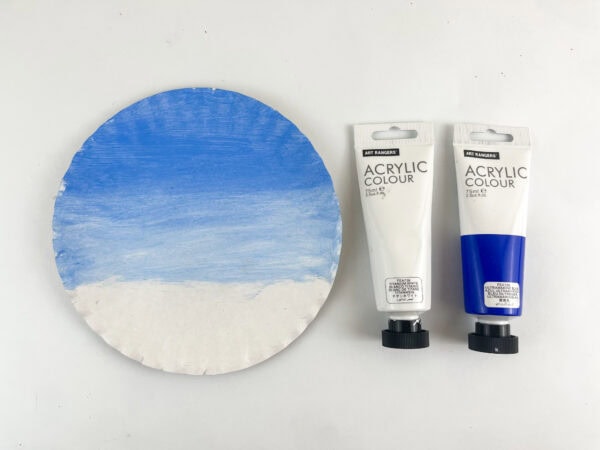
This creates a gorgeous ombré effect that mimics the horizon line where sky meets sea. It’s honestly one of the most satisfying parts of the whole project — watching the colors blend right before your eyes.
Step two: Trace and cut your templates.
Once the paint has dried, it’s time to trace your templates onto their corresponding paper. You’ll need a water piece, a boat shape, a Jesus figure, and a couple of fluffy clouds.
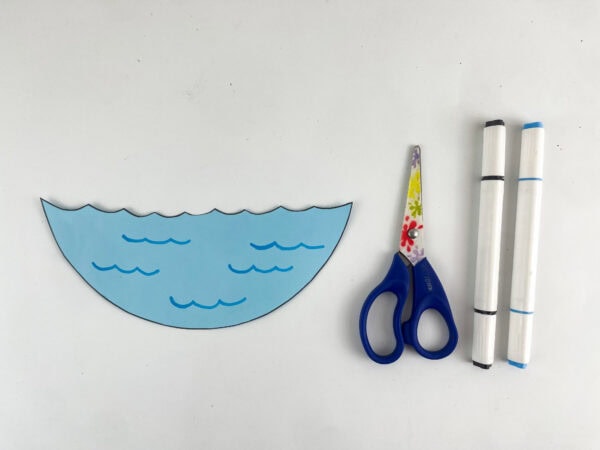
Cut everything out carefully — little ones might need a hand here, but this is also a great moment to practice fine motor skills if you’ve got a craft-loving child working alongside you.
Step three: Assemble piece by piece.
This is where the magic really starts to happen. Lay out all your cut pieces and start putting them together one at a time.
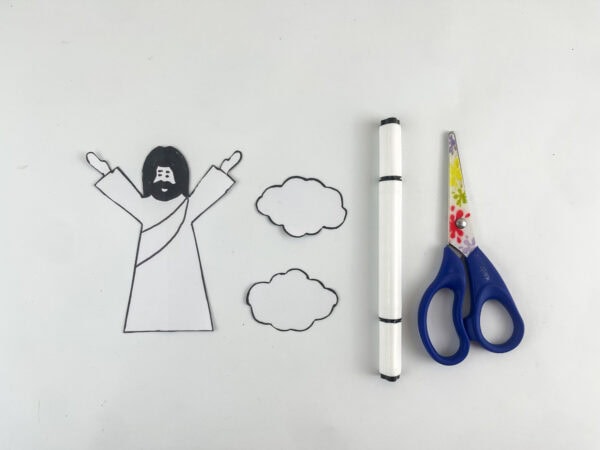
Outline each shape with a marker to give it that crisp, defined look — it makes a huge difference in how polished the final craft feels.
Step four: Add the waves.
Attach the water piece to the bottom portion of your background.
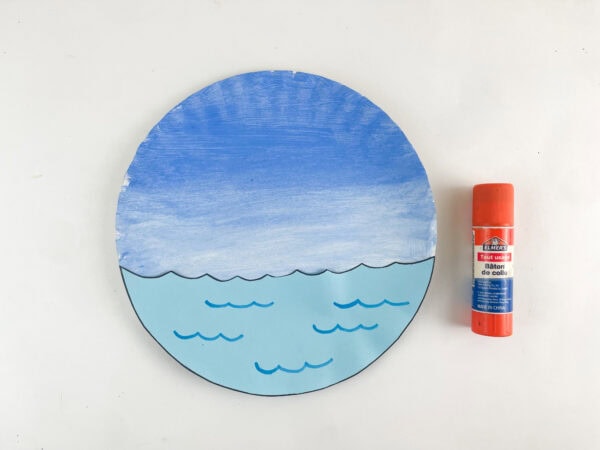
This represents the stormy sea Jesus and his disciples were sailing on, instantly grounding the whole scene.
Step five: Color in Jesus.
Using colored pencils or markers, bring your Jesus template to life.
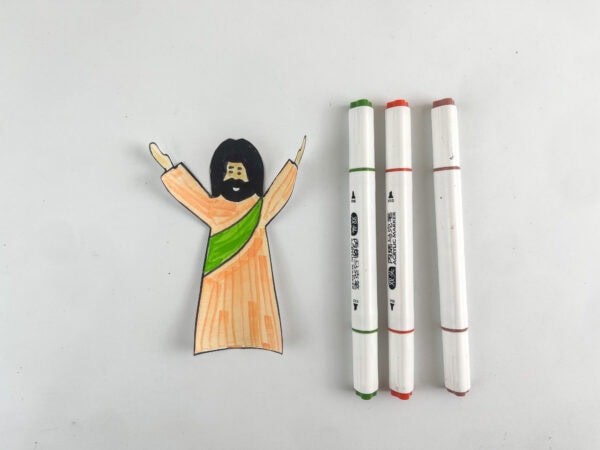
A classic robe, a sash of color, dark hair, and a beard — simple details that make the figure recognizable and full of warmth.
Step six: Detail the boat.
Grab a marker and add some texture and detail to your boat template — wood grain lines work beautifully here and give it a rustic, seafaring feel.
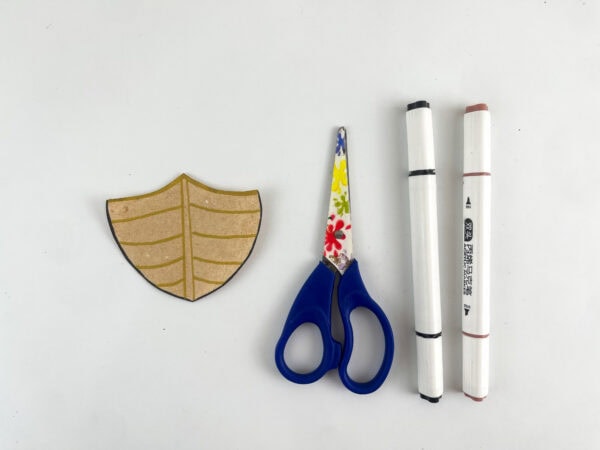
Step seven: Put Jesus in the boat.
Attach your now-colored Jesus figure to the boat, then glue the whole combo onto the background, right where the water meets the sky.
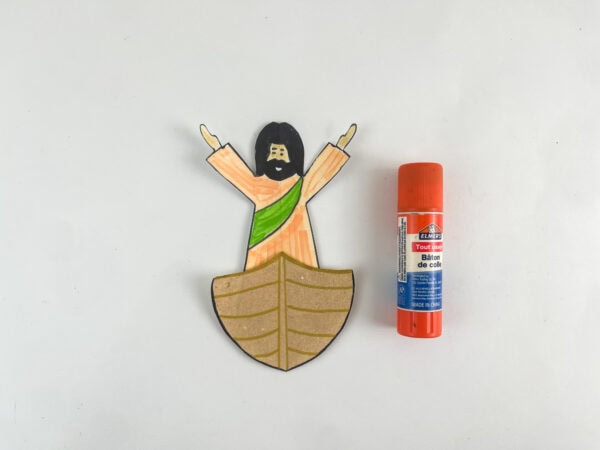
Step eight: Add the clouds.
Finish things off by attaching your clouds to the upper corners of the plate.
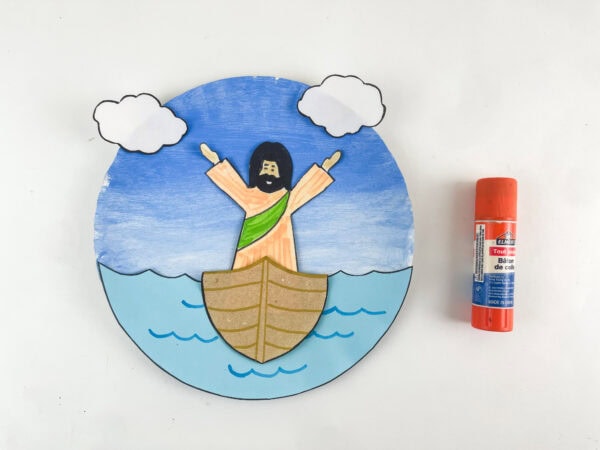
This is also a great spot to add googly eyes for a playful, whimsical touch — though the classic look is just as charming without them.
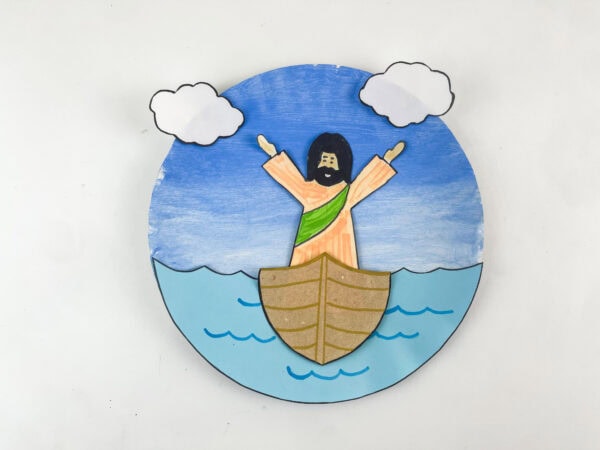
And just like that, your Jesus calms the storm craft is finished and ready to display, gift, or use as a teaching tool for any Sunday school lesson.
Why This Craft Works So Well
What I love most about this project is how each step mirrors a piece of the story. You’re not just putting random shapes together; you’re building the narrative in layers. The sky and sea come first, because that’s the setting.
Then the waves, representing the storm. Then Jesus, calm and steady, standing right in the middle of it. It’s a craft that practically teaches itself.
Are you making this craft it in a group setting, like a classroom or church group? It’s easy to break into stations — painting at one table, cutting at another, coloring and assembling at a third.
Everyone ends up with their own version, and no two will look exactly alike, which is half the fun and a great way to encourage a little creativity.
Fun Ways to Use This Jesus Calms the Storm Craft
Once you’ve finished, don’t just tuck it in a drawer; this little scene has a lot of life left in it.
Consider turning it into wall art for a classroom, using it as a visual aid while reading the story aloud, or pairing it with a simple memory verse about trusting Jesus through the storms of life.
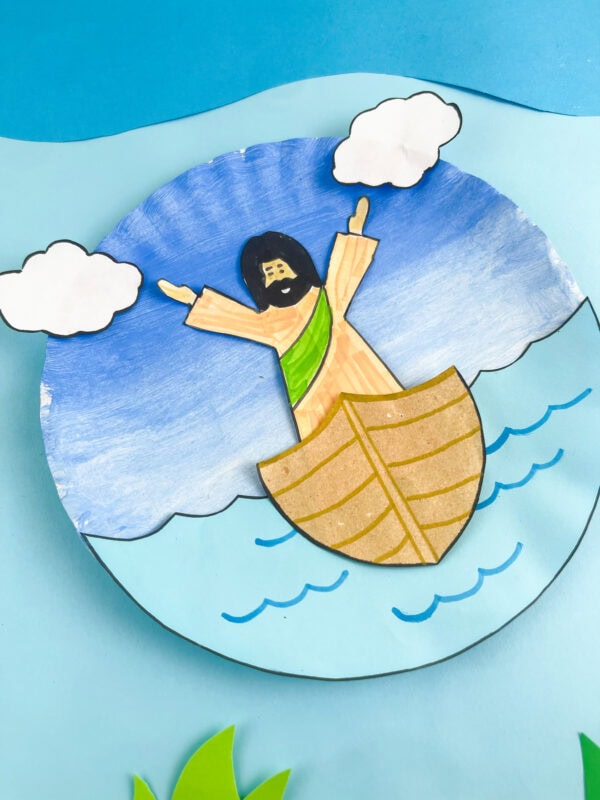
It also makes a genuinely sweet handmade gift for a grandparent or Sunday school teacher who’d love a meaningful reminder of faith on their desk. the
A Few Tips Before You Start
- Let your paint fully dry before moving on to gluing — skipping this step leads to smudges you’ll wish you’d avoided.
- Pre-cut tricky shapes like the wave edges or the boat ahead of time if younger kids are involved, to keep frustration low and momentum high.
- Don’t stress about perfection. A slightly wonky cloud or an uneven wave line only adds character — this is a handmade craft, not a printed pattern.
- Outline last. Doing your marker outlines after the paint and color are in place keeps the lines crisp instead of smudged.
- Work in batches if you’re crafting with a group, so everyone moves through painting, cutting, and assembling together.
More Bible Crafts You’ll Love
If you enjoyed making this Jesus Calms the Storm Craft, here are a few more Bible craft ideas that help children explore familiar stories and important lessons in a creative way.
- Baptism of Jesus Craft for Kids – Teach kids about Jesus’ baptism with a simple craft that highlights this special moment in His ministry.
- Elijah Fire from Heaven Craft – Bring the story of Elijah on Mount Carmel to life with a fun hands-on activity.
- Abraham Father of Nations Craft – Help children learn about Abraham and God’s promise through an engaging Bible craft.
- Armor of God Shoes of Peace Craft – Introduce the Armor of God with a creative project that teaches the importance of living in peace.
- Joshua Bible Craft for Kids
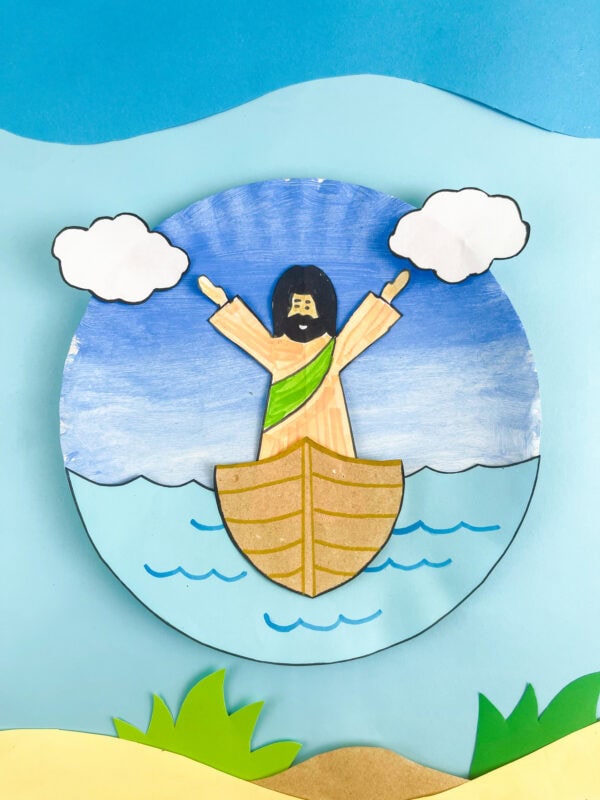
At the end of the day, this Jesus calms the storm craft is about more than just putting the pieces together.
It’s a hands-on way to sit with a Bible story about peace, trust, and finding calm even when everything around you feels like it’s rocking back and forth. Plus, it makes for a genuinely sweet keepsake that’s worth displaying long after the glue has dried.
If you give this one a try, I’d love to hear how it turns out — and don’t be afraid to put your own spin on it. Get creative with the colors and details to create a version that’s uniquely yours.
Can I use paint markers instead of regular paint?
Absolutely. Acrylic paint markers work really well for this Jesus calms the storm craft since they give cleaner lines and dry a bit faster, especially for the ombré sky effect.
What age range is this Bible craft good for?
It’s an easy project to adjust for different skill levels. Younger kids can handle the coloring and gluing steps with some help, while older kids and adults can manage the cutting and painting independently — making it a great interactive project for kids of all ages.
Can I make this craft without a paper plate?
Not at all — a circle cut from cardstock, foam board, or even cardboard can work in a pinch if you don’t have one on hand.
Can this craft be adapted for other Bible stories?
Definitely. The same basic technique — painted-plate background, layered cut-paper elements, a central figure — can be adapted for stories such as Noah’s Ark, Jonah and the Ship, or the Nativity.
Are there other ways to make this craft?
Plenty! Some versions use craft sticks to build the boat, or have kids glue cotton balls for clouds and waves instead of cut paper. If you’ve spotted a version on Pinterest you love, feel free to mix and match ideas to fit what you have on hand.
Jesus Calms the Storm Craft
This Jesus Calms the Storm Craft helps kids remember the Bible story of Jesus calming the wind and waves. Children will create a colorful ocean scene with a boat, Jesus, and gentle waves using simple craft supplies. As they build the craft, they can talk about trusting Jesus even during difficult times. It's a fun activity for Bible lessons, homeschool, or church. The finished project also makes a great display for an ocean or Bible theme.
Materials
- Jesus calms the storm printable template
- 1 paper plate
- Blue construction paper
- Brown or kraft paper
- White paper or cardstock
- Blue paint
- White paint
- Markers, crayons, or colored pencils
- Glue
Tools
- Scissors
- Paintbrush
Instructions
1. Paint the Background
Paint the top half of the paper plate blue to create the sky. Blend blue and white paint toward the bottom until it fades into a lighter shade, then let the paint dry completely.
2. Cut Out the Craft Pieces
Cut the pieces needed for the waves, boat, Jesus, and clouds from construction paper. Keep each piece together so everything is ready to assemble.
3. Assemble the Pieces
Arrange the paper pieces before gluing them down to make sure everything fits well. Use a marker to outline the edges for a more finished appearance.
4. Attach the Waves
Glue the wave piece across the lower section of the background. Position it so there is enough space above for the boat.
5. Decorate Jesus
Use markers to add simple details to Jesus, including His robe, hair, beard, and facial features. Once finished, set the piece aside for the next step.
6. Finish the Boat
Draw a few simple wood grain lines or other details on the boat with a marker. This gives the boat a little extra texture before attaching it to the background.
7. Add the Boat and Jesus
Glue Jesus onto the boat, then attach the completed boat to the center of the scene where it sits on the waves.
8. Attach the Clouds
Glue the clouds near the top of the background to complete the sky. Allow the craft to dry completely before displaying or using it during your Bible lesson.
