
DIY Kinetic Sand Recipe
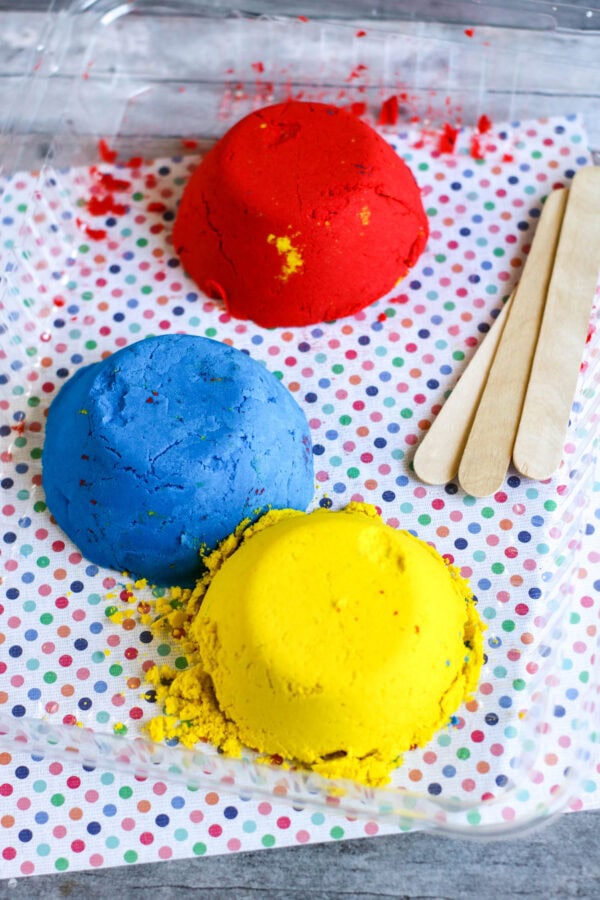
Kinetic sand is the perfect mix of fun, creativity, and hands-on learning. It’s moldable, stretchy, and ideal for sensory play. But did you know you can easily make this fun sand at home? That’s right! This DIY fun, kinetic sand recipe will give you all the fun of store-bought sand without the hefty price tag.
This guide will walk you through a simple and effective fun sand recipe using household ingredients. Whether you’re a parent looking for a fun sensory activity for your toddler or someone who loves a good DIY project, this fun sand recipe is for you!
This post may contain affiliate links. As an Amazon Associate and a participant in other affiliate programs, I earn a commission on qualifying purchases. Read our disclosure policy here.
The Ultimate DIY Kinetic Sand Recipe
- Colored sand
- Cornstarch
- Oil
- Dish soap
- Glue
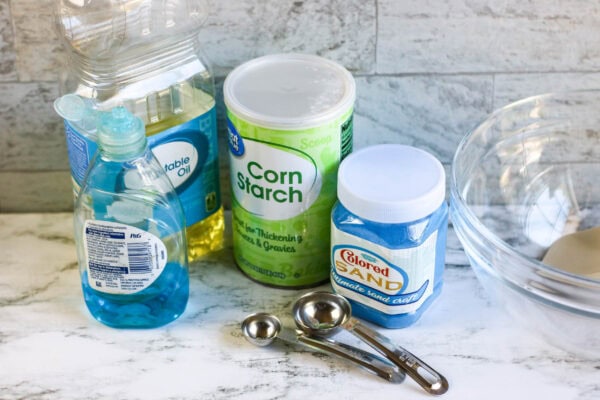
Instructions:
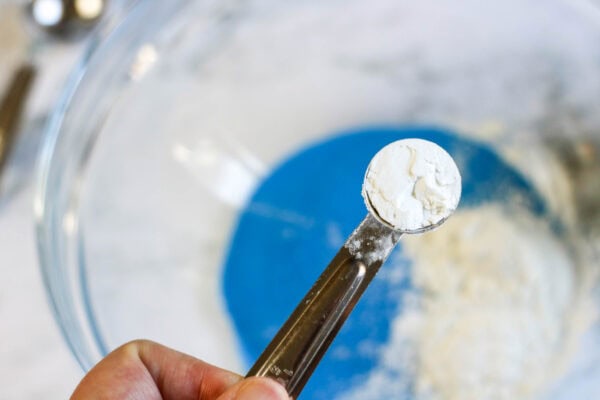
Stir together sand and cornstarch. The cornstarch will not mix thoroughly (you’ll see some white streaks), but keep stirring until it looks evenly combined.
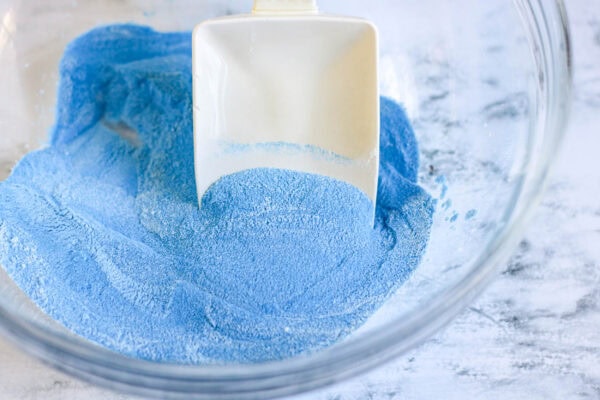
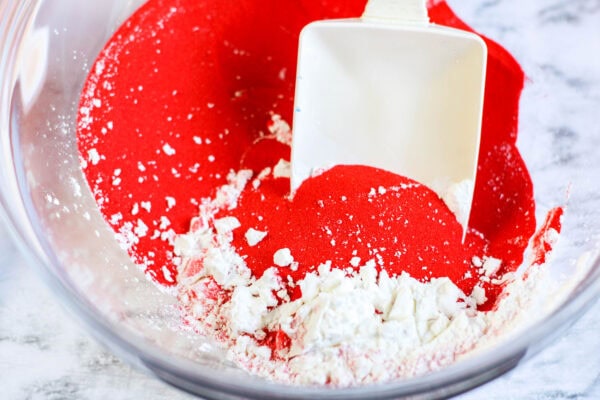
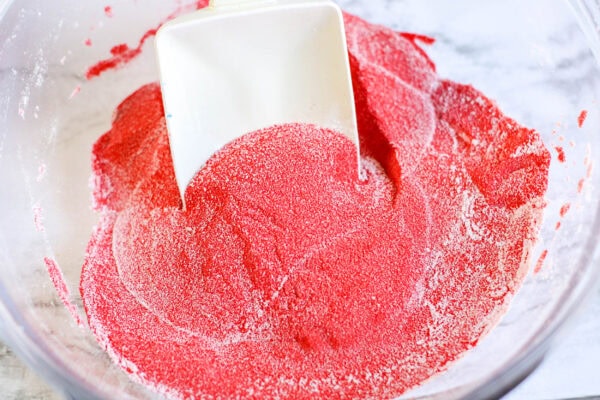
Add the oil and press the sand into it using the back of a spoon.
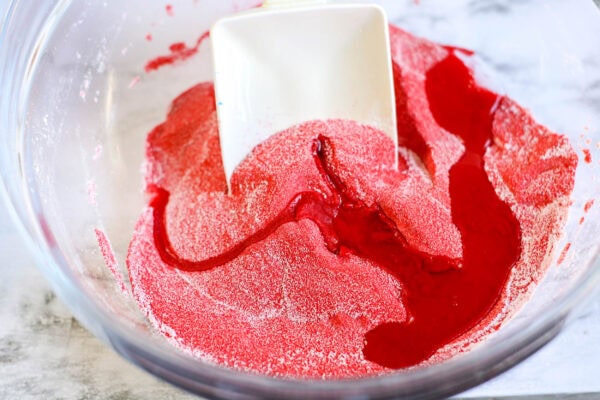
Pour in the liquid dish soap and press it into the sand the same way. The mixture will feel like moon sand when pressed together but will still fall apart easily.
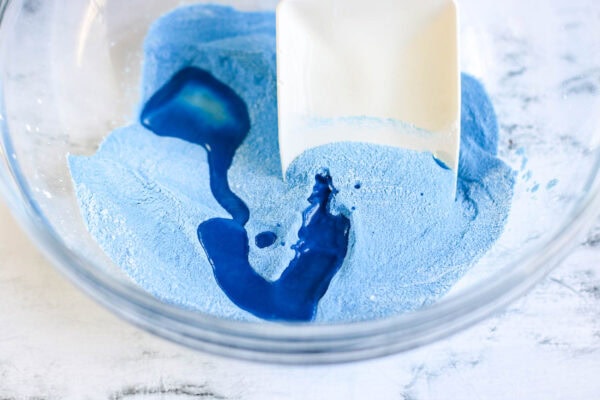
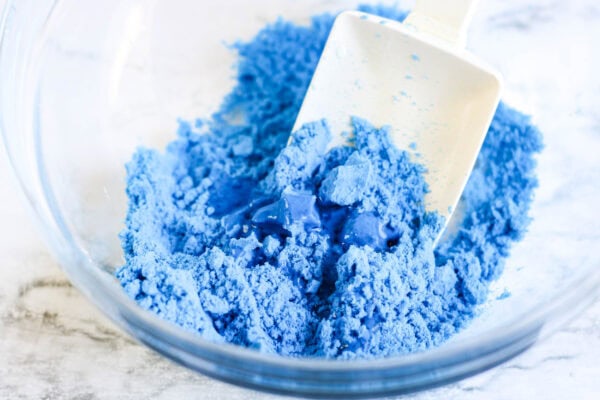
Add the glue and stir (pressing if needed) until everything is fully combined.
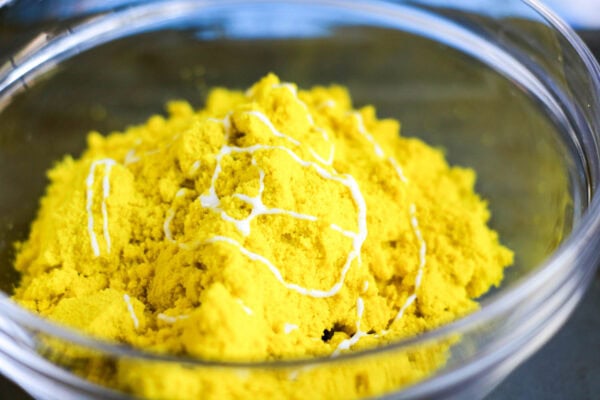
Since different sands absorb ingredients differently, test your sand to make sure it’s clingy enough without being too sticky. If you want it to hold together more, add a little extra glue, mixing well after each addition.
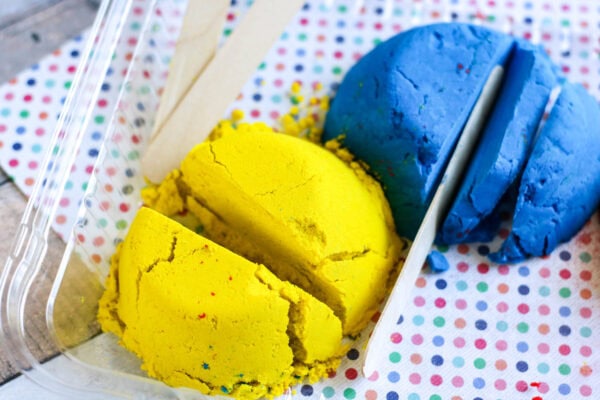
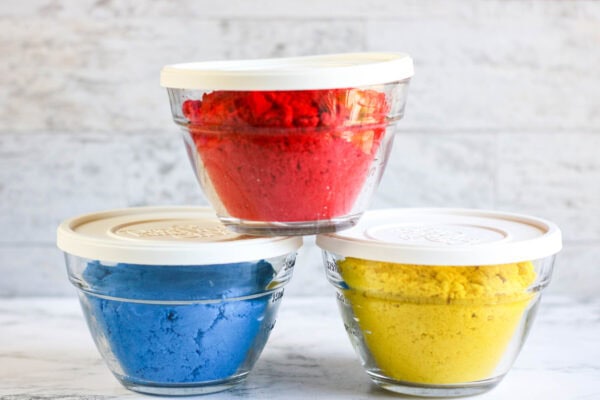
Store in an airtight container at room temperature to keep it from drying out.
Why Make Kinetic Sand at Home?
If you’ve ever bought a bag of this fun sand, you know how mesmerizing it is. It’s moldable like playdough, but it flows like wet sand. The texture is perfect for little hands (and adults, too). But why buy it when you can make this fun sand without breaking the bank?
Here’s why this fun sand is a great idea:
- Cost-effective – You can make a large batch for a fraction of the price.
- Customizable – Choose different colors and textures.
- Safe & Non-Toxic – You know exactly what’s in it!
- A Fun Learning Experience – Great for sensory activities, independent play, and motor skills development.
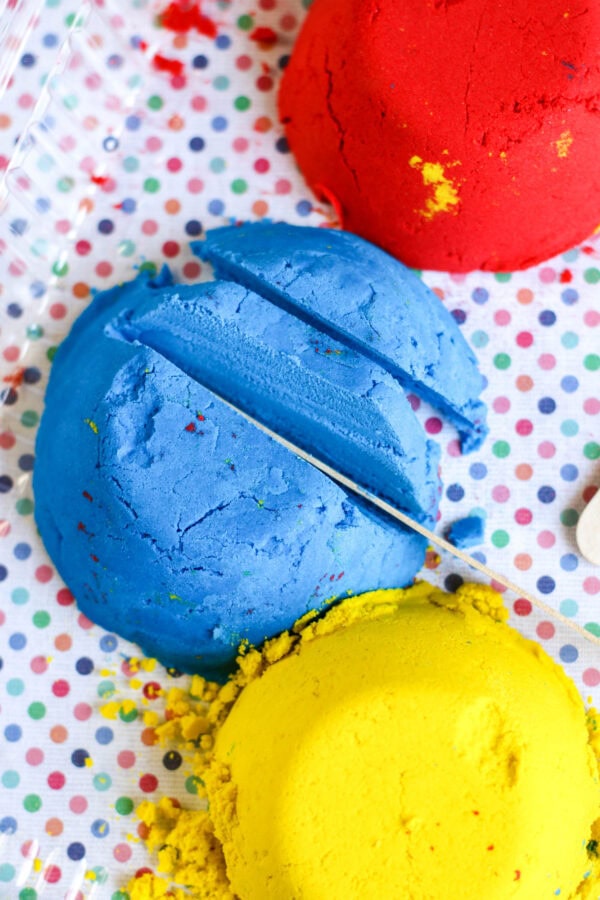
Fun Ways to Play with Kinetic Sand
Now that you have your homemade kinetic sand, here are some ways to use it:
Mold Shapes – Use cookie cutters, silicone molds, or even your hands to shape the sand.
Sensory Bins – Add different colors of kinetic sand to a bin for an exciting sensory experience.
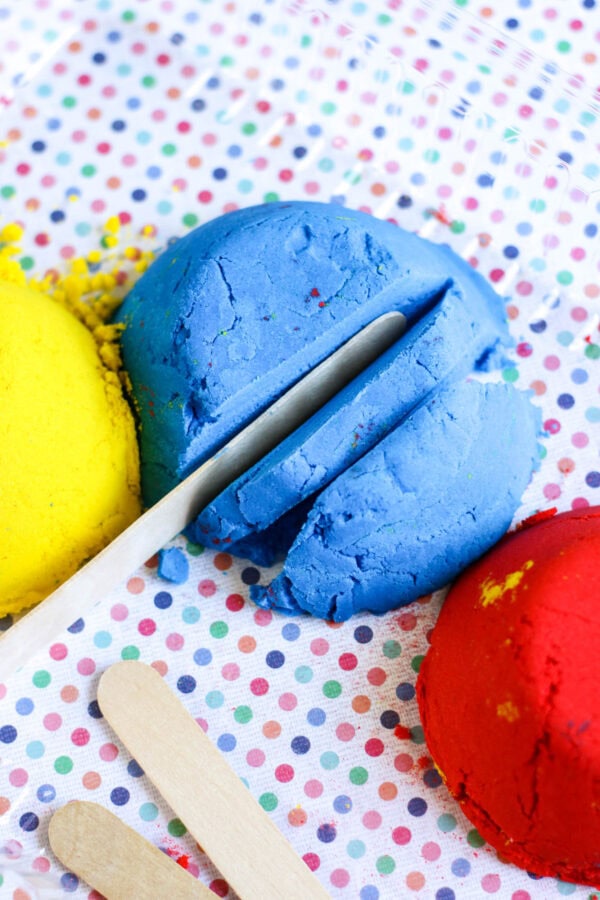
Mix in Small Toys – Hide small toys or beads in the sand for a treasure hunt.
Pair with Playdough or Slime – Experiment with different textures to see how they interact.
This kinetic sand recipe is perfect for sensory play and Montessori-style learning. Your kiddos will enjoy hours of playtime while developing their fine motor skills!
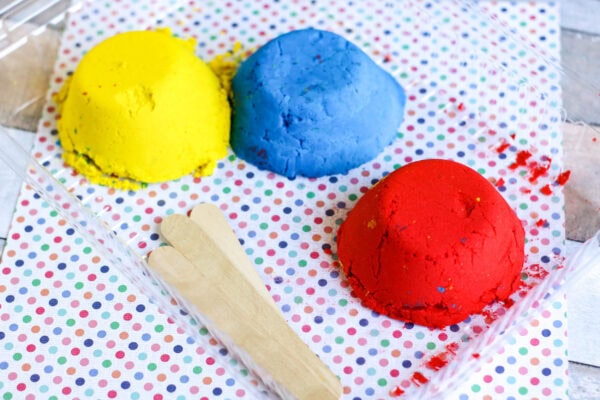
Kinetic Sand Recipe Variations
Want to experiment with different versions? Here are some fun alternatives:
1. Make Kinetic Sand Without Glue: For a simple homemade fun sand recipe without glue, skip the glue and use liquid starch instead. Mix cornstarch and water to form a sticky base before adding the sand.
2. Edible Kinetic Sand: For a toddler-safe version, replace cornstarch with flour and oil with coconut oil. This way, if little ones accidentally taste-test it, it’s safe!
3. Moon Sand Variation: To make moon sand, mix flour and oil until the mixture is fluffy and moldable.
4. Silly Putty & Slime Crossover: If you want a stretchier feel, also add shaving cream to this fun sand for a fun, fluffy feel. This works great for sensory activities!
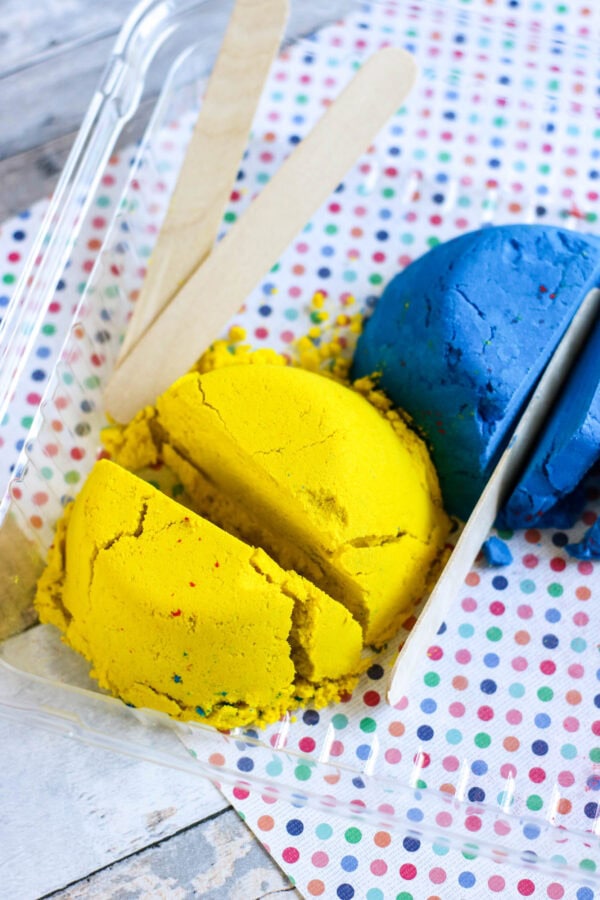
More Fun DIY Projects to Try
Looking for more creative activities? Check out these fun DIY ideas:
- Sand Slime Recipe – A fun twist on classic slime, this recipe combines the stretchiness of slime with the grainy feel of sand for a unique sensory experience.
- How to Make Hydro-Dipped Painted Sand Dollars—Create beautiful, colorful sand dollars using a simple, fun hydro-dipping technique.
- DIY Pirate Treasure Slime – Make a glittery, treasure-filled slime perfect for pirate-themed adventures and imaginative play.
- Homemade DIY Insect Slime Recipe—This creepy-crawly slime recipe features fun insect add-ins, making it great for sensory play and bug lovers.
Try them all, and have fun with these exciting DIY projects!
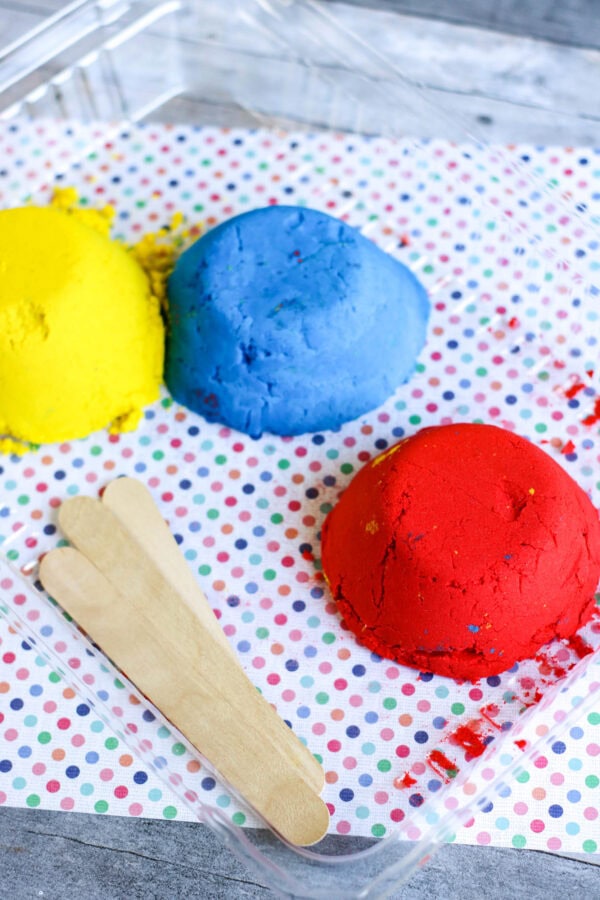
Making this fun sand at home is not just fun—it’s a hands-on experience that sparks creativity and imagination! Whether you use baby oil, silicone oil, or liquid starch, this homemade recipe will provide hours of engaging play.
Try experimenting with different colors, adding scents, or mixing small toys for extra fun. The possibilities are endless!
We’d love to see what you create, so be sure to share your DIY and fun sand adventures! Have fun crafting and exploring different ways to play with your homemade fun sand!
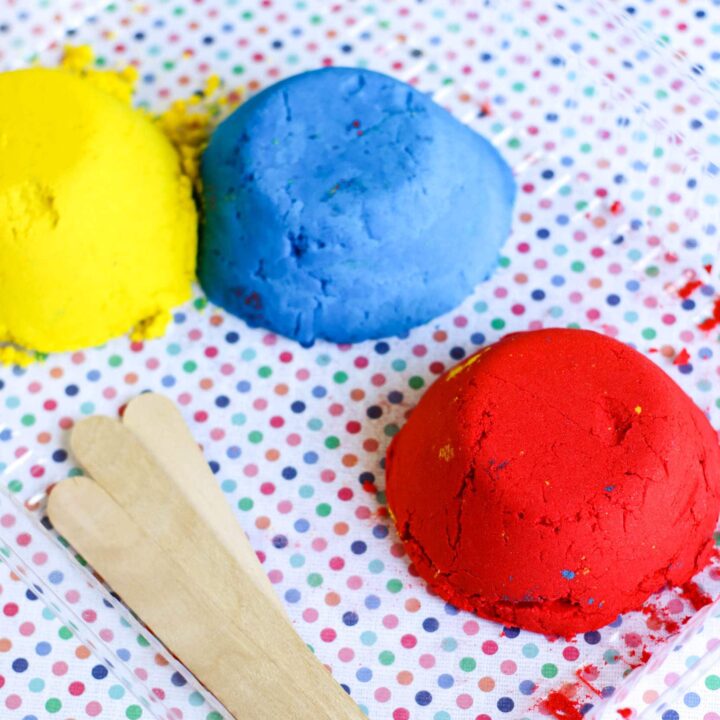
How to Make Homemade Kinetic Sand
This easy-to-make kinetic sand recipe is a fun sensory activity to make with the kids.
Materials
- 1 cup colored sand
- 2 tablespoons AND 2 teaspoons cornstarch
- 1 tablespoon oil
- 2 teaspoons liquid dish soap
- 2 tablespoons glue
Tools
Instructions
Combine Sand and Cornstarch—Measure out the desired amounts of sand and cornstarch, then place both in a mixing bowl.
Stir them together thoroughly. You may notice streaks of white cornstarch that do not entirely disappear, but keep mixing until the two are as evenly blended as possible.
Incorporate the Oil - Pour in the oil. Use the back of a spoon to press the sand-and-cornstarch mixture into the oil, working it in until everything feels evenly moistened.
Add the Liquid Dish Soap - Drizzle the dish soap over the oily sand mixture.
Again, use the back of the spoon to press and fold the soap into the sand. The mixture will resemble a crumbly “moon sand” that clumps together when pressed but still breaks apart easily. Blend in the Glue - Finally, add the glue. Stir well and push the mixture with the spoon until the glue is completely incorporated. You’re aiming for a slightly moist and clingy texture, but not overly sticky.

Oh so fun! We used to make all kinds of play sand, play dough, and slime.
Hi there, congrats, your post will be featured this Monday at the new SSPS linkup. See you next week.
What a clever idea. Congratulations, you are being featured on WWBH. I hope you stop by. https://eclecticredbarn.blogspot.com/2025/07/fun-for-kids-on-wwbh.html
Hugs,
Bev