
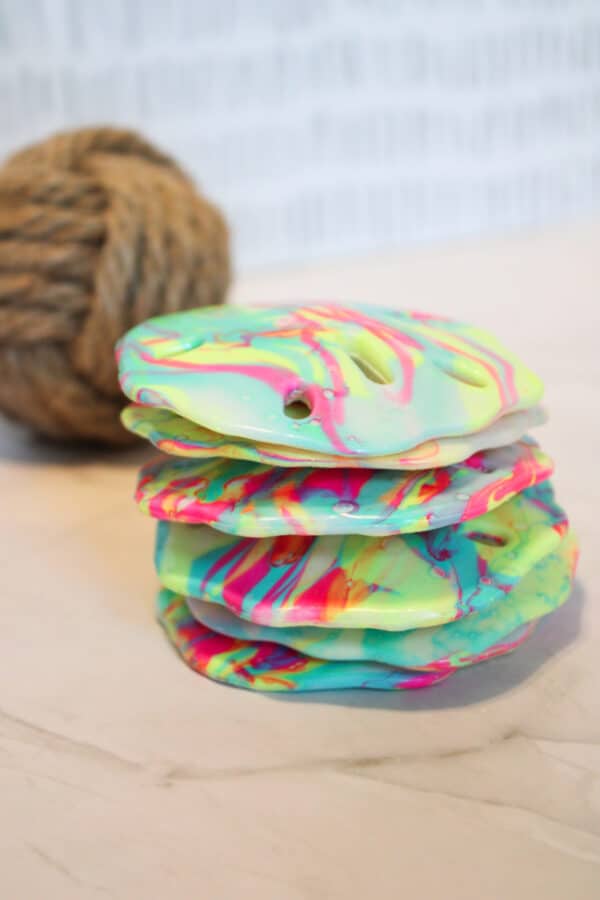
How to Make Hydro-Dipped Painted Sand Dollars
If you’re looking for a unique and mesmerizing way to add a splash of color to your home decor, painting hydro-dipped sand dollars is the perfect craft project. These beautiful marine treasures, with their intricate patterns and shapes, become stunning works of art when enhanced with the vibrant and fluid technique of hydro dipping.
Hydro dipping, also known as water marbling, involves floating paint on water and then dipping objects to transfer the mesmerizing swirls and patterns. This easy painting craft combines unpredictability with artistry, resulting in one-of-a-kind pieces every time.

How to Make Hydro-Dipped Sand Dollars
Get ready to dive into a world of color and paint by turning simple sand dollars into dazzling decorative pieces that will brighten any space. Let’s get started on this artistic adventure.
Imagine the joy of transforming plain sand dollars into colorful keepsakes that capture the essence of the ocean and the magic of creativity.
What is hydro dipping, exactly?
Using water to transfer images to a three-dimensional surface is known as hydro (or water) dipping. It is applied to various printed graphic types in various fields. However, the basic procedures of submerging the surface in water are the same for all.
This post may contain affiliate links. As an Amazon Associate and a participant in other affiliate programs, I earn a commission on qualifying purchases. Read our disclosure policy here.


Some people use spray paint, but we will use hydro dipping with nail polish.
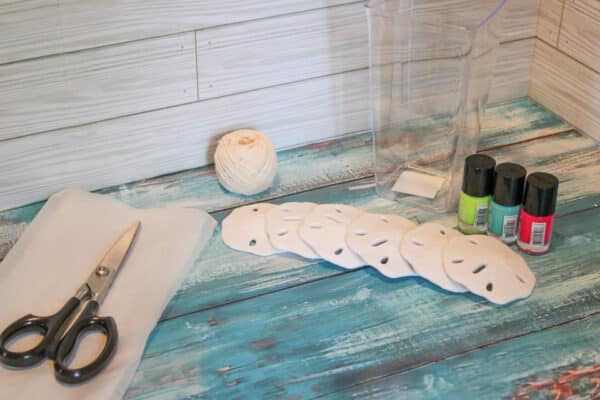
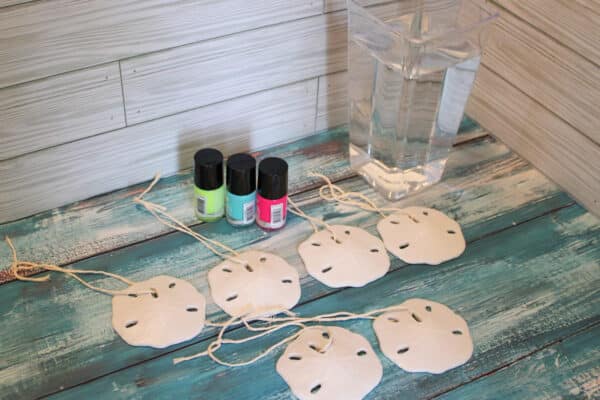
Materials Needed to Make Painted Sand Dollars:
- Scissors
- Large Clear Container (dipping tank)
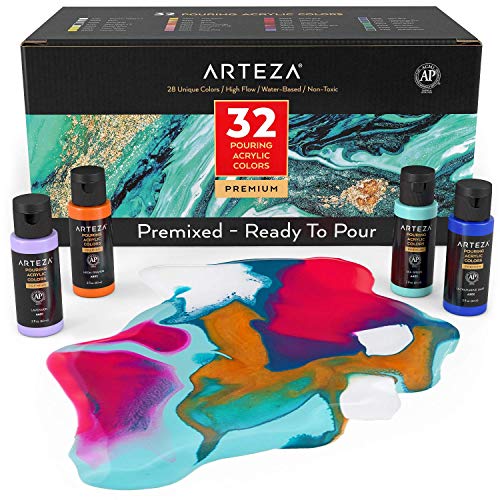
- Nail Polish Colors of your choice or oil-based color paint.
- Spatula for mixing
- Glitter (optional)
- Water
- White yarn or Twine
How do you hydro-dip Sand Dollars?
Preparation Step: Gather all the supplies needed.
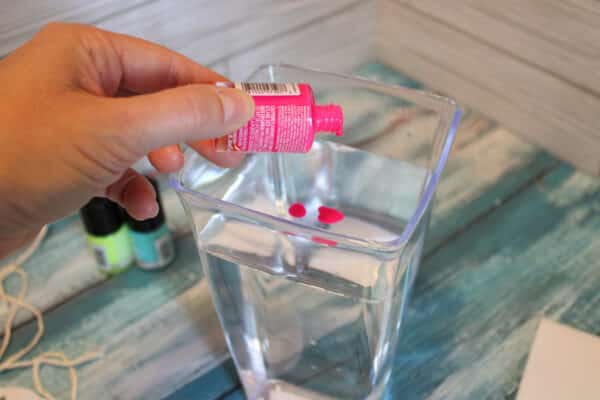
Add water to a large container and fill it 3⁄4 of the way full.
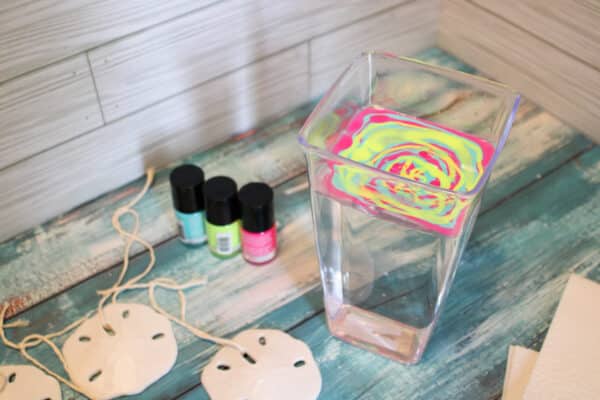
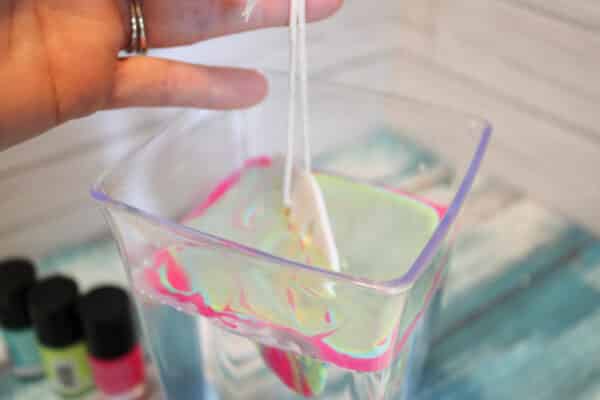
Pour in nail polish colors one at a time. You may need to add more nail polish after 1-2 sand dollars get dipped.
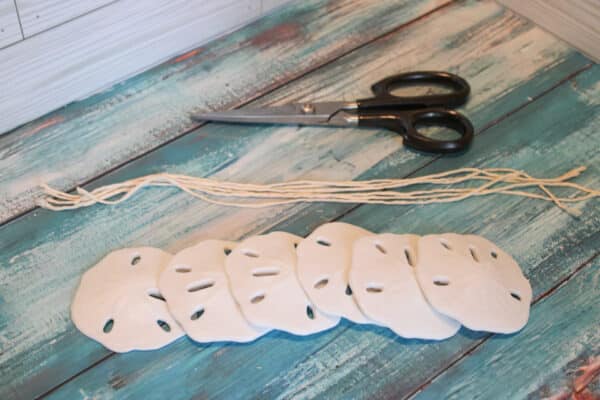
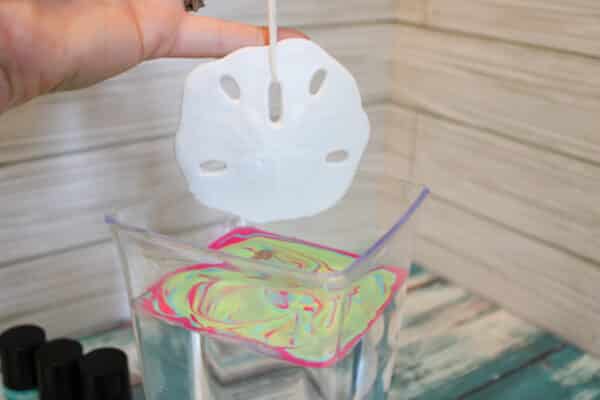
Tie a piece of twine through one of the openings of each sand dollar. The twine will help you handle the hydro dripping without making it messy. Others have gloved fingers while doing this.
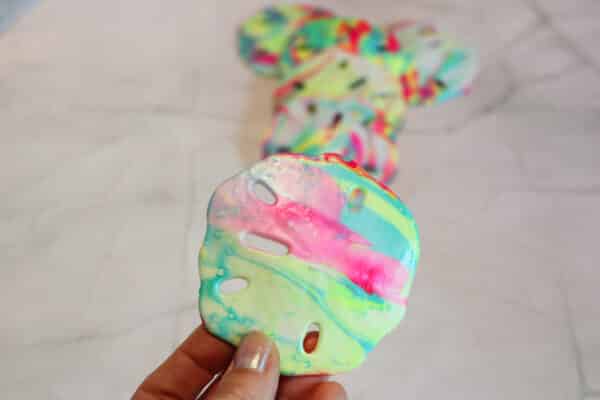
Carefully and slowly dip the sand dollar into the nail polish and water.
This will enable you to disperse several sand dollars uniformly across a broad surface. Ensure that the tray has enough solution to submerge each sand dollar completely.
Remember that the dipping process needs patience, and as with all other things in life, practice makes a great progression!
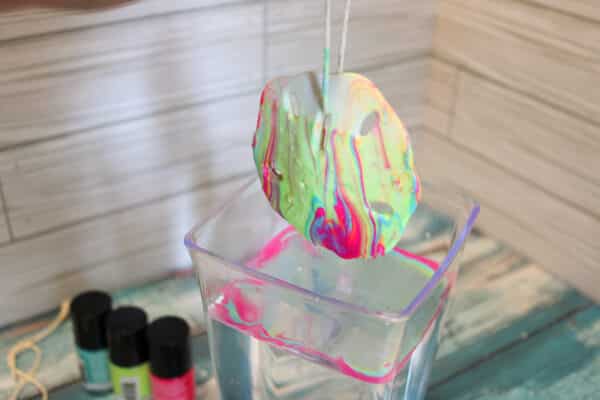
Slowly remove the sand dollar, letting it hang over the water for a few processing times to let the excess water drip off.
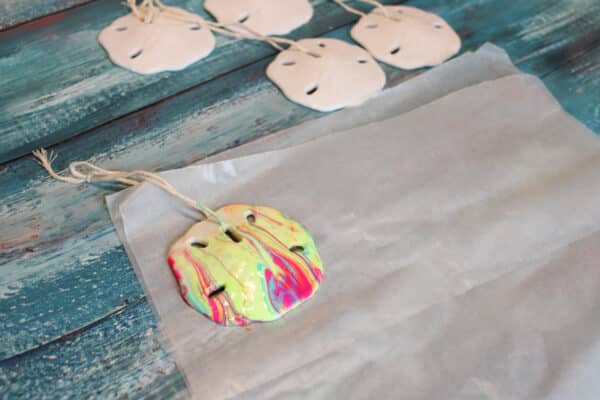
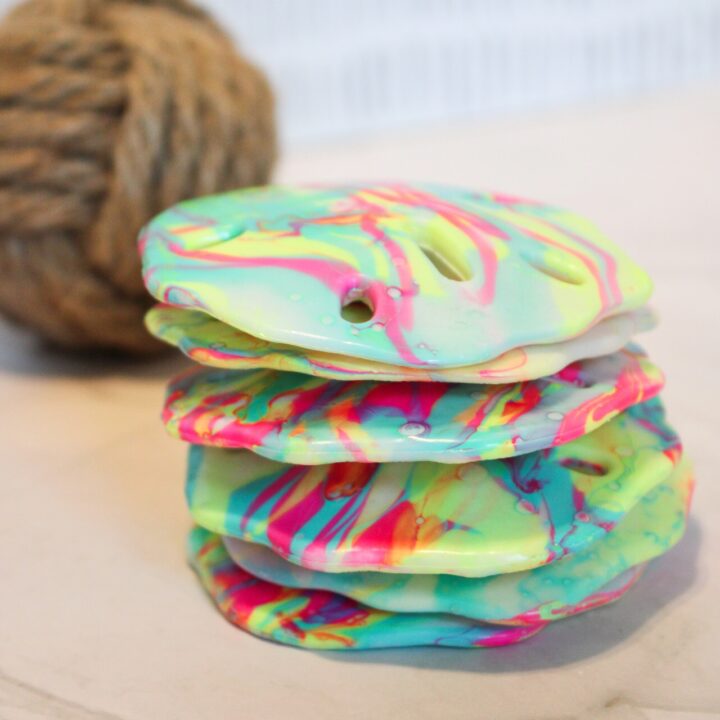
Place onto the plate with wax paper and allow ample dry time without interference from impatient fingers.
Allow the sand dollars 24 hours to dry completely so that we can see the best results of a complete surface as well as a well-covered surface.
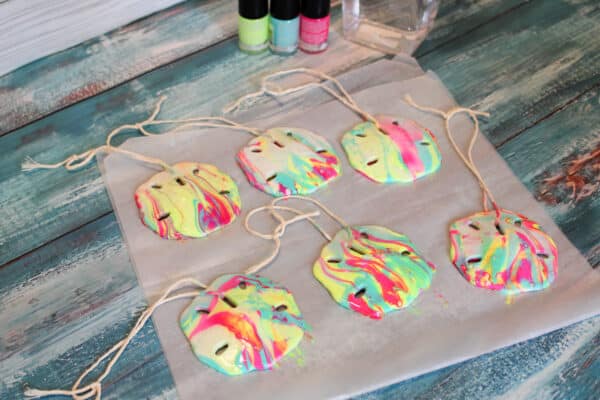
Repeat steps 4-7 until all the sand dollars are colored.
*nail polish does stain the container you are using.
Pro-Tips to Make Hydro-Dipped Sand Dollars:
Preparing your solution in a small bowl lined with plastic wrap or wax paper is important to make cleaning easy and prevent messes. Using disposable utensils for mixing also makes it easy to discard them afterward.
Although gathering sand dollars at the beach might be an exciting and enjoyable pastime, their appearance is frequently uninteresting due to their prolonged exposure to the salty ocean water.
Most beachgoers are unaware that collecting live sand dollars is prohibited in several US states and endangers the species. Instead, you can take the sand dollar’s skeleton (called a “test”), which is usually white and found on the beach.
Preserving sand dollar shells is a fun way to preserve these beautiful natural treasures. To seal and protect the delicate shells from damage or breakage, create a watered-down mixture of equal parts water and school glue.
Sand dollars are easily broken or chipped, so handle them cautiously, especially the smaller ones.
The majority of sand dollars are located along the coast. Living, they burrow into the sea floor’s soft sand. They wash ashore on the beach, dead or dying, and dry up in the heat.
Be mindful of how many shells you take, and help protect the sand dollar species by returning any living ones to the ocean or any that have unintentionally washed up on shore.
How Is Hydro Dipping Operational?
You can find Sand dollars online or in stores. This project will surely be a fun and memorable activity with your kids.
After dipping and painting the sand dollars, varnish can be applied for finishing and protection, which will significantly extend their lifespan. In Cricut Design Space, you can add additional cool designs using your favorite font.
Cut it out of permanent vinyl or extra vinyl using masking tape and place it in their sand dollars for the final touch.
A well-protected print and a beautiful piece of art that can last for decades!
You can also use the same principle to make glitter tumblers or starfish. After hydro-drying the object, pat it dry with a paper towel to remove excess water.
Enjoy making these! Let us know your thoughts about this after trying one!
How to Make Painted Hydro-Dipped Sand Dollars
This fun and easy painting idea is perfect for adults and kids. Hydro-dipping is a technique that combines paint and water.
Materials
- Sand dollars (dollar store) Nail polish
- Large container
- Water
- Wax paper
- Twine
- Scissors
Tools
- Spatula
- Container (The nail polish will stain the container so use a disposable container)
Instructions
- Gather all the necessary supplies.
- Fill a large container with water until it is 3/4 full. Add nail polish colors one at a time. You may need to add more nail polish after dipping 1-2 sand dollars.
- Thread a piece of twine through one of the openings in each sand dollar.
- Carefully and slowly dip the sand dollar into the nail polish and water mixture.
- Slowly remove the sand dollar, letting it hang over the water for a few moments to allow the excess water to drip off.
- Place the sand dollar on wax paper to dry.
- Allow the sand dollars to dry completely for 24 hours.
- Repeat steps 4-7 until all the sand dollars are colored.