
How to Make Sand Slime Recipe
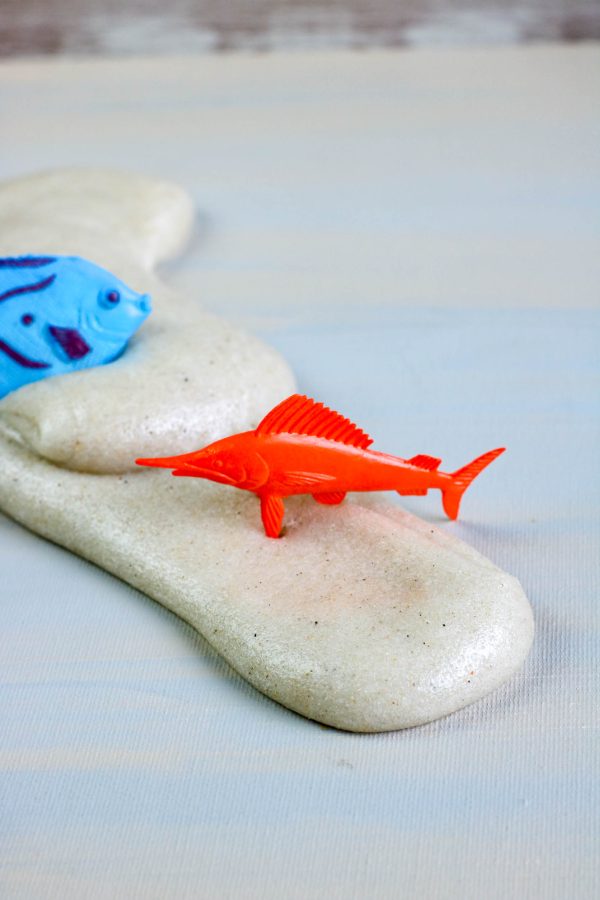
Introducing the ultimate summer sensation: the Sand Slime Recipe! Combining the joys of sensory play, beach crafts, and DIY slime, this irresistible activity is perfect for kids and adults alike. Learn how to transform play sand into a charming, sticky sand slime with our easy-to-follow homemade recipe.
Say hello to endless hours of fun and creativity as you master the art of making your very own sand slime. Step into this summer craft and let the sand-sational memories begin! And you can check out more slime recipes here.
This post contains affiliate links meaning I get commissions for purchases made through links in this post at no cost to you. Read my disclosure policy here.
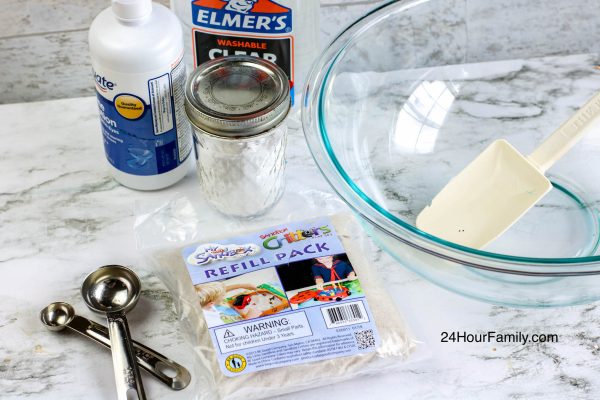
What ingredients are needed to make sand slime?
1 (6-ounce) bottle of Clear Elmer’s Glue
About ¼ cup warm water
½ teaspoon baking soda
1 tablespoon contact lens solution (containing boric acid)
½ to 1 cup of play sand, depending on how sandy you want the final slime to be
How to Make Sand Slime:
Empty the glue into a large bowl.

Fill the empty glue bottle about ⅓ full with warm water (about ¼ cup) and seal with the lid. Shake well to combine the remaining glue with the water. Pour into bowl with glue and stir to combine.
Add the baking soda to the glue and stir to mix thoroughly.
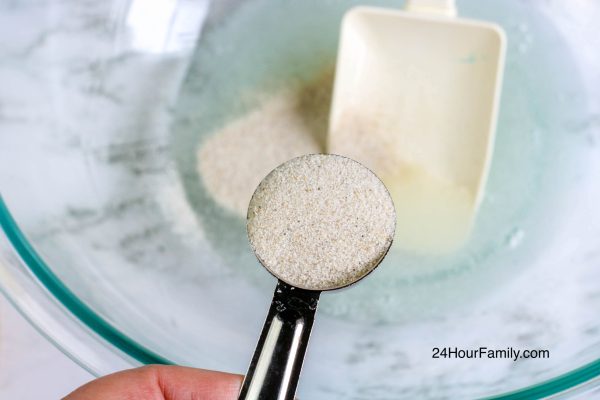
Stir the sand into the glue mixture a little at a time until you reach your desired consistency.
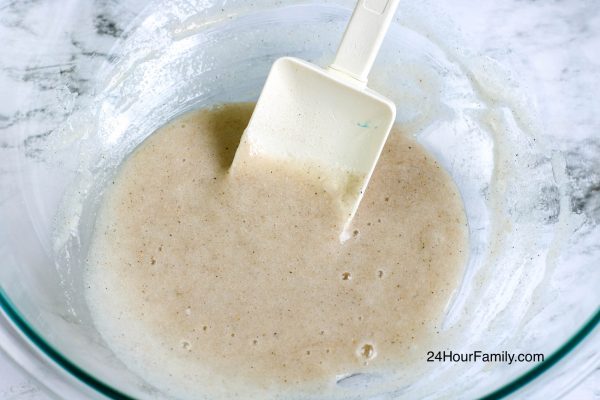
Add contact lens solution to the glue mixture and stir well. (Note: regular glue will require less contact lens solution than glitter glue. Add the contact lens solution slowly, mixing between additions, and add only enough to bring the glue together into a soft ball.)
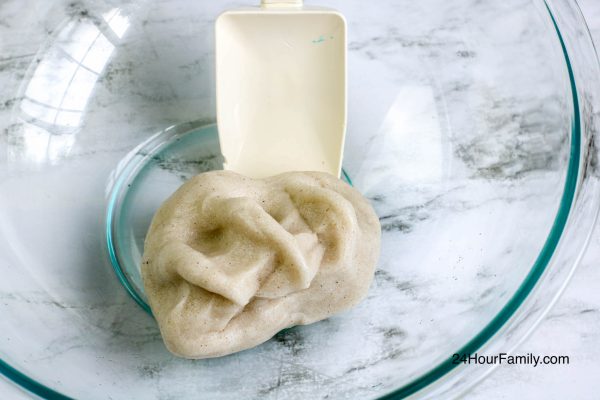
Remove the slime from the bowl. The slime will be sticky. Begin to play with the slime, stretching or kneading it as you would bread dough, to bring the slime together. The slime is ready when no longer sticky.
Best if stored in an airtight container in the refrigerator when not in use.
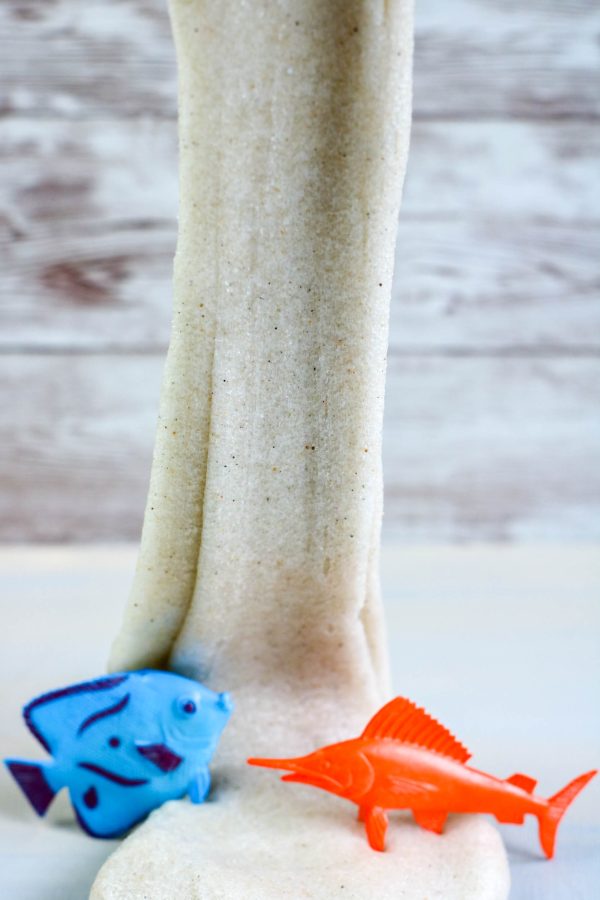
How to make sand slime more stretchy?Kinetic sand slime recipe
Here are a few simple tips to make your sand slime even stretchier:
- Adjust the slime-to-sand ratio to fix the slime texture
One way to increase stretchiness is by adjusting the proportion of slime to sand in your mixture. Try adding a bit more slime to the recipe to achieve a stretchier texture. Experiment with different ratios until you find the perfect balance that suits your preference.
- Increase the amount of glue
The main ingredient responsible for the elasticity of slime is glue. Consider adding a bit more clear or white glue to your recipe. The additional glue will provide more bonding agents, resulting in a stretchier consistency.
- Add lotion or oil
Incorporating a small amount of lotion or oil can contribute to the elasticity of your sand slime. These substances help lubricate the slime, making it smoother and stretchier. Start by adding a few drops of lotion or a teaspoon of oil, and gradually increase the amount if needed.
- Knead and stretch
Once you’ve prepared your sand slime, spend some time kneading and stretching it with your hands. This helps distribute the ingredients evenly and promotes elasticity. The more you play with the slime, the more it will loosen up and become stretchier.
- Store properly
Proper storage can also contribute to maintaining the stretchiness of your sand slime. Keep it in an airtight container or resealable bag to prevent it from drying out. Dry slime tends to lose its stretchiness, so sealing it well will help preserve its elasticity.
Each sand slime recipe may vary, so don’t be afraid to experiment and adjust the ingredients and techniques to achieve your desired level of stretchiness.
Creative Variations and Add-Ins
- Enhance the Beachy Feel
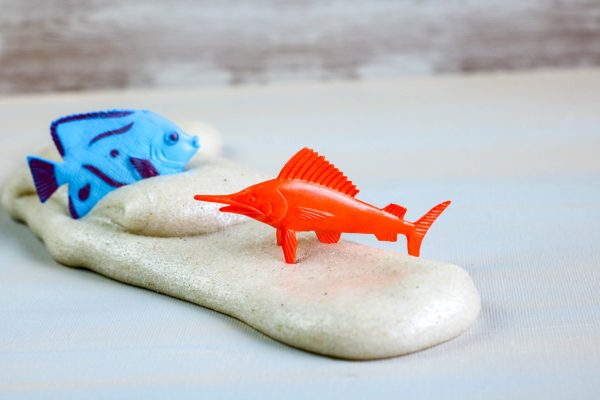
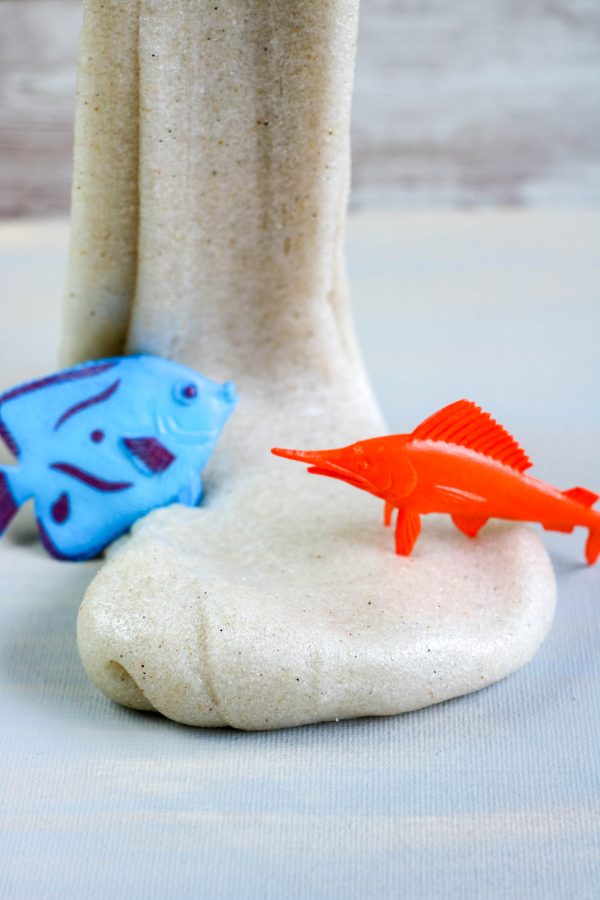
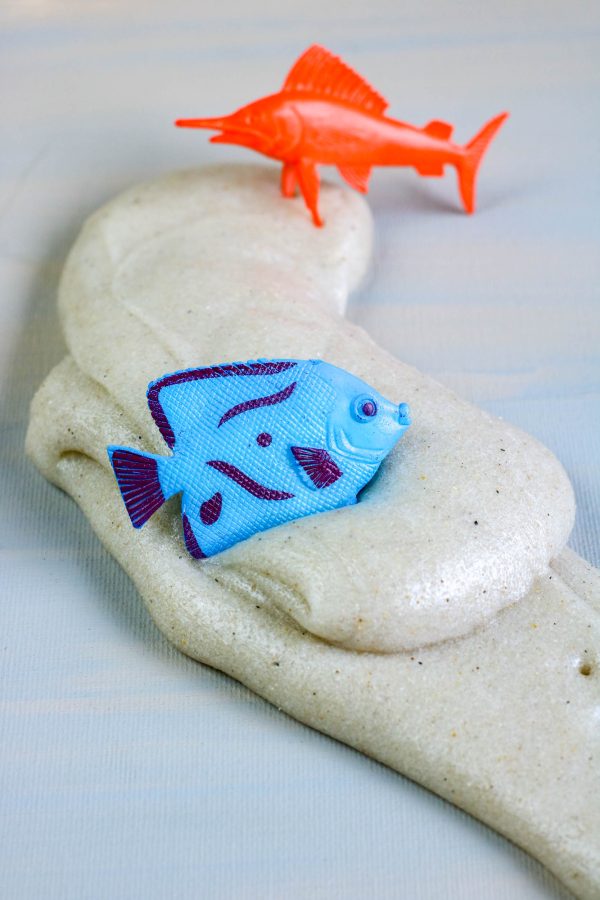
To truly capture the essence of the beach, consider adding small seashells, beach toys, or ocean-themed trinkets to your Sand Slime. These add-ins will not only make your slime more visually appealing but also add an extra layer of tactile stimulation.
- Experiment with Colors and Scents
Transform your Sand Slime into a sensory wonderland by incorporating different colors and scents. Use food coloring or acrylic paint to create a vibrant array of hues, and add a few drops of essential oils or scented extracts (such as coconut, ocean breeze, or tropical fruit) for an aromatic twist.
- Play with Textures
Make your Sand Slime truly one-of-a-kind by experimenting with various textures. Mix in different types of sand, such as coarse or colored sand, to create unique tactile experiences. You could also try adding small amounts of glitter, foam beads, or even crumbled dried seaweed.
More Fun Slime Crafts Recipes:
How to Make Fluffy Unicorn Slime
Patriotic Slime for the 4th of July
How to Make Homemade Bouncy Balls
DIY Clear Slime Recipe with Eyes!
Orange Slime Recipe: Perfect for Kid’s Parties
How to Make Edible Slime from Jello
You’ve now mastered the art of creating your very own Sand Slime with our easy-to-follow recipe. By combining the allure of play sand with the texture of slime, you’ve unlocked a world of sensory exploration and beach-themed creativity. If you’re seeking a unique summer craft or simply want to indulge in some sticky, stretchy fun, Sand Slime is the perfect choice.
Remember to experiment with different ratios, add-ins, and techniques to customize your slime’s stretchiness and texture. Get ready for hours of sensory delight and enjoy the endless possibilities of this homemade DIY sensation!