
Moses and the Burning Bush Craft + Free Printable
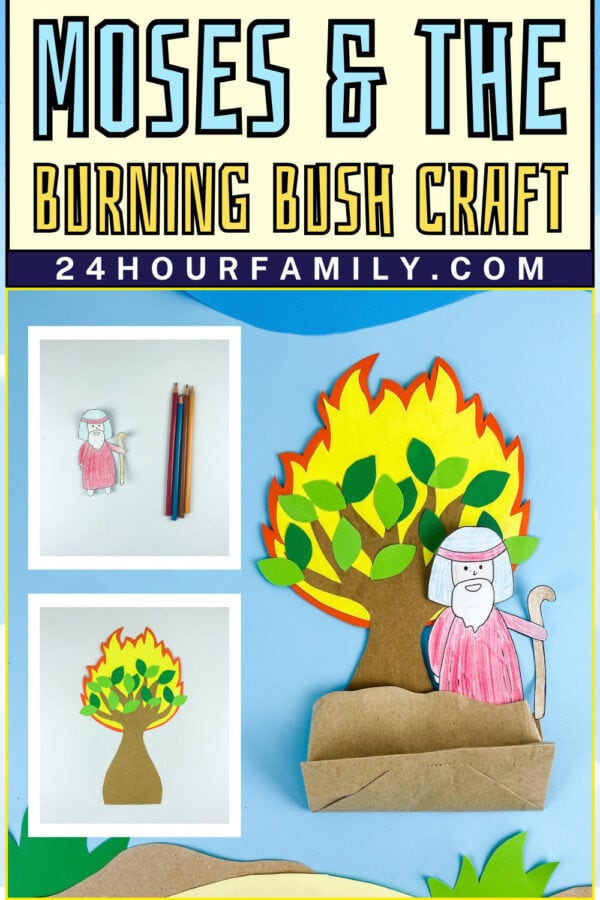
This Moses and the Burning Bush craft is a simple, hands-on project that helps kids remember the story from Exodus 3.
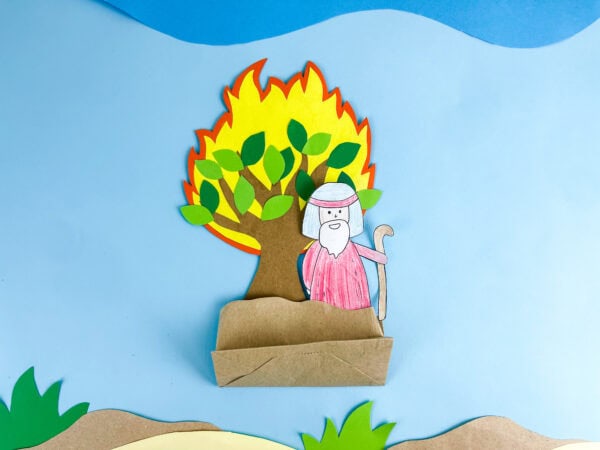
Using the template, kids can create bright fire, green leaves, and a figure on a small bag base that helps the finished project stand upright. It works well for Sunday school crafts, homeschool projects, or church classroom displays.
This project gives kids a visual way to remember the moment God spoke from the fire and called Moses to lead His people.
For more faith-based activities, browse our Bible Crafts and Printables and other Kids Printables.
Moses and the Burning Bush Bible Story
The account begins with Moses caring for sheep near the desert when he saw a bush on fire that was not being consumed.
When he came closer, God called to him.
God explained that He had seen the suffering of the Israelites in Egypt and wanted Moses to lead the Israelites out of Egypt.
The memorable scene of the tree surrounded by fire makes this part of the story easy to illustrate.
The tree, leaves, flame, and figure help children connect Scripture with something they can see and make with their own hands.
Bible Project for Kids
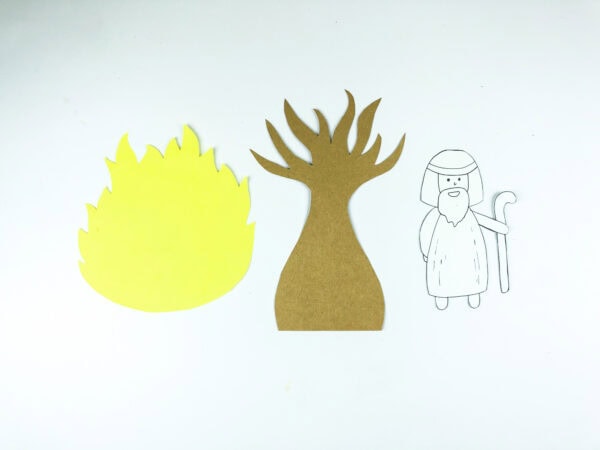
The template includes the main pieces needed for the project.
The page has shapes for:
- The fire
- The tree and branches
- Green leaves
- The Moses figure
It also includes a staff.
Kids can decorate the figure with crayons or pencils and use construction paper for the other parts.
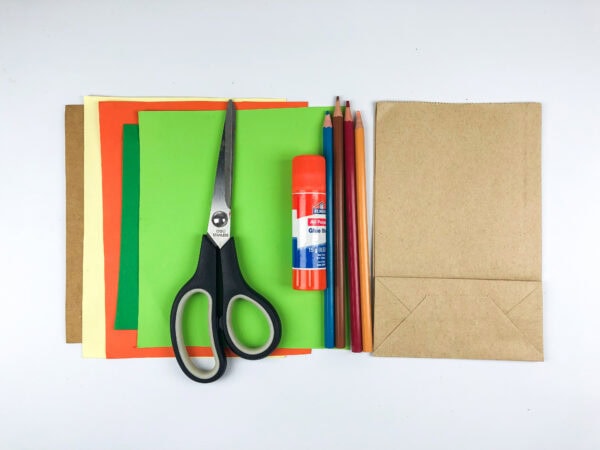
Supplies Needed:
- Template
- Small lunch bag
- Brown cardstock
- Yellow cardstock
- Orange cardstock
- Light green cardstock
- Dark green cardstock
- Colored pencils or crayons
- Glue stick or school glue
- Scissors
- Markers, optional
These simple materials work well for preschool, kindergarten, first grade, and older elementary students.
How to Make the Project
Step 1: Print and Cut Out the Template
Print the template.
Carefully cut out the fire, tree, leaf, and figure pieces.
Trace the shapes onto the matching colored sheets, then cut them out again.
For younger children, an adult can pre-cut some of the smaller pieces.
Step 2: Make the Flames
Trace the large fire shape onto the yellow cardstock and cut it out.
Place it on top of the orange cardstock.
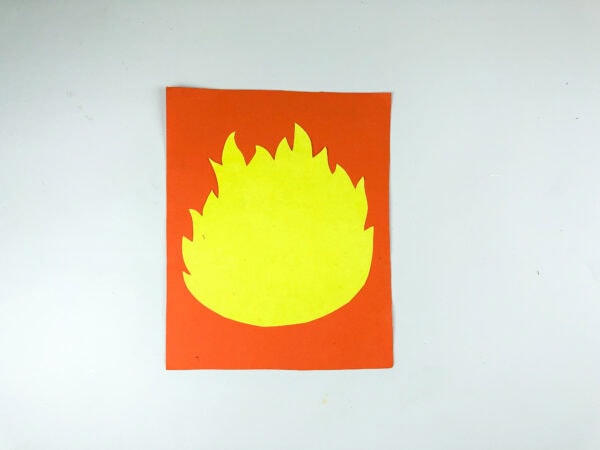
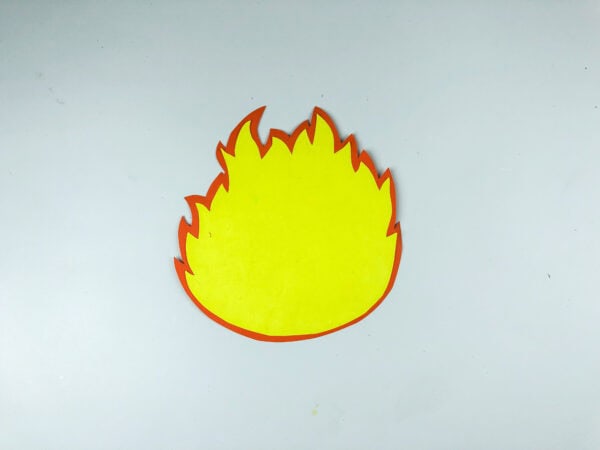
Cut around the first piece, leaving a narrow border.
Attach the two layers together.
The contrasting shades help the fire stand out.
Step 3: Make the Tree
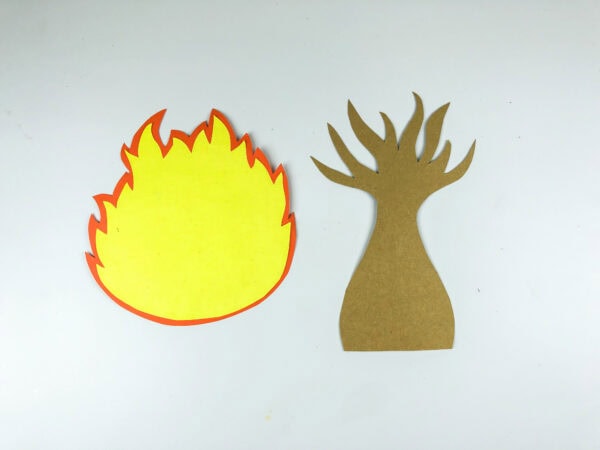
Trace the tree and branches onto brown cardstock.
Cut out the entire tree shape.
The branch sections are narrow, so preschoolers may need help with this step.
Step 4: Attach the Tree to the Fire
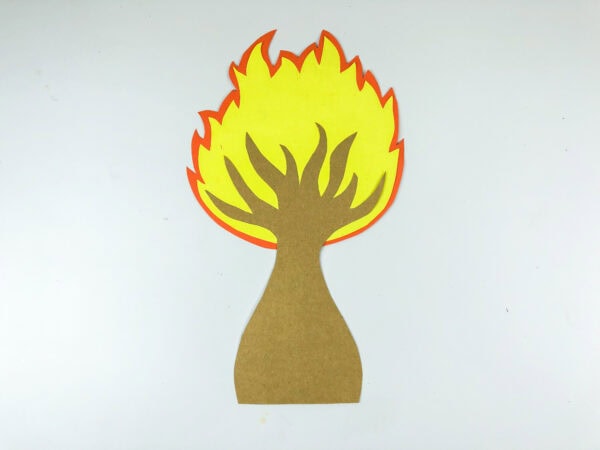
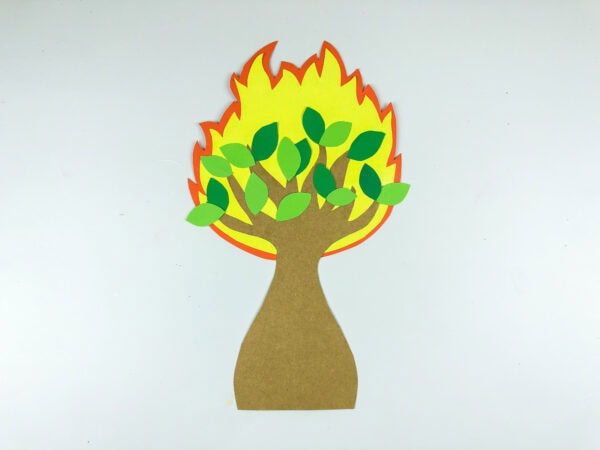
Place the brown tree in front of the large fire shape.
Position the branches so they spread across the center.
Secure the tree in place.
The original instruction also calls for attaching the fire template to the tree template before adding the leaves.
Step 5: Add the Leaves
Trace the leaf shape onto light and dark green cardstock.
Cut out several leaves and attach them around the branches.
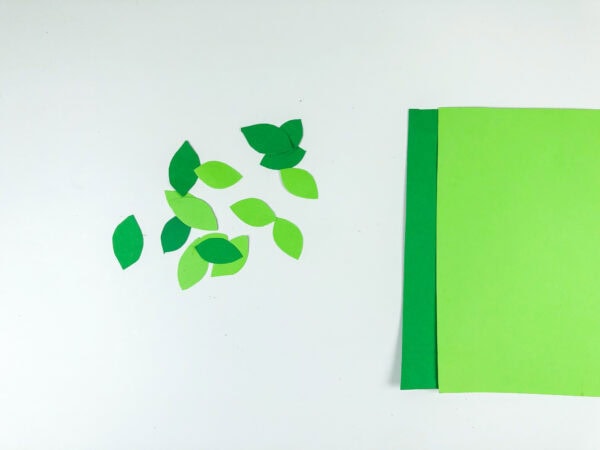
Mix the light and dark leaves throughout the branches for added variety.
Arrange them however you like; an exact pattern is not necessary.
Scattering the pieces around the tree makes the bush look full and gives kids room to be creative.
Step 6: Decorate the Figure
Cut out Moses from the template. Decorate him with crayons or pencils.
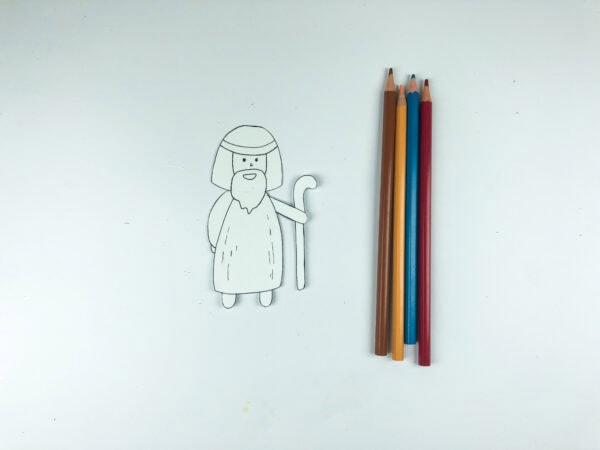
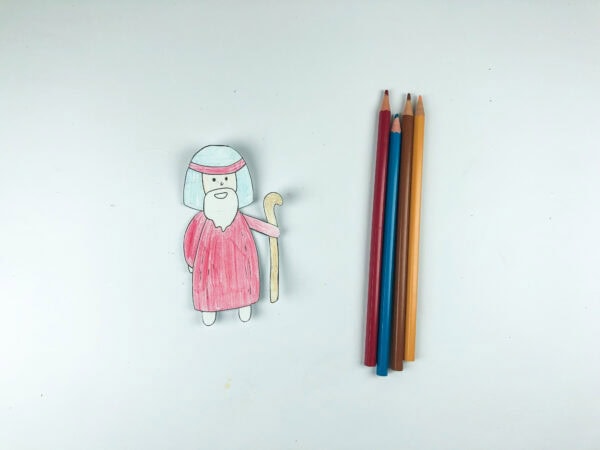
Kids can choose shades for his robe, head covering, beard, and staff.
In the example shown, he has a red robe, light blue head covering, and tan staff.
Step 7: Prepare the Paper Bag Base
Use a small brown bag as the base. Fold or shape the top edge slightly if needed so it forms a shallow pocket. The bag should sit flat enough to support the tree and figure.
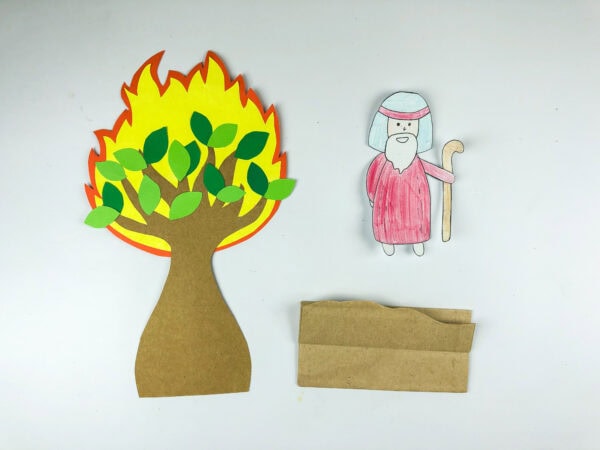
Step 8: Assemble the Scene
Slide the burning bush into the back of the bag. Position the figure beside the tree and attach it to the side or front.
The bag helps hold everything upright and gives the finished project a simple three-dimensional look.
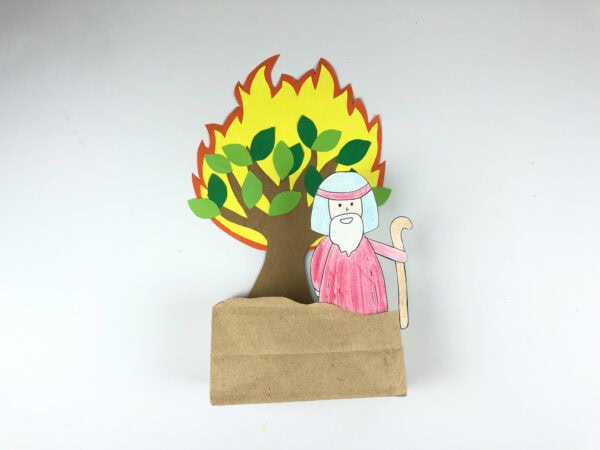
How to Use This Craft in a Bible Lesson
This project works well after reading the passage together during a Sunday school lesson or homeschool study.
After craft time, ask kids a few simple questions:
- What did Moses see?
- Why was the bush unusual?
- Who spoke to him?
- What did God ask him to do?
- How did he respond?
You can also explain that God had a purpose for Moses even when he felt afraid or unprepared.
For younger children, keep the explanation simple and focus on the idea that God called him and gave him an important job.
Ways to Use the Project
Sunday School Idea
Use the project after teaching the story of Moses.
Complete some of the harder cutting during preparation and let children assemble the pieces in class on Sunday mornings.
Homeschool Lesson
Pair the project with reading, copywork, narration, or a short worksheet about what students learned about Moses.
Story Retelling
Let kids use the finished figure and scene to retell the story in their own words.
Church Classroom Display
Write a short memory verse reference or a simple phrase, such as “Called to Lead,” on a bulletin board, then display the finished projects around it.
Simple Learning Ideas to Add
You can extend the activity without making it complicated.
Verse copywork: Have older children choose a short line from Scripture to write.
Story sequencing: Ask kids what happened before and after Moses saw the fire.
Character discussion: Talk about how he felt when God gave him a difficult job.
Shade discussion: Younger children can identify the different shades used for the fire, tree, leaves, and clothing.
Tips for Making the Project Easier
Pre-cut the tree for preschoolers.
The narrow branches can be difficult for younger children.
Use cardstock for the tree.
It gives the branches a little more strength.
Keep the bag small.
A lunch-size or smaller bag works better than a very large one.
Let kids choose the leaf placement.
No finished bush needs to look exactly the same.
Decorate the figure before cutting if needed.
Some children find it easier while it is still on the full sheet.
More Bible Crafts and Activities for Kids
If you are teaching the story of Moses, the Old Testament, or other important accounts, you can add plenty of hands-on projects to your curriculum.
Browse our Bible Crafts and Printables and Kids Printables for more Christian activities that work well for church groups, homeschool lessons, and family study.
You can also explore our Kids Activities for more educational ideas for preschool and elementary children.
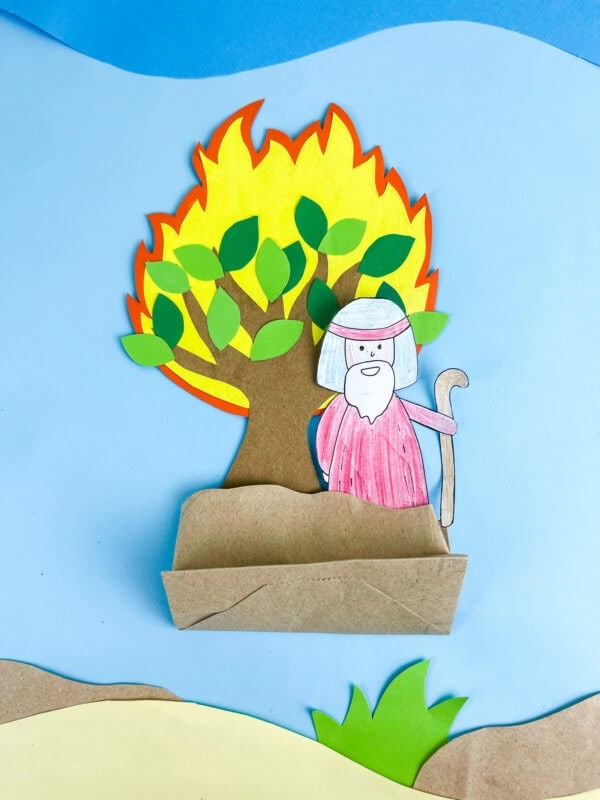
Make the Story of Moses More Memorable
This project gives kids a simple hands-on way to remember an important moment in Moses’ life.
The bright fire, leafy tree, figure, and bag base make the finished display visually interesting without requiring complicated supplies.
Use it for church classes, homeschool lessons, family activities, or a quiet project at home as you learn about this important Old Testament account.
Where is this story found?
The account appears in Genesis 3.
What age is this Moses and the burning bush craft best for?
This craft for kids works well for preschool through elementary school. Younger kids will need more help with cutting the narrow branches and smaller leaves.
Do I need to use a paper bag?
The bag gives the project a standing base, but you could also attach the scene to cardstock for a flat version.
Can I simplify this project for preschoolers?
For younger children, prepare the tree, fire, and figure in advance. They can attach the leaves, decorate the character, and, with help, put the scene together.
Does this project work for a Sunday school class?
It is a good addition to a lesson on this story and gives children a visual to reinforce what they learned.
What can kids use to decorate the figure?
Crayons, markers, or pencils all work well for decorating the figure.
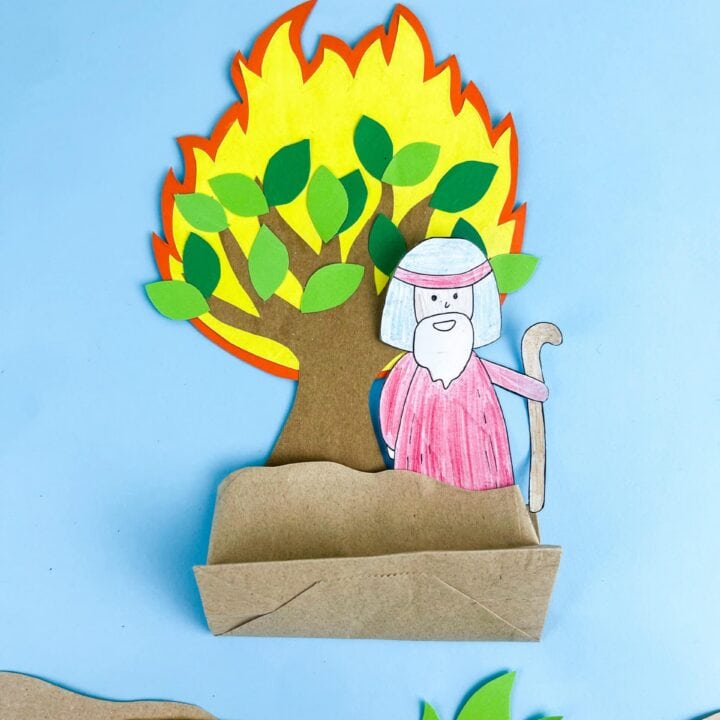
Moses and the Burning Bush Craft
Make a Moses and the burning bush craft using the free printable template, construction paper, colored pencils, and a paper bag. This simple Bible craft is a fun hands-on activity for teaching the story from Exodus 3.
Materials
- Free printable Moses and the burning bush template
- Small brown paper bag
- Brown construction paper
- Yellow construction paper
- Orange construction paper
- Light green construction paper
- Dark green construction paper
- Glue stick or school glue
Tools
- Scissors
- Colored pencils
- Markers, optional
Instructions
- Print and cut out the Moses and burning bush template pieces.
- Trace the fire, tree, and leaf shapes onto the matching construction paper.
- Cut out the flame shape from yellow construction paper.
- Cut a slightly larger flame shape from orange construction paper and glue the yellow flame on top.
- Trace and cut the tree from brown construction paper.
- Glue the tree over the flame pieces.
- Cut several leaves from light and dark green construction paper.
- Glue the leaves onto the tree branches.
- Cut out the Moses figure from the printable template.
- Color Moses with colored pencils.
- Prepare a small brown paper bag to use as the base of the craft.
- Attach the finished burning bush to the paper bag.
- Position Moses beside the bush and glue him in place.
- Let the glue dry.
