
Elf Moving Eyes Craft for Kids (Free Printable Template)
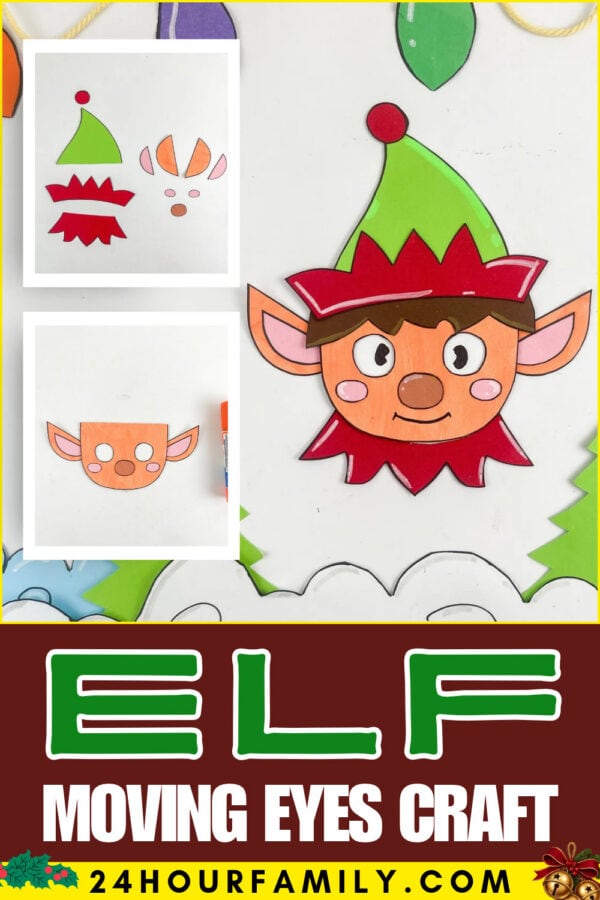
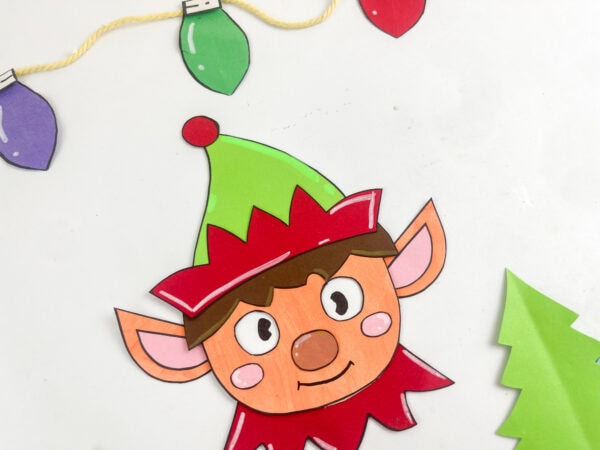
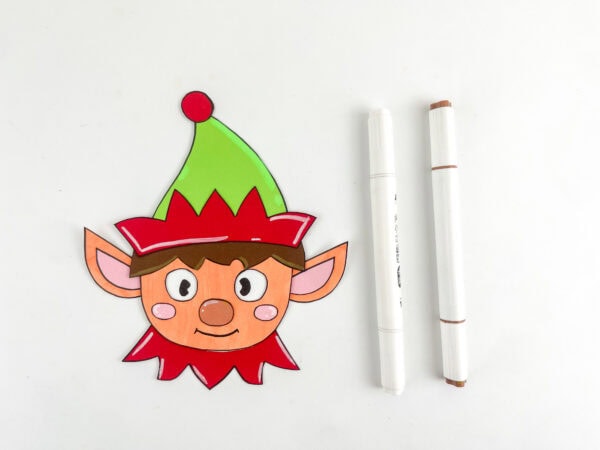
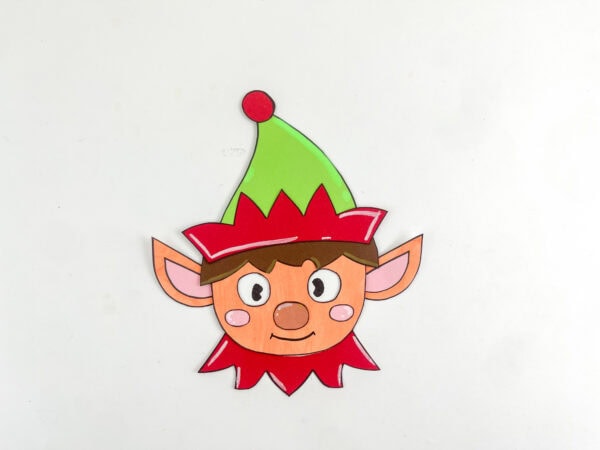
This little elf looks like he is keeping an eye on the Christmas cookies! Our moving-eyes elf craft features a green cap, pointed ears, rosy cheeks, and pupils that shift side to side when kids move a hidden slider behind his face.
Use the free template to trace the pieces, then add a cardboard backing and a loose white slider to create the moving-eye effect. This interactive Christmas craft lets kids play with it once assembly is finished.
This idea works for a December homeschool activity, a classroom art session, or an afternoon at home. If you’re looking for new seasonal inspiration and craft ideas, browse our Christmas crafts and printables for kids.
How Do the Moving Eyes Work in This Christmas Craft for Kids?
The pupils are marked on a loose white sheet placed between the face and a cardboard backing. Two openings reveal them. A kid can reach through a hole in the back and shift the slider with a finger to make the elf look around.
Leave the white slider unglued. Only the outer edges of the face attach to the backing, away from its path.
This project suits elementary-age children with adult help for cutting and assembly. Preschoolers can decorate the larger pieces and enjoy the finished character while an adult prepares the moving mechanism.
This post may contain affiliate links. As an Amazon Associate and a participant in other affiliate programs, I earn a commission on qualifying purchases. Read our disclosure policy here.
Crayola Construction Paper Bulk Pack (480 Sheets) – 10 Assorted Colors, 9×12, Classroom Arts & Crafts Supplies for Kids, Art Paper for School Projects Paper Crafts for Kids: 25 Cut-Out Activities for Kids Ages 4-88 Rolls Colored Masking Tape Rainbow Colors Painters Tape Colorful Craft Art Paper Tape for Kids Labeling Arts Crafts DIY Decorative Coding Decoration Teaching Supplies, 0.6 Inch x 16 Yard, 8 ColorsARTISTRO 24 Acrylic Paint Markers for Rock, Fabric, Wood, Glass, Craft, Decoration – Dual-Tip Paint Pens – Stocking Stuffers, Christmas Gift Idea for Teens, Grandkids, Kids – Art Supplies900 PCS Pom Poms, Multicolor Bulk Pom Poms Arts and Crafts, Soft and Fluffy Craft Pom Poms, Assorted Sizes Pompoms, for Arts and Craft Making DecorationsElmer’s Disappearing Purple School Glue Sticks, Washable, 6 Grams, 12 Count – Poster, Vision Board, Back to School, #1 Teacher Brand




Supplies for This Moving Eyes Elf Craft
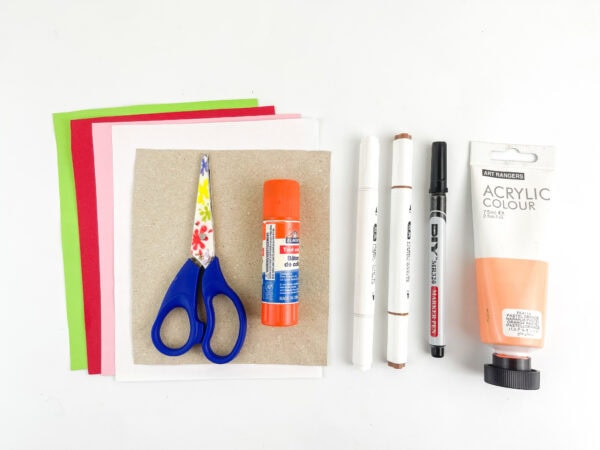
- Free printable template
- Green, red, pink, and brown construction paper
- White cardstock for the face and outer ears, or skin-tone card
- Smooth white paper for the moving eye slider
- Thin cardboard, such as a clean cereal box panel
- Peach paint or another skin-tone color
- Paintbrush
- Pencil
- Black pen
- Scissors
- Glue stick
- Colored pencils for optional detail
Use skin-tone cardstock to skip painting. You can also change the cap colors, choose a different hair shade, or add patterns to the collar.
What Is Included in the Printable Elf Template?
The two-page template includes:
- A face with two marked eye openings
- A hat and round topper
- A pointed band
- A collar
- Outer ears and smaller inner ears
- Two cheeks and a round nose
Trim the white slider and cardboard backing separately to fit the face. The brown fringe shown in the photo is also made separately from a scrap.
How to Make a Paper Elf with Moving Eyes
1. Print, Trace, and Prepare the Pieces
Print both template pages at the same scale. Cut out the patterns and trace them onto your chosen colors.
Use green for the cap; red for the band, round topper, and collar; pink for the inner ears and cheeks; and a skin-tone shade for the nose. Trace the face and outer ears onto white cardstock if you plan to paint them, or use skin-tone cardstock.
Trim the pieces. Have an adult help you cut out the two eye openings in the face.
2. Color the Face and Outer Ears
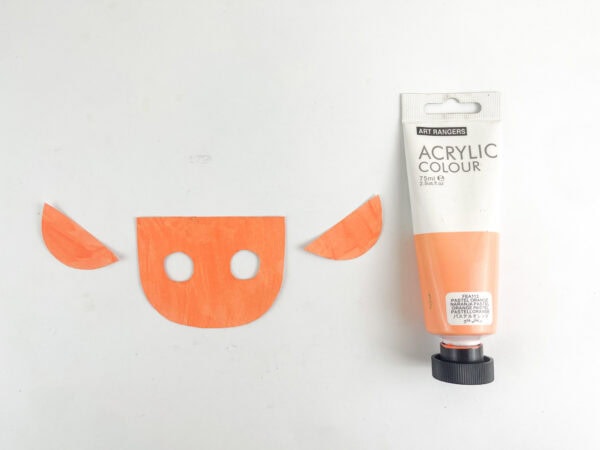
Paint the face and two outer ear pieces peach or your chosen skin tone. Use a thin coat and let everything dry completely before assembly.
Skip this step when using skin-tone cardstock. If the colored pieces curl slightly, gently flatten them before continuing.
3. Make the Cardboard Backing and White Slider
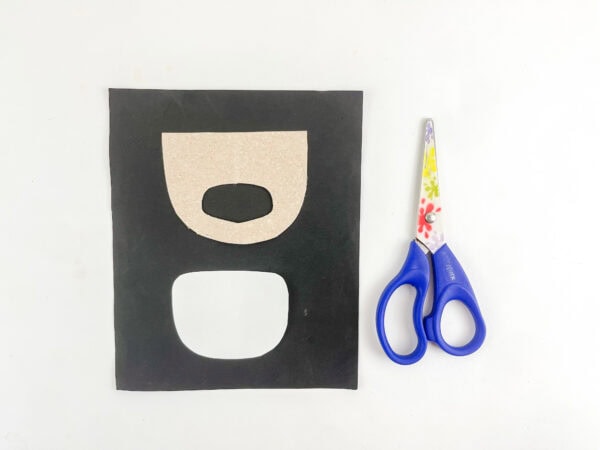
Use the face shape as a size guide to make a backing that will hide behind it. Add an oval finger-access opening in the lower section. An adult should handle this step.
Make a rounded white slider slightly smaller than the face. It needs to cover both eye openings while leaving a narrow border for attaching the front to the cardboard.
Place the slider on the backing and lay the face over it without adhesive. Check that it covers both eyes as you shift it a little from side to side. You should be able to touch the back of the slider through the finger opening.
4. Assemble the Moving Eye Layer
Place the pieces in this order:
- Cardboard backing on the bottom
- Loose white slider in the middle
- Face on top
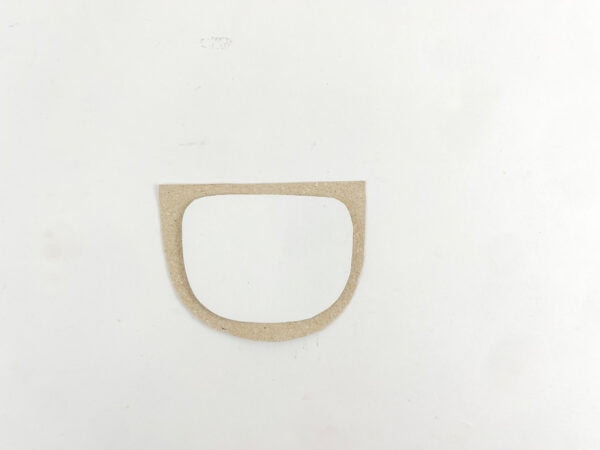
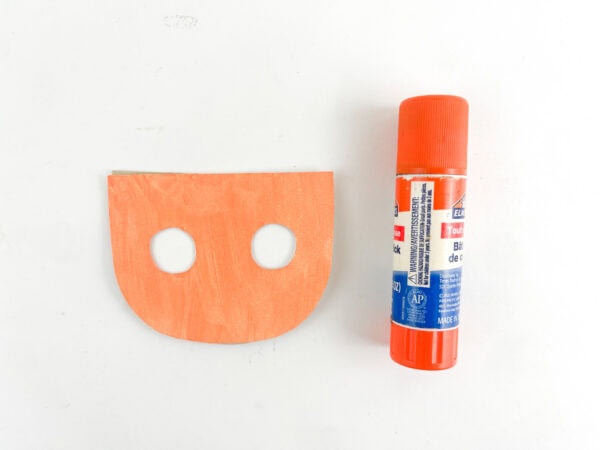
Apply a narrow strip of adhesive only along the outer attachment edges where the face meets the backing, outside the sliding area. Keep the insert completely free.
Attach the face without pressing the pieces tightly together. Let the adhesive set, then gently test the slider through the opening in the back. It should move a short distance in either direction.
5. Outline the Pieces and Add the Ears
Use a black marker to outline the face and eye openings. Outline the cap, collar, nose, cheeks, and ear pieces if you want the bold edges to pop like the sample.
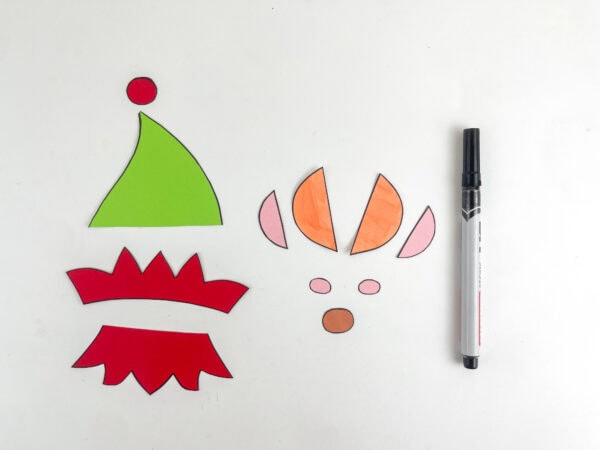
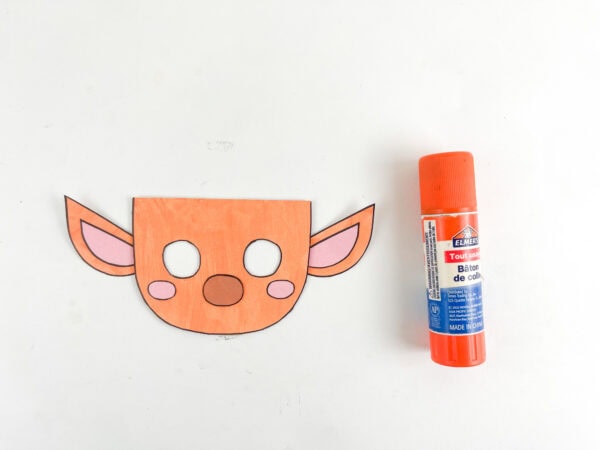
Attach each pink inner ear to a larger outer ear. Secure the assembled ears to the sides of the head, keeping adhesive away from the moving slider.
Add the round nose between and below the eyes, then attach a pink cheek on each side of the face.
6. Add the Cap, Hair, and Collar
Attach the pointed red band along the bottom of the green cap and add the red circle to the tip. Place it at the top of the head and secure the red collar below the face.
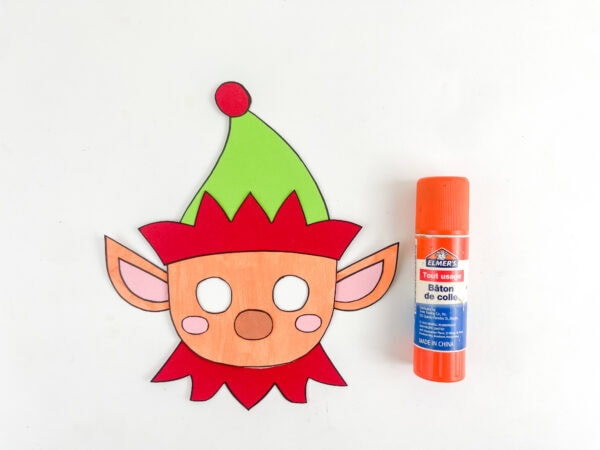
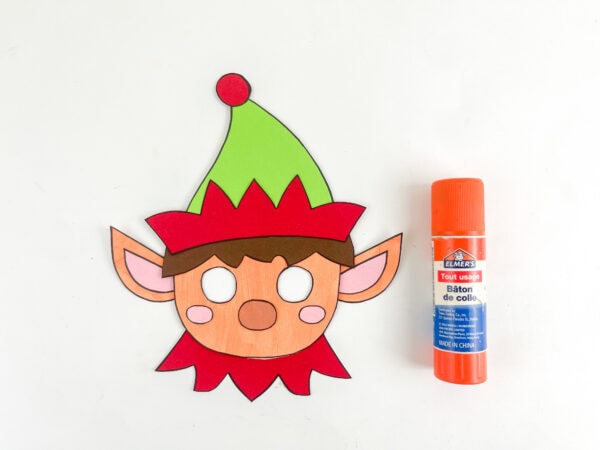
Cut a small brown fringe with a wavy lower edge from a brown cardstock scrap. Fit it along the forehead beneath the band, then secure it without covering the eye openings.
You can test the fringe placement before attaching the cap if that makes the pieces easier to arrange.
7. Mark the Pupils and Finishing Details
Center the white slider behind the eye openings. Hold it still and draw one black dot through each opening. Position the pupils so both eyes look in the same direction.
Let the ink set. Add eyebrows and a smile to the character’s face. Use a white colored pencil to add tiny highlights on the cap or collar, if desired.
8. Make the Character Look Around
Once everything is set, hold the finished piece gently by the edges. Place a finger through the opening in the cardboard backing and move the slider slightly left and right.
Small movements work best. If there is enough clearance, try a slight upward or downward motion, too. This is where the craft meets play and becomes a fun way for kids to explore expressions.
Moving Eyes Elf Craft Tutorial and Sliding Tips
Test the moving eye mechanism before adding the cap, ears, and collar. It is easier to make adjustments while the edges are still accessible.
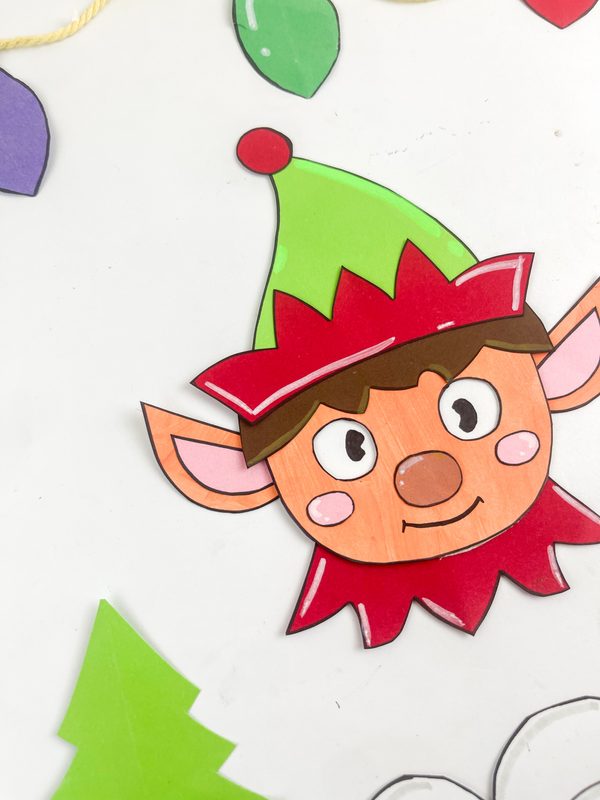
If the white slider will not move:
Check for adhesive touching it. Gently loosen the piece without tearing the face, or replace it if damaged.
If the slider catches on the edges:
Trim it slightly or round the corners. Keep it large enough to cover both eye openings as it moves.
If the pieces feel too tight:
Avoid pressing the face firmly against the slider. Add small cardstock spacers along the outer attachment edges if you need more room.
If the pupils disappear:
Move the slider a shorter distance. A small shift is enough to change the expression.
If the cardboard bends during play:
Use a sturdier, thin rectangular piece of card. Hold the project by the edges instead of squeezing the face.
Fun Elf Art and Activity Ideas for Kids
Play a direction game. Ask each kid to make the character look left, right, up, or down. Take turns giving directions and copying one another’s eye movements.
Tell a short Christmas story. Give the character a name and a job in Santa’s workshop. Ask children what caught the elf’s attention, then let a kid move the eyes while making up a scene about a hidden present, Christmas cookies, or a nearby reindeer.
Create a December kids craft station. For a class or homeschool co-op, prepare the cardboard openings and eye spaces ahead of time. Set out the colored pieces in small trays and demonstrate the three-part setup before each kid begins assembling.
Pair it with another printable. Our Elf on the Shelf secret message decoder adds a printable puzzle to a holiday-themed afternoon. You can also leave the supplies beside your family’s visiting helper as an invitation to create together.
Keep the back of the finished project accessible for play. If you display it on a wall, take it down when a kid wants to operate the eyes.
Get the Free Moving Eyes Elf Template
Print the two-page template to start this fun paper project. The patterns include the face, cap pieces, ears, nose, cheeks, and collar. Use the step-by-step directions above to add the cardboard backing, loose eye slider, and brown fringe.
More Elf Crafts for Kids
Make a small collection of Christmas elves using different craft materials:
- Elf handprint craft: Turn a handprint into an elf-themed holiday project.
- Elf popsicle stick ornament: Make an elf decoration to hang on the Christmas tree.
- Cardboard cone Christmas elf: Create a standing elf for a tabletop holiday display.
- Elf on the Shelf Arrival Letters
How do you make an elf’s eyes move?
Mark pupils on a loose white slider behind two openings in the face. An opening in the cardboard backing lets you shift it with a finger, moving the pupils side to side.
Does the printable include the face?
Yes. The second template page includes the face and two marked eye openings. The first page includes the cap pieces, ears, nose, cheeks, and collar. Prepare the cardboard backing, eye slider, and brown hair fringe separately.
Can Preschoolers Make This Christmas Craft?
Preschoolers can help decorate and assemble the larger pieces. An adult should prepare the small openings and help build the sliding mechanism. For another easy project with a plate base, try our elf paper plate craft.
Can I make the project without painting?
Yes. Trace the face and outer ears onto skin-tone cardstock. This makes the project easier and removes the painting step and drying time.
Do I need googly eyes or paper fasteners?
No. This version uses pupils marked on a sliding piece. You don’t need googly eyes, split pins, or brads to create the moving-eye effect.
Why are the eyes stuck?
The slider may have adhesive, be too large, or fit too tightly between the face and backing. Keep adhesive outside the sliding area, trim the piece if necessary, and leave enough space for movement.
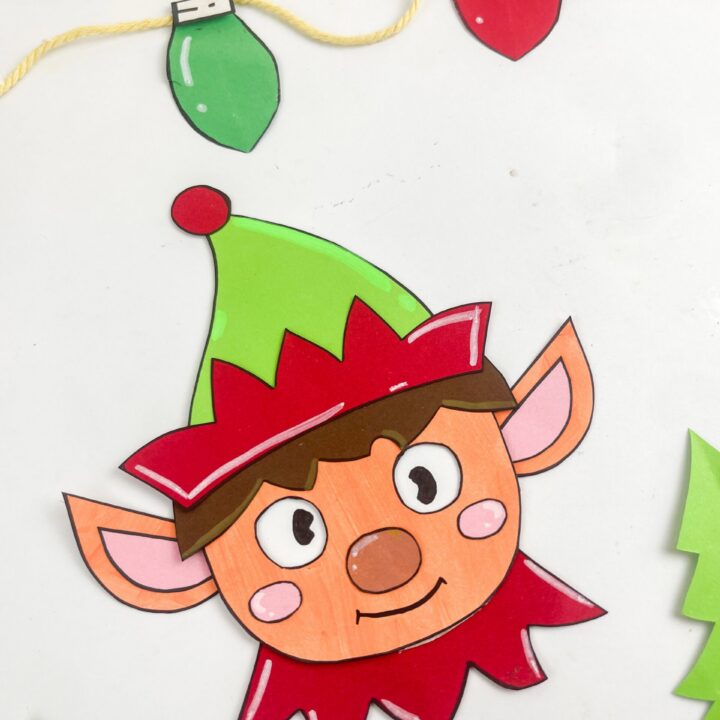
Elf Moving Eyes Craft
Make a Christmas elf with eyes that move from side to side. Use the printable template, colored paper, and a cardboard backing to build an elf with a hidden sliding eye insert.
Materials
- Two-page printable elf template
- Green, red, pink, and brown construction paper
- White cardstock or skin-tone cardstock for the face and outer ears
- Skin-tone paper for the nose
- Smooth white paper for the eye insert
- Thin cardboard
- Peach or other skin-tone paint, optional
- Glue stick or craft glue
Tools
- Printer
- Pencil
- Scissors
- Black marker
- Paintbrush if using paint
- Colored pencils or paint pens, optional
Instructions
- Print both template pages at the same scale. Cut out the patterns and trace them onto colored paper. Cut out the hat, hatband, topper, collar, ears, cheeks, nose, and face.
- Have an adult help cut the two marked eye openings from the face. Paint the face and outer ears and let them dry, or use skin-tone cardstock.
- Cut a cardboard backing to fit behind the face. Have an adult cut an oval finger-access hole in the lower part of the cardboard.
- Cut a smooth white insert slightly smaller than the face. It must cover both eye openings while allowing a little movement and leaving an outer attachment border.
- Stack the cardboard backing, loose white insert, and face. Test that the white paper slides and can be reached through the hole in the back.
- Glue the face to the cardboard only at the outer attachment edges, outside the insert's sliding area. Do not glue the white insert or squeeze the layers tightly together. Allow the glue to set and test the movement.
- Outline the face and decorative pieces with black marker. Glue the pink inner ears onto the outer ears, then attach them to the sides of the head. Add the nose and cheeks.
- Assemble the green hat with its red hatband and round topper. Attach the hat above the face and the red collar below it.
- Cut a small brown fringe with a wavy lower edge. Glue it along the forehead beneath the hatband, keeping the eye openings clear.
- Center the loose white insert. Draw a black pupil through each eye opening onto the white paper and let the ink dry. Add eyebrows, a smile, and optional highlights.
- Let the glue dry. Hold the elf by the edges and use a finger through the back opening to slide the white insert gently from side to side.
Notes
- The template includes the face and decorative pieces. Cut the backing, moving insert, and hair fringe separately.
- Keep the eye insert completely unglued.
- Adults should help with the eye openings, cardboard hole, and slider assembly.
- Skin-tone cardstock is an alternative to painting.
- Times are planning estimates. Drying depends on the materials and amount of paint and glue used.
