
Paper Plate Octopus Craft
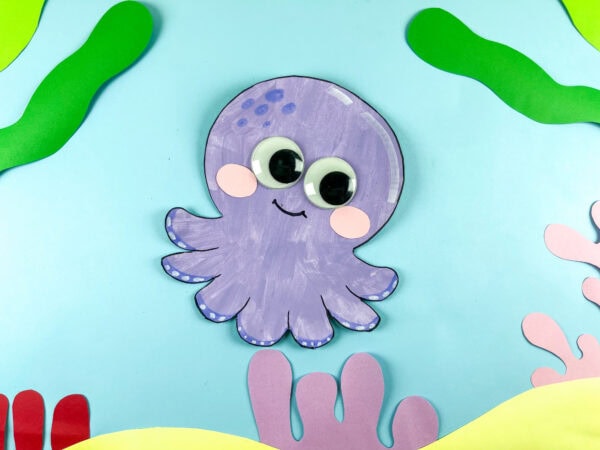
Ocean activities become even more fun with this adorable Paper Plate Octopus Craft. Using bright purple paint, oversized googly eyes, our free Octopus template, and simple craft supplies, this cheerful project transforms a simple paper plate into a smiling sea creature full of personality and color.
Whether you’re planning crafts for kids, setting up an ocean-themed lesson, or looking for a fun hands-on activity for the afternoon, this cute octopus craft is easy to make and so much fun to display.
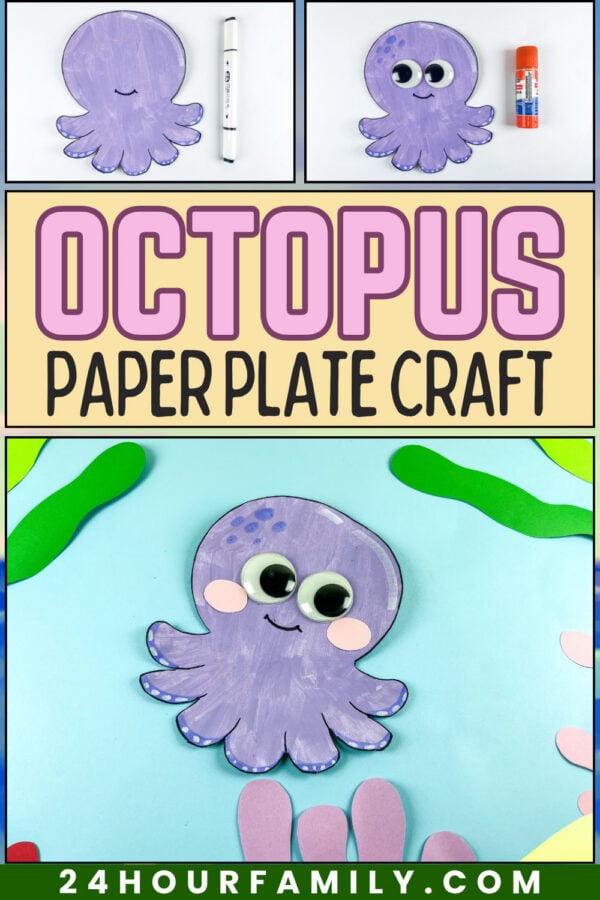
Easy Paper Plate Octopus Craft for Kids
One of the best things about this octopus craft is how flexible it can be for different ages. Younger crafters can enjoy painting and decorating, while older kids can practice cutting, tracing, and adding details independently.
This project also offers wonderful fine motor practice through painting, cutting, gluing, and drawing tiny details along each tentacle.
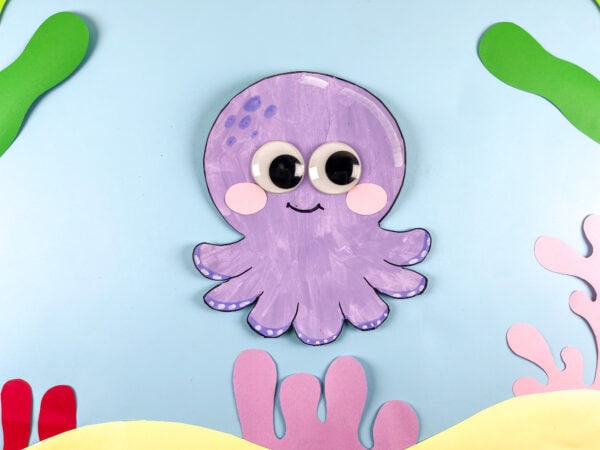
If you’re looking for an easy paper plate octopus craft that uses simple supplies already sitting in your craft bin, this one checks all the boxes.
Materials Needed To Make This Ocean Craft:
Before starting this octopus paper plate craft, gather the supplies below.
- Paper plate
- Paint
- Colored paper
- Scissors
- Glue sticks
- Markers
- Googly eyes
- Free Octopus Template
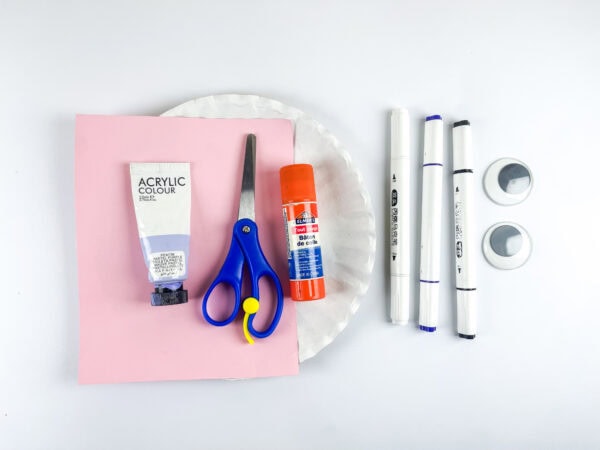
If you want an easier setup for little learners, using a free printable or printable template can help simplify tracing and cutting.
How To Make This Paper Plate Octopus Craft
This delightful paper plate octopus comes together in a few simple steps and is perfect for craft time.
Step 1: Cut Out the Octopus Shape
Start by tracing an octopus shape onto the paper plate. Carefully cut 8 rounded legs to form the bottom section of the sea creature.
You can also fold the paper plate in half while sketching to help keep both sides balanced.
If you prefer, use a free printable template to make tracing easier for younger children.
Step 2: Paint the Octopus
Now it’s time to paint the paper plate purple. Kids can use paintbrushes or simply squirt paint directly onto the plate, then spread it around.
GINMIC Kids Ocean Animals Toys with Large Play Mat , 18 Pack Assorted Realistic Sea Animal Toys with Carrier Bag Including Shark, Whale, Dolphin etc, for Toddler, Boys & Girls Ages 3-8 PicassoTiles Magnet Tiles Magnetic Building Blocks Aquarium Marine Animal Theme Set with 8 Character Action Figures Shark Crab Turtle STEM Toys Construction Preschool Toddlers Kids Boys Girls 3+ PTQ15I SPY Ocean AnimalsOcean Light Up Terrarium Kit for Kids – LED Night Light Ocean Birthday Gifts for Girls & Boys Ages 4 5 6 7 8-12, Kids Arts & Crafts Kit,Christmas GiftsZeoddler Toys for Toddlers, 11 Magnetic Wooden Sea Animals Train Set, Montessori Toys for Toddlers, Educational Activities for Kids, Birthday Gifts for Boys, GirlsMary Meyer Stuffed Animal Soft Toy, Lobbie Lobster- Boston, 10-Inches


This is a great opportunity for sensory play and creativity, as children can choose lighter or darker shades to suit the look they want.
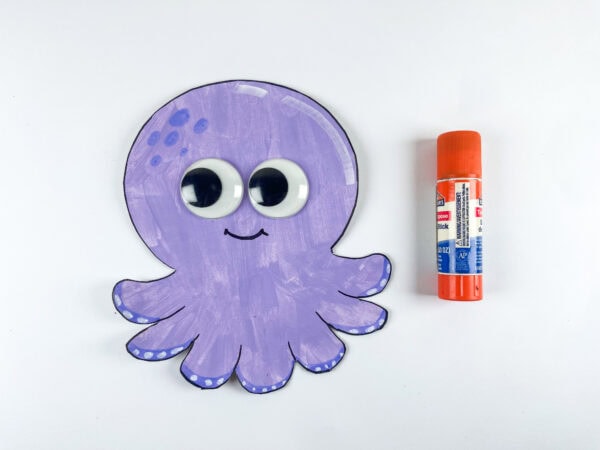
If you’d like variety, you can also change the color completely and make pink, blue, teal, or rainbow octopus designs.
After painting, set the project aside and let it dry fully. It’s important to allow the paint to dry completely before outlining details with markers.
Some kids may even want to paint one side with patterns or textures using bubble-wrap printing techniques.
Step 3: Outline the Shape
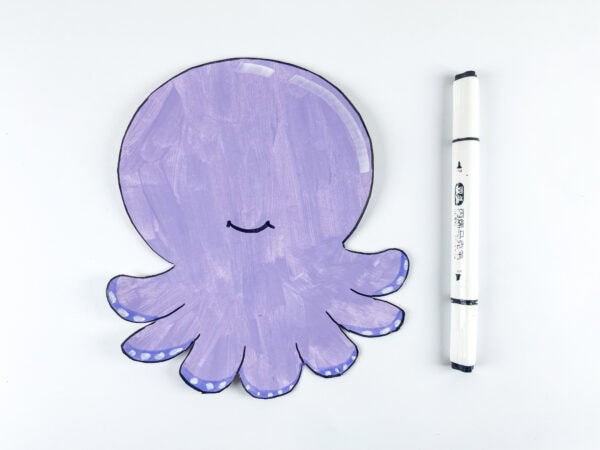
Once the paint is dry, use markers to trace around the octopus’s edges and define each tentacle.
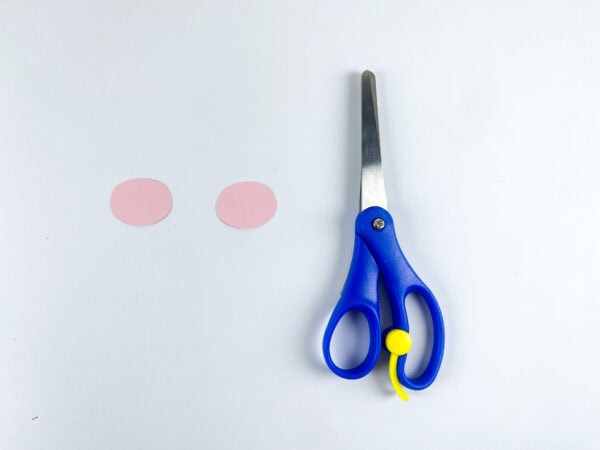
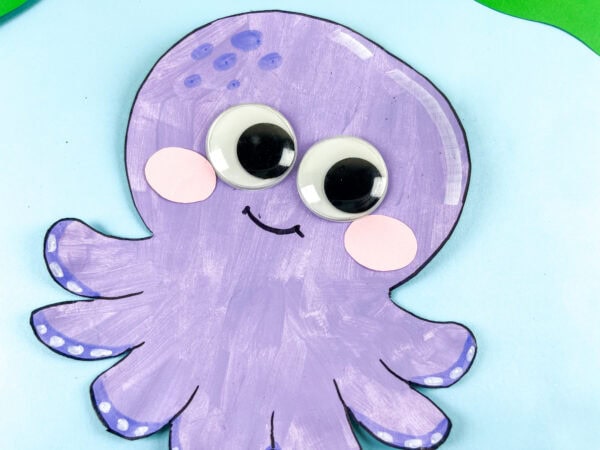
This is where the project really starts to pop visually. You can use markers to draw curved lines, tiny dots, or smiling details around the edges.
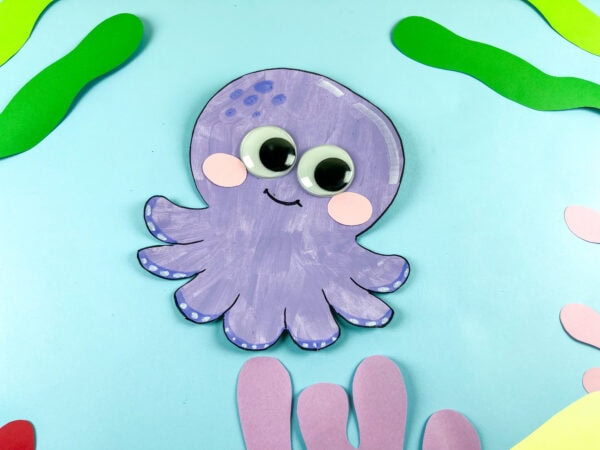
Adding little white dots along the bottom edge of each tentacle helps resemble an octopus sucker design.
Step 4: Add the Googly Eyes
Next, attach the oversized googly eyes using glue.
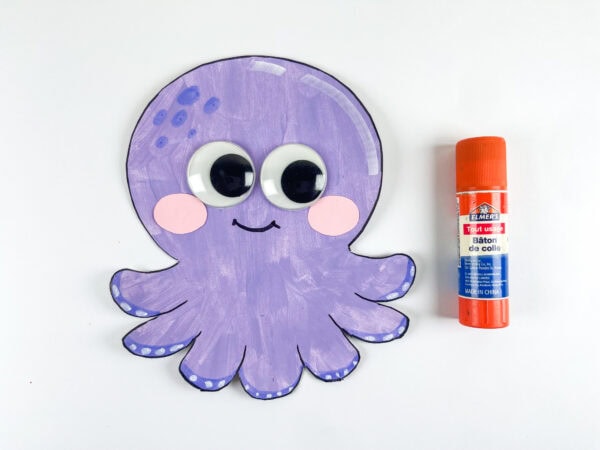
The giant eyes instantly transform the project into a cheerful ocean animal craft with tons of personality. Kids always love seeing the character come to life during this step.
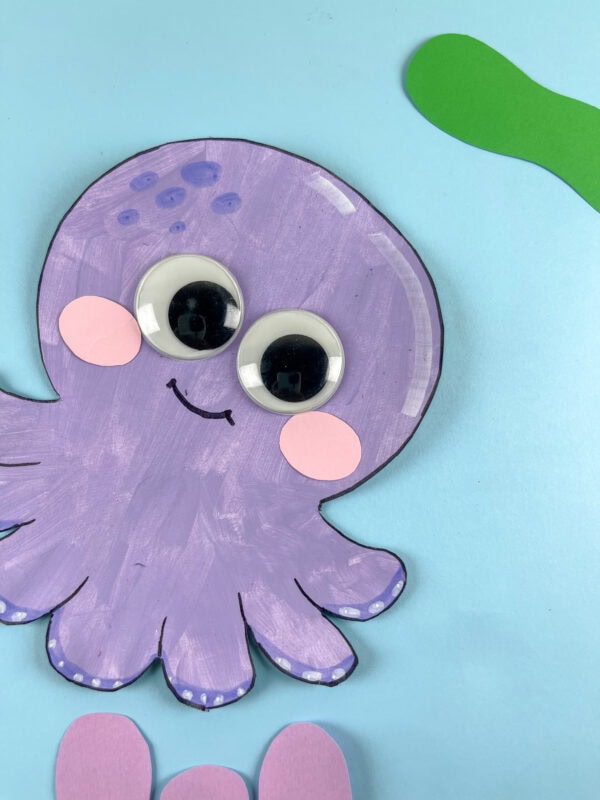
You can also glue pink paper circles onto the cheeks, as shown in the example here.
Step 5: Draw the Smile
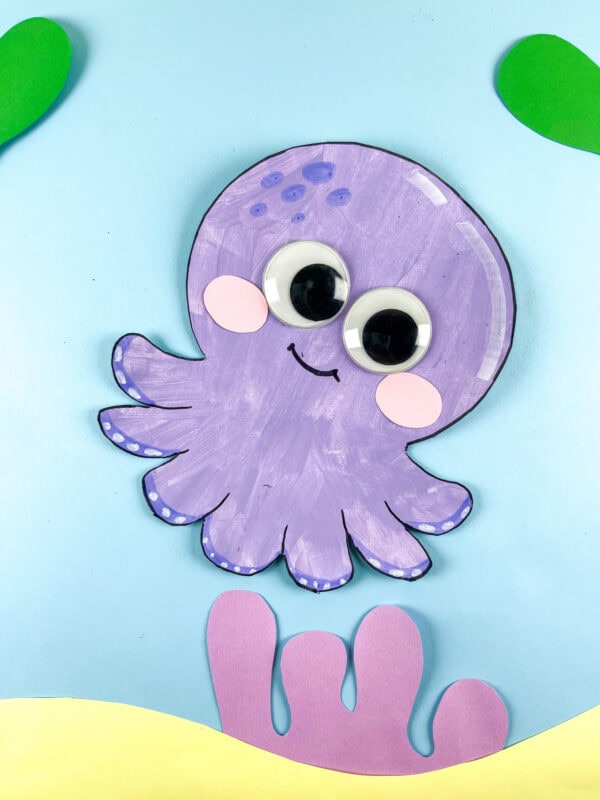
Finish the paper plate octopus craft by drawing a simple smile with a marker.
At this point, kids can continue decorating however they want. Some may add extra spots, swirls, or patterned details to every tentacle.
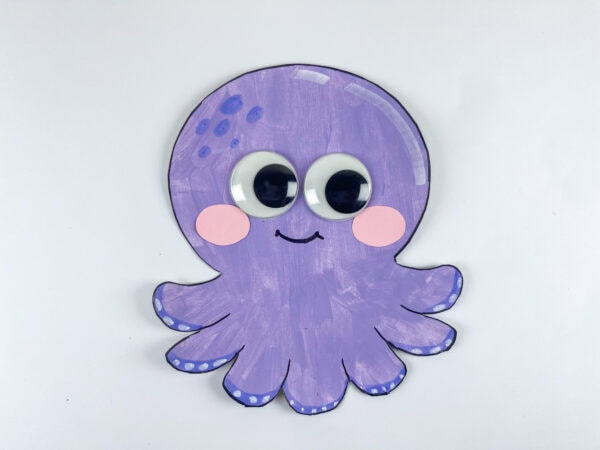
The finished plate octopus craft for kids looks adorable displayed on bulletin boards, classroom walls, or refrigerators.
Creative Variations To Try
One of the best things about this ocean craft is how easy it is to customize.
Here are a few extra ideas:
- Add hanging streamer legs beneath the plate
- Use pipe cleaners for curly arms
- Glue on colored pasta or pasta pieces for texture
- Add sparkles using glitter glue
- Use yarn for dangling tentacles
- Create textured prints with bubble wrap
- Decorate using different lengths and colors of paper strips
Some teachers also like to punch 8 holes with a hole punch and have students thread yarn through the openings. Kids can practice threading yarn, tying knots, and pulling yarn through holes to build fine motor skills.
If needed, adults can pre-punch the holes or provide pre-punched holes for younger learners.
Students can also tie a knot at the end to secure the yarn.
Learning Benefits Of This Ocean Craft:
This adorable octopus craft is more than just a cute activity. It also supports important developmental skills through hands-on play.
Children practice:
- Cutting and tracing
- Painting and coloring
- Hand-eye coordination
- Following directions
- Creativity and self-expression
- Counting practice while making eight legs
- Drawing patterns and shapes
The activity also strengthens fine motor control through gluing, painting, and decorating.
If you add threading activities using yarn, children also practice precision and coordination while improving fine motor practice.
Turning This Into An Ocean Theme Activity
This ocean-themed craft pairs perfectly with marine-life lessons and sea-animal books.
You can talk about:
- How an octopus moves
- What sea creatures eat
- Where octopuses live
- How camouflage works
- The role of tentacles underwater
This makes the activity a great addition to any ocean theme unit or summer craft collection.
Helpful Tips For Younger Children
For younger crafters, simplifying a few steps can make the project easier and more enjoyable.
Helpful ideas include:
- Use templates instead of freehand drawing
- Offer child-safe scissors
- Use larger paintbrushes
- Provide assistive tools when needed
- Prepare pieces ahead of time
- Use thicker paper for sturdier shapes
You can also provide plastic yarn needles and large beads if adding threading activities.
More Ocean Activities for Kids
If you enjoyed making this Paper Plate Octopus Craft, here are a few more ocean-themed activities that add extra creativity, color, and sea-creature fun to craft time.
- Make a Bubble Wrap Fish Craft – A fun textured activity that uses bubble wrap to create a bright and playful fish design.
- Starfish Paper Plate Craft – A cheerful paper plate craft that turns simple supplies into a colorful starfish kids will love making.
- Turtle Handprint Craft – A cute handprint activity that transforms little hands into an adorable turtle creation.
- Crab Handprint Paper Craft – A playful crab craft that combines handprint art with an easy ocean-themed project.
- Ocean Fingerprint Activities
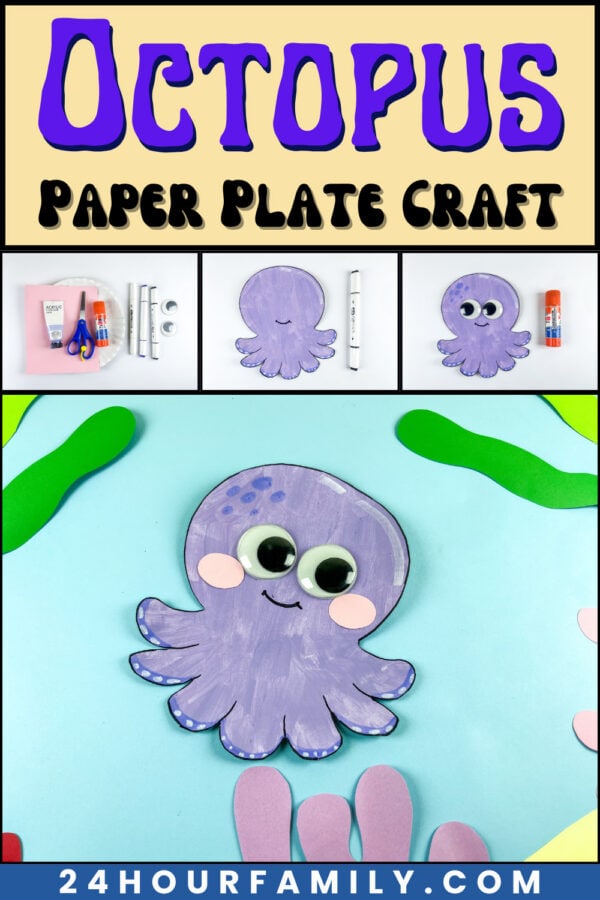
This cheerful Paper Plate Octopus Craft is a fun way to combine creativity, learning, and hands-on play into a single simple activity. From painting and decorating to adding cute little details on every tentacle, kids get plenty of chances to explore colors, textures, and imagination while creating their own smiling sea creature.
Whether you’re making this for an ocean theme, a classroom art project, or simply adding another favorite activity to your collection of crafts for kids, this colorful octopus craft is easy to customize and enjoyable for a wide range of ages.
How do I make the tentacles on the paper plate octopus?
The tentacles are the most creative part of this craft. After painting your paper plate purple and letting it dry, use a black marker to draw 8 wavy tentacles extending from the bottom of the plate. Cut around the outside of the tentacles carefully with scissors — this gives the octopus its recognizable shape. Add small white dots along the underside of each tentacle using white paint or a paint pen to represent the suckers. For younger kids, a parent or teacher can pre-cut the tentacle shape.
Can I use regular paint instead of acrylic paint?
Yes! Washable kid paint works perfectly. However, acrylic paints often create brighter colors and smoother coverage.
What can I use instead of googly eyes?
You can cut circles from paper, draw eyes with markers, or even use buttons.
How do I get the spotted texture on the octopus head?
The spotted detail on the octopus head (visible in the photo) is easy to achieve — simply dip a fingertip, the eraser end of a pencil, or a round foam stamp into a slightly darker shade of purple paint and press it onto the painted plate in a cluster near the top of the head. This gives the octopus a fun, textured look that mimics real octopus skin patterns and adds visual interest to the finished craft.
What themes or holidays is this craft perfect for?
The paper plate octopus craft works for many occasions:
Summer ocean or beach themes
Under the Sea VBS (Vacation Bible School)
World Oceans Day (June 8)
Preschool and kindergarten ocean units
Aquarium birthday parties
Beach house or coastal nursery decor
Summer reading program activities with ocean themes
Can I use this craft for an ocean or under-the-sea theme?
Absolutely — this is one of the best crafts for an under-the-sea or ocean theme. It pairs beautifully with:
Paper plate jellyfish
Handprint fish or crabs
Toilet paper roll seahorses
Paper bag sharks
Sand dollar and starfish art
It’s perfect for VBS ocean themes, summer camp, preschool ocean units, aquarium field trip follow-up activities, and beach-themed birthday parties.
Paper Plate Octopus Craft
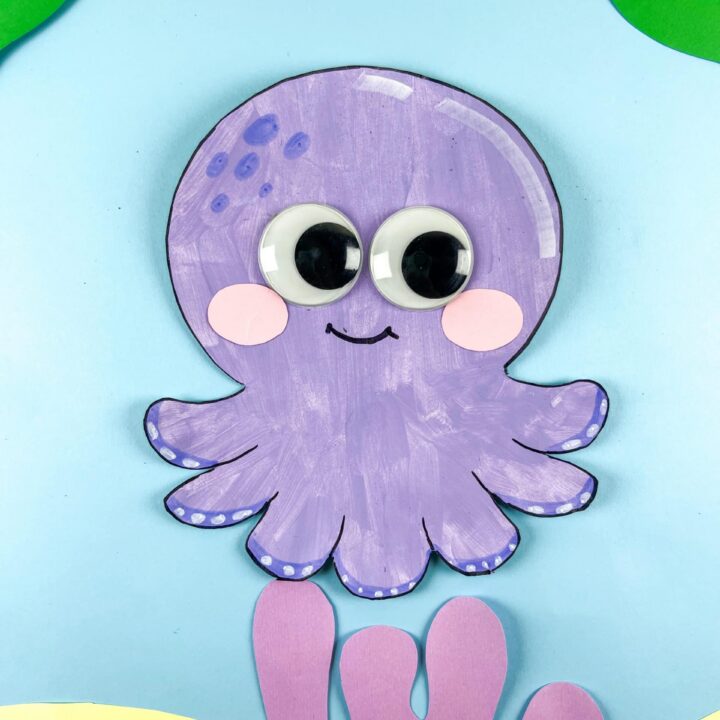
This Paper Plate Octopus Craft is a fun and colorful activity that turns a paper plate into a cheerful sea creature. Kids can paint, cut, glue, and decorate their octopus using simple craft supplies. The bright colors, wiggly legs, and silly face make this project full of personality. It’s a great craft for ocean themes, classroom activities, or creative afternoons at home. The finished octopus looks adorable displayed with other ocean animal crafts.
Materials
- Paper plate
- Purple paint
- Construction paper
- Scissors
- Glue
- Markers
- Googly eyes
- Free Printable Octopus Template
Tools
Instructions
1. Cut Out the Octopus Shape
Trace an octopus shape onto a paper plate and carefully cut it out. Form eight rounded legs along the bottom section to create the octopus design.
2. Paint the Octopus
Paint the entire paper plate purple, covering the surface evenly. Set the craft aside and allow the paint to dry completely before moving on.
3. Add the Outline and Details
Use markers to outline the octopus shape and define each leg. Draw simple details like curved lines, dots, patterns, or small circles along the legs for extra decoration.
4. Add the Eyes and Face
Glue the googly eyes near the center of the octopus face. If desired, add small paper cheeks or extra facial details using markers.
5. Draw the Final Touches
Use a marker to draw a cheerful smile and any additional designs you would like. Add extra spots, swirls, or decorative patterns to personalize your octopus.
6. Let It Dry and Display
Allow the craft to dry completely before moving it. Once finished, display your octopus on a wall, bulletin board, classroom display, or ocean-themed craft collection.
