
Peanut Butter Chocolate Mini Earth Balls
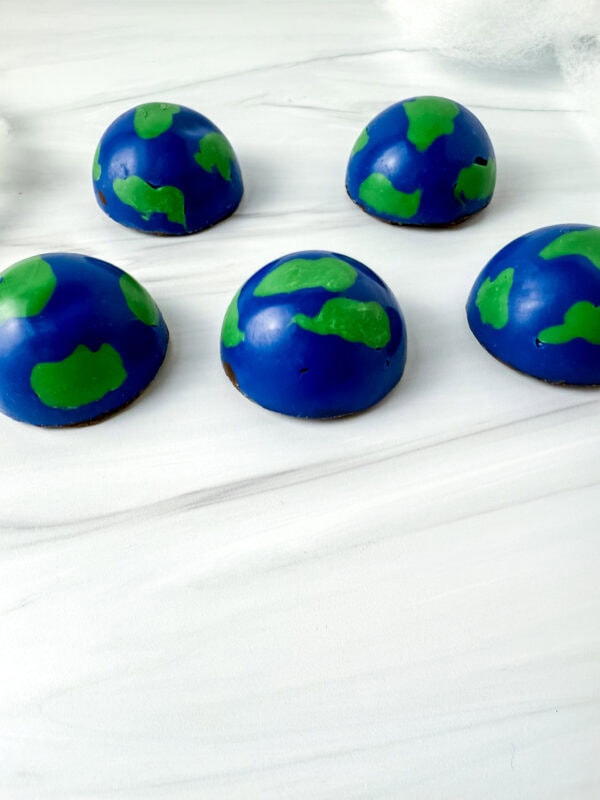
Whether you’re celebrating Earth Day or just need an excuse to whip up something cute and tasty, these Peanut Butter Chocolate Mini Earth Balls are here to save your snack cravings (and possibly your sanity). They look like mini planets and taste like little chewy bites of joy—basically, edible globes of goodness.
And let’s be honest: anything shaped like the Earth that you can pop in your mouth is already a win.
Peanut Butter Chocolate Mini Earth Balls
These mini chocolate Earth balls are easy to make, packed with healthy snack ingredients, and totally customizable. Plus, if you’re riding the vegan train (woo woo!), you can totally make them vegan with a few swaps.
Ready to get cosmic in the kitchen? Let’s roll (literally).
Why We Love These Little Energy Bites
First off—just look at them. They’re adorable. But beyond the cuteness, these energy balls are full of nourishing ingredients that won’t leave you crashing mid-afternoon.
- They’re a delicious snack that’s not loaded with refined sugar
- Perfect for kids, teens, grown-ups, astronauts (okay, maybe not real ones)
- You can experiment with different nut butters and flavors
- Great for meal prep—make a batch and snack for 1 week
We also love making them because they require no baking, minimal cleanup, and just a few minutes. (Seriously, 20-30 minutes tops, including the artsy stuff.)
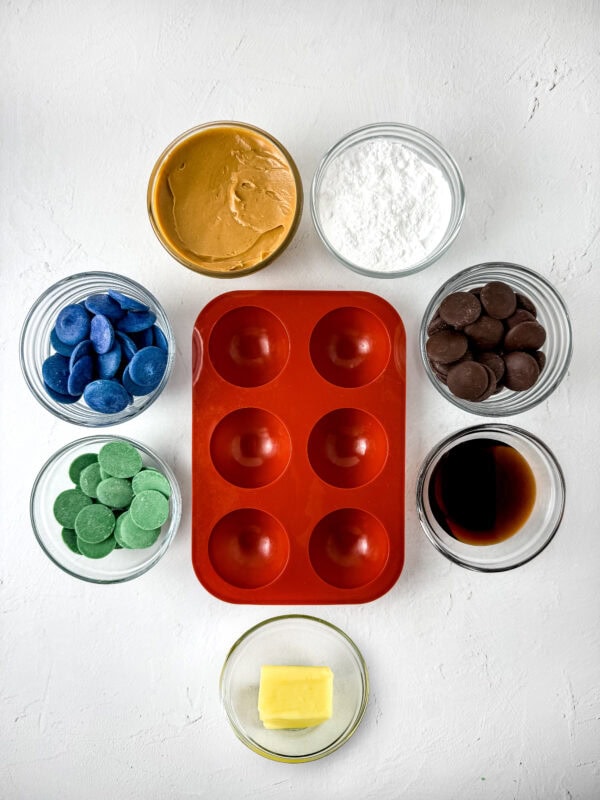
Ingredients (Simple, Sweet, and Snack-Worthy)
Here’s everything you need to make about 6 tasty, globe-inspired energy bites:
- Peanut butter (smooth or crunchy—it’s a vibe either way)
- Powdered sugar
- Butter
- Vanilla extract
- Chocolate melts (milk, semi-sweet, or dark chocolate—dealer’s choice)
That’s it! No exotic ingredients. No food scale. Just chocolate, pb, and Planet Pride.
Tools You’ll Want
- Semi-sphere silicone mold
- Piping bag (or a plastic sandwich bag)
- Tablespoon or small spoon for spreading
- Freezer space (because chill time is key)
Optional: A little scoop to make your filling more uniform—especially helpful if you’re making a double serving or batch.
Instructions: Making Mini Earths, One Sphere at a Time
Ready to get crafty in the kitchen? Let’s walk through the steps:
1. Prep Your Mold
Make sure your mold is clean and dry—no one wants chocolate planets sticking to random crumbs.
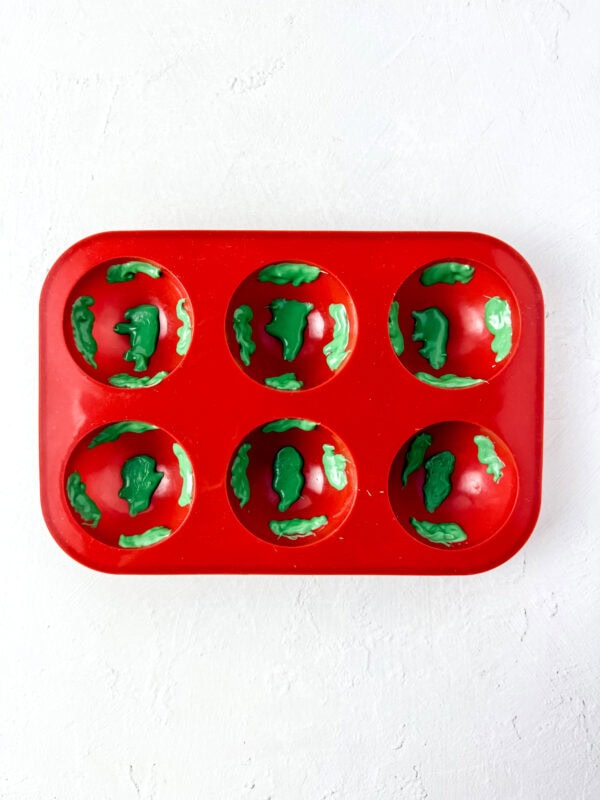
2. Melt the Green Chocolate
Place your green candy melts in a microwave-safe bowl. Heat in 30-second intervals, stirring in between, until smooth.
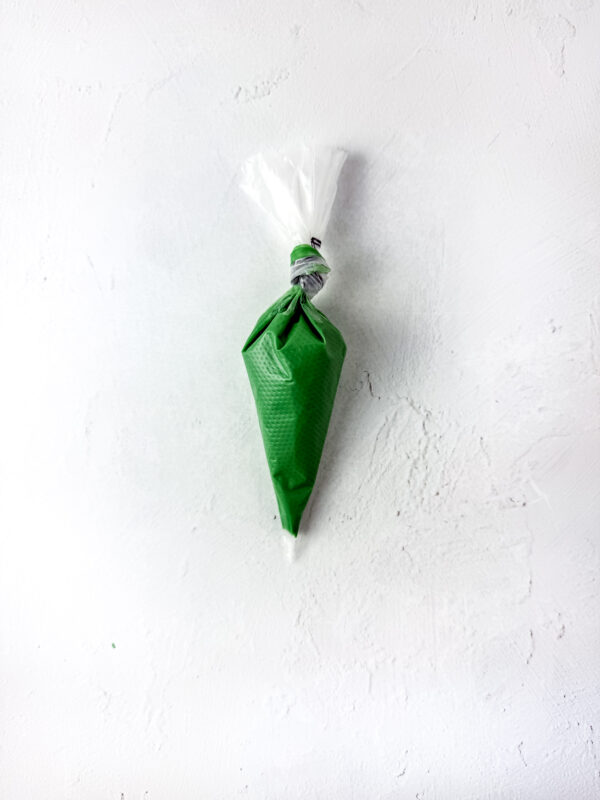
Transfer the melted green chocolate into a piping bag (or zip-top bag with the tip snipped). Pipe small green shapes into each mold slot. These represent the continents!
Pop the mold into the freezer for 5 minutes so the green layer can set.
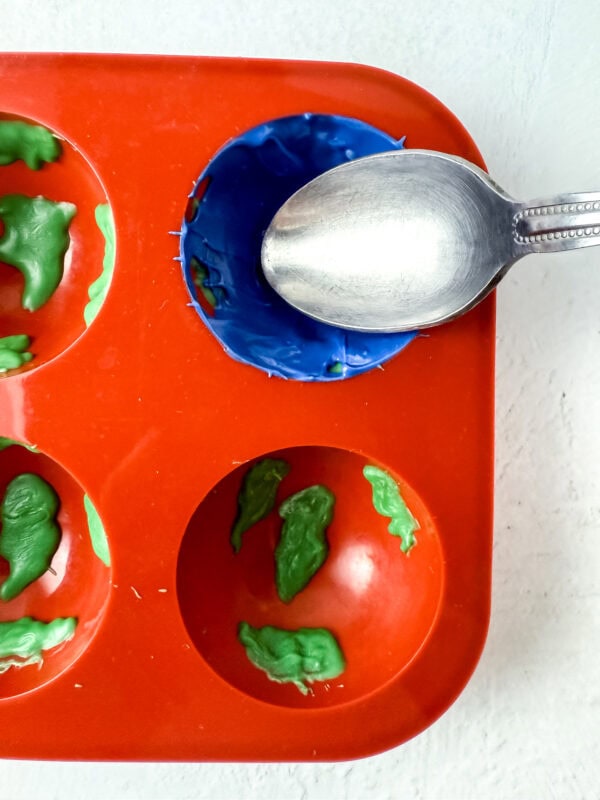
3. Add the Oceans (Blue Chocolate)
Melt your blue candy melts the same way. Use a tablespoon or the back of a small spoon to scoop and spread the blue chocolate over the green layer, covering the inside of each mold cavity completely.
Freeze again for 10 minutes.
4. Melt the Chocolate Base
Now for the core! Melt your chocolate; milk or dark chocolate is perfect here.
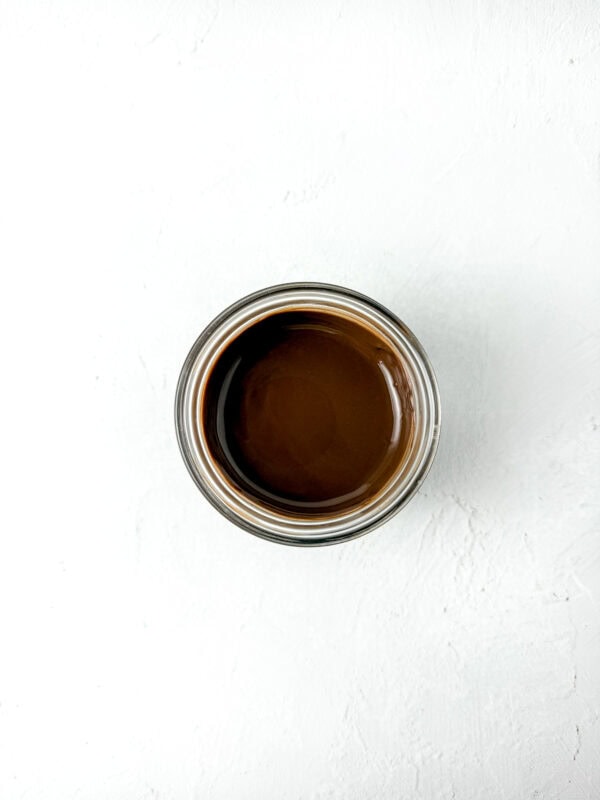
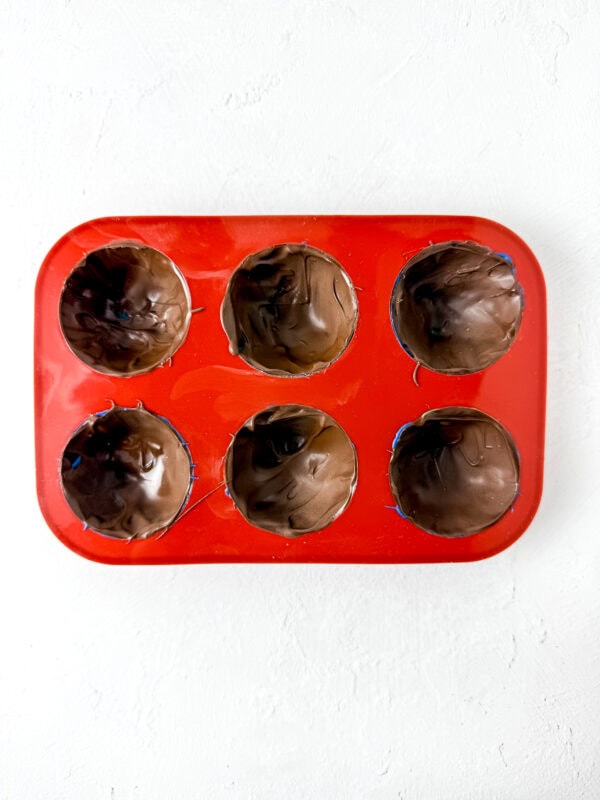
Using a clean spoon, coat each mold again, this time adding a layer of the brown chocolate over the blue. This adds stability and richness.
Back to the freezer it goes—10 minutes more!
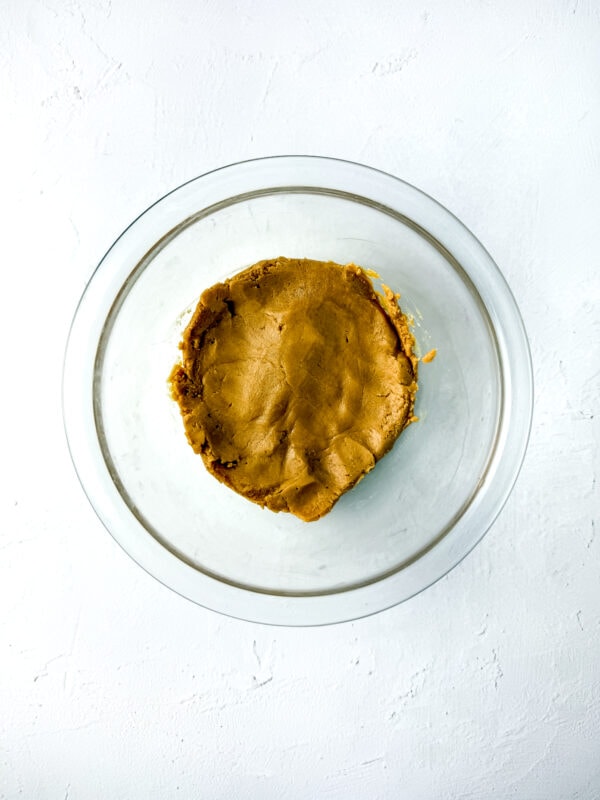
5. Make the Filling
In a large mixing bowl, mix together:
- The peanut butter
- Powdered sugar
- Butter
- Vanilla extract
Stir until everything is smooth and creamy. This step is where the magic happens—it’s what gives these energy balls their classic peanut and vanilla sweetness.
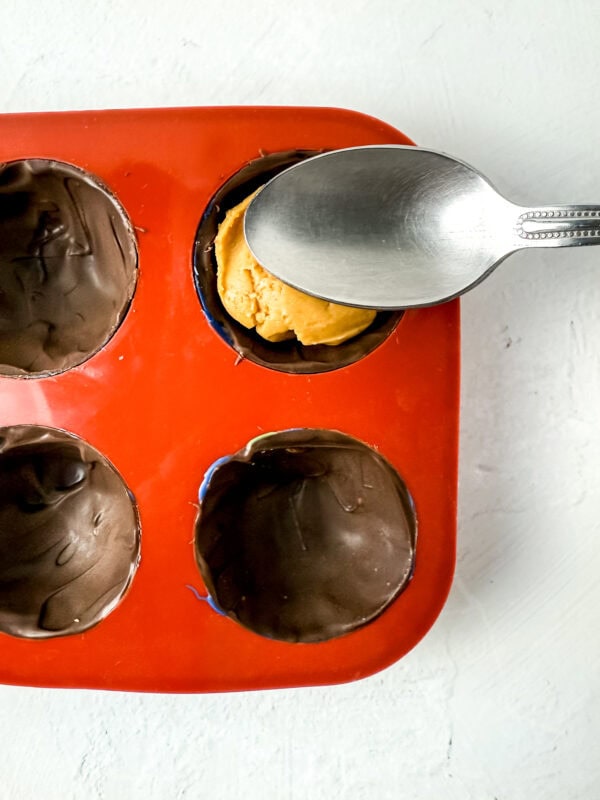
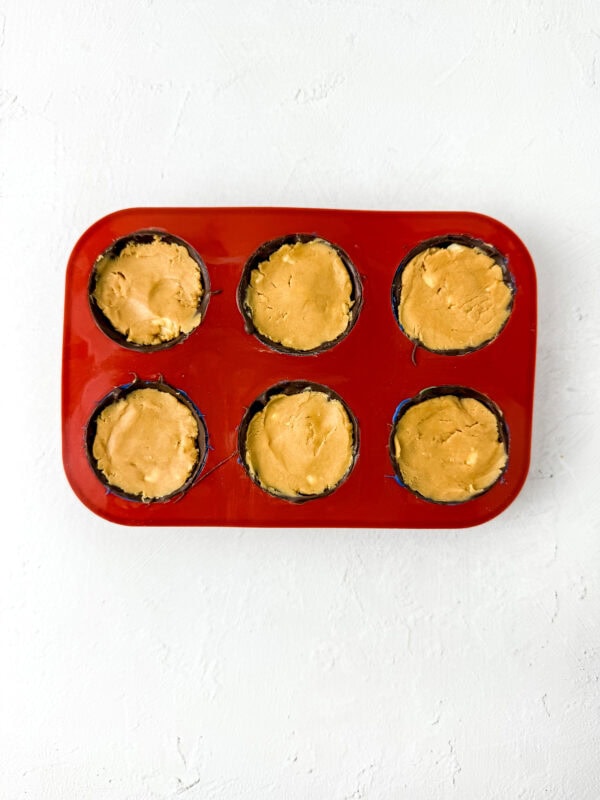
6. Fill the Mold
Take your chilled mold out of the freezer. Scoop a small amount of the peanut butter filling and place it in each cavity. Press it gently with a spoon to flatten and fill the space.
You want enough to be generous, but not overflow. (Think cosmic balance.)
7. Seal the Deal
Use the remaining melted chocolate to cover each semi-sphere, sealing the filling inside. Smooth the tops.
Back into the freezer for one final 10-minute chill session.
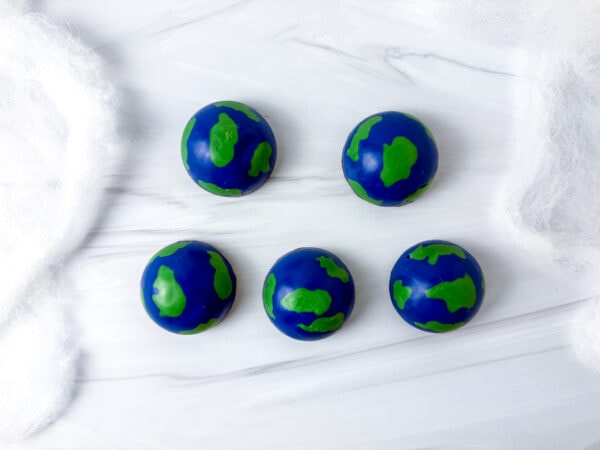
8. Reveal Your Earth Balls
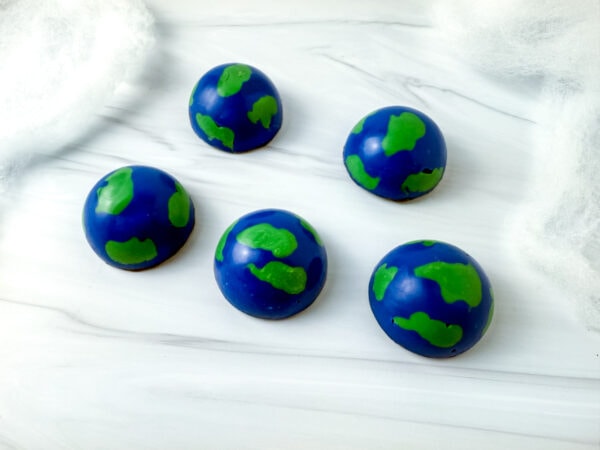
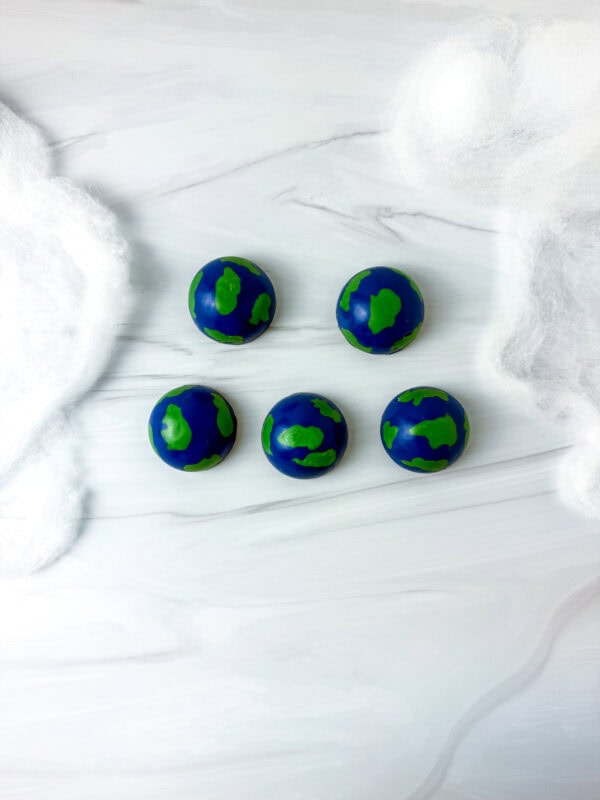
Once set, flip the mold so the flat side is down and the domes face up. Slowly press out each mini chocolate Earth.
They should pop right out and look like tiny, glossy globes!
Note:
-These mini earths can be stored in a air tight container in a cool dry place for up to 2 days. In the fridge for up to 5 days.
-Use crunchy peanut butter if you want more texture or even add some pretzels.
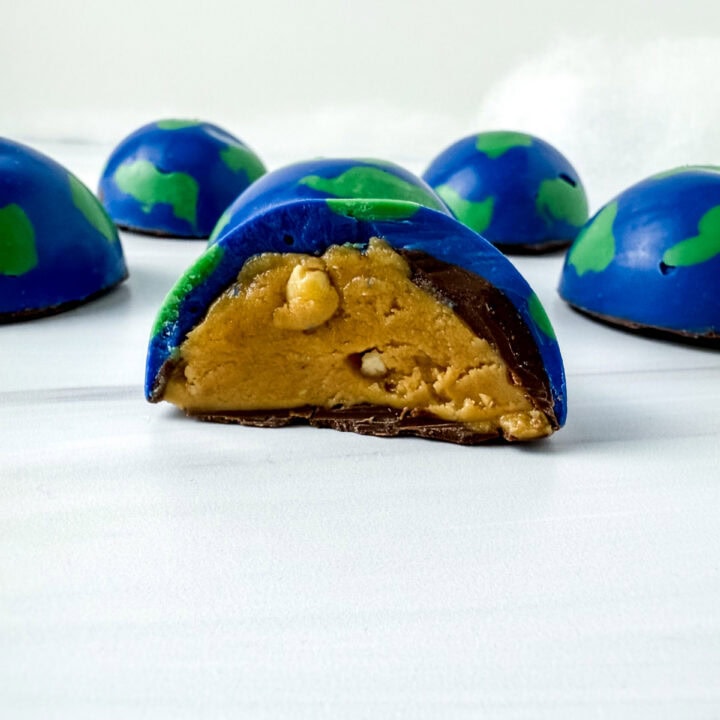
How These Taste (Spoiler: Like Sweet Heaven)
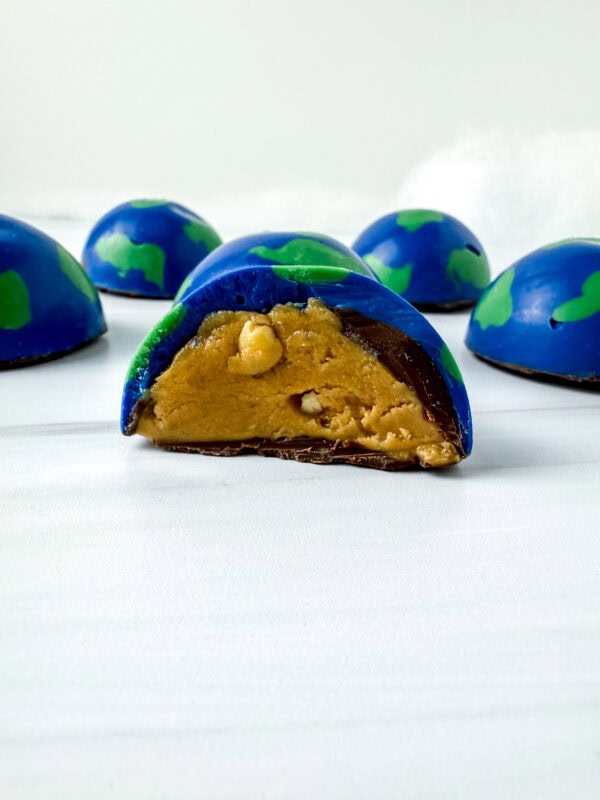
These energy bites are creamy, chocolatey, and subtly nutty, with that nostalgic peanut butter-meets-chocolate flavor we all adore. The vanilla extract brings a warm, rich undertone, while the colorful shell adds a slight candy crunch.
Think Reese’s meets art class.
Want to add your own twist to the recipe? Here’s how:
- Use natural peanut butter or almond butter for a nuttier base
- Sub cashew butter for something ultra smooth
- Add a pinch of sea salt or cocoa powder to the filling
- Mix in chia seeds, flaxseed, or hemp seeds for a nutrient boost
- Swap powdered sugar for maple syrup or agave for a sugar-free option
- Stir in mini chocolate chips or raisins for extra texture
- For extra fun, try adding crushed coconut flakes or a sprinkle of almond flour
Want to up the protein? Add 1 scoop of vanilla protein powder and adjust the texture with more rolled oats or oat flour.
This is a great ball recipe to experiment with different ingredients and make vegan, gluten-free, or just your own.
Why They’re Great for Anyone Trying to Snack Smarter
These Earth Balls are perfect for:
- Teachers looking for hands-on Earth Day activities
- Parents want a healthy snack option
- Kids who love edible art
- Adults who just want a sweet fix with wholesome, healthier ingredients
They’re fun, portable, and portion-controlled—so you can enjoy a delicious snack without going overboard on the sweets.
More Fun and Earth-Inspired Activities
If you enjoyed making the Peanut Butter Chocolate Mini Earth Balls, here are more creative and Earth Day-themed ideas to try:
- Earth Day Bingo Cards – Free Printable – A fun and educational bingo game perfect for celebrating Earth Day with kids.
- Earth Day Shaving Cream Craft – A colorful and hands-on craft using shaving cream to create beautiful Earth designs.
- Earth Spinning Rotation Craft – A simple and interactive craft that teaches kids about Earth’s rotation and movement.
- Star Life Cycle Worksheets – Learn about the life cycle of a star.
- Outerspace Lacing Cards
These Peanut Butter Chocolate Mini Earth Balls are more than just a treat; they’re an experience. They combine the joy of creativity, the comfort of nostalgic flavors, and the satisfaction of a snack that actually looks impressive.
If you love easy-to-make snacks, or if you’re just looking for a new addition to your favorite recipes, these little planets are a must-try.
Whether you’re prepping a themed party, baking a sheet full of goodies, or need an afternoon pick-me-up, these Earth Balls deliver taste, fun, and plenty of smiles.
Because honestly? We can’t get enough.
Peanut Butter Chocolate Mini Earth Day Balls
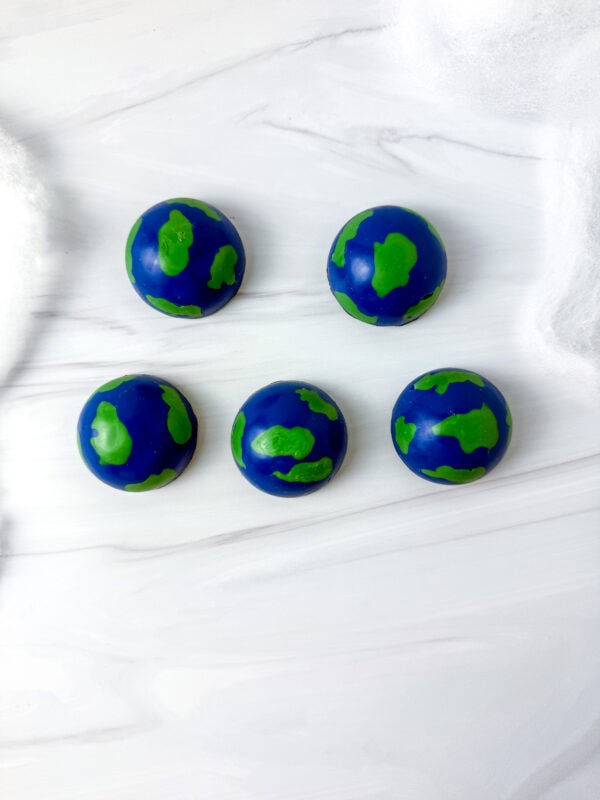
These colorful chocolate treats combine layers of green, blue, and brown candy melts for a fun, eye-catching design with a creamy peanut butter center. They’re simple to make, kid-friendly, and perfect for themed parties, classroom fun, or a creative dessert project that turns basic ingredients into something special.
Ingredients
- 1/3 cup peanut butter (smooth or crunchy)
- 1/3 cup powdered sugar
- 1½ tablespoons butter
- 1 teaspoon vanilla extract
- 6 oz chocolate melts
- 3 oz blue chocolate melts
- 3 oz green chocolate melts
Instructions
- Wash and thoroughly dry your mold before starting.
- Place the green chocolate melts in a microwave-safe bowl and heat in 30-second intervals, stirring between each round, until fully melted and smooth.
- Transfer the melted green chocolate to a piping bag and snip a very small opening at the tip.
- Pipe small green shapes randomly inside each semi-sphere cavity. Freeze the mold for about 5 minutes to set.
- Melt the blue chocolate using the same microwave method.
- Spoon a small amount of melted blue chocolate into each cavity and use the back of the spoon to spread it evenly along the sides. Freeze for 10 minutes.
- Melt the brown chocolate the same way.
- Using a clean spoon, add the brown chocolate to each cavity and spread it evenly over the blue layer.
- Return the mold to the freezer for another 10 minutes to fully set.
Nutrition Information:
Yield: 6 Serving Size: 1Amount Per Serving: Calories: 470Total Fat: 26gSaturated Fat: 14gUnsaturated Fat: 13gCholesterol: 20mgSodium: 133mgCarbohydrates: 50gFiber: 3gSugar: 44gProtein: 8g