
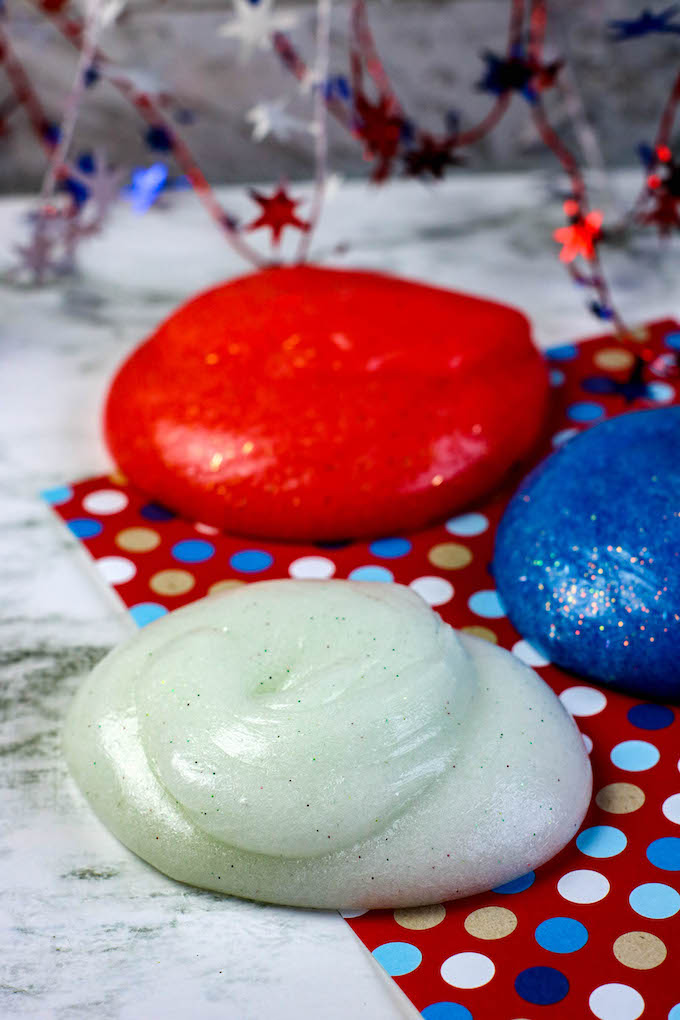
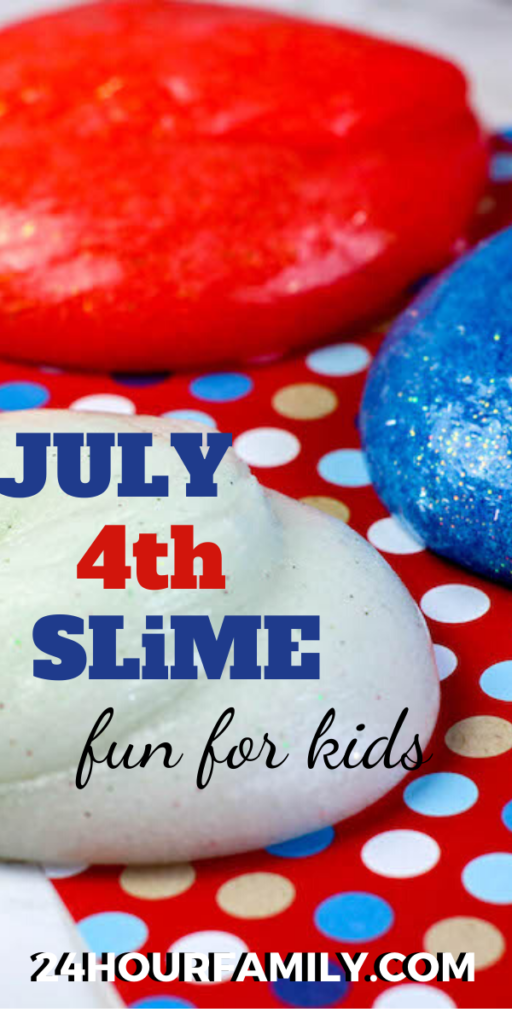
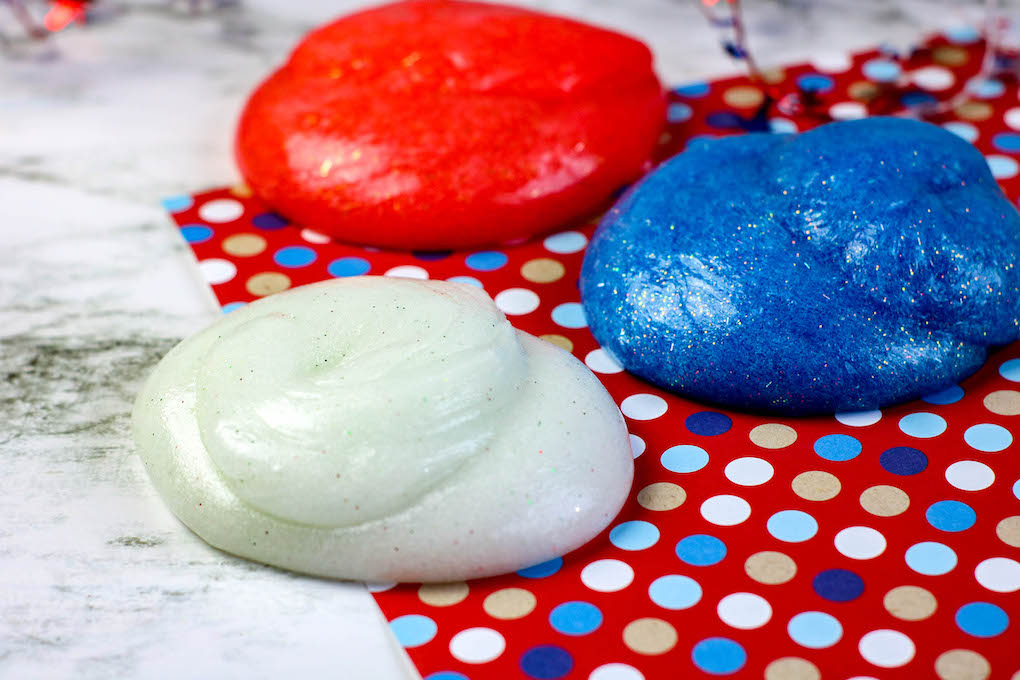
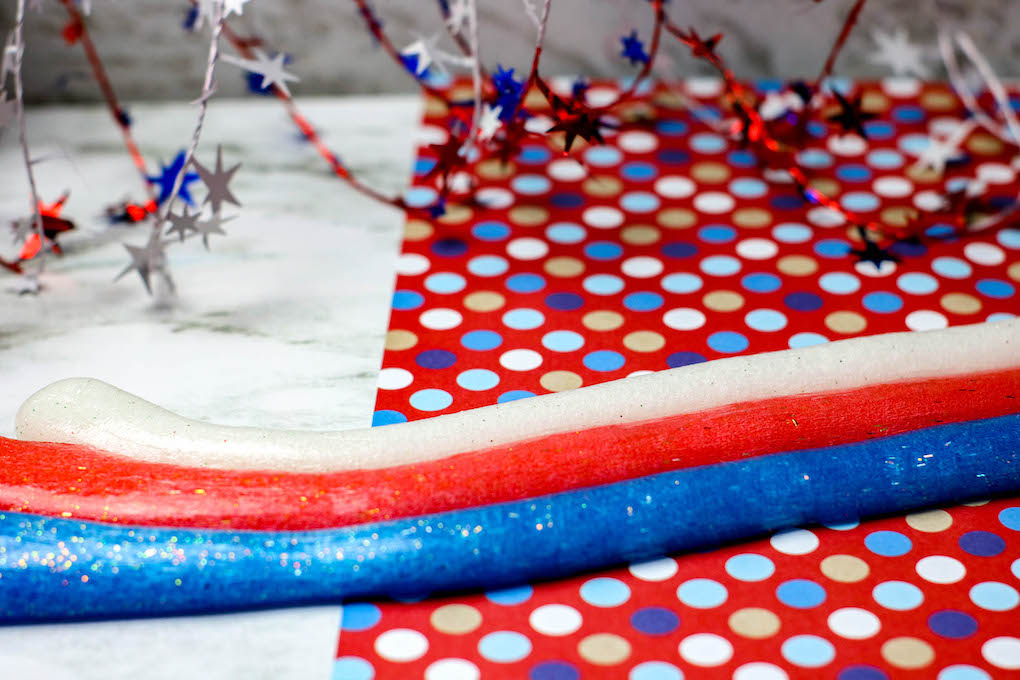
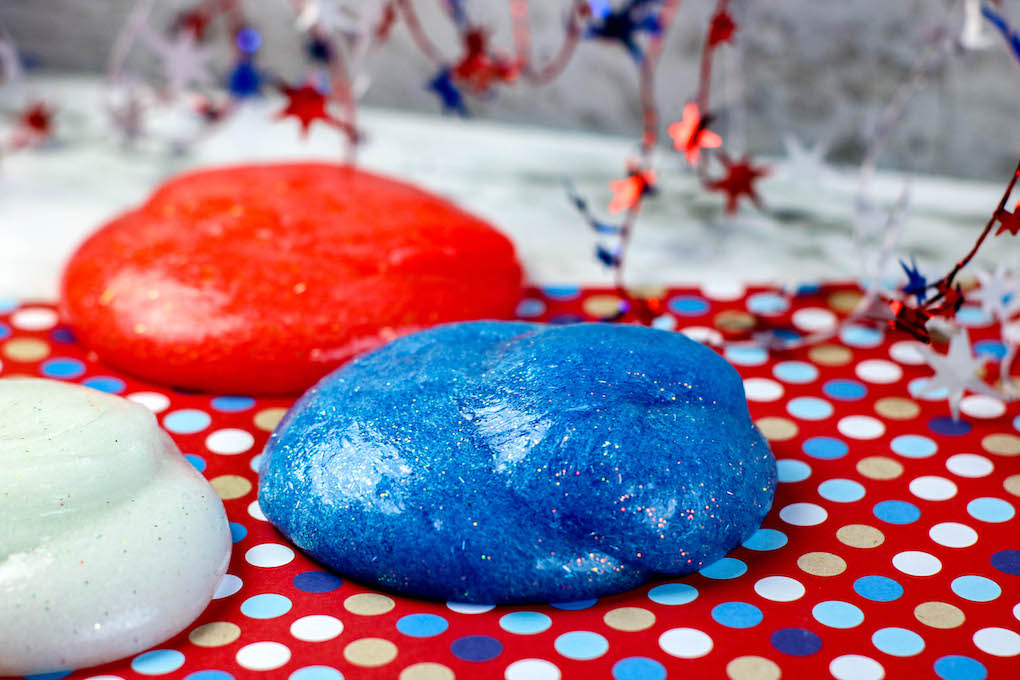
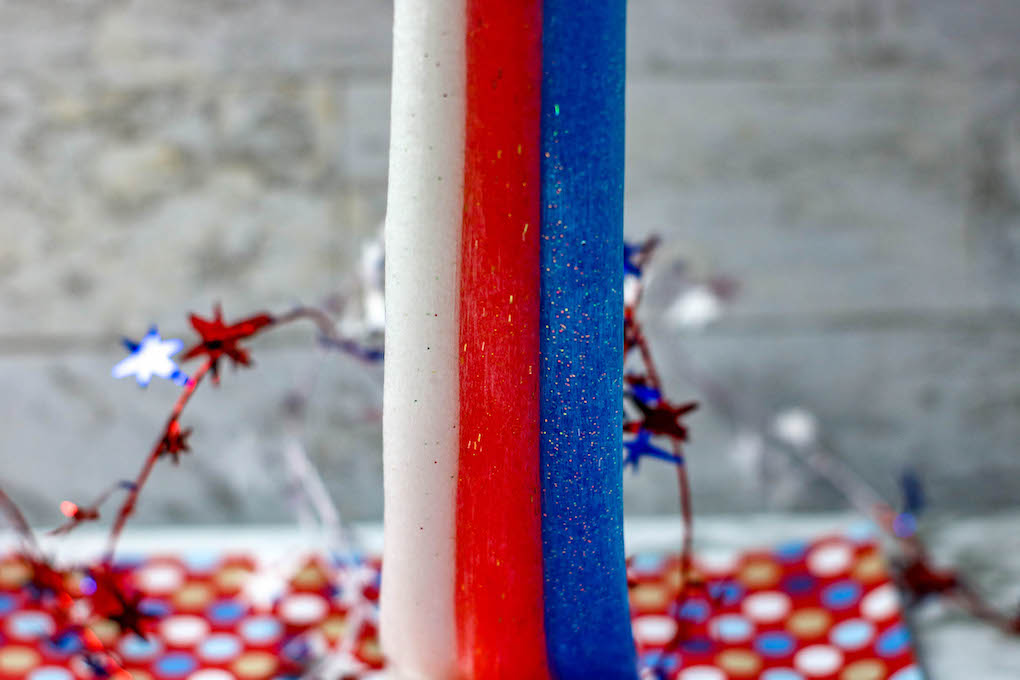
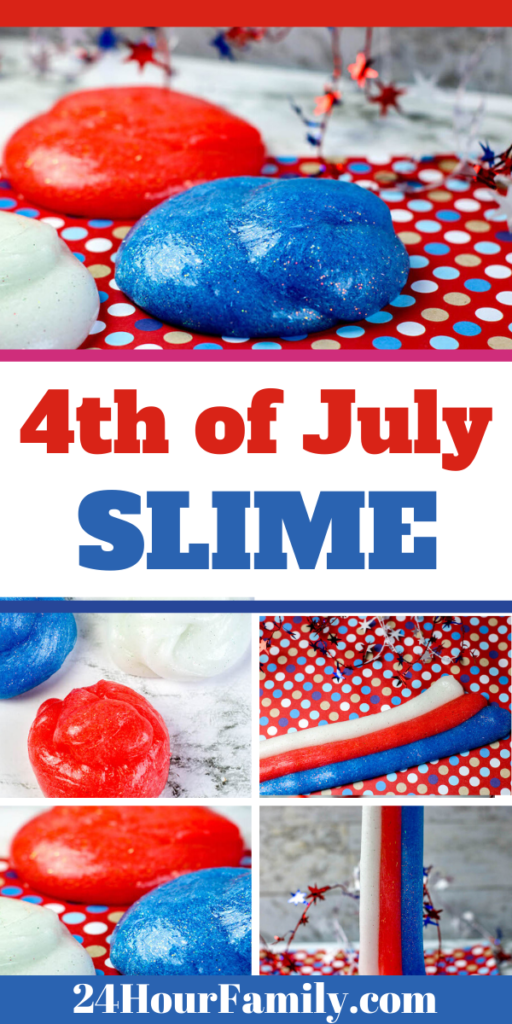
Red, White, and Blue 4th of July Slime
Summertime is filled with swimming, outdoor fun, and hands-on activities for kids. Nothing says summertime more than the 4th of July so we have the perfect Red, White, and Blue 4th of July slime for you to make with your kids. This would be so much fun to make at an outdoor 4th of July party!
Creating July 4th crafts is a wonderful way to celebrate Independence Day and show your patriotic spirit. These Patriotic Slime Crafts provide a great opportunity for creativity and a chance to celebrate with friends and family in a festive and patriotic way.
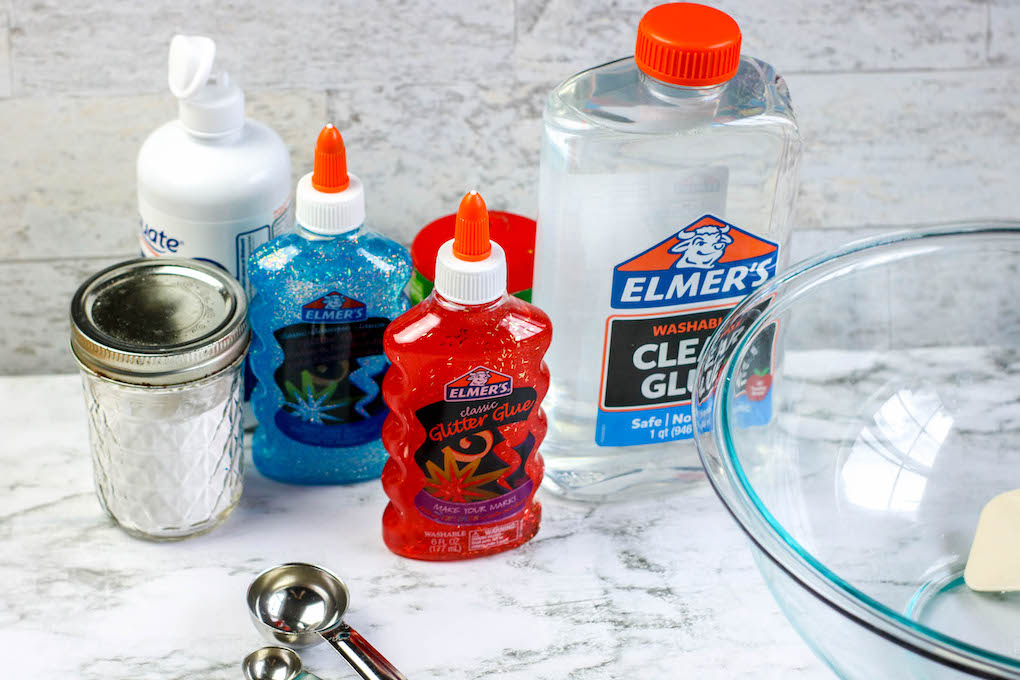
Ingredients for 4th of July Red, White, and Blue Slime:
This post contains affiliate links meaning I get commissions for purchases made through links in this post at no cost to you. Read my disclosure policy here.
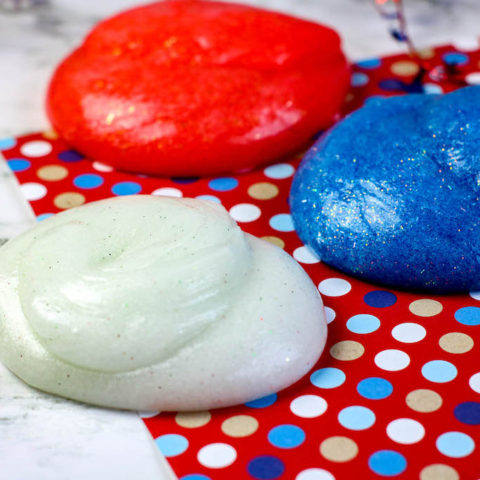
1 (6-ounce) bottle of Elmer’s Glue in each: blue, red, and white
About ½ cup warm water, for each batch
½ teaspoon baking soda, for each batch
1 tablespoon contact lens solution (containing boric acid), for each batch
White or iridescent glitter, for the white slime
Red and blue food coloring, if darker colors are desired
Instructions for the 4th of July Red, White, and Blue Slime
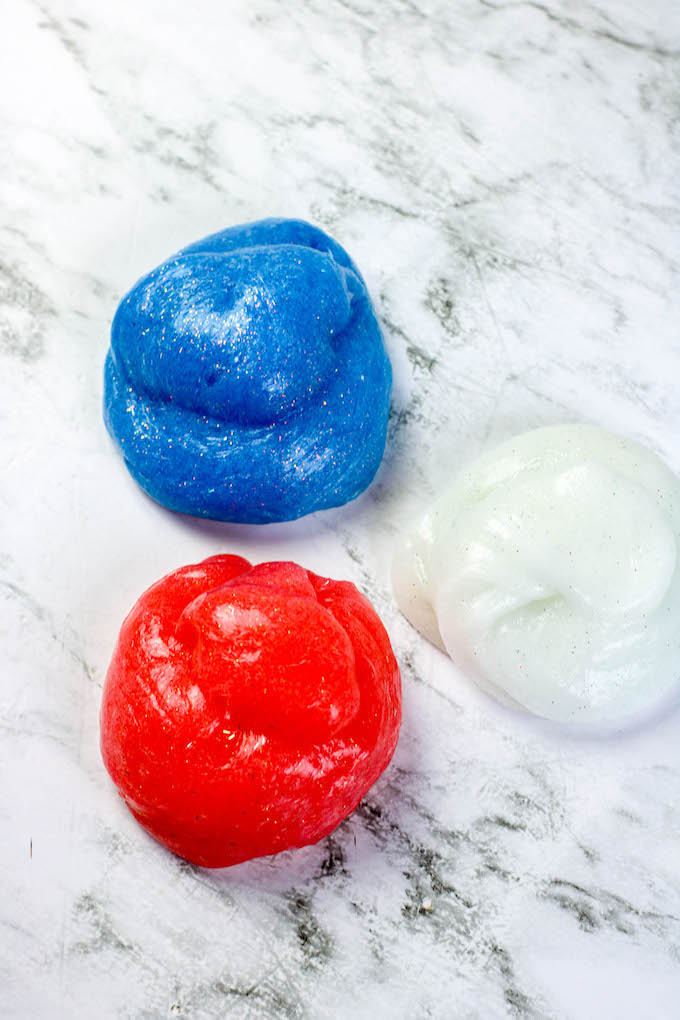
You will make three separate batches of slime with one in each color.
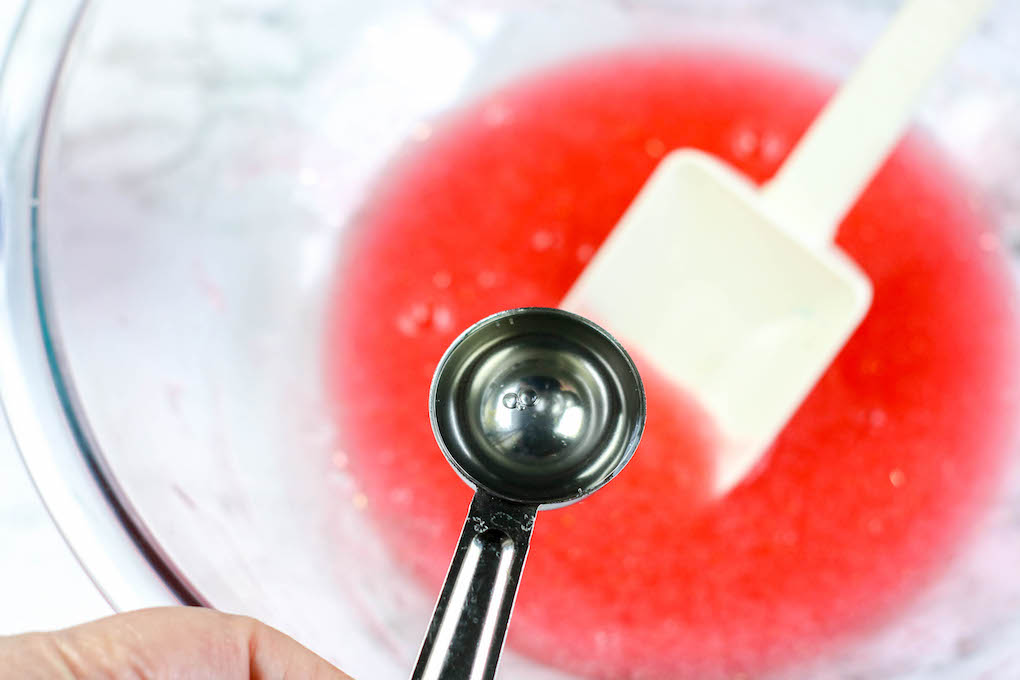
Empty the glue into a large bowl.
Fill the empty glue bottle about ⅓ full with warm water (about ¼ cup) and seal with the lid. Shake well to combine the remaining glue with the water. Pour into bowl with glue and stir to combine.
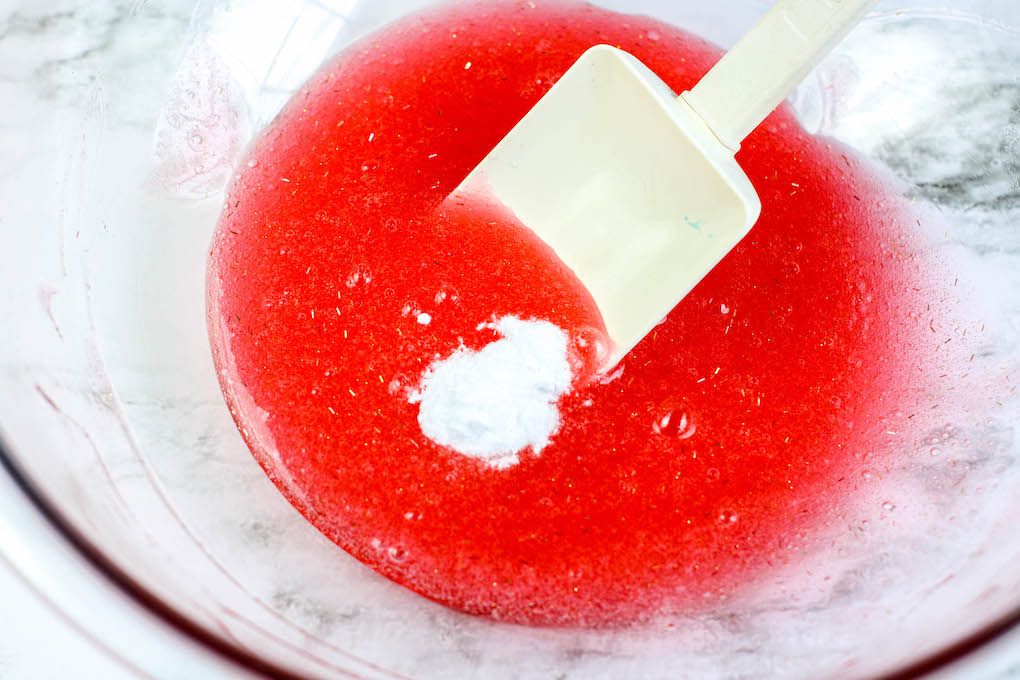
Add the baking soda to the glue and stir to mix thoroughly.
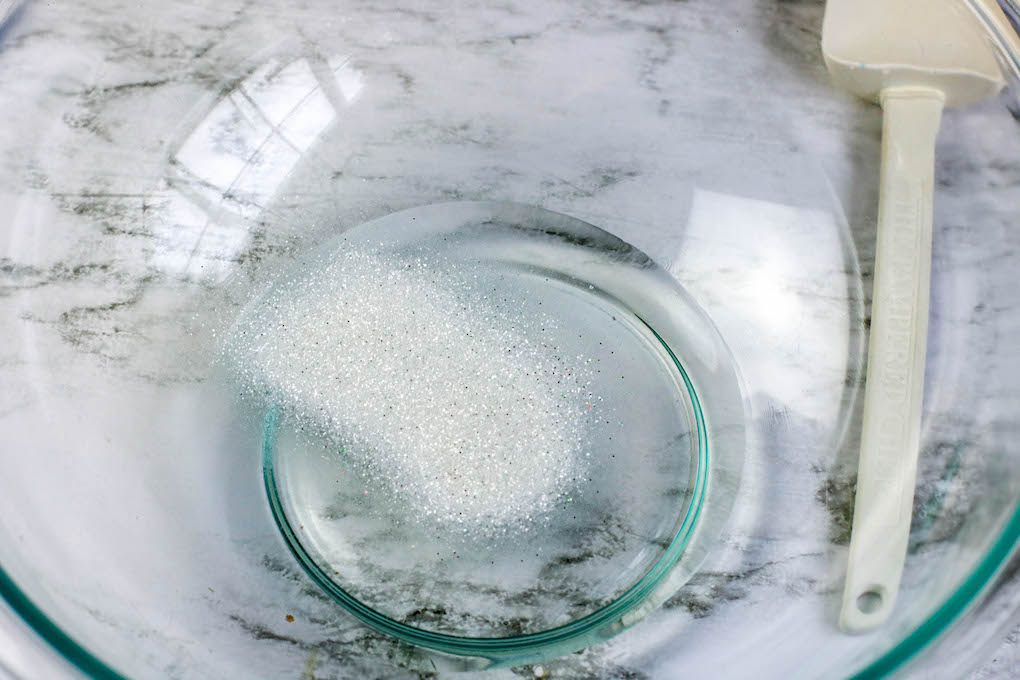
If you are adding additional glitter, food coloring, or confetti, stir into the glue mixture before adding the contact lens solution.
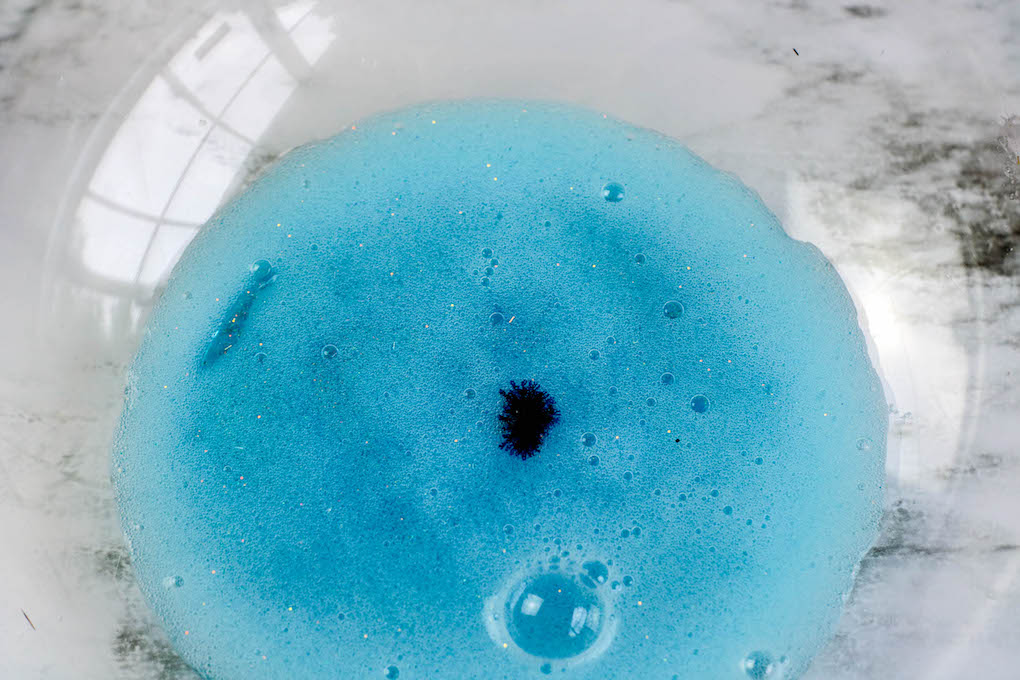
Add contact lens solution to the glue mixture and stir well. (Note: regular glue will require less contact lens solution than glitter glue. Add the contact lens solution slowly, mixing between additions, and add only enough to bring the glue together into a soft ball.)
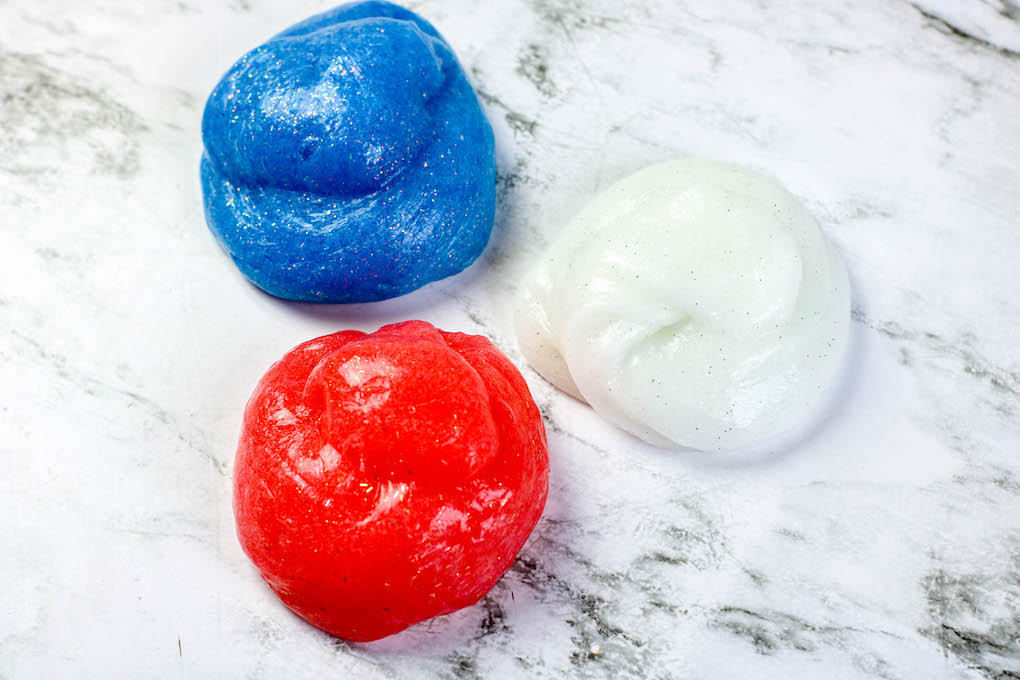
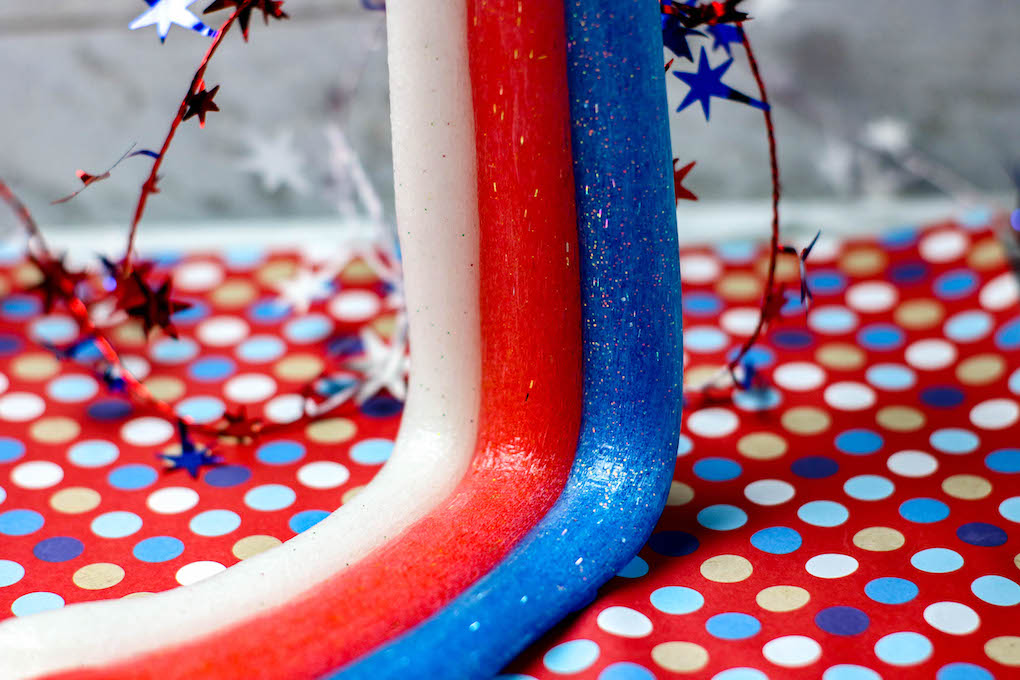
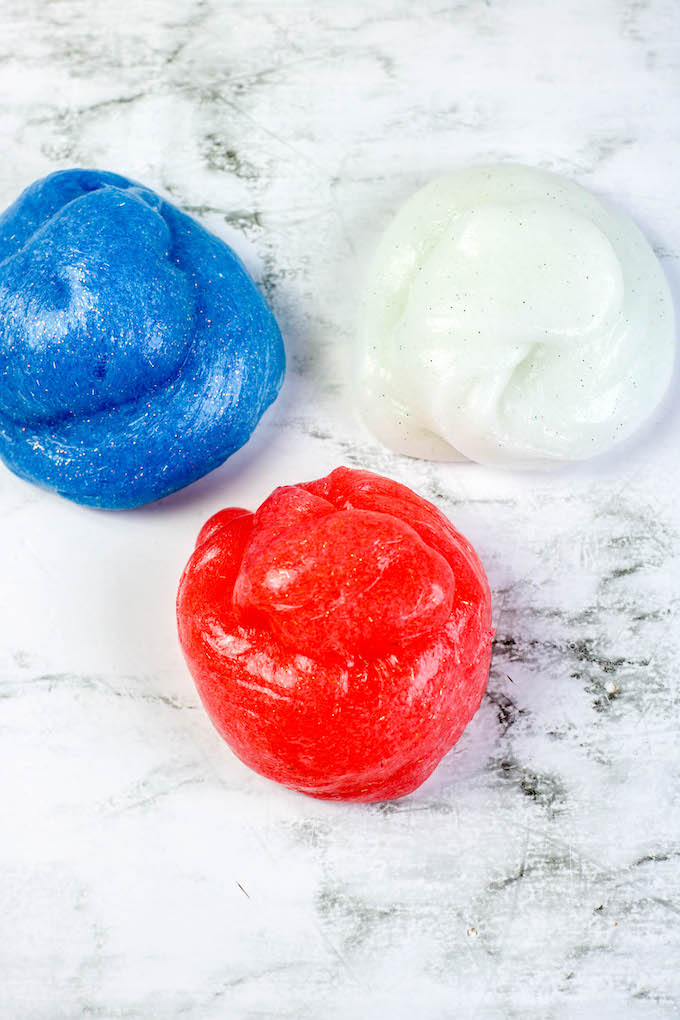
Remove the slime from the bowl. The slime will be sticky. Begin to play with the slime, stretching or kneading it as you would bread dough, to bring the slime together. The slime is ready when it is no longer sticky.
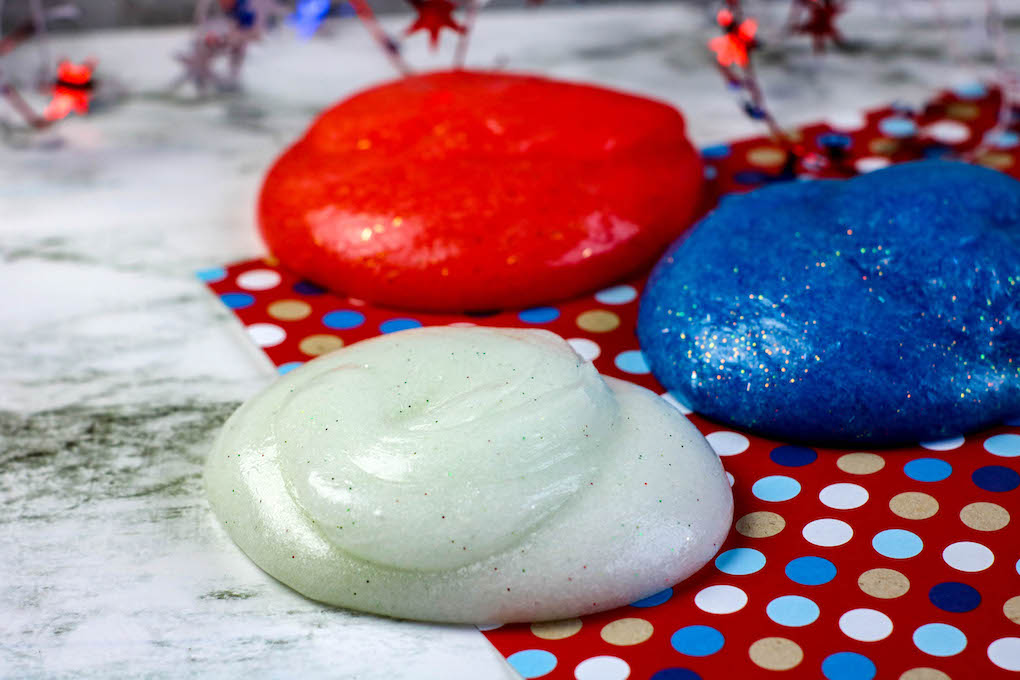
Slime is best and lasts longer if stored in an airtight container in the refrigerator when not in use.
Benefits of Making Slime with Your Kids:
Making patriotic slime, which typically involves creating slime in red, white, and blue colors to match the American flag, can offer various benefits, especially for children. Here are some of the advantages of making patriotic slime:
Sensory Play: Slime is a sensory play activity that engages multiple senses, including touch and sight, promoting sensory development.
Creativity: Making and decorating patriotic slime allows children to express their creativity by choosing colors, mixing them, and adding various elements to customize their slime.
Fine Motor Skills: Manipulating slime by stretching, squeezing, and molding it helps improve fine motor skills, hand-eye coordination, and finger strength.
Science Exploration: Creating slime involves understanding basic scientific concepts like mixing ingredients, observing chemical reactions, and exploring texture changes.
Stress Relief: Slime can be a soothing and stress-relieving activity for children and adults, offering a calming sensory experience.
Independence: Making slime fosters independence and self-reliance as children follow instructions and experiment with the materials on their own.
Learning Opportunity: Children can learn about color mixing and ratios as they create red, white, and blue slime to represent the American flag.
Patience and Focus: Preparing and playing with slime requires patience and focus, helping children develop concentration skills.
Math Skills: Measuring and mixing the ingredients for slime involve basic math concepts like counting, measuring, and following proportions.
Bonding Activity: Making slime can be a family or group activity that promotes bonding and cooperation among participants.

Themed Celebration: Patriotic slime can be created to celebrate national holidays like Independence Day and Memorial Day, adding to the festive spirit of the occasion.
Educational Conversations: While making patriotic slime, parents and educators can have conversations about the significance of national symbols, such as the American flag.
Fourth of July Color by Number Pages
Pledge of Allegiance Words Printables
Patriotic Chocolate Dipped Strawberries
Customization: Children can customize their slime by adding glitters, sequins, or small themed objects (e.g., star-shaped confetti) to create a unique and personalized texture.
Creative Play: Slime can serve as a medium for imaginative and creative play, allowing children to incorporate storytelling and role-playing into their activities.
Holiday Decor: Patriotic slime can be used as a fun and thematic decoration for Independence Day celebrations or parties.
Making 4th of July slime provides a fun and engaging way to celebrate national holidays, explore science and creativity, and enhance sensory and fine motor skills. It offers an enjoyable and educational experience while fostering a sense of pride in one’s country.
4th of July Red, White and Blue Patriotic Slime
Summertime is filled with swimming, outdoor fun and hands on activities for kids. Nothing says summertime more than the 4th of July so we have the perfect 4th of July Slime that is Red, White, and Blue for you to make with your kids. This would be so much fun to make at an outdoor 4th of July party!
Materials
- 1 (6 ounce) bottle Elmer’s Glue in each: blue, red, and white or clear
- About ½ cup warm water, for each batch
- ½ teaspoon baking soda, for each batch
- 1 tablespoon contact lens solution (containing boric acid), for each batch
- White or iridescent glitter, for the white slime
- Red and blue food coloring, if darker colors are desired
Instructions
- Empty the glue into a large bowl.
- Fill the empty glue bottle about ⅓ full with warm water (about ¼ cup) and seal with the lid. Shake well to combine the remaining glue with the water. Pour into bowl with glue and stir to combine.
- Add the baking soda to the glue and stir to mix thoroughly.
- If you are adding additional glitter, food coloring, or confetti, stir into the glue mixture before adding the contact lens solution.
- Add contact lens solution to the glue mixture and stir well. (Note: regular glue will require less contact lens solution than glitter glue. Add the contact lens solution slowly, mixing between additions, and add only enough to bring the glue together into a soft ball.)
- Remove the slime from the bowl. The slime will be sticky. Begin to play with the slime, stretching or kneading it as you would bread dough, to bring the slime together. The slime is ready when it is no longer sticky.
One Comment