
Make A Christmas Angel Toilet Paper Roll Craft (Free Angel Template)
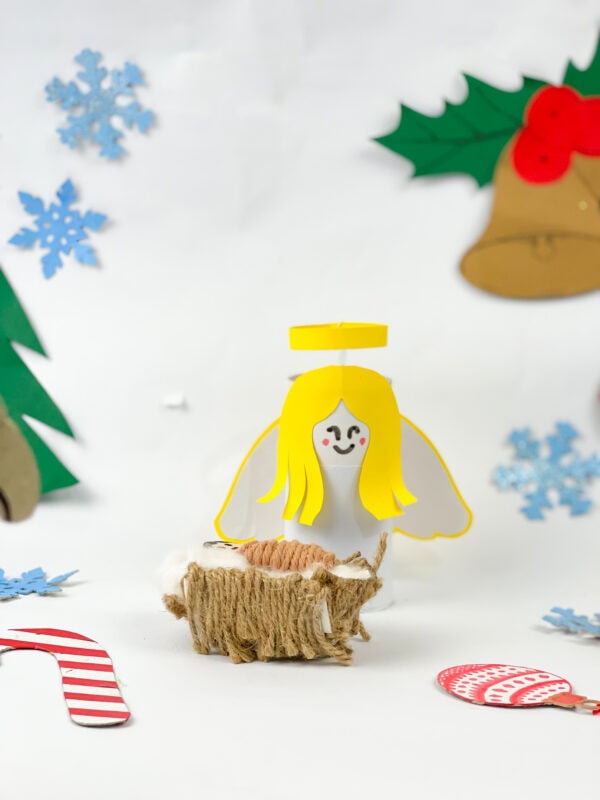
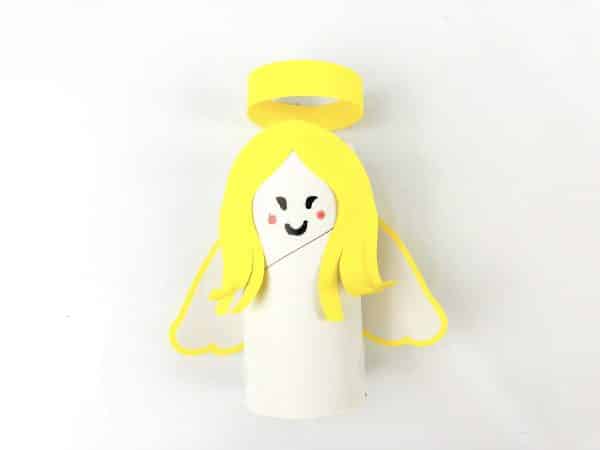
Turn an empty recycled cylinder into a sweet Christmas angel with this angel toilet paper roll craft.
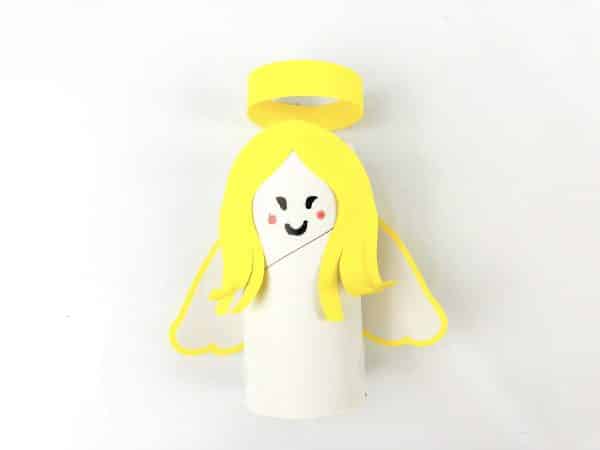
This simple design uses cardstock, adhesive, markers, and my free template to create a standing figure with side pieces, hair, a halo, and a smiling face.
For even more holiday ideas, browse my Christmas crafts and printables and Bible crafts and printables.
Angel Toilet Paper Roll Craft
It is an easy, fun, simple Christmas activity for home, homeschool, Sunday school, Christian classrooms, or a December holiday activity.
And because the base forms the body, you probably already have the most important material sitting in your recycling bin instead of the trash.
Easy Toilet Paper Roll Angel Craft
I love projects that recycle everyday supplies into something completely different.
An empty toilet paper roll becomes the body, while cutouts create the hair, wings, headpiece, and other details.
This toilet paper angel can be used as:
- A seasonal decoration
- A Sunday school project
- A children’s church activity
- A homeschool holiday project
- A Nativity lesson extension
- A classroom activity
- A handmade ornament or shelf display
- A simple craft for children
Children can also personalize the design with different hair colors, wing styles, glitter, ribbon, or other supplies you already have.
Get the Free Template
Download and print the free template before beginning.
Cardstock works especially well for the side pieces and other cutouts because it holds its shape better than thin printer sheets.
This post may contain affiliate links. As an Amazon Associate and a participant in other affiliate programs, I earn a commission on qualifying purchases. Read our disclosure policy here.
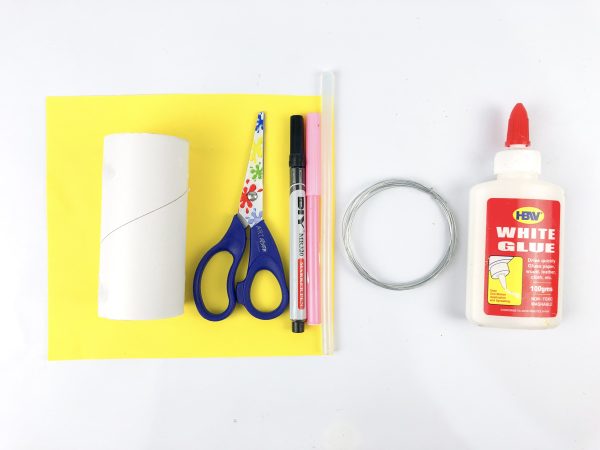
Supplies
You only need a handful of basic supplies.
- Empty toilet paper tube
- Free printable template
- White paper or cardstock
- Yellow cardstock
- Scissors
- Glue stick or school adhesive
- Black marker
- Pink or red marker or crayon
- White paint, optional
- Paintbrush, optional
- Tape, optional
- Sparkle adhesive, optional
- Ribbon, stickers, or other decor, optional
An adult should handle any hot glue if you decide to use it.
Will a Paper Towel Roll Work Instead?
You can.
Cut a paper towel roll to about the size of the base before you start.
You can also use purchased forms if you prefer not to use empty toilet rolls.
How to Make an Angel Toilet Paper Roll Craft
This tutorial gives step-by-step instructions once you have all the pieces ready.
Step 1: Prepare the Cardboard Tube
Start with a clean, empty form.
If you want the angel’s body to be white, paint the base with a thin coat.
Wait until the painted surface is fully dry before moving on.
Another option is to wrap the base with cardstock instead of painting it.
Step 2: Prepare the Printed Template
Print a copy of the free template.
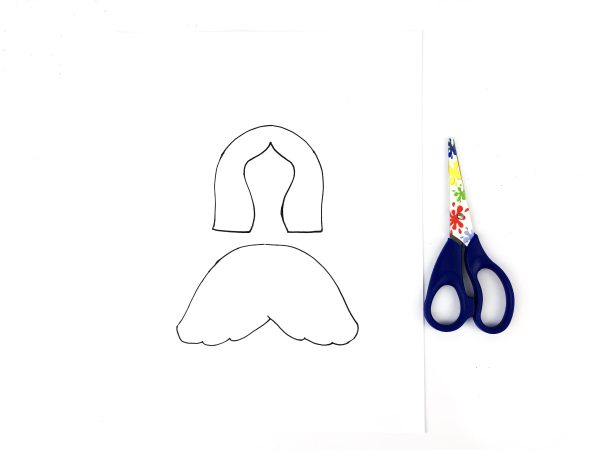
Trim around each template piece with care.
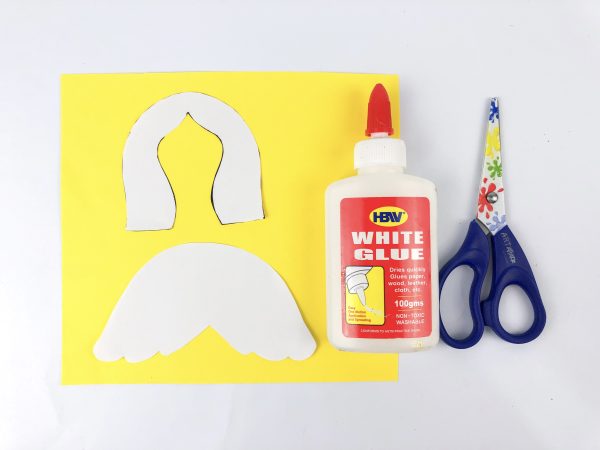
Little ones may need assistance with the smaller sections.
Step 3: Make the Hair
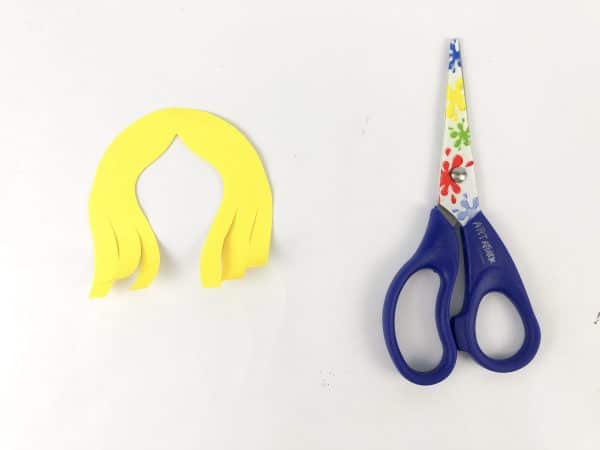
Use the template to trace the hair shape onto colored cardstock.
Cut along the hair outline.
Secure it around the upper portion of the base.
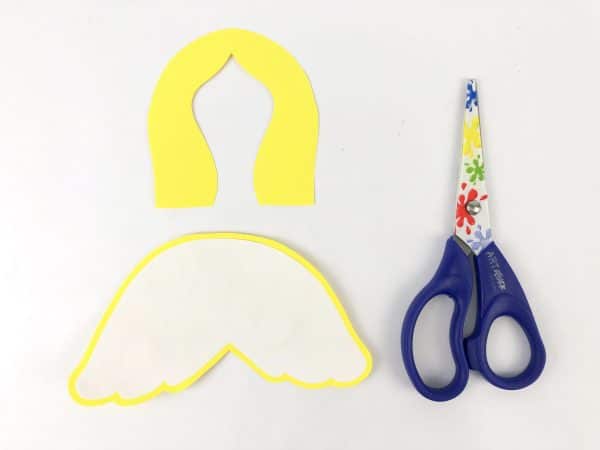
You can also use:
- Brown cardstock
- Black cardstock
- Yarn
- Tissue
- Shredded strips
Let children choose their hair color.
Step 4: Add the Face
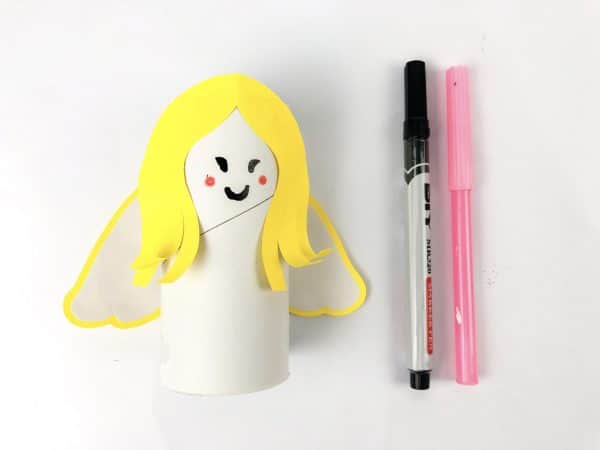
Use a black marker to draw the face.
Keep it simple with:
- Two eyes
- A small smile
Add rosy cheeks with a pink or red marker or crayon.
Children can also add eyelashes or freckles to give the character more personality.
Step 5: Cut Out the Wings
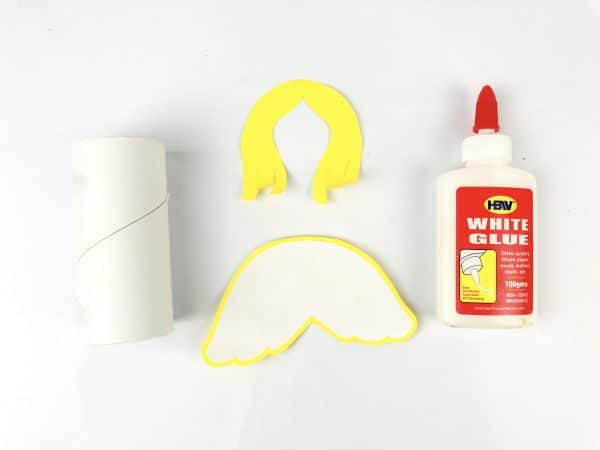
Use the template to shape the matching side pieces.
Trim around each piece carefully.
Sturdy cardstock helps the pieces hold their shape and not droop.
For another fun variation, children could outline their hands on scrap stock and use the handprints as feathered sides.
Step 6: Attach the Side Pieces
Glue the pieces to the base.
Position them so they extend evenly from each side.
Hold them in place for a few moments while the adhesive sets.
You can also tape the back if you want them to stay in place immediately.
Step 7: Make the Headpiece
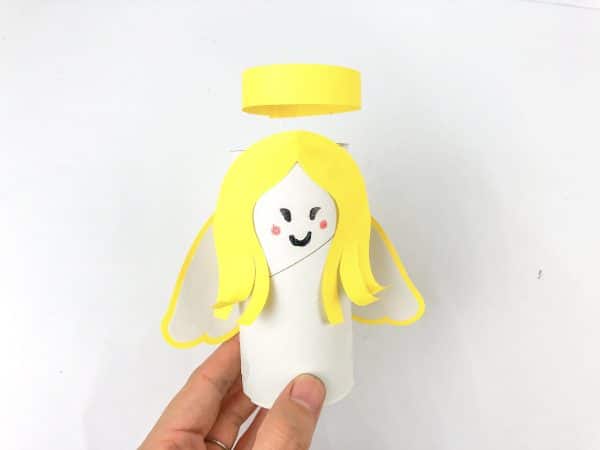
Cut the circular piece from gold cardstock using the template.
Attach it near the top.
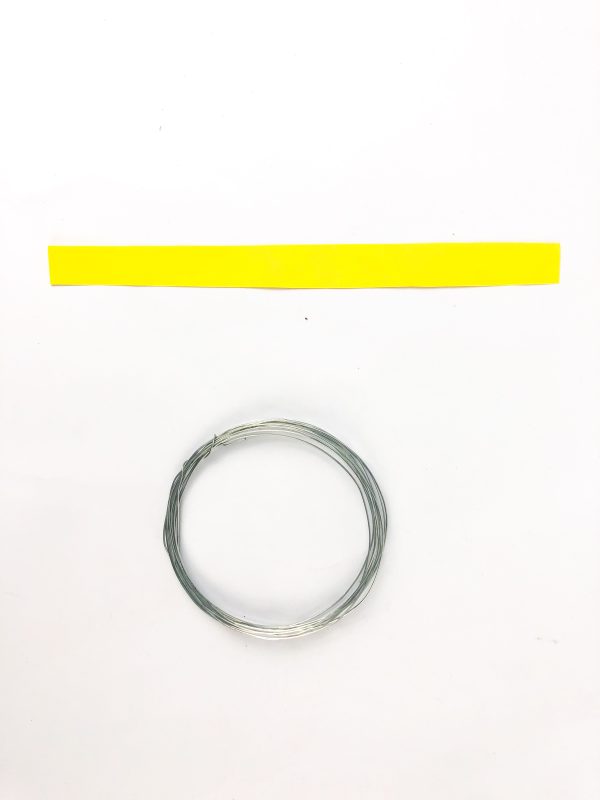
You can also create the ring using a gold pipe cleaner.
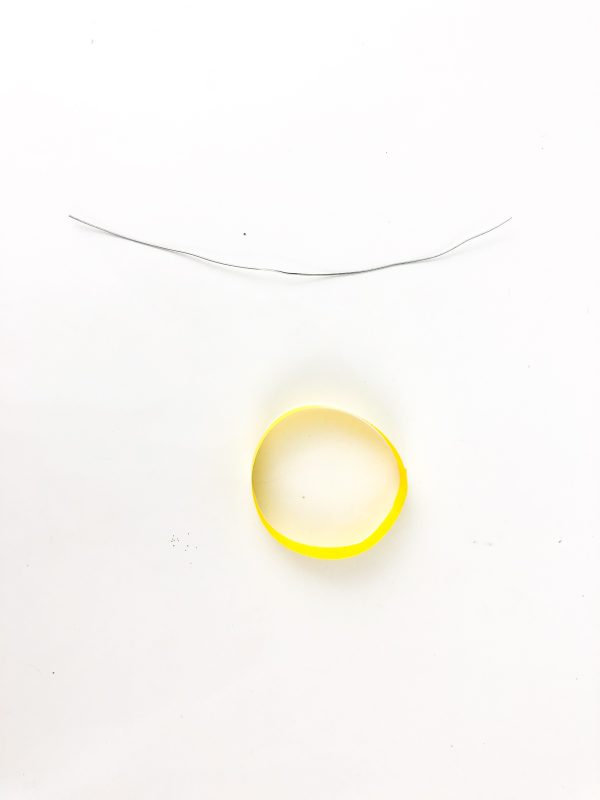
Shape the pipe cleaner into a circle, leaving a small stem at the bottom.
Tape or secure the stem to the back so the ring sits above the head.
Step 8: Decorate the Character
Now let children personalize the design.
Try adding:
- Sparkle
- Gold ribbon
- Silver ribbon
- Stickers
- Sequins
- Small bows
- Stars
- Lace
- Metallic cardstock
A little shimmer on the sides or headpiece can make the finished piece look lovely.
Tips for Making This Project
Use Cardstock for the Side Pieces
Thin sheets may bend or curl.
Sturdy cardstock helps it stand upright.
Let the Finish Dry Completely
If you paint the base, let it dry before attaching the cutouts.
Use Adhesive Sticks With Younger Kids
Adhesive sticks are usually easier for younger hands.



Ideas for Different Ages
This DIY can be adapted for different ages and skill levels.
Preschoolers
Keep the project simple.
Adults can:
- Pre-cut the side pieces and headpiece
- Color or wrap the base ahead of time
- Draw simple placement marks for the face
Preschoolers can:
- Attach the side pieces
- Add the headpiece
- Draw the face
- Add stickers or sequins
- Use googly eyes instead of drawing eyes
Larger embellishments make the activity easier for little hands.
Early Elementary Kids
Early elementary kids can usually do more of the project independently.
They can:
- Cut the template pieces
- Shape the side details
- Draw the face
- Choose hair colors
- Add ribbon or sparkle
- Assemble the character with minimal help
Older Kids
Older children can add more detail to the design.
Try:
- Layered side pieces
- Decorative ribbon trim
- Metallic headpieces
- Colored patterns on the dress
- Yarn hair
- Embellished details
- Hand-lettered Bible verses
Older children can also make several characters and create a larger holiday display.
Alternatives: Using Toilet Rolls and Other Forms
You do not have to use the same sturdy base.
Other cylinders work too.
Try:
- Towel tubes cut to size
- Purchased forms
- Mailing cores cut into small sections
- Empty gift-wrap cores
- Heavy cardstock rolled into a cylinder
Towel cores are especially easy to use because you can cut them into several smaller pieces and make multiple characters at once.
To keep this crafty activity eco-friendly, use recycled packaging and scrap cardstock for the hair and details.
What Finish Works Best?
Washable tempera and acrylic color both work well on TP rolls.
For younger children, washable tempera is usually easier to clean up.
Acrylic usually gives a more even finish and dries faster.
Apply a light coat rather than covering the surface too thickly.
Too much moisture can soak into the base and soften it.
If you want to skip drying time completely, wrap the form in a light-colored sheet instead.
Troubleshooting This Project
The Finish Is Taking Too Long to Dry
Use a thinner coat.
You can also place the form in front of a fan or skip the wet finish and wrap it in cardstock.
The Side Pieces Keep Falling Off
Sturdy cutouts are heavier than thin sheets.
Try:
- Using a stronger adhesive
- Holding the pieces in place for several seconds
- Adding a small piece of tape to the back
- Using a glue gun if an adult is doing the gluing
Fast-drying tacky adhesive can work especially well on porous surfaces.
The Base Is Bending
This usually happens when the form gets too wet.
Keep wet adhesive and coloring products to a minimum.
Allow one layer to set before attaching the next details.
The Headpiece Will Not Stay Up
The circular topper may need extra support.
Try attaching it to a small strip of cardstock or use a gold pipe cleaner instead.
The Decorations Keep Sliding
Let the surface dry first.
Glue sticks work well for lightweight cutouts, while tacky adhesive is better for heavier embellishments.
Easy Ways to Decorate the Design
Lots of ways to personalize this cute project.
Try adding:
- Googly eyes
- Sparkle adhesive
- Gold cardstock
- Silver cardstock
- Ribbon
- Yarn
- Sequins
- Mini pom-poms
- Stickers
- Stars
- Lace
For ribbon, use a narrow strip about 1/4 to 1/2 inch wide to wrap around the base without adding too much bulk.
Satin, grosgrain, metallic, and sheer ribbon can all work well, or add a strand of thread for a delicate detail.
How to Display the Finished Design
Once the characters are finished, use them as seasonal decorations.
They can stand on:
- A mantel
- A bookshelf
- A windowsill
- A classroom shelf
- A Sunday school table
- A holiday centerpiece
- A child’s dresser
- A manger display
You can also make several and line them up together.
Another idea is to add a ribbon loop to hang the ornament on a Christmas tree.
Never use a real candle near these lightweight pieces.
Make a Manger Scene
This design does not have to stand alone.
You can make other Bible-scene characters from cardboard forms and create a complete holiday display.
Try making:
- Mary
- Joseph
- Baby Jesus
- Shepherds
- Wise men
- Heavenly messengers
- Sheep
Use different colors, hairstyles, clothing, and simple accessories to help distinguish the characters.
Then arrange the finished characters around a small handmade stable or shoebox manger.
Create a Complete Cardboard Bible Display
Start with Mary, Joseph, and Baby Jesus in the center.
Add shepherds and sheep nearby.
Place the wise men a little farther away.
Then add one or more characters behind or above the scene.
You could also make a simple stable from:
- A shoebox
- A small shipping box
- Popsicle sticks
- Brown cardstock
- Kraft stock
Add a star above the stable to finish the display.
This turns one simple holiday project into a larger, hands-on Bible activity.
More Faith-Based Holiday Projects
If you enjoy this seasonal project, try more faith-based ideas from 24 Hour Family.
Make the Nativity Project to create more characters that pair perfectly with this angel.
For printable projects, try the Manger Scene Printable, 3D Bible Scene, or Diorama Project.
Explore my full collection of Bible projects and printables, along with more holiday projects and printables.
Does This Project Include a Printable Template?
It does. The free printable template is available in this post and includes the pieces you need for the side details, headpiece, hair, and other accents.
What Adhesive Works Best on Cardboard Forms?
Adhesive sticks work well for lightweight pieces. Tacky craft glue is better for heavier embellishments like ribbon, sequins, or layered cardstock.
Are Googly Eyes Suitable for This Project?
Absolutely. Googly eyes are an easy alternative to drawing the face and work especially well for younger children.
What Type of Finish Works Best?
Washable tempera is easy for younger children, while acrylic color usually gives better coverage and dries relatively quickly.
Can I Make This Activity Without Wet Color?
You can skip it by wrapping the base in cardstock instead of coating it.
Will a Towel Tube Work as an Alternative?
That works too. Cut the core into smaller sections that are approximately the size of the main form.
How Can I Make This Easier for Preschoolers?
Pre-cut the side pieces and headpiece, skip the wet finish, and let preschoolers focus on assembling and decorating.
How Can I Make the Project More Challenging for Older Kids?
Let older children cut their own pieces, add layered details, use ribbon or yarn, and create a complete Bible scene.
How Should I Store Finished Characters?
Store them upright in a small box with tissue between each one so the delicate pieces do not bend.
Can I Use These as Seasonal Decorations?
Definitely. Display them on shelves, mantels, tables, classroom displays, or around a manger scene.
Angel Toilet Paper Roll Craft for Kids
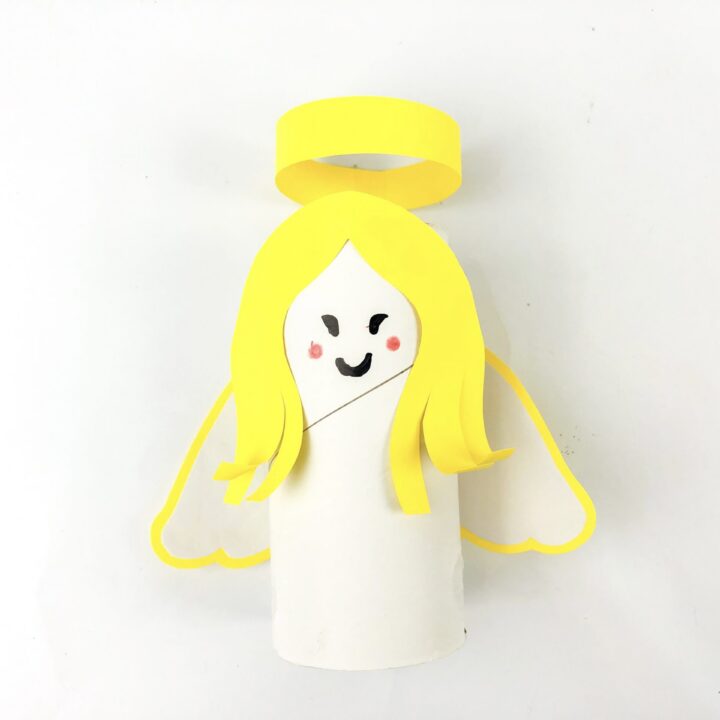
This Angel Toilet Paper Roll Craft turns a cardboard tube into a sweet little angel. Kids can add a simple face, paper hair, wings, and a halo. It is an easy activity for Christmas, Sunday school, or Bible lessons.
Materials
- Empty toilet paper roll
- Printable template
- White cardstock
- Yellow cardstock
- Glue
- Black marker
- Pink or red marker
- White paint
- Paintbrush
Tools
- Printer
- Scissors
Instructions
1. Prepare the Cardboard Tube
Paint the outside of the toilet paper roll white. Apply an even coat, then set the tube aside until the paint is completely dry.
2. Cut Out the Template Pieces
Print the template and cut out each piece along the outer lines. Use the shapes as guides for the hair, wings, and halo.
3. Make the Hair
Trace the hair shape onto yellow cardstock and cut it out. Wrap the piece around the top section of the tube and glue it in place.
4. Draw the Face
Use a black marker to draw two eyes and a small smile on the front of the tube. Add two small pink or red circles for the cheeks.
5. Prepare the Wings
Trace the wing shapes onto white cardstock and cut them out. Make sure the edges are smooth and both pieces are ready to attach.
6. Attach the Wings
Glue the wings to the back of the tube. Position them so they extend evenly from both sides, then press them gently until the glue begins to hold.
7. Add the Halo
Trace the halo shape onto yellow cardstock and cut it out. Glue it near the top of the tube so it sits above the angel’s head.
8. Let the Craft Dry
Check that all the paper pieces are firmly attached. Allow the glue to dry completely before displaying or using the finished angel craft.
