
Baby Moses in a Basket Craft
The story of Baby Moses is one of the most cherished accounts in the Bible, making it a perfect inspiration for a memorable hands-on project. This Baby Moses in a Basket Craft brings the beloved story to life using simple materials, giving children a fun and meaningful way to connect with Scripture.
Whether you’re searching for creative Bible crafts for kids, planning an engaging homeschool Bible lesson, or looking for easy Sunday school crafts your students will love, this project delivers on every front. It’s simple enough for little hands, rich with storytelling opportunities, and guaranteed to spark conversation about faith, trust, and God’s protection.
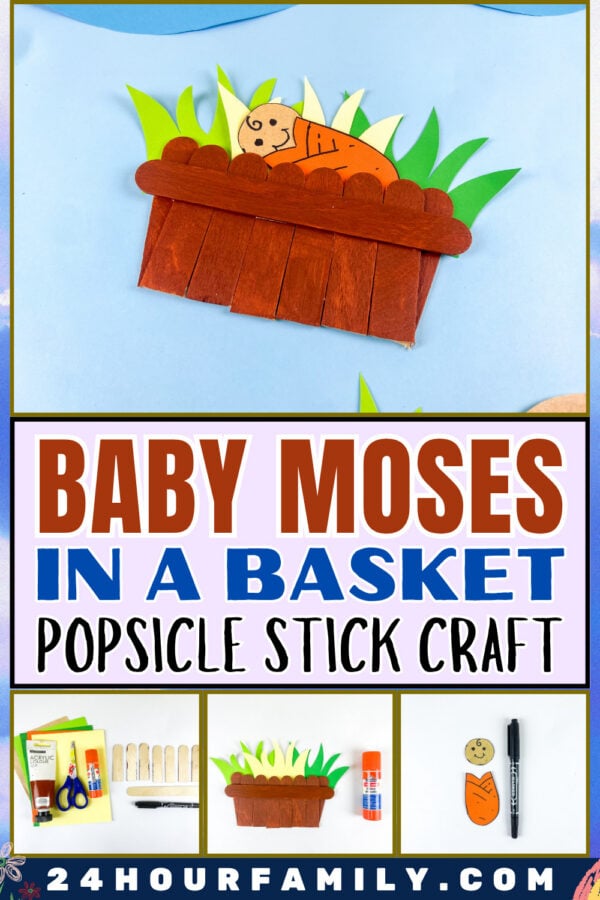
Baby Moses in a Basket Craft
Before making the craft, take a few moments to share the story of Moses from the book of Exodus. The ruler of Egypt was afraid of the growing number of Israelites and ordered that baby boys be put to death. Moses’ mother wanted to protect her son, so she made a special basket coated with tar and placed him inside among the reed plants near the river.
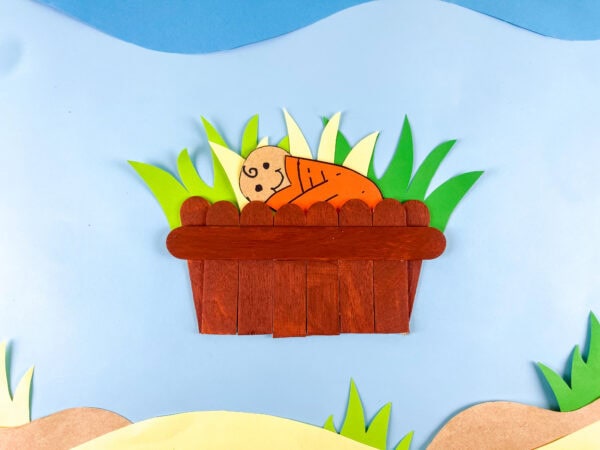
The story of baby Moses reminds children that even during difficult situations, god watched over Moses and kept him safe. The basket allowed him to float on top of the water until he was discovered and rescued.
This powerful lesson teaches children that God loves and cares for them wherever they are.
This post may contain affiliate links. As an Amazon Associate and a participant in other affiliate programs, I earn a commission on qualifying purchases. Read our disclosure policy here.
Crayola Construction Paper Bulk Pack (480 Sheets) – 10 Assorted Colors, 9×12, Classroom Arts & Crafts Supplies for Kids, Art Paper for School Projects Paper Crafts for Kids: 25 Cut-Out Activities for Kids Ages 4-88 Rolls Colored Masking Tape Rainbow Colors Painters Tape Colorful Craft Art Paper Tape for Kids Labeling Arts Crafts DIY Decorative Coding Decoration Teaching Supplies, 0.6 Inch x 16 Yard, 8 ColorsARTISTRO 24 Acrylic Paint Markers for Rock, Fabric, Wood, Glass, Craft, Decoration – Dual-Tip Paint Pens – Stocking Stuffers, Christmas Gift Idea for Teens, Grandkids, Kids – Art Supplies900 PCS Pom Poms, Multicolor Bulk Pom Poms Arts and Crafts, Soft and Fluffy Craft Pom Poms, Assorted Sizes Pompoms, for Arts and Craft Making DecorationsElmer’s Disappearing Purple School Glue Sticks, Washable, 6 Grams, 12 Count – Poster, Vision Board, Back to School, #1 Teacher Brand




Supplies Needed To Make This Bible Craft:
Gather the following materials before getting started:
- Popsicle sticks
- Construction paper
- Glue
- Scissors
- Marker
- Color pencils
- Printable template
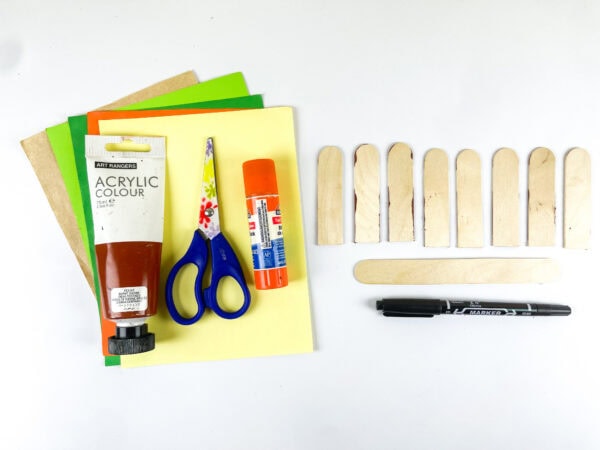
You may also want a pencil for tracing the template pieces before cutting.
Making Your Own Baby Moses in a Basket Craft
Build the Basket
Start by preparing five popsicle sticks. Cut four sticks in half.
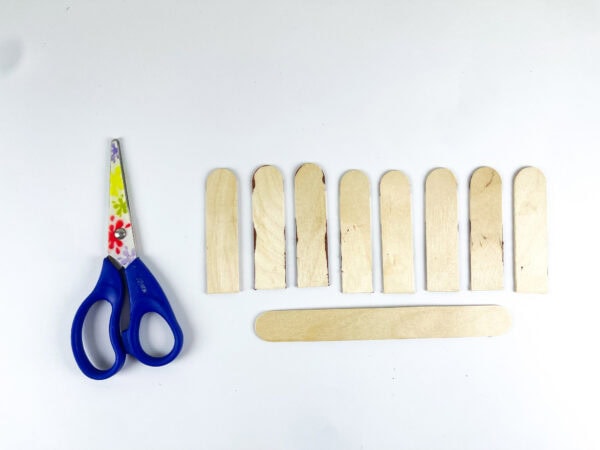
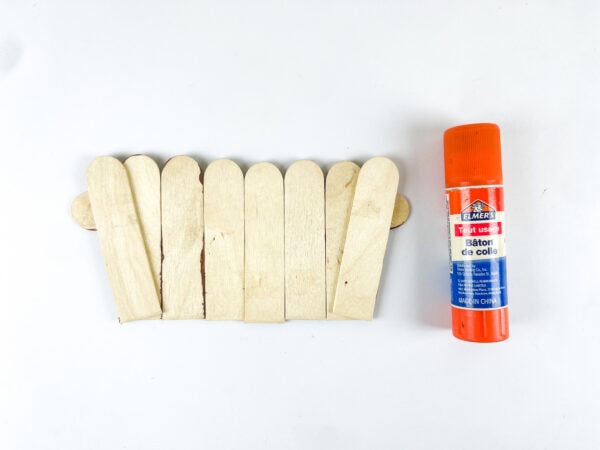
Arrange the pieces to form the basket’s sides and glue them onto a full popsicle stick placed horizontally across the back.
Once assembled, paint or color the basket brown and allow it to dry completely.
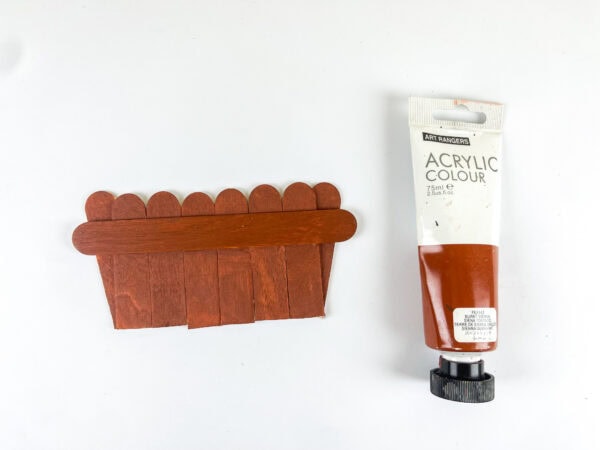
This simple basket craft forms the base of the project.
Create the Grass
Using green paper and white paper, trace the grass shapes from the printable template.
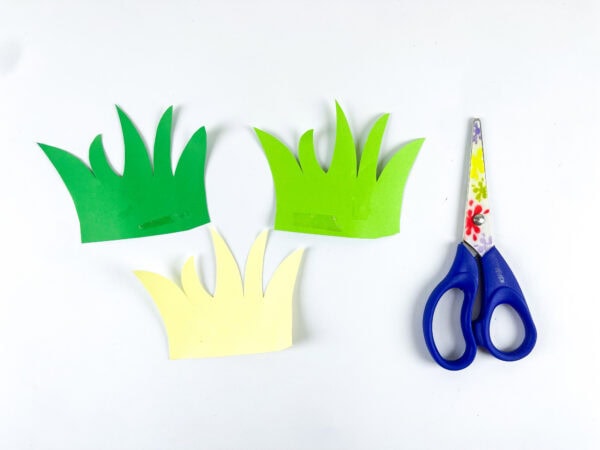
Trim out the template pieces carefully. Layer the grass pieces together for a fuller look. Attach them to the back of the basket so they extend above the top edge.
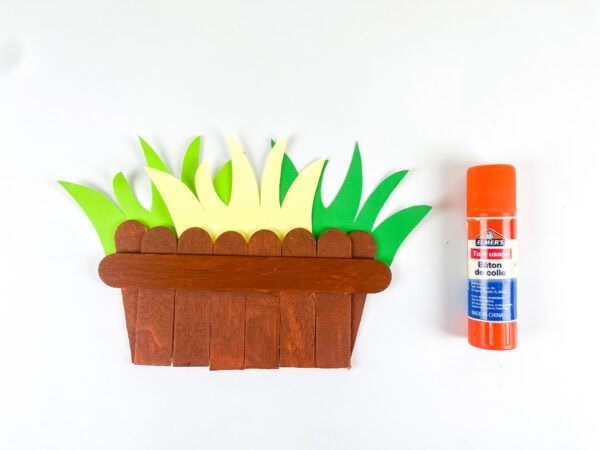
The grass represents the reeds where Baby Moses was hidden.
Assemble Baby Moses
Use a pencil to trace the Baby Moses pieces onto construction paper.
Cut out the head and body shapes, then use a marker to draw the facial features and add simple details to the blanket. Give Baby Moses a happy, friendly expression.
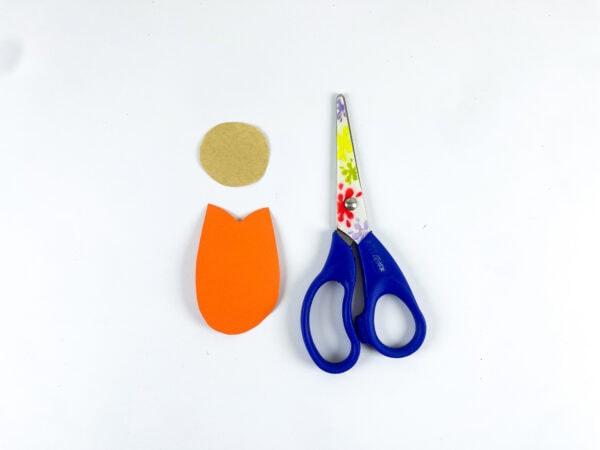
This step transforms the paper pieces into an adorable Baby Moses figure.
Assemble the Character
Attach the head to the body, and make sure the blanket wraps securely around the baby.
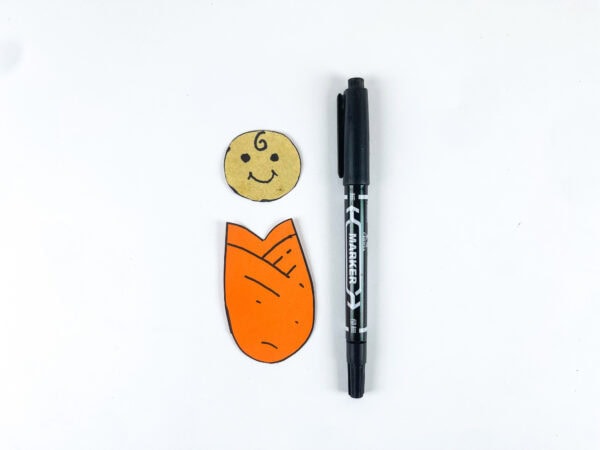
Adding a few extra lines on the blanket can give it more texture and detail. The cozy design makes Baby Moses look safely tucked inside.
Finish the Craft
Glue the baby inside the basket so he appears to be resting among the grass.
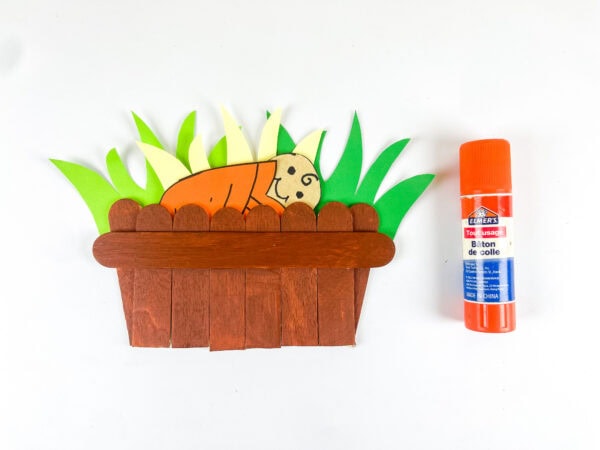
Arrange the grass around the figure until you are happy with the layout. Once everything is attached, your basket and baby project is complete.
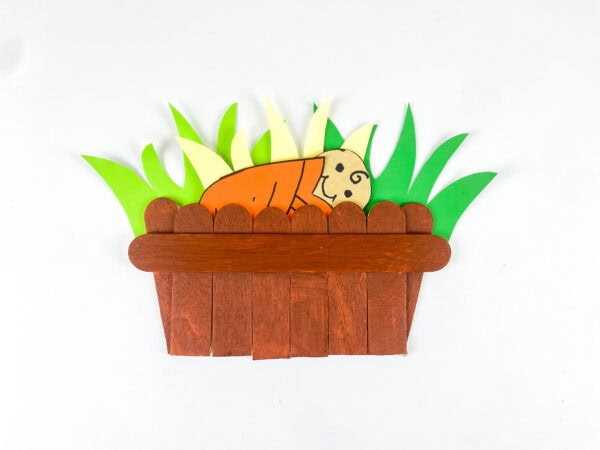
The completed craft makes a wonderful display piece for the classroom or home.
Using This Craft to Teach the Bible Story
This simple Baby Moses-in-a-basket craft helps bring a Bible lesson to life.
After reading the passage, invite children to talk about why Moses’ mother placed him in the basket. Discuss how she trusted god’s protection even when she could not control the situation.
As children work, ask questions such as:
- Why was Baby Moses placed near the river?
- Who found the basket where Baby Moses was hidden?
- What does this story teach us about God’s protection?
- What can we learn from Moses’ family?
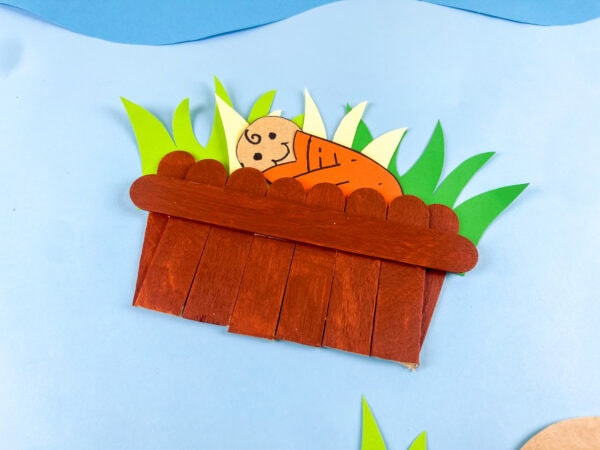
These discussions help reinforce the lesson while keeping children engaged in the activity.
Make the Lesson More Interactive
One of the best things about this project is how interactive it can become.
After the craft is complete, encourage children to reenact the story using their finished creation. They can move Baby Moses around the basket and pretend the river is flowing nearby.
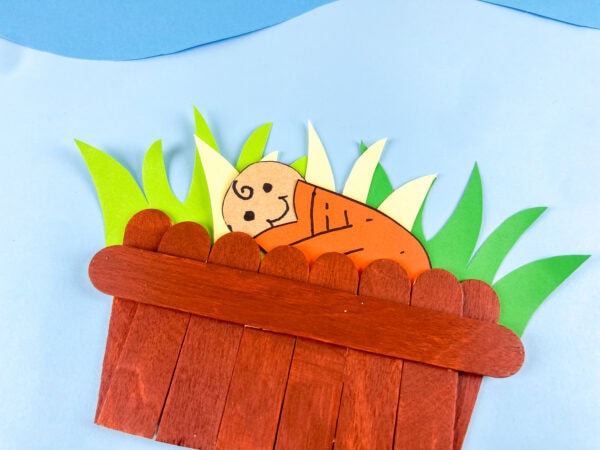
You can even create a simple river scene using blue paper and place the craft on top. Add extra reed pieces around the edges to create a fun display.
Activities like this help children remember the lesson better because they actively participate rather than simply listen.
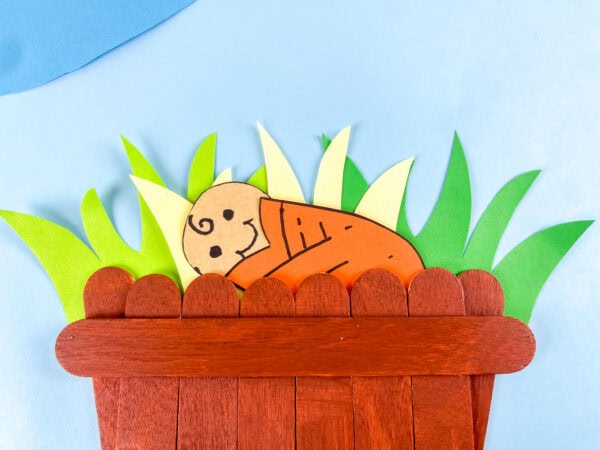
Educational Benefits
This Baby Moses-in-a-basket craft offers more than just a fun afternoon activity.
Children practice:
- Cutting skills
- Gluing techniques
- Following directions
- Story comprehension
- Creative thinking
- Fine motor development
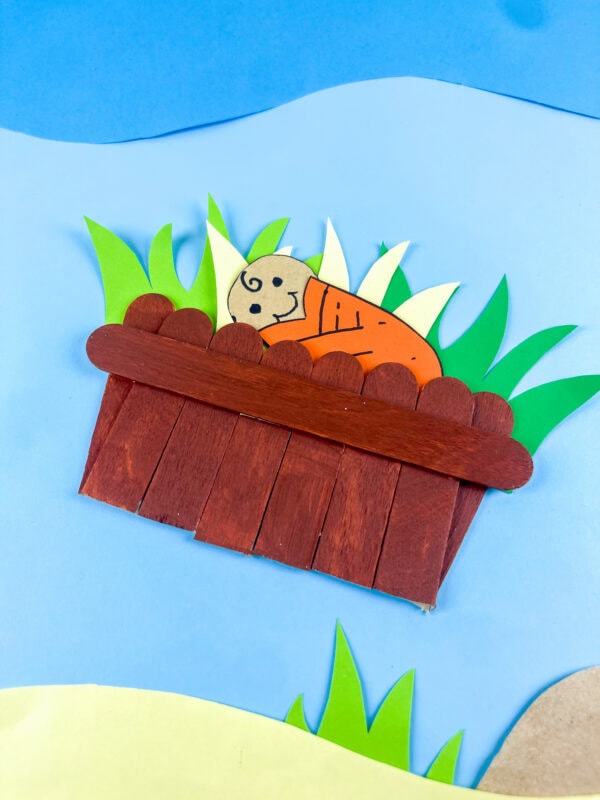
The project also gives children a chance to connect with one of the most memorable stories from the bible through hands-on learning.
More Kids Craft Projects to Enjoy
If you enjoyed making this Baby Moses in a Basket Craft, here are a few more creative activities that are perfect for hands-on learning, seasonal fun, and meaningful lessons.
- Popsicle Stick Acorn Craft – A fun fall-themed craft that lets kids create a colorful acorn using simple craft supplies.
- Cornucopia Popsicle Stick Craft – A festive harvest craft that introduces children to the traditional cornucopia symbol of abundance and gratitude.
- Armor of God Shoes of Peace Craft – An engaging Bible activity that helps children learn about an important piece of the Armor of God.
- Armor of God Helmet of Salvation Craft – A meaningful craft that encourages kids to explore biblical lessons while creating a wearable project.
- Jesus Feeds 5000 Craft (Free Template)
- Joseph Coat of Many Colors Craft
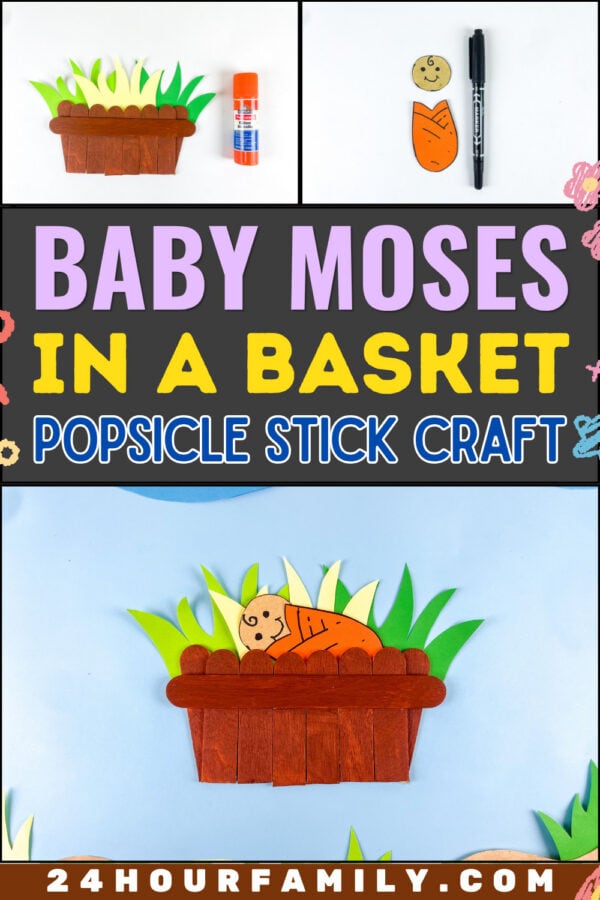
This Baby Moses in a Basket Craft is a simple yet meaningful way to teach children about faith, protection, and courage. By creating their own Moses project, kids can better understand how Moses’ mother trusted God during a difficult time and how God continued to bless Moses throughout his life.
With a simple template, a little glue, and a few colorful supplies, children can create a memorable reminder of the Baby Moses Bible story that they’ll enjoy long after the lesson ends.
What age group is this craft best for?
This activity works well for preschool through elementary-aged children. Younger kids may need help with cutting, while older children can complete most of the project independently.
Can I use a printable template for this craft?
Yes! A printable makes the project much easier to prepare. Simply print the pieces, trace them onto construction paper, and cut them out before assembling.
How Does This Activity Help Teach the Bible Story?
This craft helps children visualize the story of baby Moses from the book of Exodus. As they build the basket and place Baby Moses inside, they can better understand how God protected him among the reeds by the river.
Can this be used for a Sunday school lesson?
Absolutely. This project works great as a Sunday school activity, a homeschool project, or a follow-up to a Bible lesson. It provides a hands-on way to reinforce the story while keeping children engaged.
What other activities can I pair with this craft?
You can pair it with a coloring page, a memory verse practice, a printable worksheet, an activity sheet, or a simple PDF lesson. These additions help children remember important details from the lesson.
Can children reenact the story with this craft?
Yes! The finished basket and baby can be used to reenact the story and encourage interactive learning. Children often enjoy retelling the Moses story using their completed craft as a visual aid.
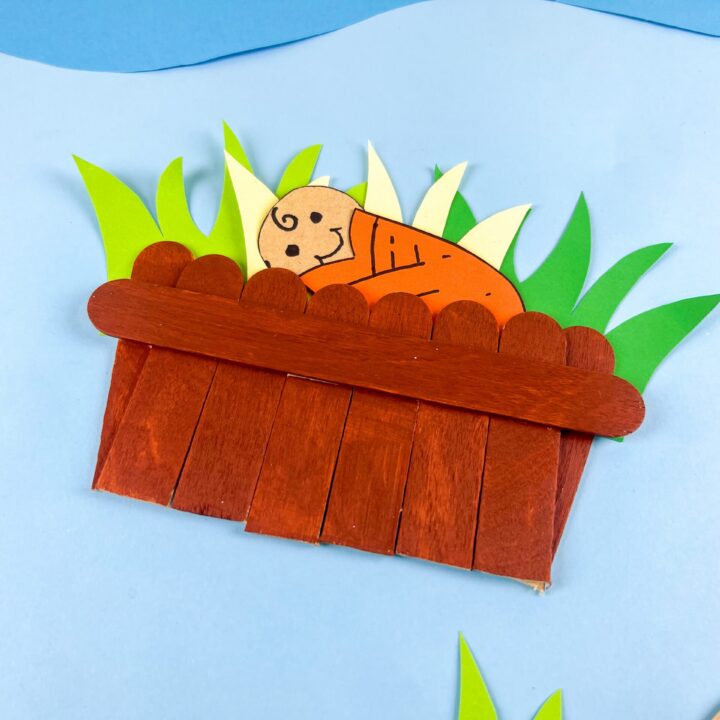
Baby Moses in a Basket Craft
This Baby Moses in a Basket Craft is a simple and meaningful activity that helps children learn about one of the most loved Bible stories. Kids will build a small basket, add tall grass, and create a baby Moses figure tucked safely inside. The project combines cutting, coloring, and gluing for a fun hands-on experience. It’s a great craft for Bible lessons, Sunday school, or homeschool activities. The finished craft also makes a wonderful display piece.
Tools
- Popsicle sticks
- Construction paper
- Glue
- Scissors
- Marker
- Colored pencils
- Printable template
Instructions
1. Build the Basket
Prepare one full popsicle stick and four popsicle sticks cut in half. Arrange the pieces to create a small basket shape, then glue the half sticks onto the full stick placed across the back for support. Color the basket brown and set it aside until completely dry.
2. Create the Grass
Trace the grass pieces from the template onto green and white construction paper. Carefully cut out each piece, then layer them together to create a fuller grassy effect. Glue the grass to the back of the basket so it extends above the top edge.
3. Make Baby Moses
Trace the baby Moses template pieces onto construction paper and cut them out. Use a marker to draw the face and add simple details to the blanket. Color the pieces as desired to give the character a cheerful appearance.
4. Assemble the Character
Glue the head onto the body and position the blanket around the baby. Add a few extra lines or patterns to the blanket with colored pencils to create more texture and detail.
5. Complete the Craft
Place Baby Moses inside the basket and glue him securely in place. Arrange the grass pieces around the figure until you are happy with the layout. Allow everything to dry completely before displaying the finished craft.
