
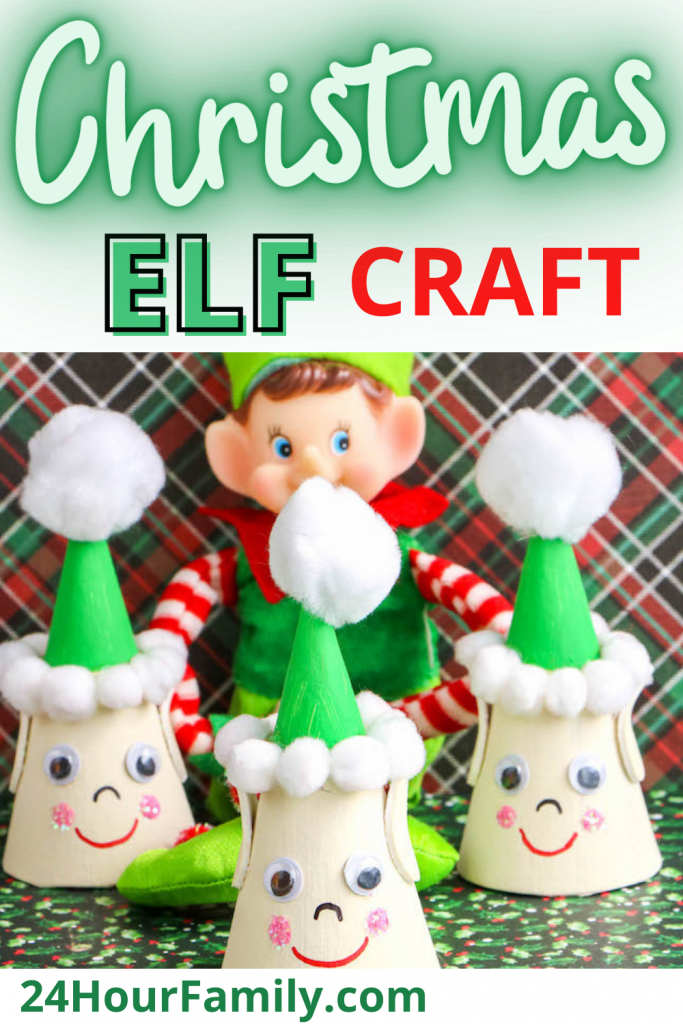
How to Make a Cardboard Cone Christmas ELF Craft
I absolutely adore this Cardboard Cone Christmas Elf on the Shelf Craft! My favorite movie at this time of year is Elf. Who doesn’t love Elf? It is one of the most popular movies at Christmas, and Elf crafts are super fun to make. Creating an elf craft using cardboard cones is a fun and festive, especially during the holiday season.
Christmas Crafts and printables offer many benefits for young learners, and crafting during the holidays can make the season even more special.

This post contains affiliate links, which means I receive commissions for purchases made through the links in this post at no cost to you. Read my disclosure policy here.
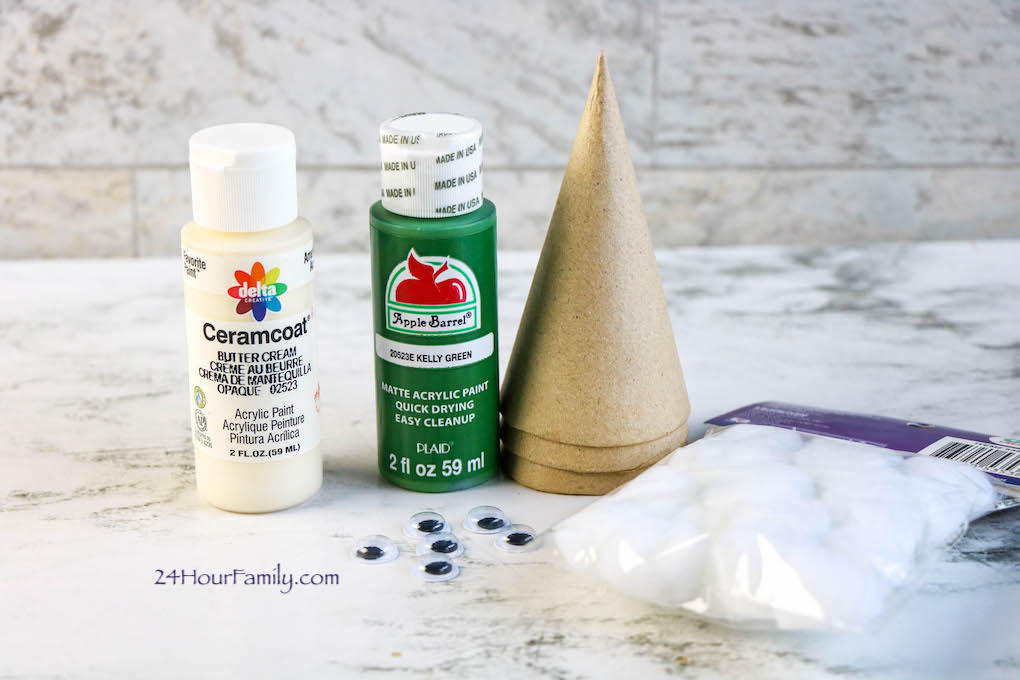
Supplies needed to make this Cardboard Cone Christmas Elf:
- Paper Mache (Cardboard) Cones
- Green paint
- Beige Paint
- Foam paint brush
- Adhesive foam in beige or painted beige
- ¼ inch to ½ inch white pom pom balls
- 1 inch pom pom balls
- Hot glue or glue dots
- Wiggly eyes
- Black permanent marker
- Red permanent marker
- Ribbon, for hanging if desired
How to Make This Elf on the Shelf Craft:
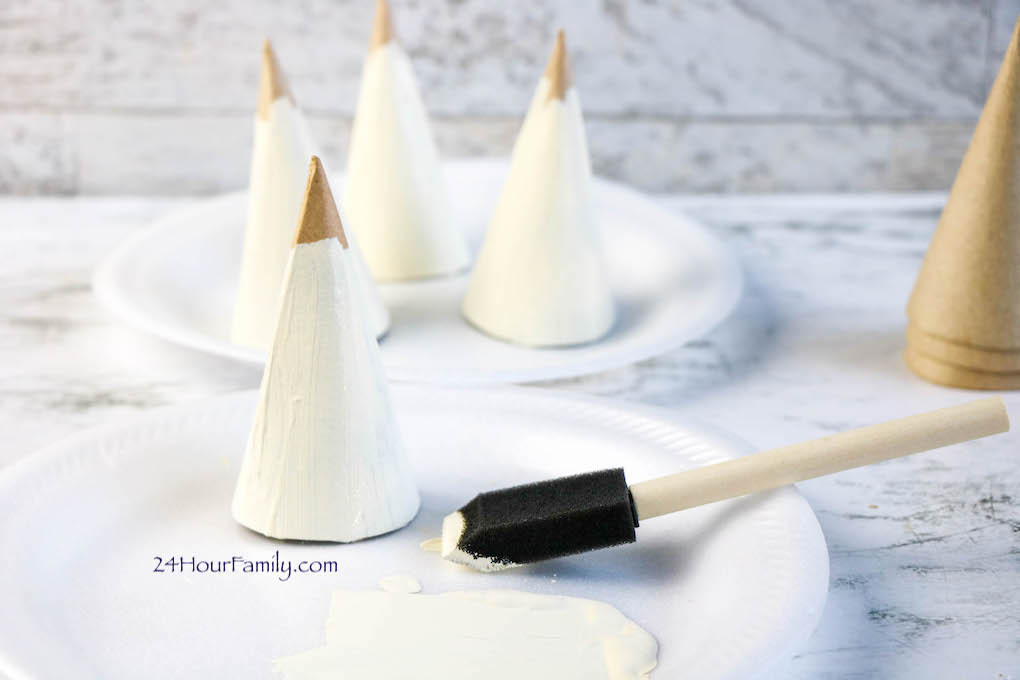
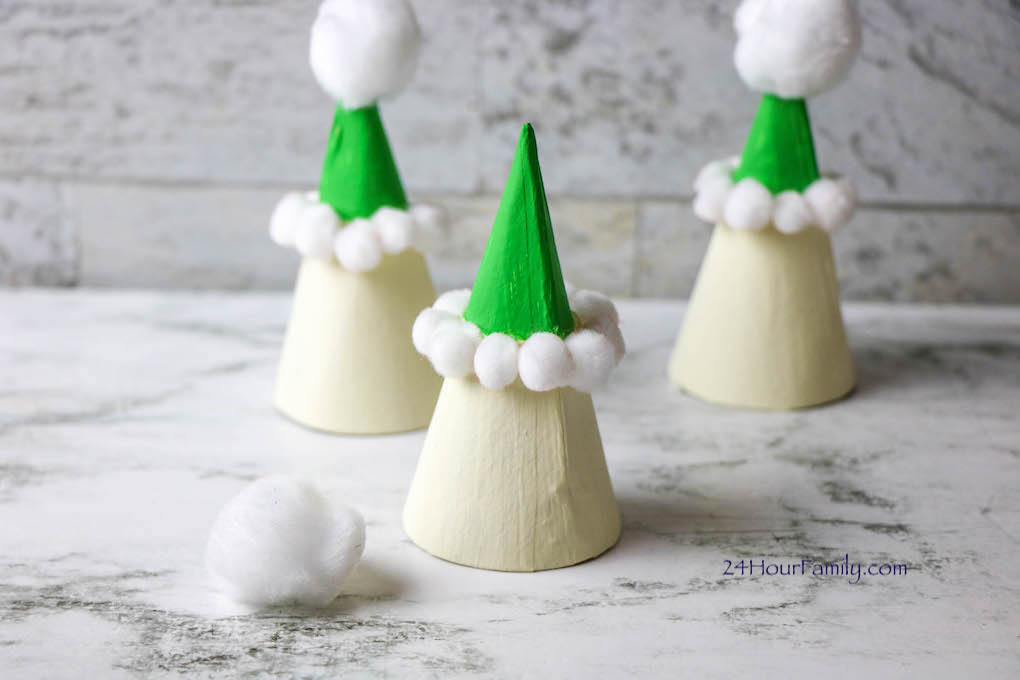
Paint the cardboard paper mache cone with white or beige paint and allow it to dry.
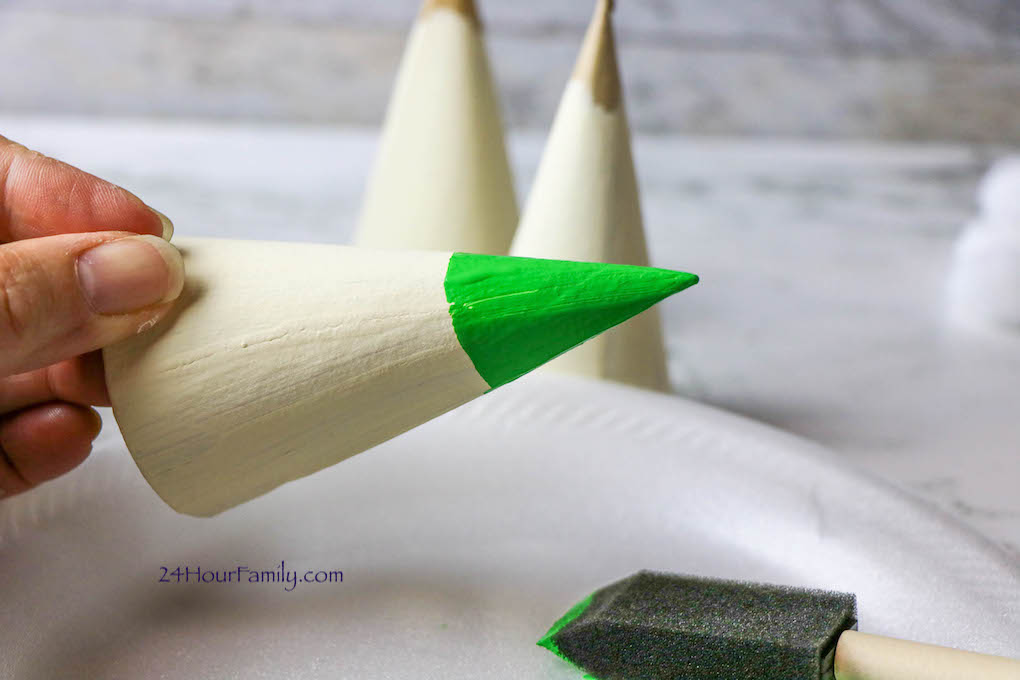
Paint the cone green from the tip of the cone about 1 ½ inch to 2 inches down. This green cone tip will be the elf’s hat. Allow the paint to dry completely.
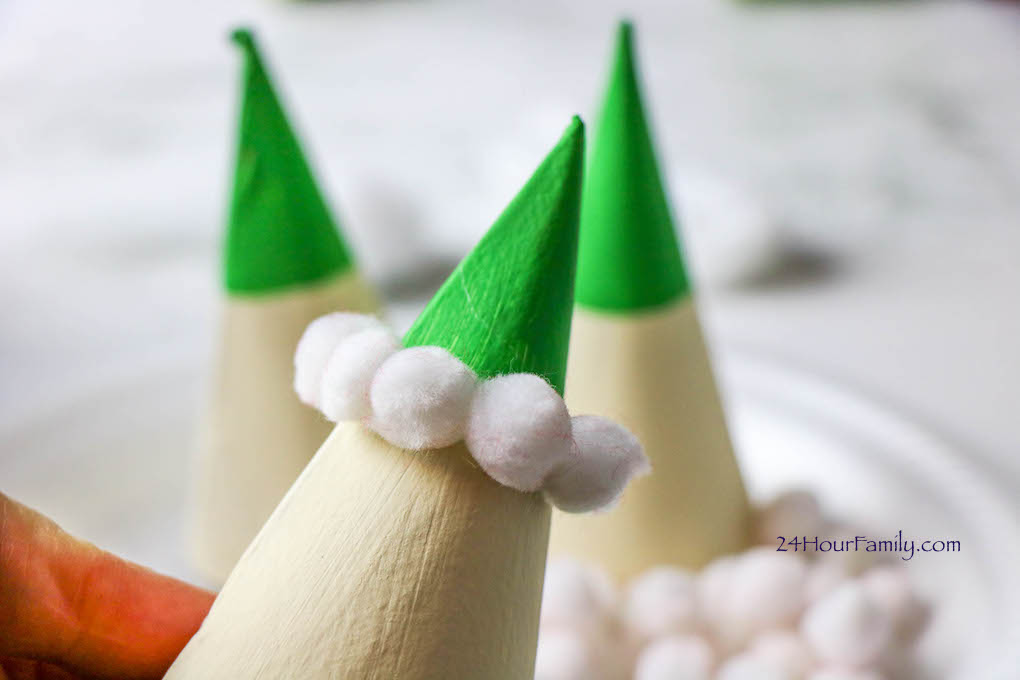
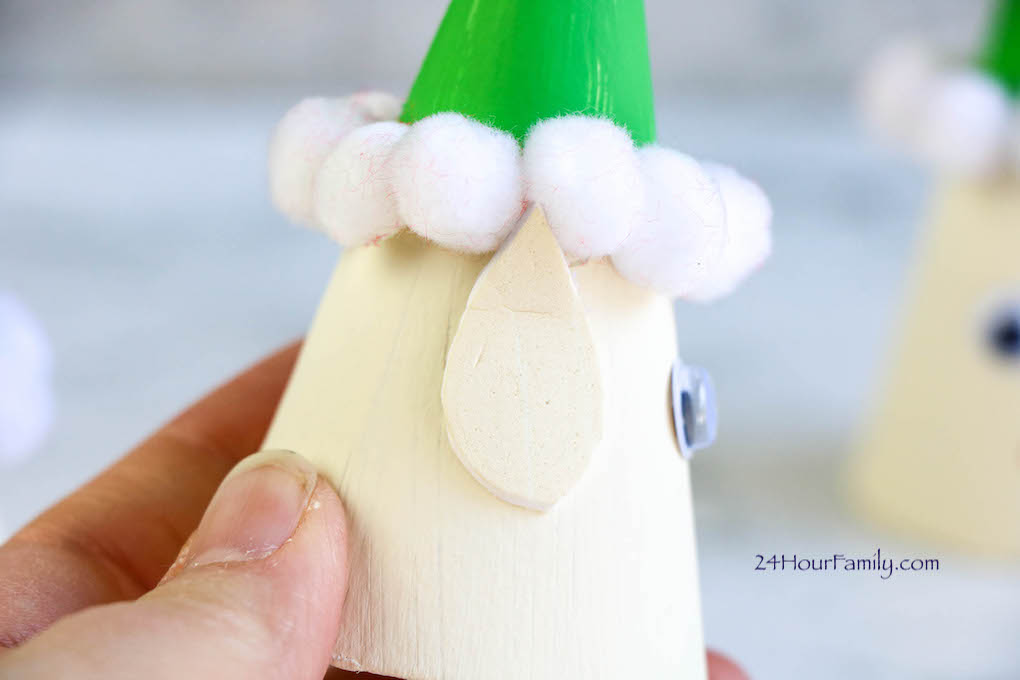
Add a row of small pom poms around the cone where the green and beige paint meet. Add a large pom pom on top to complete the top of the elf hat.
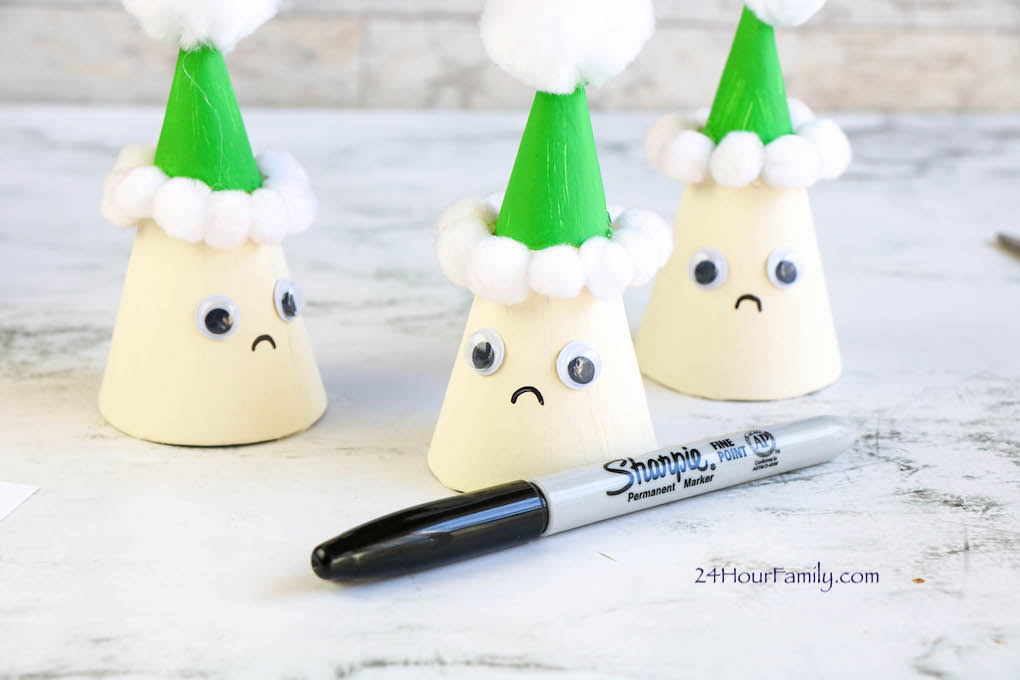
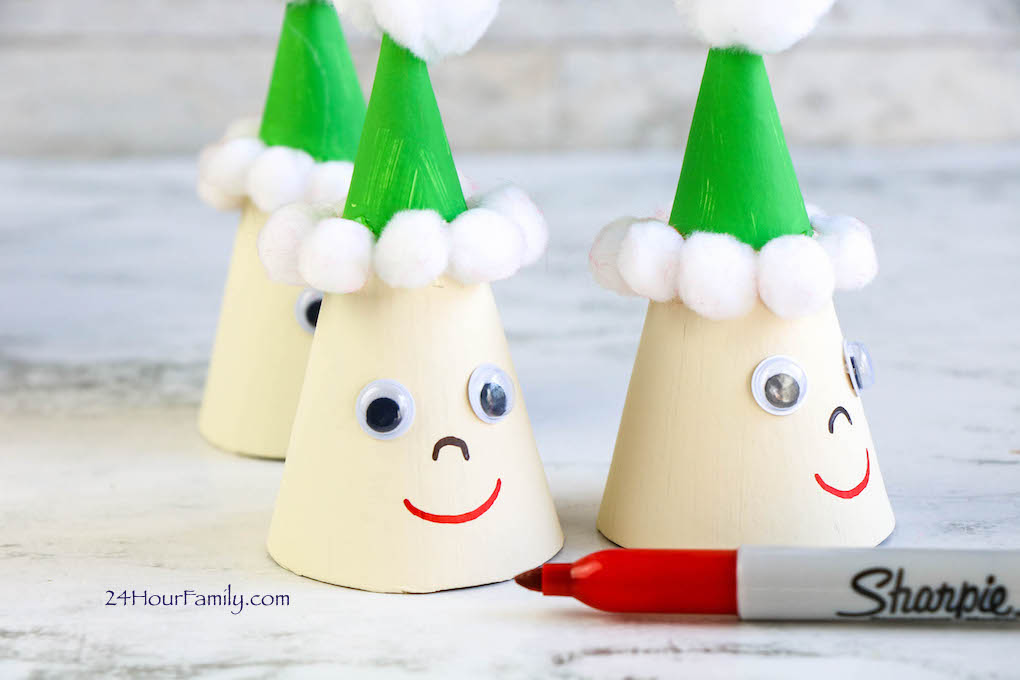
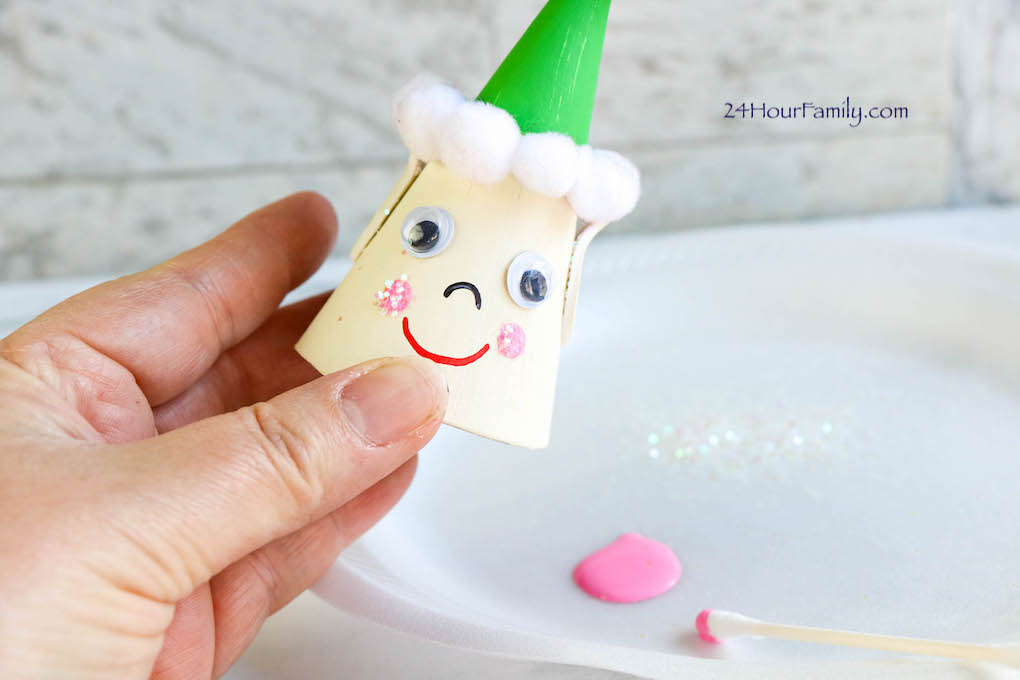
Add wiggly eyes to the cone and draw a mouth and nose with permanent markers to create a face.
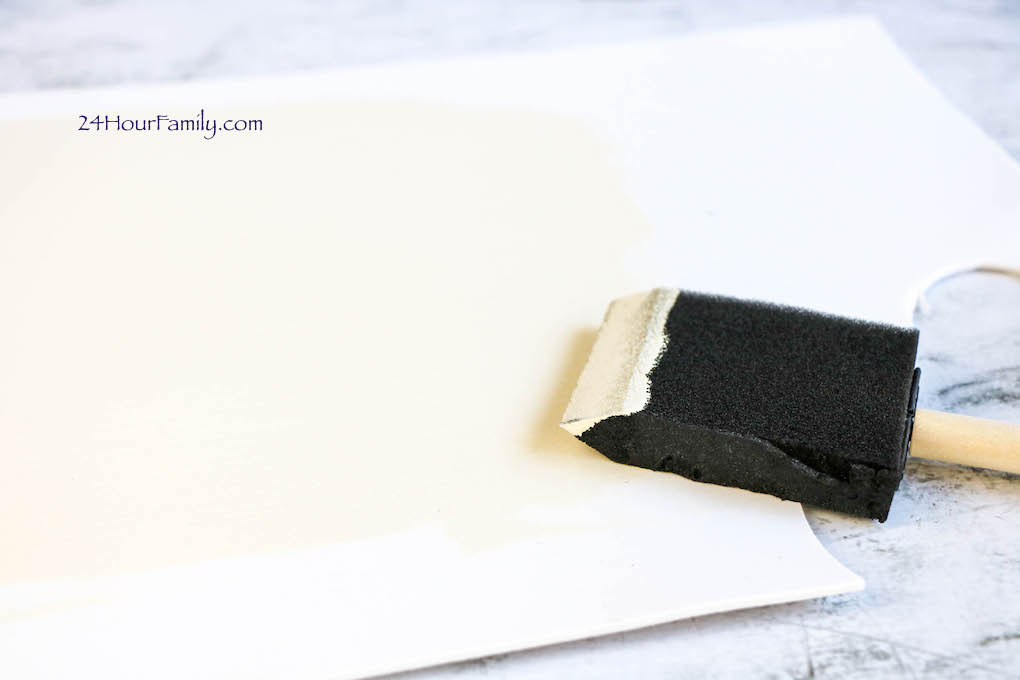
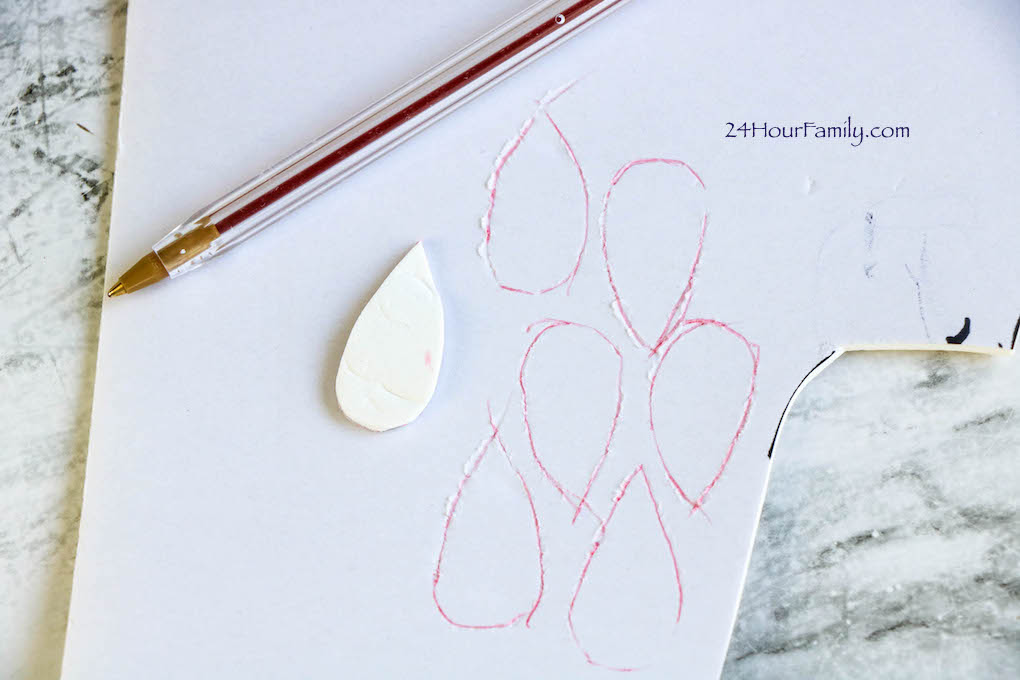
Paint a piece of thick paper or cardboard the same color as the Elf. Next, let the paint dry completely.
Cut a template of your desired ear shape and trace it from the foam. Cut away and attach an ear to each side of the cone.
If desired, carefully use a thick needle (like a darning needle) to pierce through the top of the cone. Thread the hole with ribbon. Tie the loose ends of the ribbon together to form a hanging loop. You can also use glue to attach the ears and let them dry.
Now you have a very adorable ELF Craft!
Printable Elf on the Shelf Arrival Letters
Christmas Eve Letter from Elf on the Shelf
Creative Elf on the Shelf Arrival Gift Ideas
Elf Color by Number Coloring Pages
Elf on the Shelf Arrival Ideas
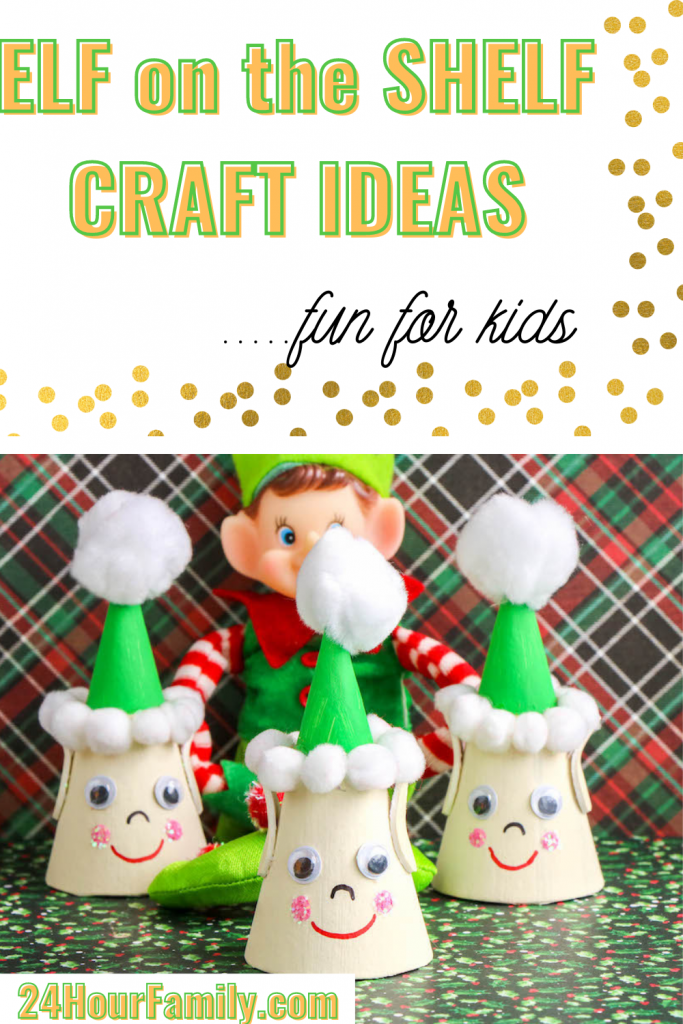

Cardboard Cone Christmas Elf on the Shelf Craft
"Elf on the Shelf" has become a beloved Christmas tradition for many families, and crafting your own Cardboard Cone Christmas Elf on the Shelf Craft is a fantastic way to add a personal touch to the holiday season.
Materials
- Cardboard paper mache cones
- Paint - green and beige
- Foam paint brush
- Adhesive foam - beige or painted beige
- One fourth or half an inch white pom pom balls
- An inch of pom pom balls
- Adhesive tape or hot glue
- Googly eyes
- Permanent marker - black and red
- Optionally, tie a ribbon if you want to hang it
Instructions
- Let's begin our elf craft by prepping the cardboard paper mache cone! Grab some white or beige paint and a paintbrush, and carefully coat the cone with paint.
- Using your green paint and a paintbrush, carefully paint the tip of the cone from about 1 ½ to 2 inches down. Take your time to ensure that the paint covers the tip of the cone evenly, creating a smooth and uniform green color. Once you've painted the hat, set the cone aside and allow the paint to dry completely.
- Using a hot glue gun or craft glue, carefully attach a row of small pom poms around the cone where the green and beige paint meet. Once the small pom poms are in place, add a large pom pom on top of the cone to complete the top of the elf hat.
- Take a piece of thick paper or cardboard and paint it the same color as our elf. To ensure a perfect match, use the same paint for the elf's body and hat. Once you've painted the paper or cardboard, set it aside and let the paint dry completely.
- Start by cutting out a template of the ear shape you desire from foam or felt. You can make them pointy, round, or any shape you like. Once you have your ear template, place it on the foam or felt and trace around it.
- Carefully use a thick needle, such as a darning needle, to pierce through the top of the cone. Thread a ribbon through the hole, ensuring it's long enough to form a hanging loop. Tune the loose ends together once the ribbon is threaded to form a secure hanging loop.