
Clara Moving Eyes Craft (Free Nutcracker Template)
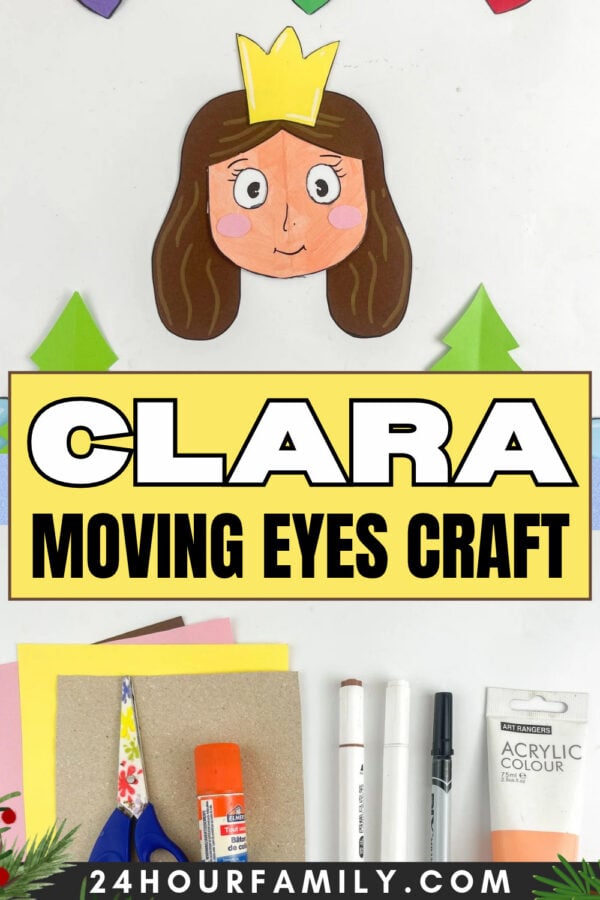
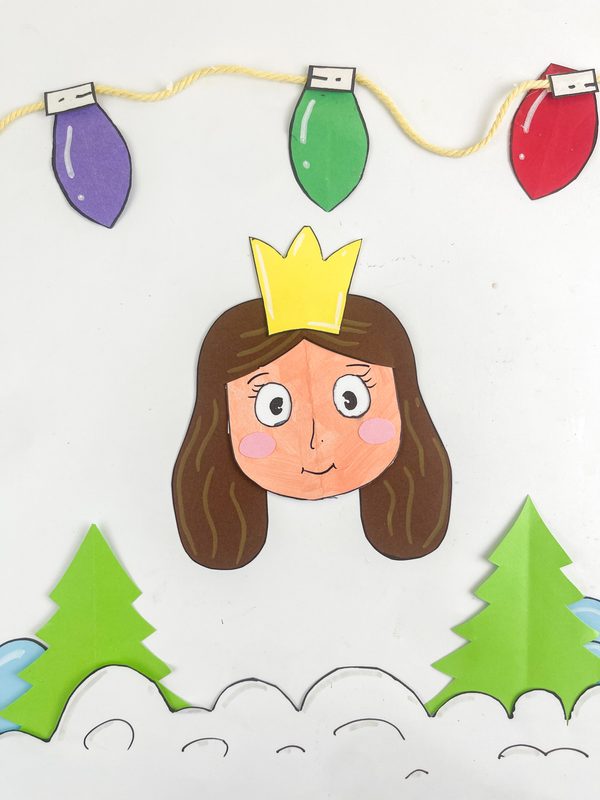
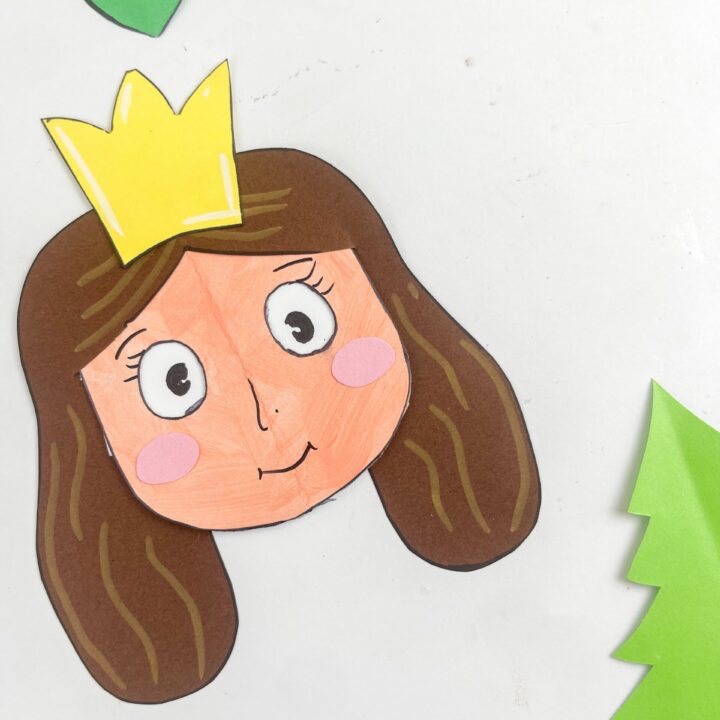
Clara can look from side to side with a little help from your child’s fingers! This Clara moving eyes craft uses construction paper, cardboard, and a hidden slider to bring a Nutcracker character to life. Her brown hair, yellow crown, and rosy cheeks make a cute Christmas activity, but the moving-eye feature is what children will want to try again and again.
Make Clara after reading a child-friendly version of The Nutcracker, before a holiday ballet, or during a December homeschool art-and-craft afternoon.
This interactive 3D paper craft is easy to make at home and gives each kid a playful way to explore the story. Find more seasonal inspiration in our collection of Christmas crafts and printables for kids.
How Do Clara’s Moving Eyes Work?
A loose white insert sits between Clara’s face and a cardboard backing. The pupils are drawn on the sheet and show through two openings in her face. Moving the insert with a finger through a hole in the backing makes Clara look in different directions.
The most important step is leaving the insert unglued. The face attaches to the cardboard around the outer edges, while the inner piece needs room to slide left or right.
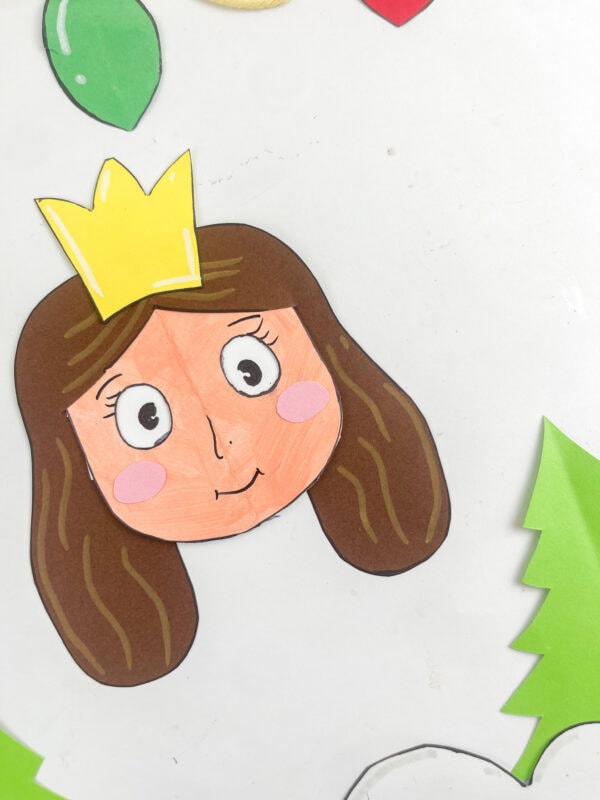
This project is a good fit for elementary-age children with adult help for the small openings and assembly.
Preschool and kindergarten children can help choose a color, decorate the hair, and move the finished eyes while an adult prepares the pieces. It is also a simple way to encourage creativity, fine motor skills, and imaginative play.
This post may contain affiliate links. As an Amazon Associate and a participant in other affiliate programs, I earn a commission on qualifying purchases. Read our disclosure policy here.
Crayola Construction Paper Bulk Pack (480 Sheets) – 10 Assorted Colors, 9×12, Classroom Arts & Crafts Supplies for Kids, Art Paper for School Projects Paper Crafts for Kids: 25 Cut-Out Activities for Kids Ages 4-88 Rolls Colored Masking Tape Rainbow Colors Painters Tape Colorful Craft Art Paper Tape for Kids Labeling Arts Crafts DIY Decorative Coding Decoration Teaching Supplies, 0.6 Inch x 16 Yard, 8 ColorsARTISTRO 24 Acrylic Paint Markers for Rock, Fabric, Wood, Glass, Craft, Decoration – Dual-Tip Paint Pens – Stocking Stuffers, Christmas Gift Idea for Teens, Grandkids, Kids – Art Supplies900 PCS Pom Poms, Multicolor Bulk Pom Poms Arts and Crafts, Soft and Fluffy Craft Pom Poms, Assorted Sizes Pompoms, for Arts and Craft Making DecorationsElmer’s Disappearing Purple School Glue Sticks, Washable, 6 Grams, 12 Count – Poster, Vision Board, Back to School, #1 Teacher Brand




Supplies Needed To Make This Clara Moving Eyes Craft
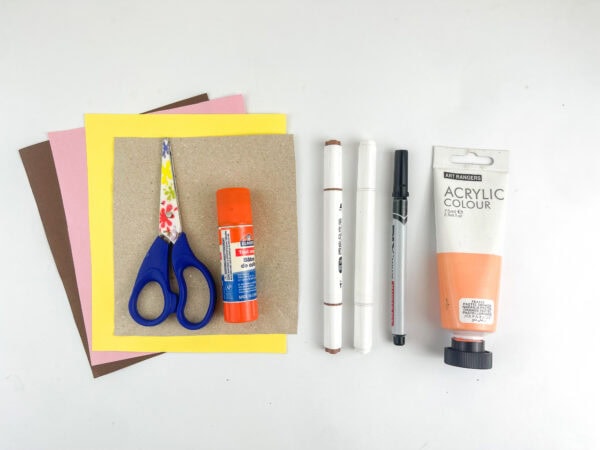
- Printable Clara template
- Brown, yellow, and pink construction paper
- White cardstock for the face
- Smooth white sheet for the moving insert
- Thin cardboard, such as a clean cereal box panel
- Peach paint or another skin-tone color of your choice
- Small brush
- Black marker
- Colored pencils, crayons, or markers for hair details
- Pencil
- Scissors
- Glue stick or craft adhesive
For a version without wet color, use skin-tone cardstock for the face. Choose any hair color your child likes, too.
What Is Included in the Template?
The one-page guide includes the hair shape, crown, and two cheek circles. Draw and cut the face, white moving insert, and cardboard backing separately. The guide below explains how to fit the pieces together and build the moving-eye mechanism.
How to Make Clara with Moving Eyes
1. Print and Cut the Pieces
Print the page and remove the shapes with scissors. Trace the hair onto brown cardstock, the crown onto yellow cardstock, and the two cheeks onto pink cardstock. Cutting the traced pieces gives children useful practice, so let them do as much as their skill level allows.
Keep the hair piece nearby while you make the face. It will help you check the size and shape before attaching anything.
2. Make the Face and Cut the Eye Openings
Draw a face shape on sturdy white cardstock with a fairly straight top and a rounded chin. Size it to sit behind the opening in the hair, with enough overlap along the top and sides to attach the hair later.
Cut out the face. Mark two small oval eye openings, leaving space between them for the nose, and have an adult help with the cutting.
Color the face peach or your chosen skin tone, then let it dry completely if you used wet color. If you use skin-tone cardstock, you can skip this step.
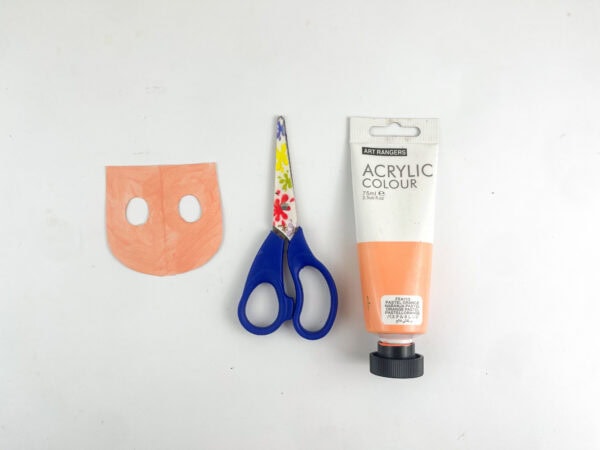
3. Prepare the Moving Insert and Cardboard Backing
Trim a rectangle of smooth white paper slightly smaller than Clara’s face. Round the bottom corners if needed. This piece must cover both eye openings while leaving a narrow border around the face for attaching the backing.
Prepare a cardboard backing slightly larger than the white insert, but small enough to hide behind the finished face and hair. Have an adult make an oval hole for finger access in the lower part of the card.
Place the white insert over the cardboard. You should be able to touch the back of the insert through the hole.
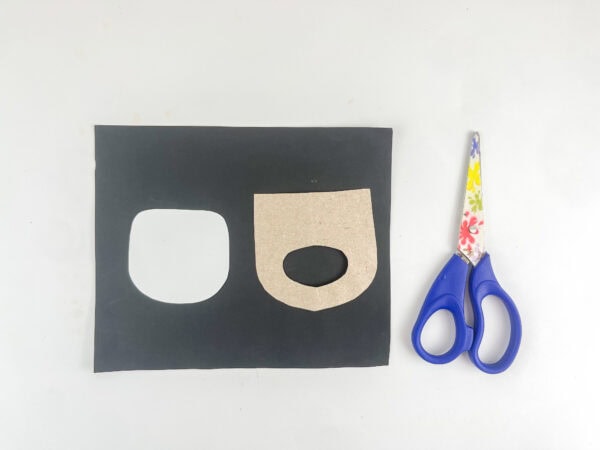
4. Assemble the Sliding Pieces
Stack the pieces in this order: cardboard backing, loose white insert, and Clara’s face on top.
Before attaching them, move the white piece slightly side to side. It should stay behind both eye openings without catching on the edges.
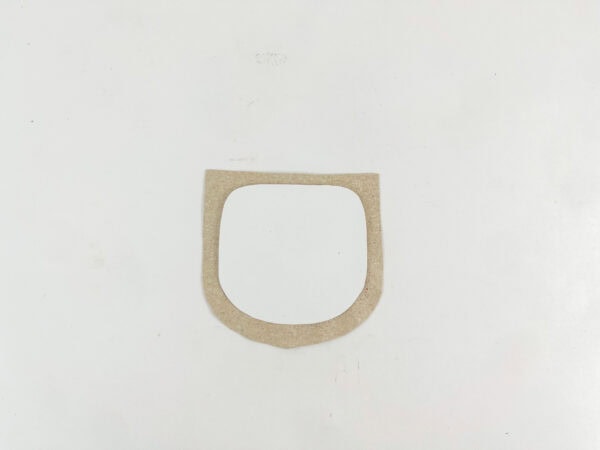
Apply a narrow strip of glue only where the outer edge of the face meets the cardboard, outside the insert’s sliding area. Attach the face to the backing without gluing the insert or squeezing the pieces tightly together.
Let the glue dry, then test the movement through the opening in the back. Small movements are all you need.
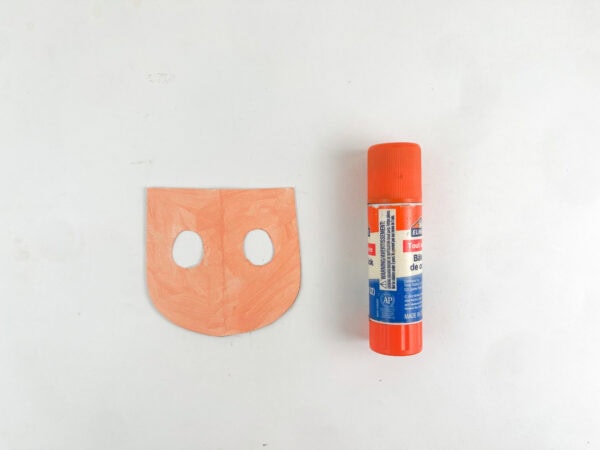
5. Draw Clara’s Eyes and Smile
Center the white insert behind the eye openings. Hold it still and draw a small black pupil on the visible white area inside each opening. Keep both pupils facing the same direction, then let the ink dry.
On the face, outline the eyes and add eyelashes, eyebrows, a small nose, and a smile. This detail step lets children add their own pattern or expression while keeping the eye openings clear.
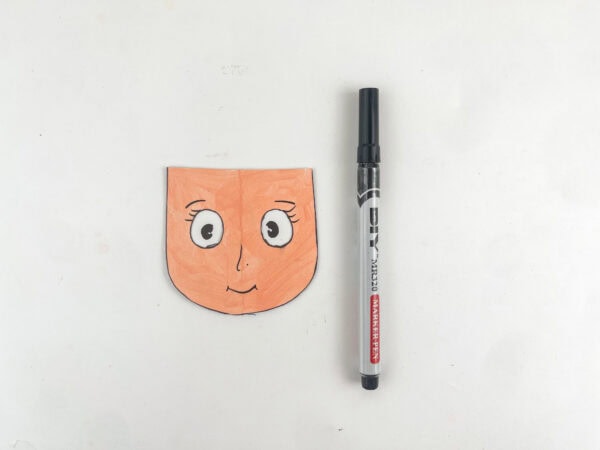
6. Add the Hair, Crown, and Cheeks
Arrange the brown hair around the face and attach it in place. Add the yellow crown at the top, then place one pink cheek below each eye.
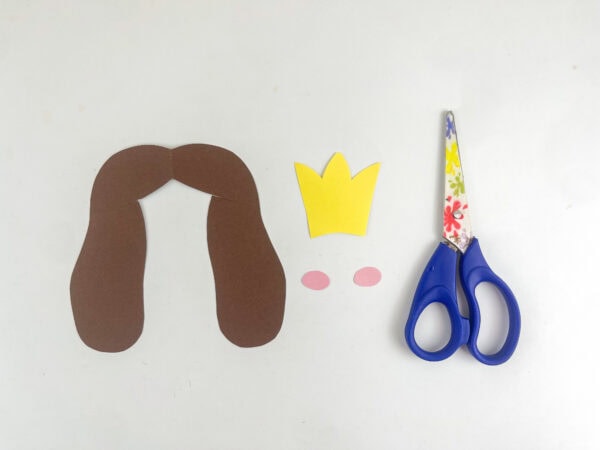
Use a colored pencil, crayon, or marker to add curved strands through the hair. Outline the crown with black marker if you want it to match the photographed sample, or add a small yarn detail for extra texture.
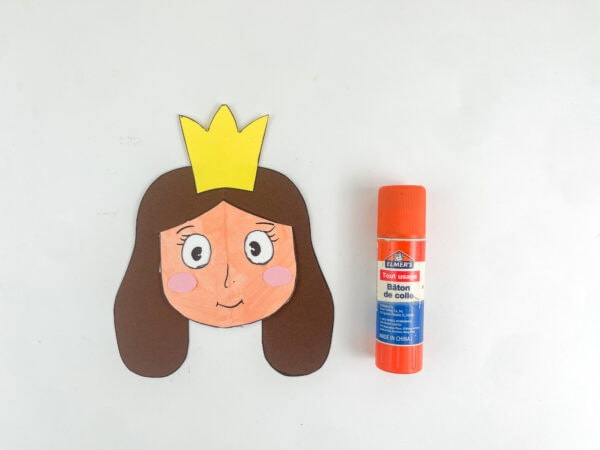
Keep adhesive away from the eye openings and the sliding insert.
7. Test the Moving Eyes
Once everything is dry, hold Clara gently by the edges. Place a finger through the hole in the cardboard backing and move the white insert slightly left and right.
Watch how her expression changes as the pupils move. If there is enough space inside, try a small upward or downward movement, too.
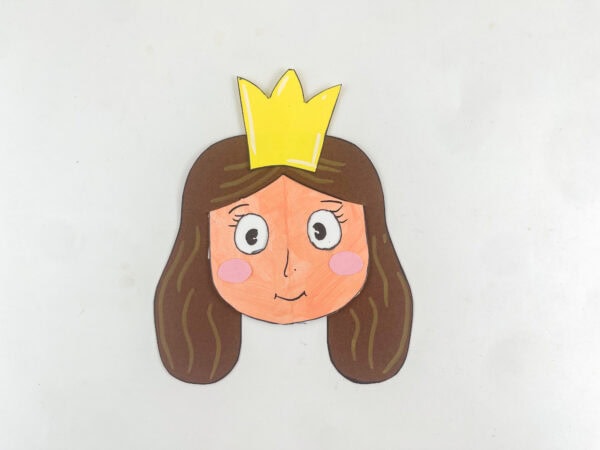
This simple DIY feature makes the finished character more interactive and gives children plenty of room for pretend play and imagination.
Tips: If the Eyes Will Not Move
The white insert feels stuck: Check whether adhesive has reached it. If you can gently lift an edge without tearing the face, free the insert and let it dry before trying again. Replace it if it is damaged.
The insert catches when it slides: Trim it slightly or round its corners. Leave it large enough to cover both eye openings throughout the small movement.
The face presses too tightly against the insert: Avoid flattening the pieces together. If needed, add narrow strips of cardstock along the outer attachment edges as spacers, outside the sliding area.
The pupils disappear: Move the insert a shorter distance. The eyes only need a small shift to change Clara’s expression.
The backing bends: Use a firmer piece of thin cardboard, and hold the finished craft by its edges while operating the slider.
Nutcracker Activities to Try with Clara
Use the finished project during storytime and ask your child what Clara might be watching. Is she looking toward the Christmas tree, noticing the Mouse King, or following a dancer across the stage? This activity can engage children in retelling and encourage them to explore the characters.
For a simple sequencing exercise, ask children to tell what happened first, next, and last in the version of The Nutcracker you read together. Younger children can practice direction words by making Clara look left, right, up, and down.
You can also create a character display with our Nutcracker Mouse King paper plate craft and Sugar Plum Fairy paper plate craft. Keep the back of Clara accessible so children can still operate her eyes.
For a classroom or co-op group, prepare the cardboard finger holes and face openings in advance. Make one sample to show how the pieces fit together, and check each child’s slider before the adhesive dries.
Get the Free Clara Printable
Print the Clara design to make the hair, crown, and cheeks for your sliding-eye project. Gather a few sheets of paper and a piece of thin cardboard, then follow the directions above to make the face and sliding eyes.
More Nutcracker Crafts for Kids
Continue your Nutcracker theme with a few more hands-on projects:
- Clara paper plate craft: Make another version of Clara with a paper plate face and a bow.
- Printable Christmas Nutcracker craft: Build a small paper stage for more Nutcracker storytelling.
- Nutcracker handprint craft: Add a handprint project to your holiday craft collection.
- Nutcracker popsicle stick ornament: Make a Nutcracker decoration for the Christmas tree.
Does the download include all the pieces?
It includes Clara’s hair, crown, and two cheeks. The face, white sliding insert, and cardboard backing are made separately using the fitting instructions in this tutorial.
Can preschoolers make this Clara project?
Preschoolers can help decorate and attach the larger pieces, but an adult should prepare the small eye openings, make the cardboard finger hole, and help assemble the moving pieces. Older children may be able to do more of the tracing and cutting themselves.
Can I make it without paint?
Yes. Use skin-tone cardstock for the face instead of painting white paper. You can also color the face with crayons or colored pencils before assembling the pieces.
Do I need googly eyes?
No. The pupils are drawn on a loose white insert behind the face. Gluing googly eyes over the openings would cover the moving part of this craft.
Why will Clara’s eyes not move?
The insert may be glued down, too large, or pressed too tightly between the face and backing. Keep adhesive outside the sliding area, allow a little space between the pieces, and test the insert before it dries.
Can I hang up the finished Clara moving eyes craft?
Yes, but children need access to the opening in the back to move the eyes. Keep Clara as a handheld design for play, or take her down from the display when children want to use the slider.
Clara Moving Eyes Craft
Make a Clara moving eyes craft inspired by The Nutcracker. A loose white paper insert slides behind the face so children can move her pupils using a finger opening in the cardboard backing.
Materials
- Printable Clara template
- Brown, yellow, and pink construction paper
- White cardstock for the face, or skin-tone cardstock
- Smooth white paper for the moving eye insert
- Thin cardboard
- Peach or other skin-tone paint, optional when using colored cardstock
- Glue stick or craft glue
Tools
- Printer
- Pencil
- Scissors
- Paintbrush if using paint
- Black marker
- Colored pencils or paint pens
Instructions
- Print and cut out the Clara template. Trace the hair onto brown paper, the crown onto yellow paper, and the cheeks onto pink paper. Cut out the pieces.
- Draw and cut a face with a straight top and rounded chin. Fit it behind the hair opening with a little overlap for attaching the hair.
- Mark two oval eye openings in the face. Have an adult help cut them out. Paint the face and let it dry, or use skin-tone cardstock.
- Cut a smooth white paper insert slightly smaller than the face but large enough to cover both eye openings as it moves a little from side to side.
- Cut a thin cardboard backing slightly larger than the insert and small enough to hide behind the face and hair. Have an adult cut an oval finger-access hole in the lower part of the backing.
- Stack the cardboard, loose white insert, and face. Check that the insert slides and can be reached through the hole in the back.
- Glue the outer face edges to the cardboard only where they sit outside the insert's sliding area. Do not glue the white insert or press the layers tightly together. Let the glue dry and check movement.
- Center the white insert and draw a black pupil through each eye opening onto the white paper. Let the ink dry. Draw eyelashes, eyebrows, a nose, and a smile on the face.
- Glue on the hair, crown, and pink cheeks. Add curved lines to the hair with a colored pencil or paint pen.
- Let the glue dry. Hold Clara by the edges and use a finger through the back opening to slide the white insert gently from side to side.
Notes
- The printable provides the hair, crown, and cheek shapes. Make the face and mechanism separately as described.
- An adult should help cut the eye openings and cardboard hole.
- Keep the white insert loose and all glue outside its sliding area.
- If the insert catches, trim it slightly. It must still cover both eye openings.
- Use skin-tone cardstock to skip painting and reduce waiting time.
