
Abraham Bible Paper Craft
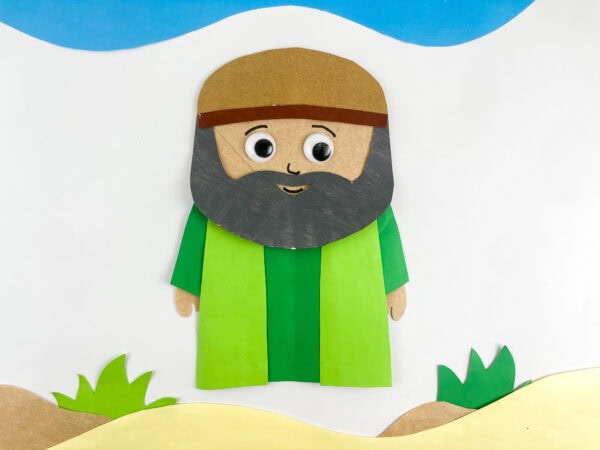
Teaching children about Abraham becomes even more memorable when they can create something connected to the story. This Abraham Bible Paper Craft is a simple, hands-on project that uses basic supplies to help kids learn about one of Genesis’s most important figures.
As children cut, color, and assemble their craft, they can explore the story in a fun and engaging way.
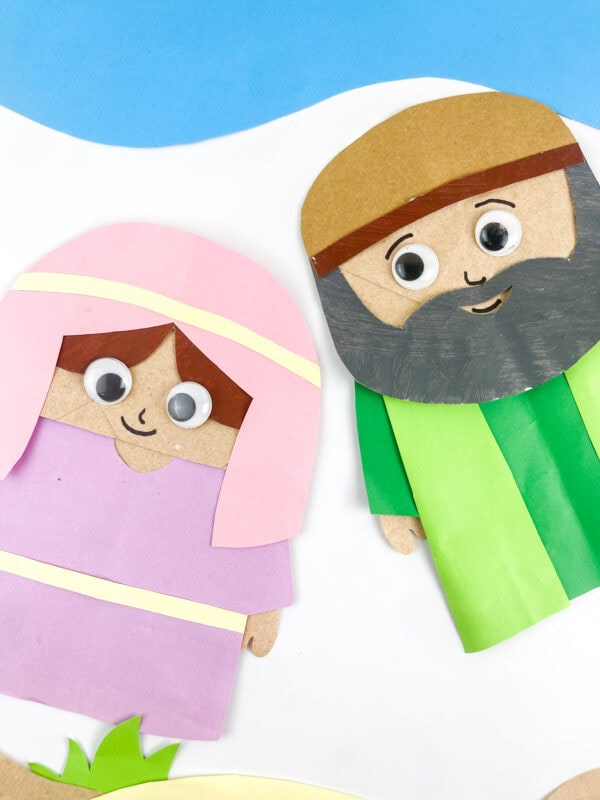
This Sarah Bible craft for kids and this Abraham Father of Nations Craft pair perfectly with this Abraham Craft. And you can find more Bible Crafts and Printables here.
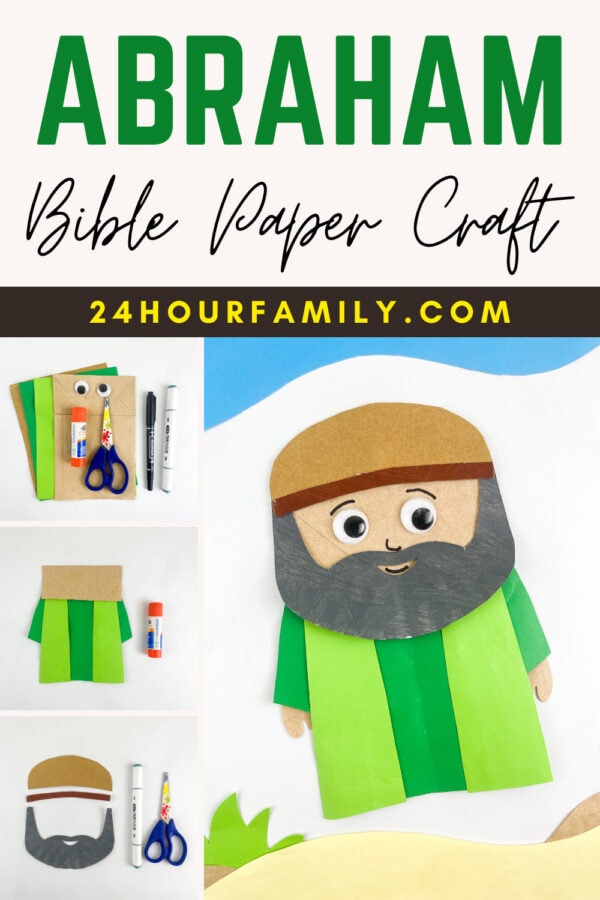
It’s easy to make, kid-friendly, and provides a creative opportunity to reinforce important Bible lessons while making an adorable Abraham-themed craft.
Abraham Bible Paper Craft
The story of Abraham (originally called Abram) is found in Genesis 12-15 and beyond, and it’s one of the foundational bible stories in the Old Testament.
God called Abram to leave his home and go to a land he hadn’t even seen yet. Along the way, in Genesis 15, God made an incredible promise to Abraham that his descendants would be as numerous as the stars in the sky. Can you imagine that?
God brought him outside and told him to look up and count the stars, saying that’s how many descendants he would have. It’s a beautiful picture of faith and trust, and it’s the kind of Bible verse that sticks with kids long after the lesson.
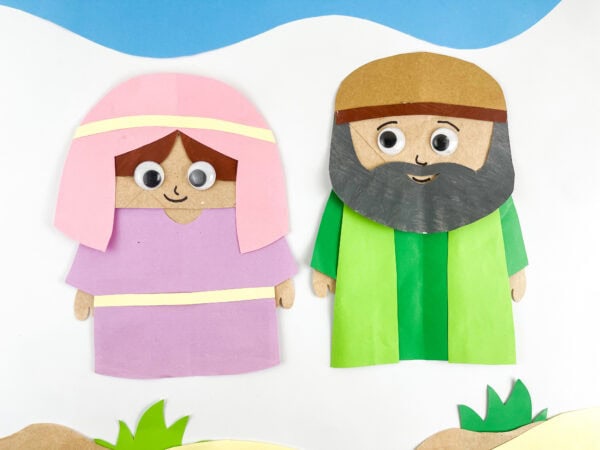
This promise to Abraham sits at the heart of the journey of faith we see throughout Genesis 12-15, and it’s a wonderful springboard for talking with children about how God keeps his promises, even when we can’t yet see how things will work out.
Later in the story, Abraham and Sarah have a son, Isaac, and Isaac’s birth becomes one of the clearest examples in the whole Bible of God’s promise to Abraham coming true. The relationship between Abraham and Lot, his nephew, also offers rich material if you want to expand your Bible lesson further.
What You’ll Need for This Craft
One of the best things about this Abraham bible paper craft is how few supplies it requires. Here’s your simple materials list:
- A paper bag
- Construction paper (a few shades of green work great for the robe, plus tan, brown, and gray)
- Glue
- Googly eyes
- Scissors
- Markers
- Printable Abraham Template
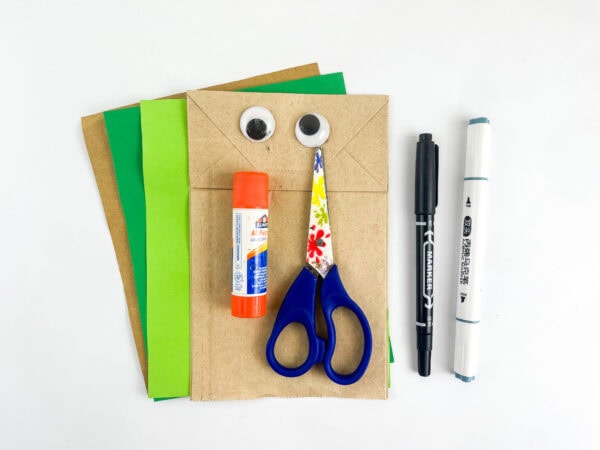
That’s it! Most of these are things you probably already have at home or in the classroom, so this is a great craft idea for a busy week when you don’t have time to run to the store.
Step-by-Step: How to Make Your Abraham Bible Paper Craft
Step 1: Cut and trace your templates.
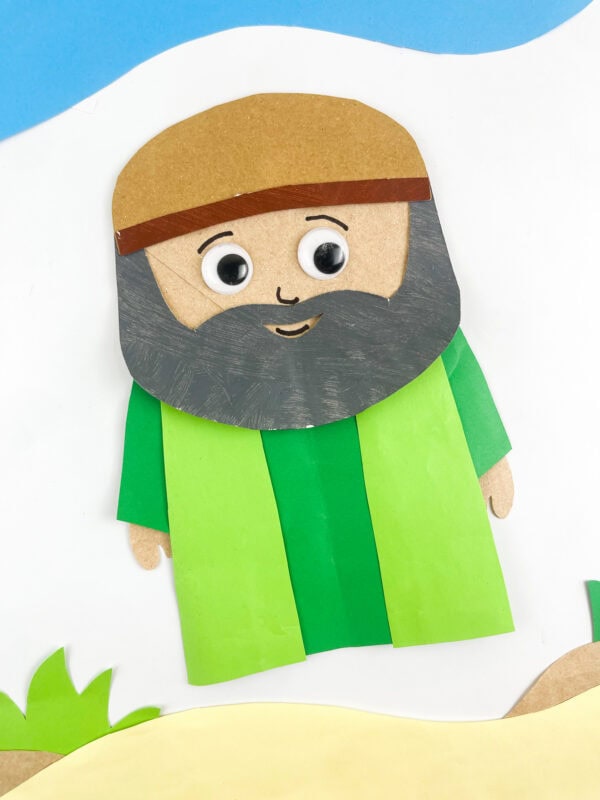
Using your construction paper, trace and cut out the shapes you’ll need: a rounded head shape, a headband strip, a beard with a little smile cut-out, robe pieces, sleeves, and two small hand shapes.
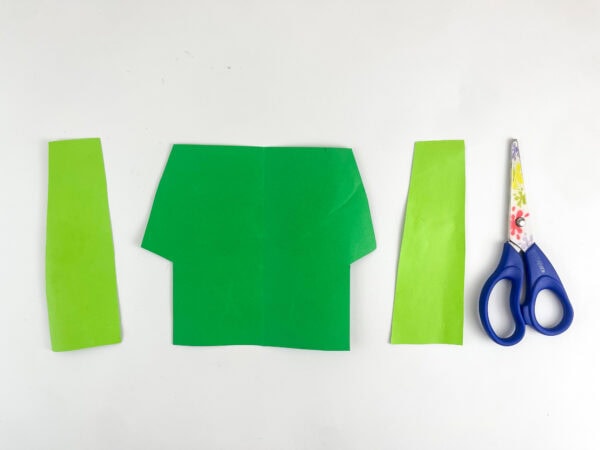
Tracing the templates onto their corresponding paper colors first makes cutting much easier, especially for younger kids working on fine motor skills.
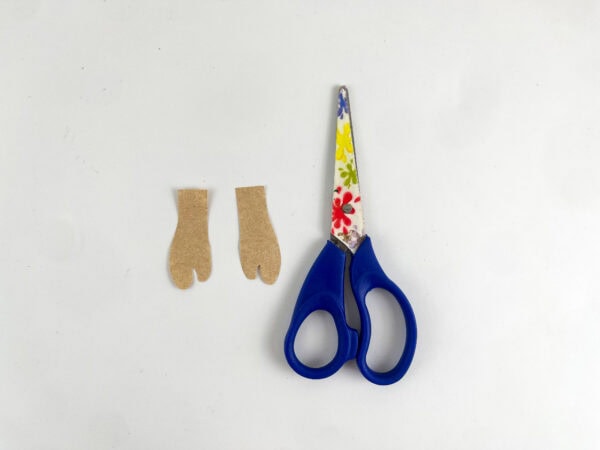
Step 2: Assemble the templates one by one.
Lay everything out before you start gluing so you can see how the pieces fit together.
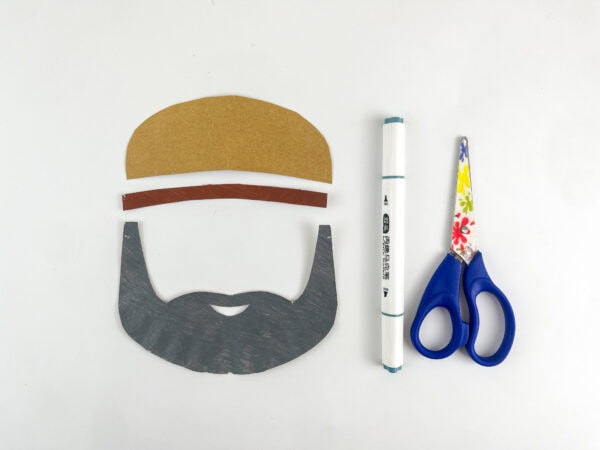
This step helps children practice sequencing and following directions, which ties in nicely if you’re using it as part of a broader Sunday school lesson on patience and order.
Step 3: Attach the clothes to the paper bag.
Glue the green robe pieces and sleeves onto the front of the paper bag.
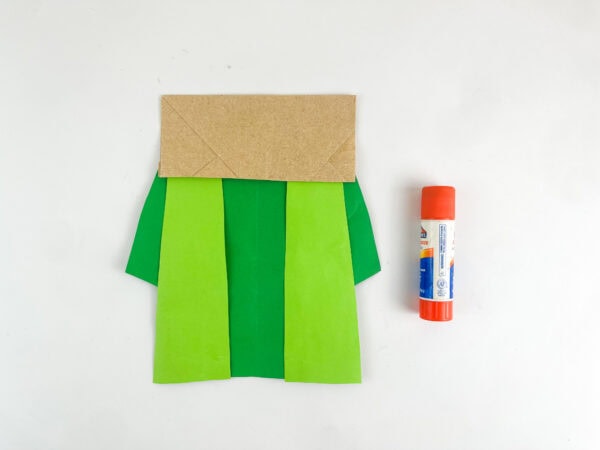
This becomes the base of your little Abraham figure and gives the craft its three-dimensional, paper-bag-puppet feel.
Step 4: Attach the head — hair and face.
Glue on the tan head shape, the brown headband, and the gray beard piece.
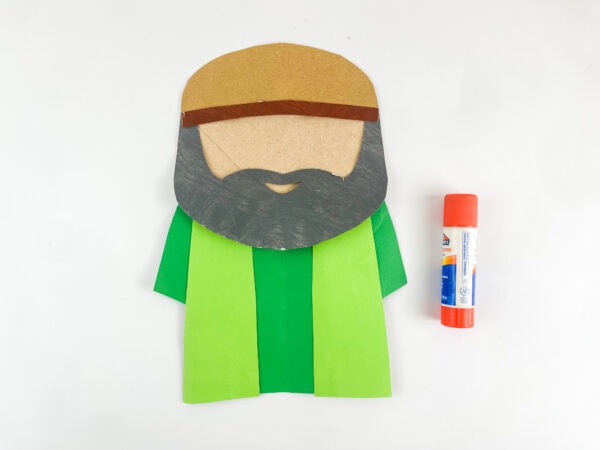
This is where your little craft really starts looking like Abraham!
Step 5: Attach his hands.
Glue the small hand shapes onto the ends of the sleeves.
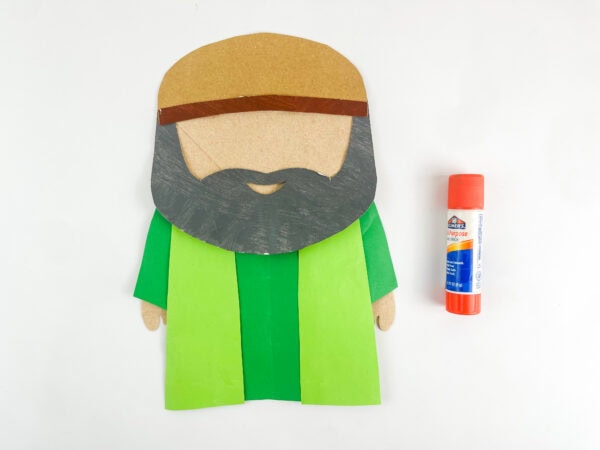
Step 6: Attach the googly eyes.
This step is always a kid’s favorite; googly eyes make any craft instantly more charming and fun.
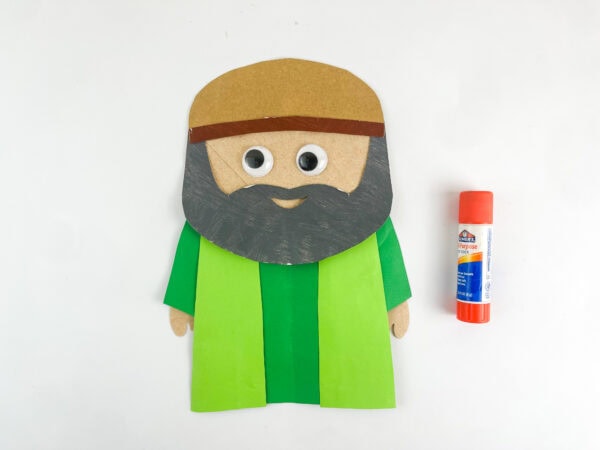
Step 7: Draw his nose and a smile.
Using a marker, add a simple nose and a friendly smile peeking through the beard.
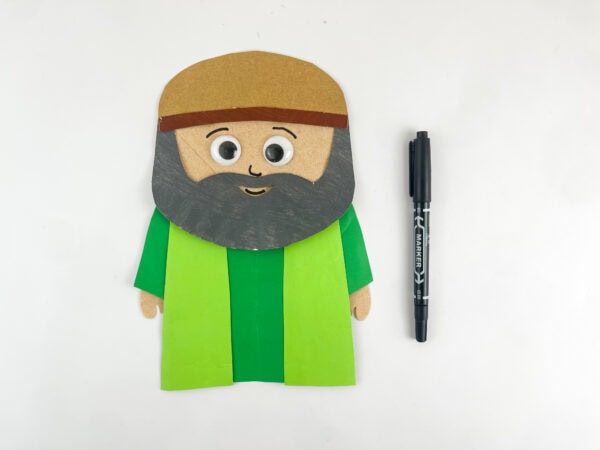
Add a couple of eyebrows if you like, for extra personality.
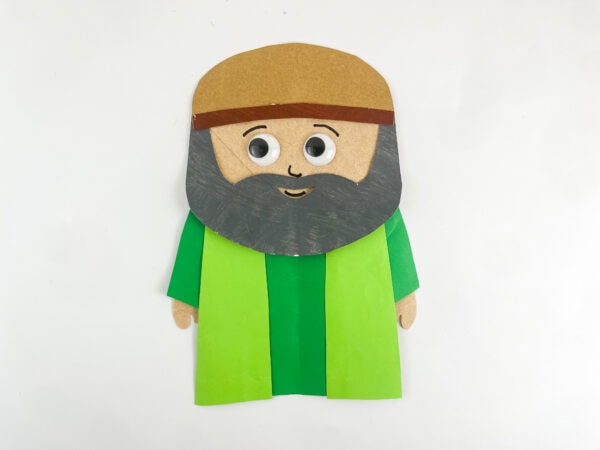
And just like that, you’ve got a sweet, handmade Abraham ready to stand proudly on a shelf, a windowsill, or a Sunday school bulletin board.
Tips for Using This Craft in Your Lesson
If you’re using this for a Sunday school craft or children’s ministry activity, consider pairing it with a short discussion or a memory verse about God’s promise to Abraham. Genesis 15:5, where God tells Abraham his offspring will be as numerous as the stars, is a perfect verse to introduce alongside this project.
You could even have students cut out small paper stars and glue them onto a separate sheet, turning this into a two-part craft activity: one for Abraham himself and one representing the promise of countless descendants.
This pairs wonderfully with other Genesis-based crafts, like a ram craft for the story of Isaac or a simple story wheel that walks through the major events from God’s calling of Abram through Sarah and Isaac’s story.
To round out the lesson, a coloring page of Abraham looking up at the stars makes a great quiet-time activity, and a printable worksheet or mini book recapping Abraham’s story gives kids something to take home and revisit.
Perfect Craft For Bible Lessons or Sunday School
This Abraham Bible paper craft works beautifully in a classroom, a church basement, or your own living room. It’s a flexible bible craft for kids that fits naturally into:
- Sunday school activities
- Children’s church lessons
- Homeschool bible units
- Christian preschool circle time
- Lesson plans built around the Father of Many Nations theme
Because the materials are so simple, it also works well as a take-home printable PDF packet, paired with a coloring page and a short retelling of the story so families can talk about it together during the week.
More Bible Crafts to Explore
If you enjoyed making this Abraham Bible Paper Craft, here are a few more Bible-themed activities that help children learn important lessons while getting creative.
- Day 1 of Creation Craft for Kids – A fun craft that introduces the first day of creation as children learn how God created light.
- Jesus Feeds 5000 Craft – A hands-on activity that helps kids remember the miracle of Jesus feeding the crowd with five loaves and two fish.
- Moses Bible Paper Bag Craft – A simple Bible craft that brings Moses’ story to life with a fun puppet kids can make and enjoy.
- Dove Handprint Craft – A meaningful handprint craft that reminds children of peace while creating a keepsake they’ll be proud of.
At the end of the day, a good Bible craft for kids isn’t just about making something cute, though this one definitely is.
It’s to help children remember that God called Abraham, made a promise, and kept it, even though it took time. That’s a lesson in faith that’s just as relevant for little ones today as it was for Abraham thousands of years ago.
So gather your paper bag, construction paper, and googly eyes, and let this Abraham Bible paper craft activity become a small but meaningful part of how your kids learn and remember God’s promise to Abraham, a promise so big it was compared to counting every single star in the night sky.
What age group is this Abraham bible craft best for?
This Abraham bible paper craft works well for a wide age range, but it’s especially great for preschool through early elementary kids. Younger children may need help cutting their templates, while older kids can usually trace, cut, and assemble most of it on their own.
Can I turn this into a printable activity?
Definitely, many teachers print templates ahead of time so kids can cut and glue instead of freehand-drawing each shape. You can pair it with a printable coloring page or worksheet for an easy grab-and-go lesson.
What bible verse goes well with this craft?
Genesis 15:5 is a wonderful memory verse to pair with this project, since it’s the verse where God tells Abraham to count the stars as a picture of how many descendants he would have.
Is this craft based on a specific bible story?
Yes — it’s based on Genesis 12 through 15, which covers God calling Abram, his journey of faith, and God’s covenant promise to him. It’s a great entry point if you want to later expand into the stories of Sarah and Isaac or Abraham and Lot.
What other crafts pair well with this one?
A story wheel covering the major events of Abraham’s life, a simple paper stars activity to represent his descendants, or a ram craft tying into the story of Isaac all make great companion projects.
Do I need any special supplies?
Not at all. Everything on the materials list, paper bag, construction paper, glue, googly eyes, scissors, and markers, is easy to find at home or in a classroom supply closet, making this an especially low-prep craft idea.
How does this craft help children remember the lesson?
Hands-on crafts like this one help children remember bible stories far better than listening alone. By physically building Abraham piece by piece, kids connect with the story in a way that sticks, which is exactly what you want from a Sunday school lesson.
Abraham Bible Paper Craft
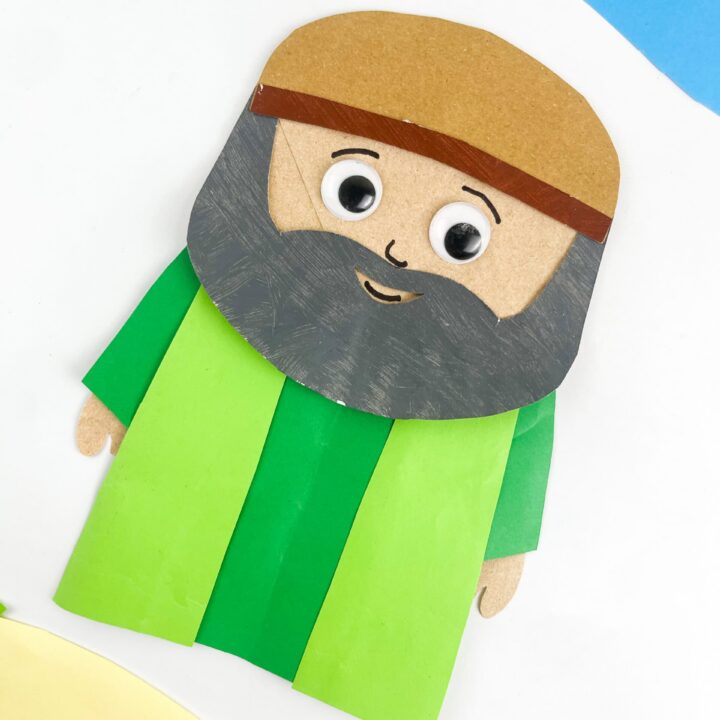
This Abraham Bible Paper Craft is a simple activity that helps children learn about one of the Bible's most well-known figures. Kids will enjoy putting together Abraham using a paper bag and a few easy-to-cut pieces. It’s a fun way to practice cutting, gluing, and following directions. The finished puppet can be used during Bible lessons or for imaginative play. This craft is great for home, homeschool, or church activities.
Materials
- Paper bag
- Construction paper
- Glue
- Googly eyes
Tools
- Scissors
- Markers
Instructions
- Cut Out the Craft Pieces - Trace and cut out all the pieces you'll need from the construction paper, including the head, headband, beard, robe, sleeves, and hands. Keep the edges smooth so the pieces fit together neatly.
- Arrange the Pieces - Place all of the cutouts on a flat surface before gluing anything down. This makes it easier to see where each piece belongs and helps the craft come together more smoothly.
- Glue on the Robe - Attach the robe pieces and sleeves to the front of the paper bag. Press each piece firmly so it stays in place while the glue dries.
- Add the Head and Beard - Glue the head onto the top portion of the paper bag. Then attach the headband and beard to complete Abraham's face.
- Attach the Hands -Glue the hand cutouts to the ends of the sleeves. Make sure they are lined up evenly on both sides.
- Add the Googly Eyes - Glue the googly eyes onto the face above the beard. Let them sit for a moment so they stay securely attached.
- Draw the Final Details - Use a marker to draw a simple nose, a friendly smile, and eyebrows if you'd like. Allow the craft to dry completely before displaying or using it during Bible lessons or pretend play.
