
How to Make a Desert Diorama + Printable Background
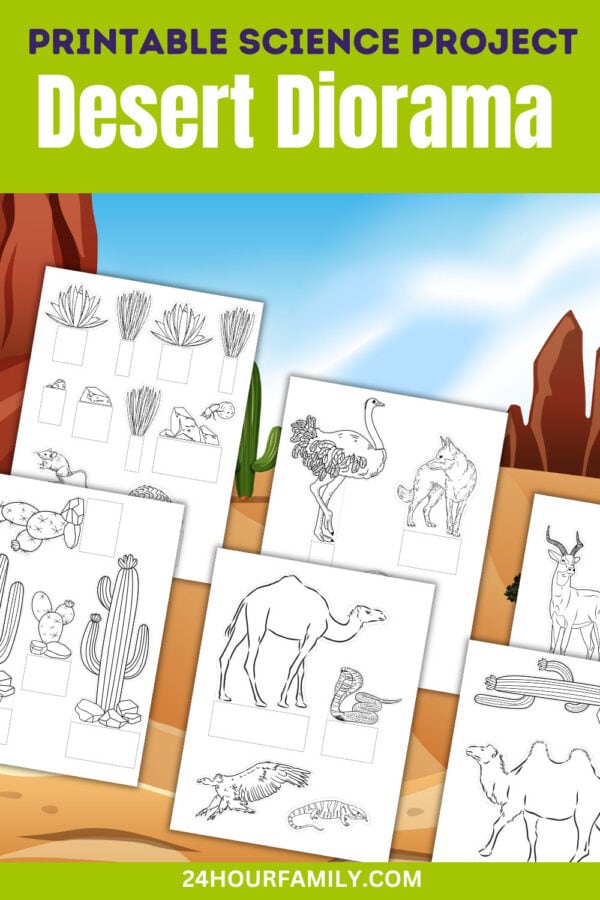
Create a miniature arid ecosystem with this desert diorama printable. The project combines a colorful desert landscape with freestanding cacti, camels, reptiles, birds, mammals, rocks, and other desert scenery.
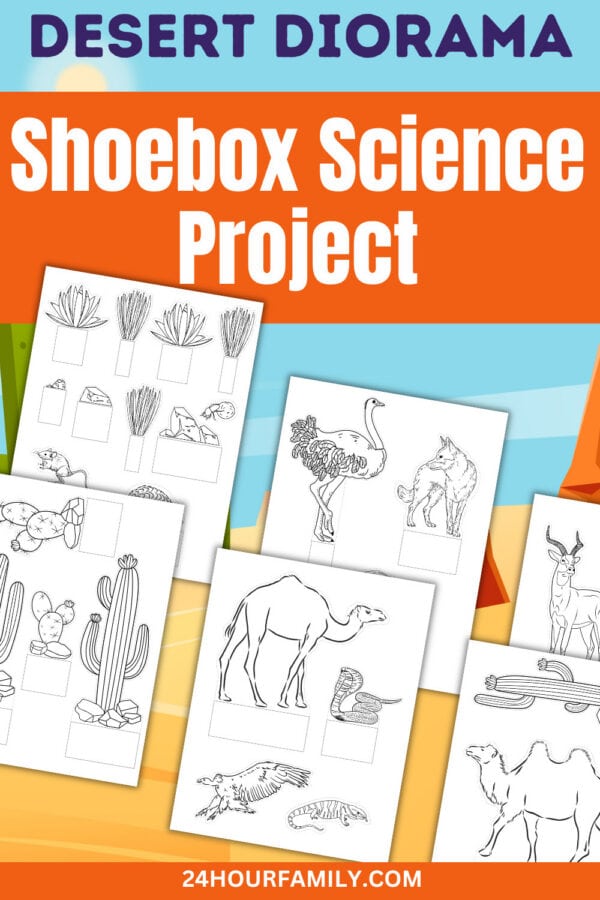
Children can build the habitat inside a shoebox for a school science project or connect the printable scenery pages to make an open paper diorama. The finished model provides a hands-on way to learn about desert climates, plants, animals, adaptations, and food chains.
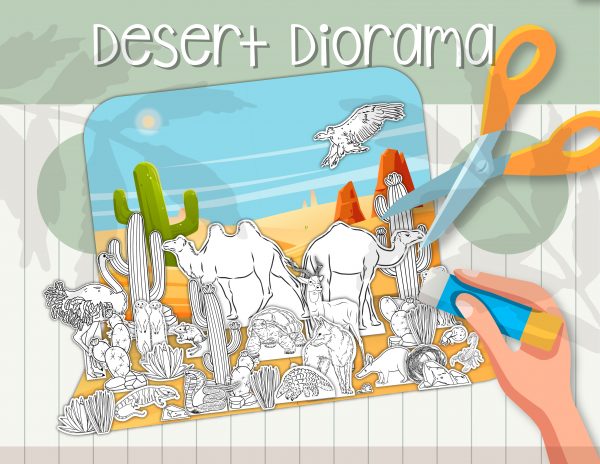
A free two-page desert background is available near the bottom of this post. If you want the animals, plants, ground panels, rocks, and complete set of freestanding pieces, the full ten-page printable can be purchased in my shop.
Free Background Versus the Complete Desert Diorama
There are two download options associated with this activity.
Free Two-Page Background
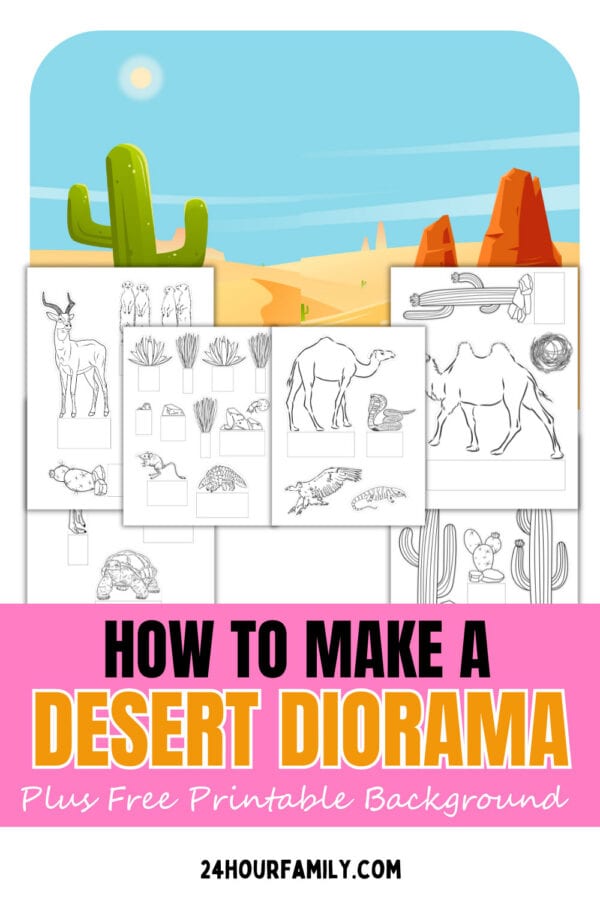
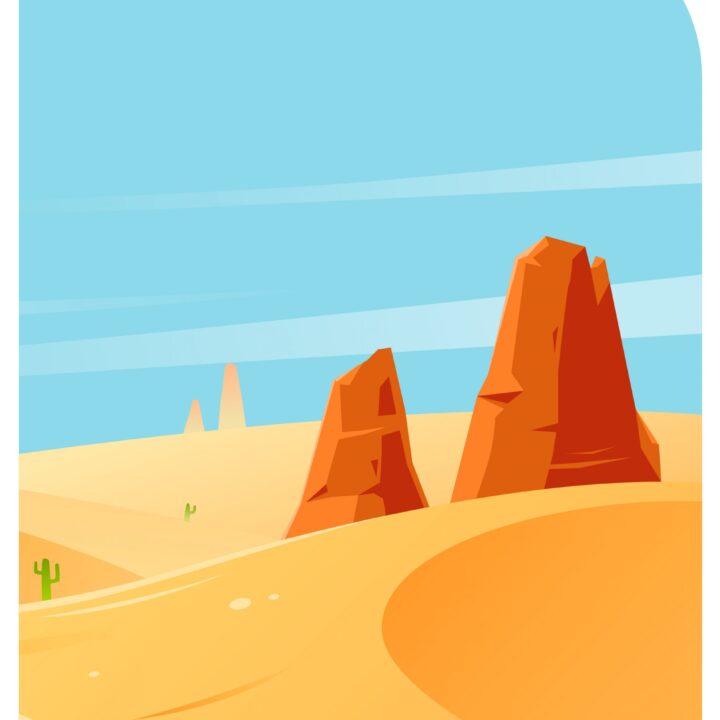
The free download includes two colorful background panels. When placed beside each other, the pages form a wide arid landscape featuring:
- Blue sky
- Bright sun
- Sand dunes
- Saguaro
- Distant succulent
- Red rock formations
- Open landscape
This option works well when children already have plastic creatures, handmade clay figures, or their own paper cutouts.
Complete Ten-Page Pack
The complete paid pack includes the two background panels plus:
- Two ground panels
- Multiple succulent cutouts
- Prickly pear
- Succulents and grasses
- Rock formations
- Two hump-backed animals
- Gazelle or antelope
- Meerkats
- Aardvark
- Cobra
- Scorpion
- Vulture
- Lizard
- Ostrich
- Jackal or desert fox
- Tortoise
- Pangolin
- Rodent
- Beetle
- Tumbleweed
- Folding tabs for freestanding pieces
This option works well when children already have plastic figures, handmade clay models, or their own paper cutouts.
What Is a Desert Biome?
A desert is an extremely dry habitat where water is limited. Many receive less than ten inches of precipitation per year, although rainfall alone does not completely define these environments. The timing of rain and the rate at which moisture evaporates also affect the region.
These areas are not always covered in sand, and they are not always hot.
Landforms may include:
- Sand dunes
- Rocky plateaus
- Mountains
- Gravel plains
- Dry streambeds
- Canyons
- Salt flats
- Small seasonal water sources or an oasis
Some regions experience extremely hot days, while others are cold enough to receive snow. What they share is a lack of readily available water.
Are All the Animals From the Same Region?
No. The complete set includes animals and plants associated with different habitats around the world.
This gives you two ways to use the pack:
- Create a worldwide biome display featuring organisms from several continents.
- Select only the animals and plants that belong to one geographic region.
For a more scientifically accurate school assignment, choose one location and include only the wildlife that could reasonably live there.
Desert Regions Represented
North American Desert
Use the saguaro, prickly pear, agave-like plant life, coyote, tortoise, kangaroo-rat-style rodent, vulture, lizard, beetle, and scorpion.
This grouping can represent the Sonoran, Mojave, or Chihuahuan region, although each one contains its own unique wildlife.
Sahara or Arabian Desert
Use the one-humped dromedary, cobra, gazelle, vulture, ostrich, beetle, and rocks.
Not every animal shown occupies every part of the Sahara Desert or Arabian region, but this combination creates a broad hot-climate study.
Gobi or Central Asian Desert
Use the two-humped Bactrian, rocky scenery, low vegetation, and open ground.
Unlike the stereotypical hot environment, the Gobi experiences cold winters.
Southern African Desert
Use the meerkats, ostrich, jackal-like canine, antelope, pangolin, aardvark, scorpion, beetle, and low vegetation.
These pieces can support a study of arid regions such as the Kalahari or Namib.
What You’ll Need
You will need:
- Free background or complete ten-page printable
- Printer
- White cardstock
- Shoebox or cardboard box
- Scissors
- Glue stick
- Crayons, markers, or colored pencils
- Clear tape, optional
- Small rocks or pebbles, optional
- Modeling clay, optional
- Acrylic paint, optional
Cardstock is the best paper supply for the figures, vegetation, and rock pieces because it helps the folded bases remain upright.
Regular printer paper can be used for the background and ground. Attach those pages to the shoebox or thin cardboard for additional support.
Adult supervision may be needed when younger kids begin cutting the smaller or more detailed shapes.
How to Make a Desert Diorama
1. Choose a Region
Before you print or begin cutting, decide what type of landscape the model will represent.
Your child might choose:
- Sonoran Desert
- Mojave Desert
- Chihuahuan Desert
- Sahara Desert
- Arabian Desert
- Gobi Desert
- Kalahari Desert
- Namib Desert
- General worldwide biome
This decision will help determine which animals and plants belong in the completed model.
For a creative desert craft that is not connected to one geographic location, children can combine any of the included pieces.
2. Prepare the Shoebox
Remove the lid and turn the container onto one long side so the open section faces forward.
The upright interior becomes the sky and distant landscape. The bottom becomes the ground.
You can also place the shoebox inside its lid to extend the floor in front.
Painting the cardboard is optional because the printable includes both background and ground scenery. When any surface will remain visible, paint it tan, orange, or light brown before attaching the pages.
3. Print the Background and Pieces
Print the two background panels.
When using the complete pack, also print the two ground sheets and six pages of vegetation, figures, and rocks.
Choose Actual Size or 100 Percent in the printer settings. Avoid selecting an option that enlarges the image and clips the edges.
4. Join the Background Panels
The two full-color pages form one wide landscape.
Place the sheet featuring the large saguaro on the left. Position the page with the red rock formations on the right.
Align the scenery where the pages meet. Tape them together on the back or glue them directly to the upright wall of the shoebox.
Trim the outer edges only when necessary.
5. Add the Ground
The complete pack contains two sandy ground panels.
Position them side by side across the bottom. Align the pattern where the sheets meet, then secure them flat.
When using only the free background, cover the floor with:
- Tan construction paper
- Brown kraft paper
- Painted cardboard
- A thin layer of clean craft sand
Do not add a thick layer beneath the figures because the folding tabs may not remain stable.
6. Color the Cutout Pieces
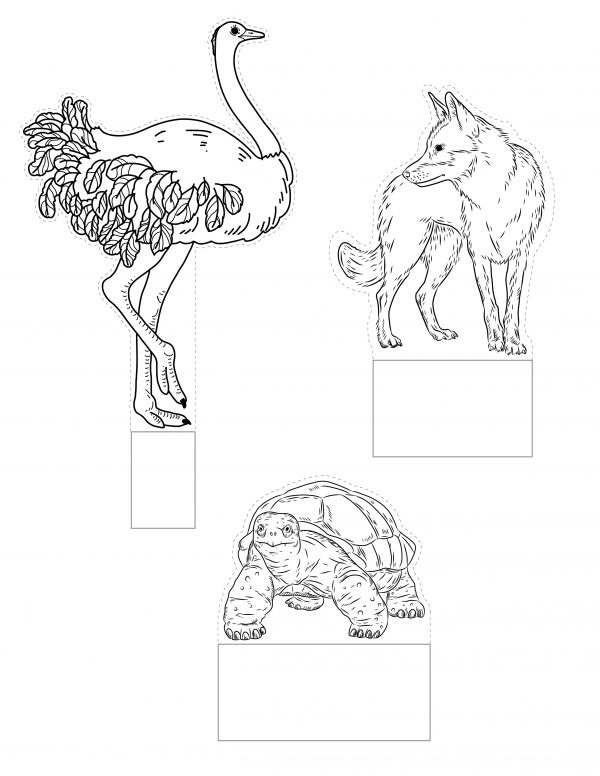
The figures, succulents, grasses, and rocks are provided as black-and-white line art.
Decorate each shape before cutting it out. This is easier than trying to hold a small piece while coloring.
Children can research the natural appearance of their selected wildlife or design a more imaginative desert scene.
7. Cut Around the Pieces
Cut along the outside dashed outlines surrounding each figure and rock formation.
Leave the blank rectangular bases attached. These sections are not extra material; they form the stands that keep each piece upright.
There is no need to trim every small opening between legs, succulent branches, feathers, branches, or leaves. Following the main outer shape is enough.
8. Fold the Standing Tabs
Fold each rectangular base backward along the line where it meets the illustration.
The figure should remain upright while its base lies flat against the ground.
Before applying adhesive, test each one and adjust the fold as needed.
9. Plan the Ecosystem
Arrange the plant and animal pieces before securing anything.
To create depth:
- Place larger creatures in the foreground.
- Position smaller figures near the background.
- Overlap some rocks and vegetation.
- Leave open ground between groups.
- Attach the bird higher on the back wall.
- Arrange the dromedaries where they will not hide smaller figures.
- Put the snake, scorpion, beetle, and rodent near rocks or vegetation.
A carefully planned desert habitat is easier to understand than one where every figure is crowded into the same area.
10. Attach the Animals and Plants
Apply glue to the bottom of each folded tab and press it onto the ground.
Hold the piece upright until the adhesive begins to set. Clear tape can add support when a larger creature continues leaning.
Attach flying birds to the background rather than placing them on the floor.
11. Add Optional Natural Materials
Small amounts of craft or natural material can give it more dimension.
Try adding:
- A thin layer of sand
- Small pebbles
- Flat stones
- Dried twigs
- Crumpled brown paper
- Modeling-clay rocks
- A blue paper oasis
Avoid covering important printed details or burying the folded bases.
12. Add a Title and Labels
Create a label for the outside:
Desert Biome Diorama
You can also include the specific region, the student’s name, grade, and date.
For classroom use, add small labels identifying the animals and plant life.
13. Allow the Model to Dry
Let the adhesive dry completely before carrying the finished diorama craft.
Test each figure and reinforce loose tabs with additional glue or clear tape.
How to Build One Without a Shoebox
A shoebox is helpful, but it is not required.
To create an open paper version:
- Tape the two background panels together.
- Attach them to lightweight cardboard.
- Connect the two ground panels.
- Join the background and floor along their long edges.
- Fold the connected sections into a 90-degree angle.
- Add cardboard supports behind the upright section.
- Attach the animals and plants to the base.
This version folds more easily for storage but may need a sturdy support to remain upright.
Desert Plants in the Printable
Saguaro
The tall, branching succulents resemble saguaros. Saguaros are native to the Sonoran region and should not be included in a geographically accurate Sahara or Gobi scene.
These plants store water in their stems. Their waxy surfaces reduce moisture loss, while the spines provide protection and some shade.
Prickly Pear
Prickly pears have flattened pads that store water. The set includes several sizes and arrangements.
Agave-Like Plants
These pointed rosette forms are similar to agaves and other succulent varieties. These varieties retain moisture in fleshy leaves, stems, or roots.
Desert Grasses
Not every dry region is an empty expanse of sand. Grasses and other low growth can appear where rainfall, elevation, and soil conditions allow.
Tumbleweed
A tumbleweed is not one specific species. It is the dried aboveground portion of certain plants that breaks away and rolls with the wind, scattering seeds.
Desert Animals Included in the Printable
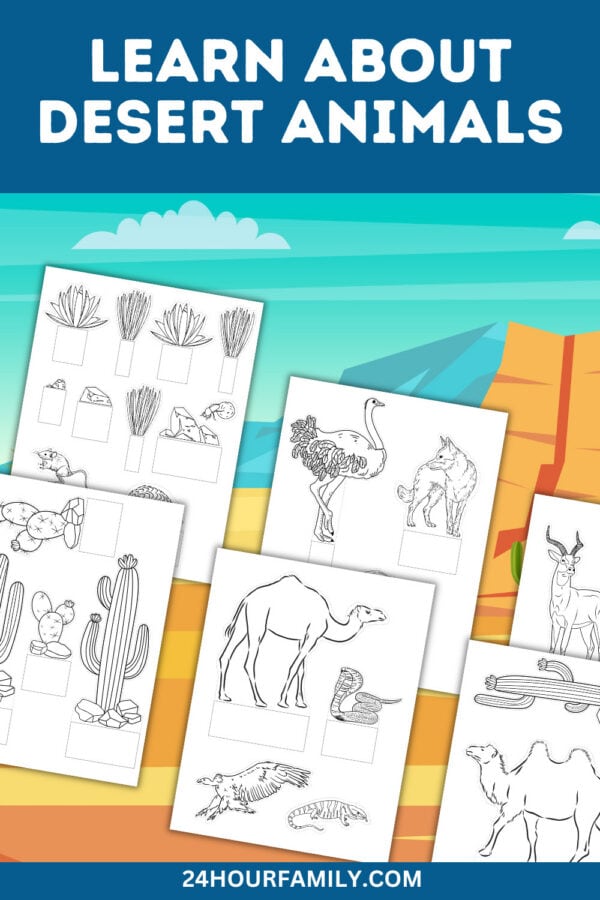
The complete diorama contains a large assortment of wildlife.
Camels
The pack contains both a two-humped and a one-humped variety.
The two-humped variety is called a Bactrian camel and is associated with Central Asian regions. The one-humped variety is a dromedary adapted to hot areas in North Africa and the Middle East.
Their humps store fat, not water. The stored fat provides energy when food is scarce.
Gazelle or Antelope
Gazelles and other antelope can survive in dry grasslands and arid environments. Their long legs allow them to move efficiently across open terrain.
Meerkats
Meerkats live in dry areas of southern Africa’s grasslands and scrublands.. They shelter in underground burrows and often stand upright while watching for predators.
Aardvark
Aardvarks are nocturnal African mammals that use powerful claws to dig for ants and termites.
Cobra
Cobras inhabit parts of Africa and Asia. Like other snakes, they rely on external heat sources to regulate their body temperature.
Scorpion
Scorpions often shelter beneath rocks or inside burrows during the hottest part of the day. They usually become more active when conditions are cooler.
Vulture
Vultures are scavengers that support the ecosystem by consuming dead organisms.
Lizard
Many dry-climate lizards avoid excessive heat by moving between sunlight, shade, rocks, and underground shelters.
Ostrich
Ostriches live in open African habitats, including dry grasslands and desert margins. Their long legs help them travel quickly across open ground.
Jackal, Fox, or Coyote
The canine cutout can represent a jackal or fox in an African or Asian scene or a coyote in a North American setting.
Tortoise
Tortoises spend much of their time in burrows, which protect them from extreme temperatures and dry conditions.
Pangolin
Some pangolin populations live in dry African environments. These mammals have overlapping protective scales and eat ants and termites.
Rodent
Many small rodents spend the day in underground burrows and come out at night. Some obtain much of the water they need from seeds and other food.
Beetle
Beetles have adaptations that help them withstand heat and conserve moisture. They also serve important roles as scavengers and decomposers.
How Desert Animals Adapt
Wildlife in arid environments must cope with limited water and significant temperature changes.
Common adaptations include:
- Being active at night
- Resting in burrows
- Having light-colored fur or scales
- Using large ears to release heat
- Producing concentrated urine to conserve water
- Obtaining moisture from food
- Storing fat
- Entering seasonal inactivity
- Having long legs that lift the body away from hot ground
- Developing thick scales or skin that reduce water loss
After assembling the model, ask each kid to select three organisms and identify one feature that helps each one survive.
How Desert Plants Adapt
Vegetation may survive dry conditions by:
- Storing water in thick stems or leaves
- Growing widespread shallow roots
- Producing long roots that reach deeper moisture
- Having waxy outer surfaces
- Replacing leaves with spines
- Growing small leaves
- Dropping leaves during drought
- Remaining dormant until rain arrives
- Completing life cycles quickly after rainfall
The National Park Service identifies cactus spines and waxy surfaces as visible structures that support survival in hot, dry environments.
Turn the Diorama Project Into a Science Activity
A strong science assignment should demonstrate more than artistic effort. Add a short report or display card explaining the habitat.
Include:
- Name and location of the region
- Average temperature range
- Amount and timing of precipitation
- Common landforms
- Local vegetation
- Wildlife found there
- Flora adaptations
- Animal adaptations
- One food chain
- One interesting fact
Students can also explain why they selected certain species and whether those organisms share the same geographic region. The activity encourages children to explore science, art, and geography through creative learning.
Desert Food Chain Examples
A food chain demonstrates how organisms pass energy from one to another.
North American Region
Saguaro fruit or seeds → rodent → coyote
African Region
Vegetation → gazelle → jackal
Small-Creature Food Chain
Seeds → beetle or rodent → snake → vulture
These are simplified examples. Real ecosystems contain interconnected food webs rather than one straight chain.
Questions to Ask About the Desert Diorama
Use these prompts for discussion or a written report:
- What makes an environment a desert?
- Are all deserts hot?
- Which region does your model represent?
- Which creatures are active at night?
- How do succulents conserve water?
- Why do many species live in burrows?
- What does a camel use its hump to store?
- Which organisms in the pack live in Africa?
- Which vegetation belongs in a North American region?
- What is one predator in your model?
- What is one herbivore?
- How does energy move through the ecosystem?
- Which organism would find it most difficult to survive an extended drought?
- How would the scene change after rainfall?
More Diorama Projects to Explore
If you enjoyed building this desert diorama, here are more printable diorama projects that let kids learn about nature, science, history, and space through creative hands-on activities.
- Printable Layers of the Ocean Diorama – Create a colorful underwater display while learning about the different ocean zones and the living things found in each layer.
- Nativity Diorama Printable Craft – Build a meaningful Christmas display that brings the Nativity story to life with easy-to-assemble printable pieces.
- Groundhog Life Cycle Printable Diorama – Discover the stages of a groundhog’s life with a fun 3D project that’s perfect for science learning.
- Water Cycle Diorama Printable – Help kids visualize evaporation, condensation, precipitation, and collection with an interactive paper model.
- Solar System Diorama – Build a miniature solar system that introduces the planets and outer space through a creative hands-on project.
Download the Free Desert Background
The free download contains the two full-color panels needed to create the upright landscape.
Place the large saguaro page on the left and the red-rock page on the right to form one continuous image.
This resource is available for personal, homeschool, classroom, and educational use. It is not licensed for commercial use. Please do not sell, alter, share, or redistribute the digital files. Please use a link to this post when sharing this resource with others.
Purchase the Complete Desert Diorama Printable
The complete ten-page pack includes:
- Two colorful background panels
- Two colorful ground panels
- Freestanding cacti and succulents
- Rocks and grasses
- Two types of camels
- Wildlife from dry regions around the world
- Birds, reptiles, mammals, and invertebrates
- Folding bases for three-dimensional assembly
Use the full pack to create a worldwide biome display or select regionally appropriate animals and vegetation for a more focused science unit.
This is a digital product. No physical item will be mailed. Please follow the usage terms included with the purchase and do not resell, share, or redistribute the files.
What Is Included in the Desert Diorama Printable?
The free version contains two full-color background panels. These pages join together to create the sky, sand dunes, saguaro cactus, and red-rock landscape.
What Is Included in the Complete Pack?
The full ten-page pack contains four scenery sheets and six pages of freestanding creatures, vegetation, cacti, grasses, rocks, and other details.
Can I Build the Diorama Without a Shoebox?
Yes. Attach the background sheets to cardboard, connect them to the ground panels at a right angle, and add supports behind the upright scenery.
Are All the Animals From the Same Desert?
No. The collection contains species from North America, Africa, Asia, and other regions. Children can build a general biome or select pieces that belong to one location.
What Paper Should I Use?
Use cardstock for the plant and animal pieces and rocks so their folded bases remain upright. The large scenery sheets can be produced on regular printer paper and attached to cardboard.
What Age Is This Desert Project For?
The activity is suitable for elementary-aged children. Younger students may need help with cutting detailed shapes and matching creatures to their geographic regions.
Can I Add Real Sand?
Yes, but add only a thin layer and secure it carefully. Keep it away from the areas where the figures will be attached so their bases remain stable.
Desert Diorama
Build a desert biome inside a shoebox with printable landscape panels, cacti, rocks, plants, and animals from deserts around the world.
Materials
- Free background or complete desert diorama printable
- Printer
- White cardstock
- Shoebox or cardboard box
- Scissors
- Glue
- Crayons, markers, or colored pencils
- Clear tape, optional
- Sand and small rocks, optional
Tools
Instructions
- Choose a desert region for the diorama.
- Print the two background panels and any additional pages being used.
- Turn a shoebox onto its long side with the opening facing forward.
- Join the two background panels and glue them to the back wall.
- Add the two desert ground panels or cover the bottom with tan paper.
- Color the plants, animals, and rocks before cutting.
- Cut around each figure while leaving its rectangular base attached.
- Fold the bases backward along the lines.
- Arrange all the pieces before gluing.
- Glue the animals, plants, and rocks onto the desert floor.
- Add labels, sand, or small pebbles if desired.
- Let the diorama dry completely before moving or displaying it.
