
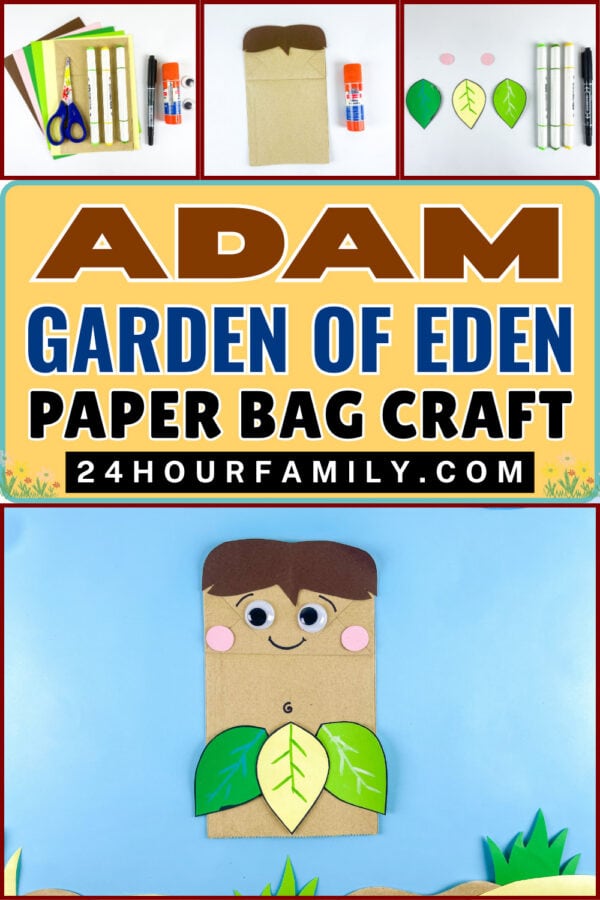
Adam And The Garden of Eden Craft For Kids (Free Printable Template)
Creating an Adam and the Garden of Eden Craft is a fun way to combine creativity, simple crafting, and an easy introduction to one of the most familiar Bible stories from the Book of Genesis.
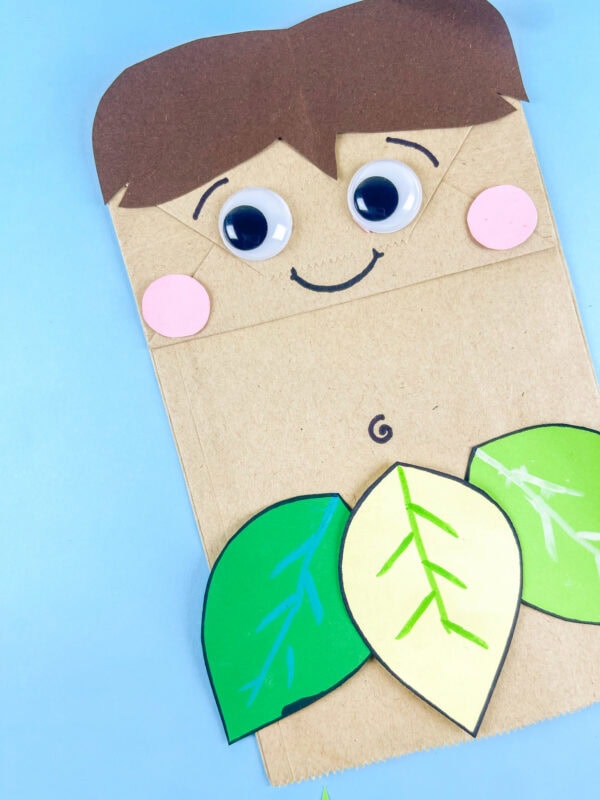
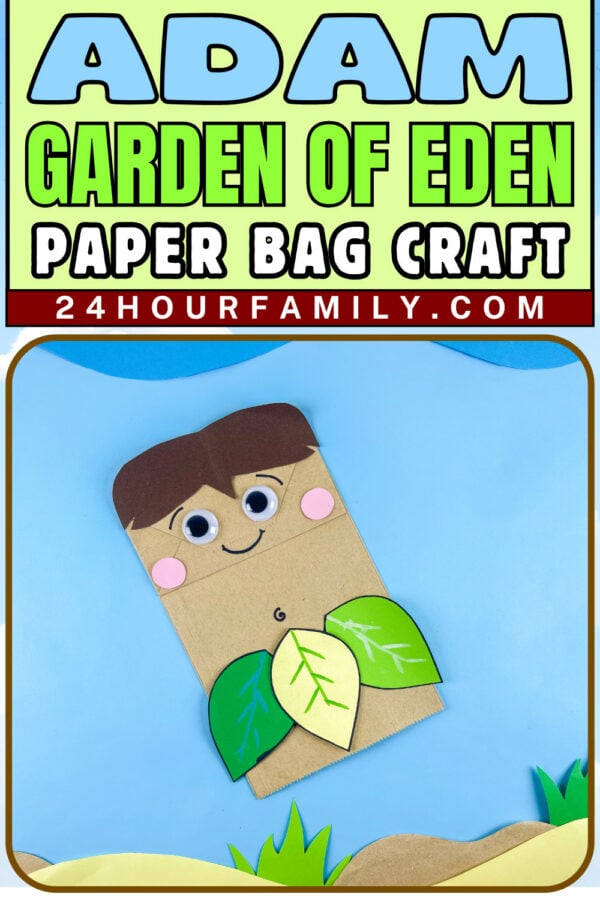
This colorful paper bag character gives kids a hands-on way to learn about Adam and the Garden of Eden while staying busy with cutting, gluing, and decorating.
Adam Garden of Eden Craft
This craft blends storytelling, cutting, coloring, and assembly into one engaging activity. Because children use paper, leaves, facial features, and bright color choices, the project stays interactive from beginning to end.
It also offers opportunities for fine motor practice through tracing, cutting, and using glue.
For a teacher or group leader, that makes this more than just a fun project. It becomes a practical learning resource that supports both creativity and scripture discussion.
This post may contain affiliate links. As an Amazon Associate and a participant in other affiliate programs, I earn a commission on qualifying purchases. Read our disclosure policy here.
AJM Brown Paper Lunch Bags 40 Count Crafty DAB GLUES DAB N STIC SchoolElmer’s Disappearing Purple School Glue Sticks Washable 22 Grams 3 CountHuhuhero Kids Scissors, 5” Safety Toddler Scissor Blunt Tip with Cover, Small Craft Cutting Paper Scissors for Child Kid Age 4-7 8 9, Assorted Colors, 4 PackCrayola Construction Paper, 120 SheetsCrayola 587722 Non-Washable Markers, Broad Point, Classic Colors, 10/Set


Materials Needed
Before starting this Adam and Eve craft, gather these supplies:
- Paper bag
- Color pencils
- Construction paper
- Glue
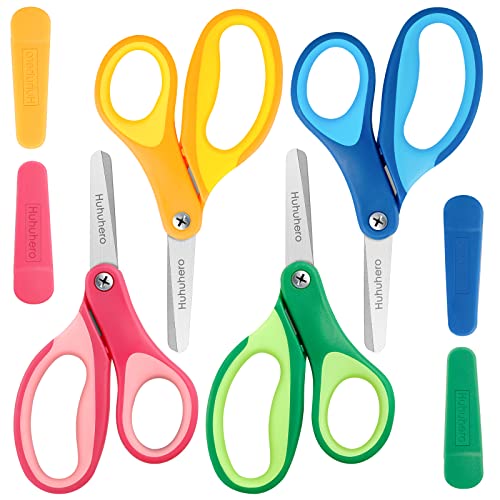
- Scissors
- Googly eyes
- Marker
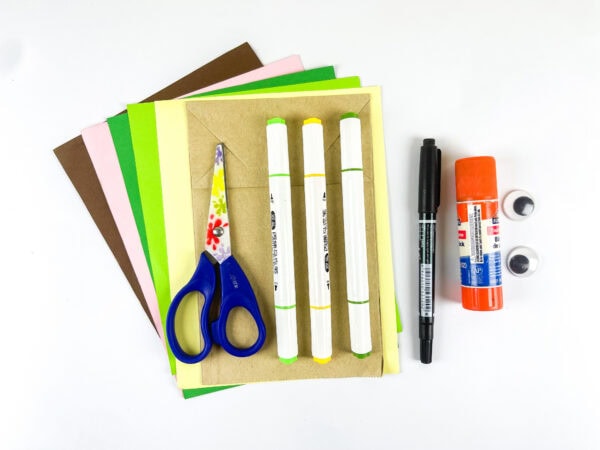
You can also use extra supplies like stickers, pom poms, or even a small paper flower or fruit shape to decorate your finished project.
How To Make This Adam Garden of Eden Craft
This bible craft comes together in a few easy steps.
Step 1: Prepare the Template Pieces
Start by cutting out the printable template pieces and tracing them onto the matching construction paper colors.
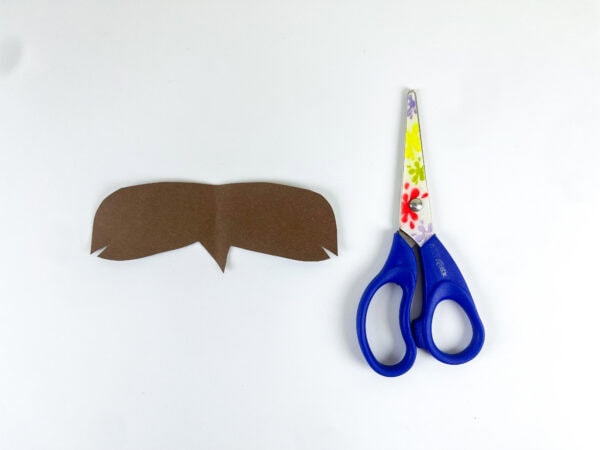
You’ll need the hair section, leaves, blush circles, and facial pieces. Carefully cut everything out before moving to the next step.
This is a great time to let each kid pick their own color choices. Even though the Garden of Eden paper craft shown uses green leaves and brown hair, kids can get creative with different shades.
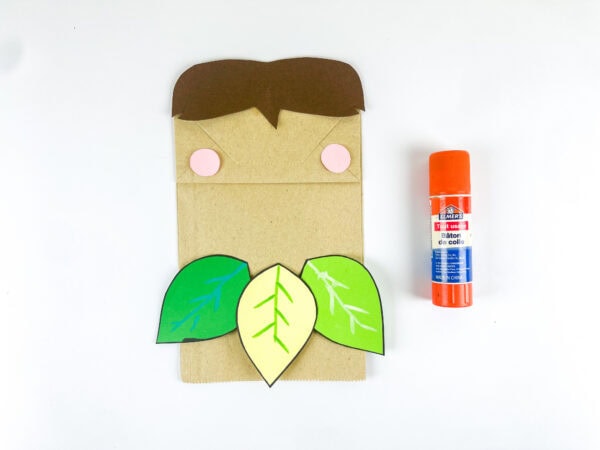
Step 2: Attach Adam’s Hair
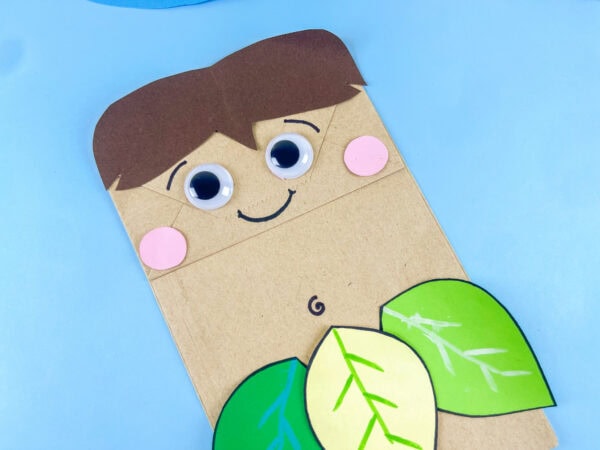
Take the brown hair piece and attach it to the top flap of the paper bag using glue.

This simple step helps transform the paper bag into a fun version of Adam from the story of Adam and Eve. This simple step helps build excitement as the character begins to come together.
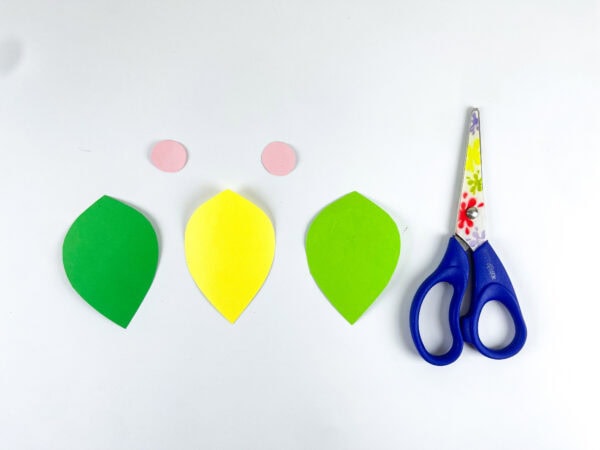
Step 3: Create the Garden Leaves
Next, decorate the leaf shapes.
Use markers or colored pencils to draw leaf veins and small details onto each leaf. This step reflects the vibrant greenery associated with the Garden of Eden.
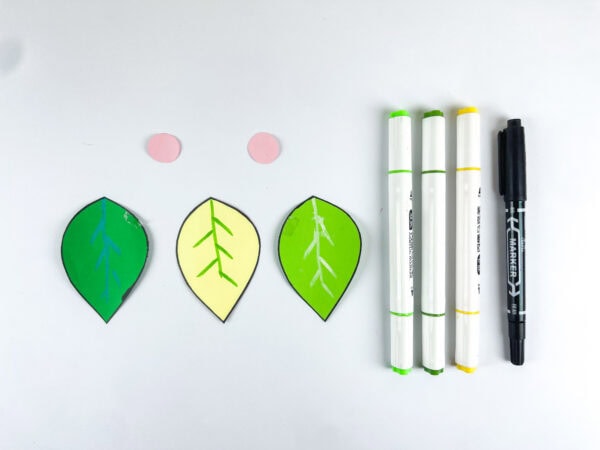
You can talk about the tree, plants, flowers, and living things mentioned during the creation account while working on this section.
Step 4: Add The Leaves To The Bottom
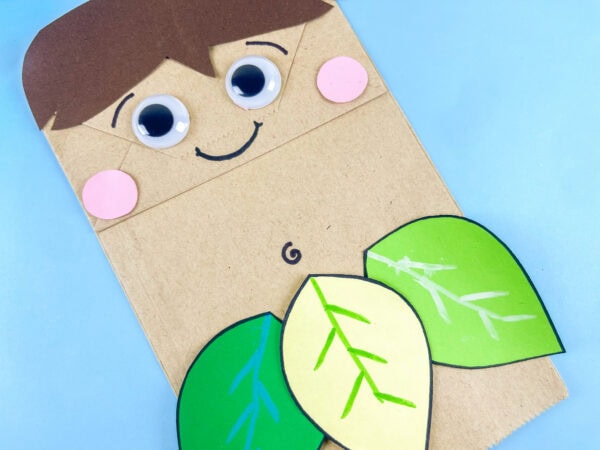
Attach the decorated leaves to the lower part of the paper bag.
These leafy details give the project its fun Garden of Eden look while helping children connect the leaves to the tree of knowledge, the important tree linked to the knowledge of good and evil.
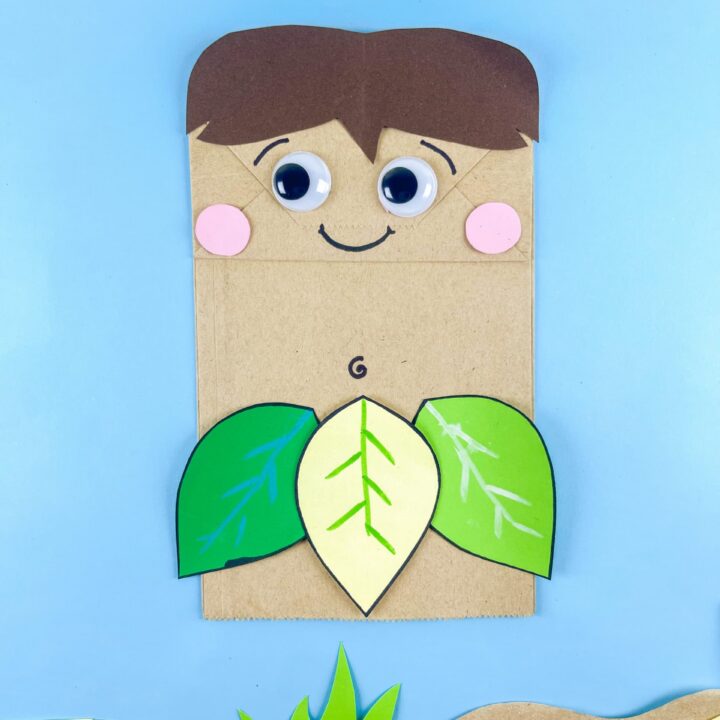
Step 5: Add The Face Details
Attach the pink blush circles and googly eyes.
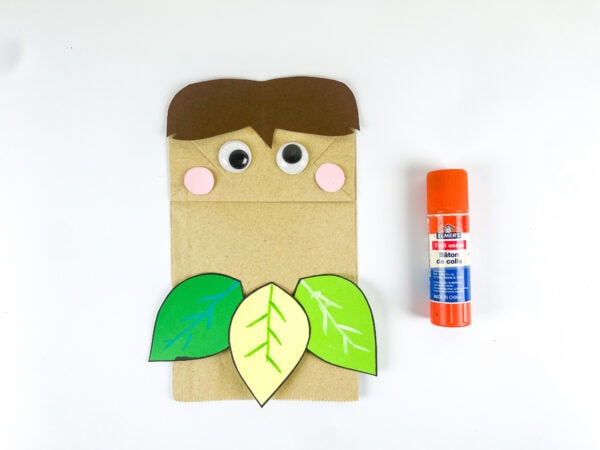
This step always makes the craft feel extra fun because Adam’s personality starts to appear.
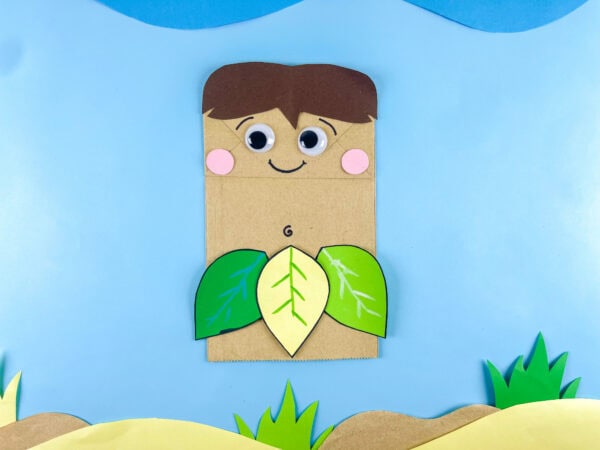
Step 6: Finish The Face
Use a marker to draw the eyebrows, smile, and other details.
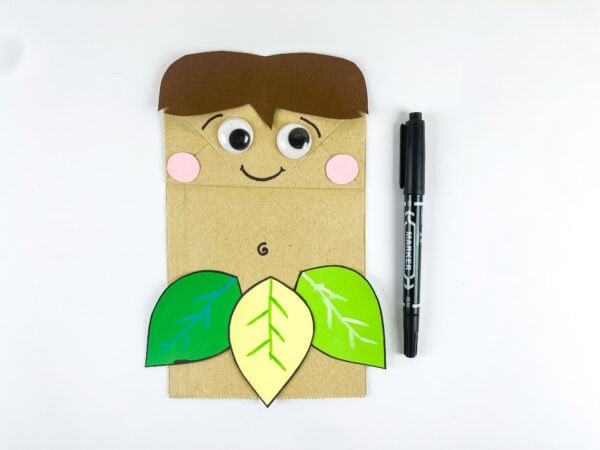
Your finished Adam character is now ready.
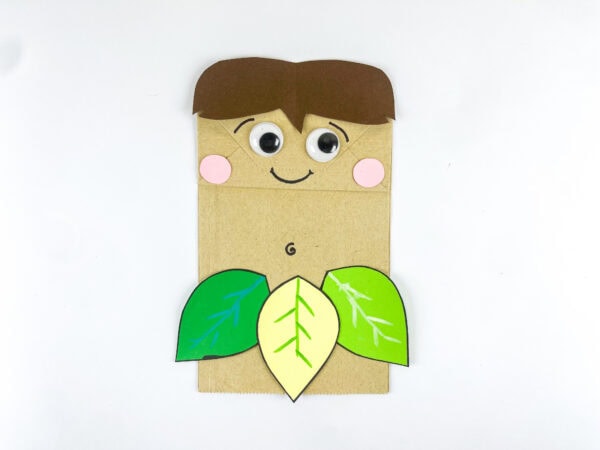
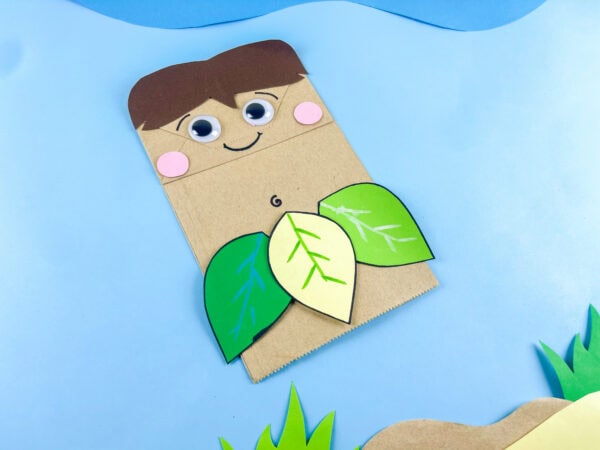
Simple, colorful, and surprisingly cute, this Adam Garden of Eden craft works beautifully for preschool, classroom learning, or church craft time.
Understanding Adam In The Bible
Adam is an important figure in the bible and appears in the opening chapters of Genesis.
According to the Bible, Adam was the first man created and lived in the Garden of Eden, a beautiful place filled with trees, plants, and living things.
The story of Adam and Eve teaches important lessons about choices, obedience, and consequences. In the garden, Adam and Eve were told not to eat from the tree of knowledge of good and evil, but after a snake tempted Eve, they chose to disobey.
You might also read a short verse from Genesis before beginning the project to connect the craft with scripture.
Ways To Use This Craft For Learning
One of the best things about this activity is how easily it fits into different learning settings.
Pair It With A Bible Reading
Read part of the Adam and eve bible story aloud before crafting.
Explore the Garden of Eden, the snake, the tree, and the choices Adam and Eve made along the way. In the story, the snake tempted Eve, leading both Adam and Eve to disobey.
This turns a simple paper project into a meaningful bible lesson.
Use It For Sunday School
This project works especially well for Sunday school crafts.
The steps are beginner-friendly, supplies are simple, and the finished project gives children a visual reminder of the lesson.
A teacher can easily combine it with worksheets, memory verse practice, or discussion questions during a Sunday school lesson.
Add Extra Story Elements
Want to make the project bigger?
Turn it into a full Garden of Eden scene by adding:
- A paper tree
- A curled snake craft
- Animals from the garden
- Flowers and plants
- A bright sun or sky background
You could even make matching Eve puppets to create a complete Adam and Eve set.
Fun Garden Of Eden Learning Ideas
Looking for extra inspiration after finishing the Adam garden of eden craft?
Try one of these simple extensions.
Make A Snake Craft
Create a simple snake craft using strips of green or red construction paper.
Add eyes, zigzag details, and a curly body shape.
This helps children remember the snake’s role in the Garden of Eden story through a simple visual element.
Create A Garden Scene
Use a large sheet of paper or even a disposable plate as the background.
Fill the garden with trees, flowers, grassy areas, animals, and Adam for a colorful finished scene.
This can become a fun collaborative activity for a classroom or preschool group.
Printable Story Time
If you’re using a printable version of the template, you can also print extra pages for storytelling practice.
Kids can retell the story while holding their finished project.
That simple storytelling idea helps reinforce important parts of the lesson.
Share Your Creation Online
Finished projects also make fun photos for classroom displays or even Pinterest inspiration boards.
Teachers, parents, and ministry leaders are always searching for easy Bible activities and fresh, creative craft ideas.
More Bible Craft Ideas for Kids
If you enjoyed making the Adam Garden of Eden Craft, here are a few more faith-based activities that help children learn about Bible stories while having fun creating.
- Nativity Toilet Paper Roll Craft – Turn simple recycled materials into a creative nativity scene inspired by the Christmas story.
- Candy Nativity Craft – A fun and unique activity that combines crafting with a sweet nativity-themed design.
- Cross Suncatcher Craft – Create a colorful cross decoration that looks beautiful displayed in a sunny window.
- He Is Risen Easter Paper Craft – A meaningful Easter project that helps children celebrate the resurrection through hands-on creativity.
- Bible Verses Coloring Pages for Adults
There’s something extra fun about taking a simple paper bag and turning it into an Adam Garden of Eden Craft.
This cheerful craft offers a fun and simple way to explore Adam and Eve, the Garden of Eden, and one of the most familiar Bible stories in the book of Genesis.
What supplies do I need to make the Adam Garden of Eden paper bag craft?
This fun Bible craft requires just a few simple supplies — a brown paper bag, googly eyes, pink circle cutouts for cheeks, brown construction paper for hair, green leaf cutouts, a black marker for facial details, and a glue stick. Everything you need is easy to find at your local dollar store or craft store!
What age is this Adam Garden of Eden paper bag craft designed for
This craft is perfect for preschoolers and elementary-aged children, typically ages 3–8. It works beautifully as a Sunday school craft, VBS activity, or homeschool Bible lesson about the creation story in Genesis
How does this craft connect to the Bible story of Adam and Eden?
This paper bag puppet brings the story of Adam to life in a hands-on, memorable way. The leafy Garden of Eden details remind children of the beautiful world God created for Adam in Genesis, making it a perfect companion to a creation-story Bible lesson or a discussion of God’s design for humanity.
Can I use this Adam paper bag craft for Sunday school or VBS?
Absolutely! This no-prep Bible craft is ideal for Sunday school classrooms, Vacation Bible School, homeschool co-ops, and church camp activities. Simply print the leaf and hair templates, gather your supplies, and you have a ready-to-go Bible craft that kids will love making and taking home!
Whether you’re using it during church, for homeschool learning, or for a quiet afternoon activity, it’s an easy way to explore an important story through a fun, hands-on project.
Adam Garden of Eden Craft
This Adam Garden of Eden Craft is a simple and engaging activity that helps children learn about one of the first stories in the Bible. Using a paper bag and a few basic craft supplies, kids can create their own Adam character inspired by the Garden of Eden. The project encourages creativity while practicing cutting, coloring, and gluing skills. It works well for church lessons, homeschool activities, or classroom crafts. The finished character can be used for storytelling, displays, or Bible-themed learning activities.
Tools
- Paper bag
- Free Adam Template
- Colored pencils
- Construction paper
- Glue
- Scissors
- Googly eyes
- Marker
Instructions
1. Prepare the Template Pieces
Trace the template pieces onto the appropriate colors of construction paper and cut them out. Gather the hair piece, leaves, blush circles, and facial details so they are ready for assembly.
2. Attach Adam's Hair
Glue the hair piece onto the top flap of the paper bag. Position it near the upper edge so it forms the top of Adam’s head.
3. Decorate the Leaves
Use colored pencils or markers to add leaf veins and simple details to the paper leaves. This gives them a more realistic appearance and adds extra color to the craft.
4. Add the Garden Leaves
Glue the decorated leaves to the lower section of the paper bag. Arrange them evenly to create a Garden of Eden-inspired design around the character.
5. Attach the Face Pieces
Glue on the googly eyes and blush circles. Place them carefully on the front of the paper bag to begin forming Adam’s face.
6. Draw the Facial Details
Use a marker to draw the eyebrows, smile, and any other facial features you would like to include. These finishing touches help bring the character to life.
7. Let It Dry and Display
Allow all pieces to dry completely before handling the craft. Once finished, use the paper bag character for storytelling, classroom displays, or Bible lesson activities.