
Green Eggs and Ham Handprint Craft + Free Template
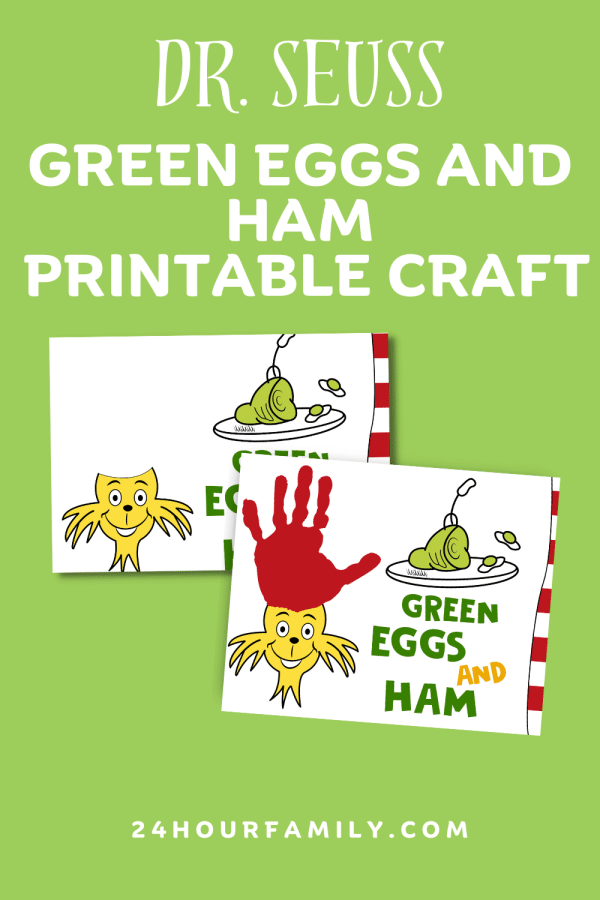
Turn a painted handprint into a cheerful storytime keepsake with this easy Green Eggs and Ham handprint craft. The free printable template gives kids a ready-made background, so all you need to add is a red print above the character’s face.
This simple project works well for preschool, pre-K, kindergarten, library storytime, a homeschool literature lesson, or a Read Across America Day celebration. It takes only a few minutes to prepare, and every finished page will look a little different.
Green Eggs and Ham Handprint Craft + Free Template
The PDF is available near the bottom of this post. Print the blank page, gather washable red paint, and follow the directions below.
Quick Project Details
- Best for: Preschoolers, pre-K, kindergarten, and early elementary ages
- Prep time: About 5 minutes
- Project time: About 10 minutes, plus drying time
- Mess level: Low to moderate
- Adult help: Recommended for painting and cleanup
What Is Included in the Green Eggs and Ham Template?
The downloadable PDF contains three landscape pages:
- A personal-use information page
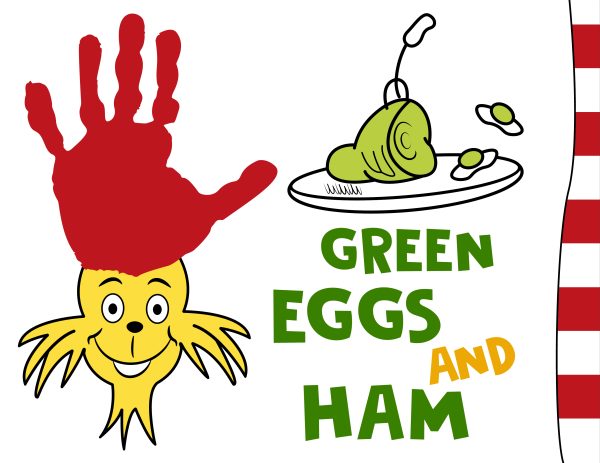
- A blank handprint page
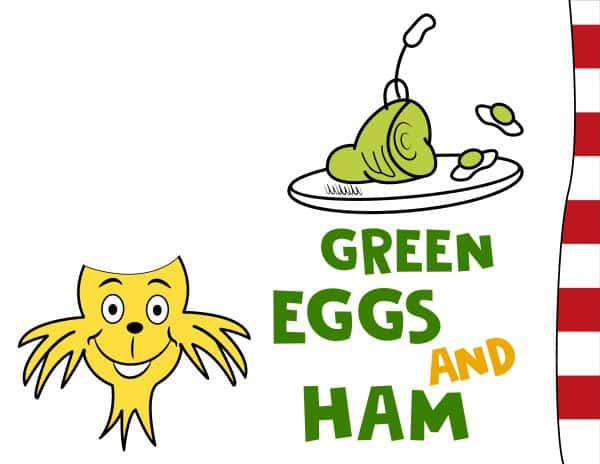
- A completed example showing where to place the print
The page already includes the colorful Seuss Green Eggs background and title. Kids add the painted print to complete the artwork; there are no small template pieces to trace, cut, or assemble.
Make one copy for each student. Keep the example page on the table or display it where the group can see it.
If you enjoy printable storybook projects, save our collection of Dr. Seuss crafts for kids for more reading-week ideas.
Supplies for This Green Eggs Craft
- The Green Eggs and Ham printable
- White cardstock or heavyweight printer paper
- Washable, nontoxic red tempera paint
- A foam brush or wide paintbrush
- A paper plate or shallow paint tray
- Baby wipes or a damp washcloth for the first cleanup
- Soap and water for washing
- A smock, old shirt, or apron
- A washable table covering or scrap paper
- A black marker for adding a name and date, optional
Cardstock is best because it holds wet paint without wrinkling. Regular printer paper can work if you use a thin coat and move the page to a flat surface to dry right away.
Only use washable, kid-safe supplies. An adult should supervise the activity and help everyone wash thoroughly when the print is finished.
How to Make Green Eggs and Ham Handprint Craft
1. Download and print the template
Get the PDF near the bottom of this page and save it to your device. Open the file in a PDF reader, select the blank page, and print it in landscape orientation.
Choose actual size (100%) and select the color setting. Avoid “fit to page” if it changes the layout or trims the border.
2. Prepare the work area
Cover the table and place the printed page on a flat surface. Pour a small amount of red tempera onto a shallow tray.
Write the student’s name on the back before beginning, especially when making this with a group.
3. Apply the red paint
Ask the child to spread one hand open, fingers relaxed. Use a foam brush to apply a smooth layer of red color across the palm, fingers, and thumb.
The coating should cover the skin without dripping. Too little creates a faint impression; too much may blur the shape. Test on scrap material if needed.
4. Press onto the page
Turn the painted palm so the fingers point toward the top. Position the bottom just above the character’s head, using the completed example in the PDF as a guide.
Press the palm down first, followed by each finger and the thumb. Gently press across the back for a few seconds. Keep everything still so the shape does not smear.
Lift straight up rather than sliding across the surface. A grown-up can hold the page in place during this step.
5. Clean up and let the artwork dry
Use a damp cloth or wipe to remove the first layer of color, then wash with soap and warm water.
Place the artwork flat where it will not be touched. Drying time depends on the amount used, but most prints will be ready in 20 to 30 minutes.
Once dry, add the name, age, and date. Display the finished art or save it as a keepsake.
Tips for a Clear Handprint
A perfectly solid impression is not necessary. For a clearer shape:
- Brush the color onto the palm instead of dipping it into a tray.
- Use a thin, even coat rather than a heavy layer.
- Keep the fingers relaxed and spread naturally.
- Set the sheet on a hard, level table rather than a soft surface.
- Press each finger once without rocking.
- Lift straight up while an adult holds the page.
- Finish cleanup with soap and water.
If the result smears, let it dry and keep it as part of the artwork—or start with a fresh copy and try again. Young learners are practicing a process, not producing identical results.
For even more keepsakes made with little hands, browse our collection of handprint art templates.
How to Adapt This Project for Preschool or a Classroom
This Green Eggs and Ham project is easy to prepare for a group because there are no pieces to cut. Make one blank page per participant, and create a super-simple assembly line: name the page, add the color, make the impression, wash up, and move the artwork to a drying rack.
Work with one person at a time or ask another adult to manage cleanup. Use a labeled drying area so pages do not get mixed up.
Some children do not enjoy wet materials on their skin. Never force participation. Offer one of these alternatives instead:
- Trace a palm on red construction paper, cut it out, and glue it in place.
- Color an outline with a red crayon or marker.
- Use a clean sponge and green paint to stamp a different shape.
- Decorate the open space with dots, lines, or fingerprints.
Toddlers and younger learners need close adult help. Older students can brush on their own color and add a sentence after the page dries, providing extra fine motor practice.
Turn the Art Project Into a Literacy Activity
Read the book first so everyone can connect the design with Dr. Seuss’s story. Then use the finished art activity as a conversation prompt.
Try questions such as:
- What foods do you recognize on the page?
- Why do you think the egg is green?
- How did Sam-I-Am help change the other character’s feelings?
- What new food have you tried?
- What silly color would you choose for your breakfast?
- Where would you take the plate in your own version?
The group can also find the red, green, yellow, and white areas, count the eggs, or listen for a rhyme while the story is read aloud.
This is also a crafty idea for a March literacy unit that encourages creativity while connecting a hands-on project to a familiar story.
For another printable literacy project, make the One Fish Two Fish craft with a free fish template. The Thing 1 and Thing 2 paper project adds tracing, cutting, and gluing practice for those who are ready for a longer project.
You can also save this idea to Pinterest when planning future Dr. Seuss or reading-week lessons.
More Book-Inspired Crafts and Printables
Continue your reading celebration with these activities:
- The Lorax handprint art uses a printable page and painted handprints.
- Cat in the Hat handprint craft is another quick keepsake for young children.
- Thing 1 and Thing 2 handprint art works well for siblings, partners, or classroom displays.
- Free Dr. Seuss coloring pages provide a low-prep option for centers and quiet time.
- Cat in the Hat hat printable turns storytime into dress-up and dramatic play.
Download the Green Eggs and Ham PDF
Use the form or button below to get the PDF. Save the file to your device, open it in a PDF reader, and choose the blank page in landscape orientation on white cardstock.
The finished artwork makes a playful addition to a reading celebration and a sweet record of this age. Pair it with the story, talk about trying new things, and let every imperfect little impression become part of the fun.
Is this a Green Eggs and Ham template?
Yes. The PDF includes a blank page and a completed example. It is intended for personal use. Use the box at the bottom of this post to get the file.
What age is this project for?
It is best suited to pre-K, kindergarten, and early elementary ages. Younger learners will need help applying the color and positioning their palm. Older kids can complete more of the process independently.
Should I use regular printer sheets or cardstock?
White cardstock is recommended because it stays flatter when damp. Standard printer sheets can also work when you apply a light coating and let the page dry on a flat surface.
Can I make this without putting color on the skin?
Yes. Trace a palm onto red construction paper, cut it out with adult help, and glue it above the character’s head. This is a good sensory-friendly alternative.
Can teachers make a copy for every student?
Check the usage terms included with the file before making multiple copies. The current PDF states that it is for personal use only. If educational use is not specifically permitted, obtain permission before distributing copies to a class.
Green Eggs and Ham Handprint Art
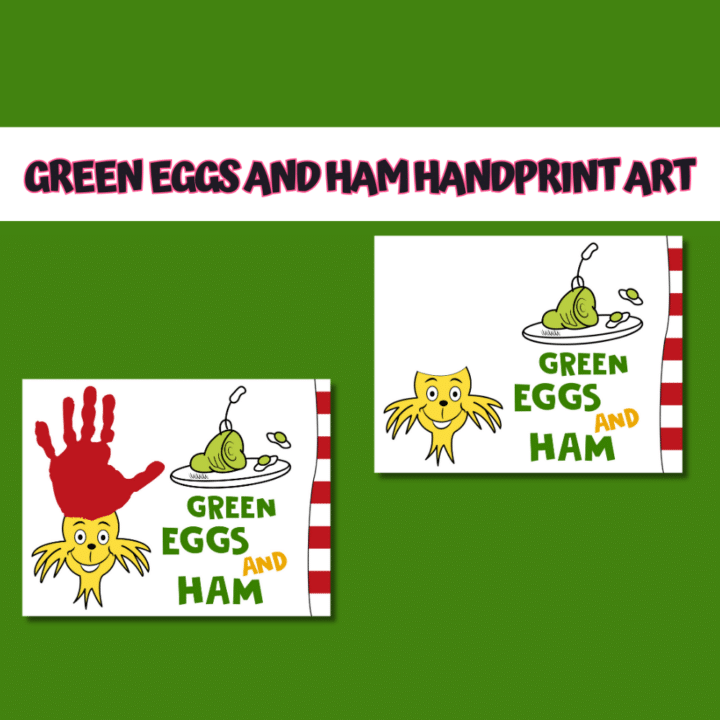
This free Green Eggs and Ham Handprint Art Craft is ideal for young learners. It combines creativity with the beloved characters and themes from Dr. Seuss's classic story.
Materials
- Free Green Eggs and Ham handprint template
- White cardstock
- Washable red tempera paint
- Paper plate or paint tray
- Table covering
Tools
- Foam brush or paintbrush
- Damp cloth or baby wipes
- Black marker, optional
Instructions
- Print the blank craft page in landscape orientation on white cardstock.
- Cover the work surface and write the child’s name on the back of the page.
- Brush a thin, even layer of washable red paint over the child’s palm and fingers.
- Position the hand above the character’s head with the fingers pointing upward.
- Press the palm and each finger firmly onto the paper without sliding.
- Lift the hand straight up, wash it with soap and water, and leave the page flat to dry.
- Add the child’s name and date after the paint is completely dry.
