
Thing 1 and Thing 2 Craft With Free Printable Template
Thing 1 and Thing 2 are always ready to turn an ordinary day into something wonderfully silly. With their bright red bodies, wild blue hair, and mischievous smiles, these familiar storybook characters are especially fun for children to recreate.
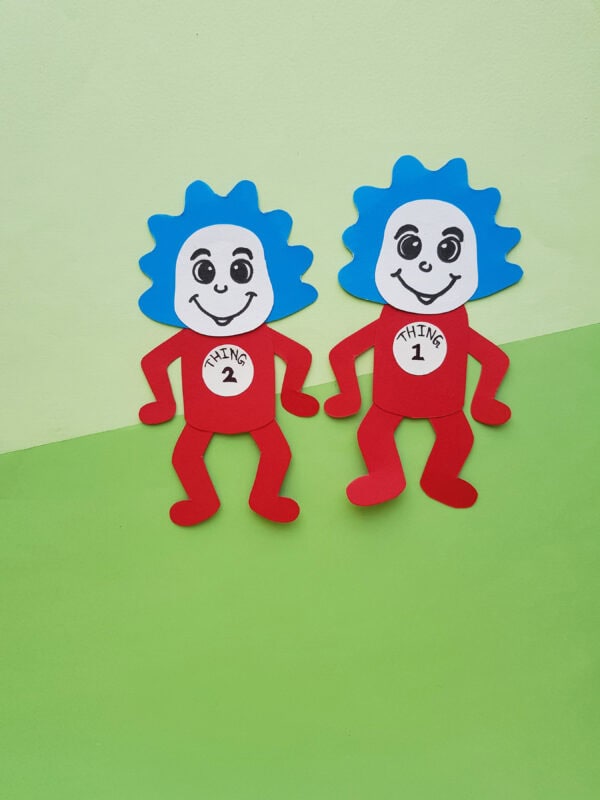
This Thing 1 and Thing 2 craft uses a free printable template and three colors of craft paper. Children trace the pieces, cut them out, glue the characters together, and draw their own playful faces.
The finished paper characters are perfect for a Dr. Seuss-themed lesson, a Read Across America celebration, a classroom reading activity, a homeschool project, or a creative afternoon at home.
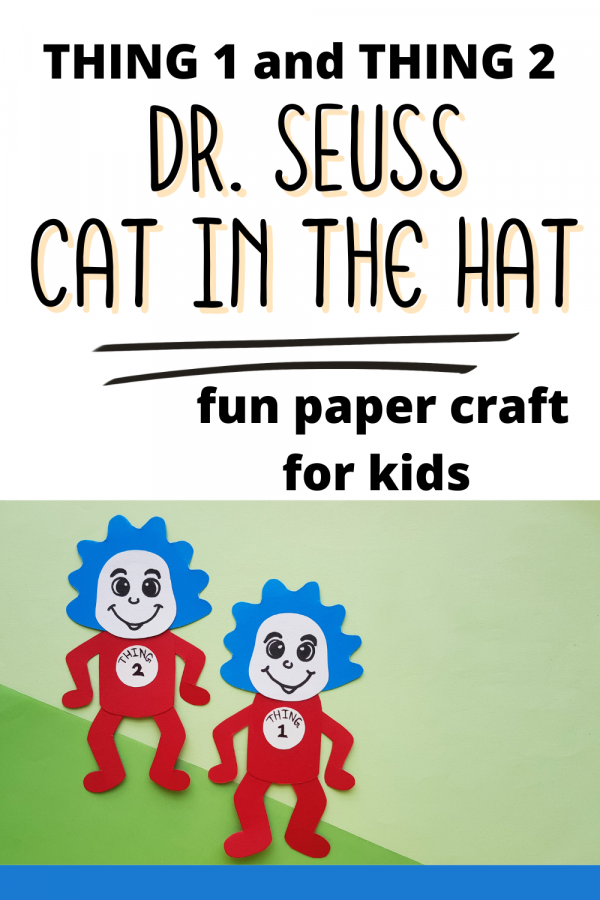
An Easy Dr. Seuss Paper Craft for Kids
As a longtime homeschool mom and homeschool co-op teacher, I have found that printable crafts work best when the pieces are simple enough for children to recognize and assemble without becoming frustrated.
This project includes large body pieces, easy-to-handle arms and legs, and a simple round label for Thing 1 or Thing 2. Children can follow the example exactly or change the position of the arms and legs to give each character a different pose.
One character might appear to be running. Another might be dancing, jumping, or preparing to create a little harmless mischief.
The activity gives children a chance to practice tracing, cutting, gluing, following directions, and drawing facial expressions while making a character connected to a favorite book.
What Is Included in the Free Printable Template?
The printable Thing 1 and Thing 2 craft template includes the patterns needed to make one complete paper character.
The template includes:
- One blue hair pattern
- One white face pattern
- One red body pattern
- Two red arm patterns
- Two red leg patterns
- One white circle for the character label
Use the same pattern to make both characters. Write “Thing 1” on one white circle and “Thing 2” on the other.
You can also change the numbers and let children make Thing 3, Thing 4, or an entire classroom full of silly Things.
Supplies for the Thing 1 and Thing 2 Craft
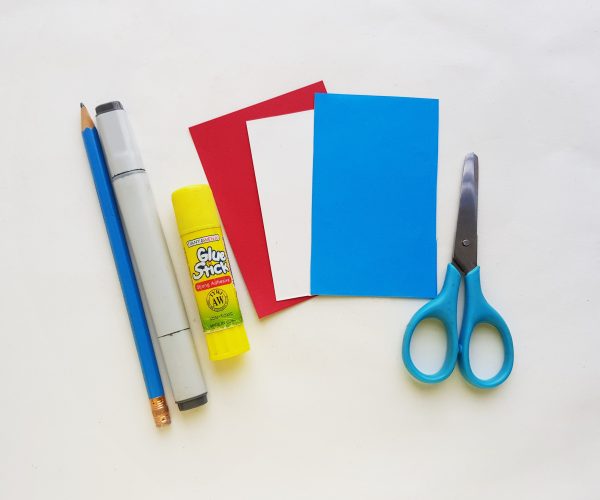
You will need:
- Free printable Thing 1 and Thing 2 template
- Red craft paper or construction paper
- Blue craft paper or construction paper
- White craft paper or cardstock
- Pencil
- Child-safe scissors
- Glue stick or craft glue
- Black marker or fine-tip permanent marker
- Printer
- White printer paper for printing the template
The original project uses colored craft paper, craft glue, a marker, a pencil, and scissors.
A glue stick is often easier for younger children because it creates less mess and helps prevent thin paper pieces from becoming overly wet.
Cardstock can also be used when you want a sturdier finished character for puppets, storytelling, or a classroom display.
How to Make a Thing 1 and Thing 2 Craft
Step 1: Print and Cut Out the Template, then Trace the Pieces onto Colored Paper
Download and print the free Thing 1 and Thing 2 craft template.
Cut out each template piece along its outer edge. These pieces will be used as tracing patterns rather than glued directly onto the finished character.
Younger children may need help cutting out the smaller arms, legs, and circle.
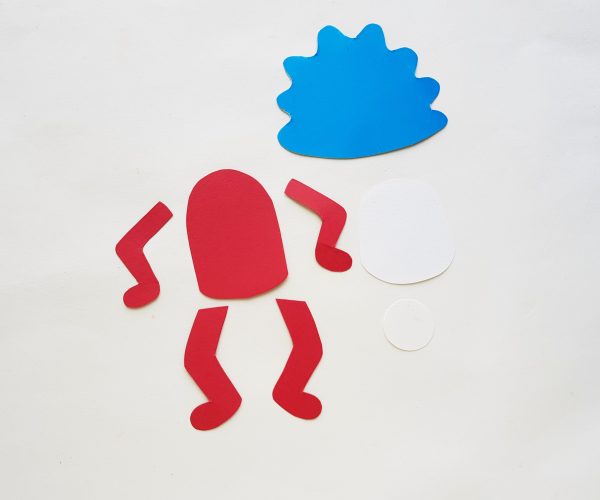
Choose red, blue, and white craft paper.
Use a pencil to trace:
- The hair pattern onto blue paper
- The body onto red paper
- Both arms onto red paper
- Both legs onto red paper
- The face onto white paper
- The round label onto white paper
Carefully cut out all of the traced pieces.
For a classroom activity, an adult can trace the pieces before class and allow children to concentrate on cutting and assembling them.
Step 2: Attach the Face to the Blue Hair
Place the white face shape in the center of the blue hair.
The wider portion of the hair should frame the sides and top of the face. Adjust the face until it looks centered, and then glue it in place.
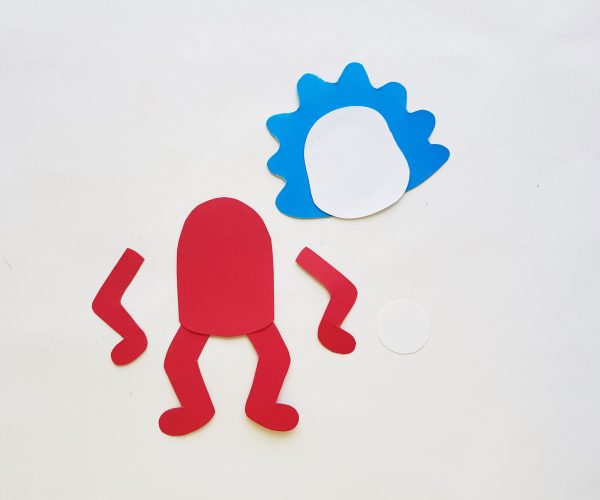
Leave the face blank for now. It is easier to draw the features after the character has been assembled.
Step 3: Attach the Legs and Arms to the Body
Place the red body shape on your work surface.
Glue one leg to each side of the lower back of the body. Position the feet so they point slightly outward.
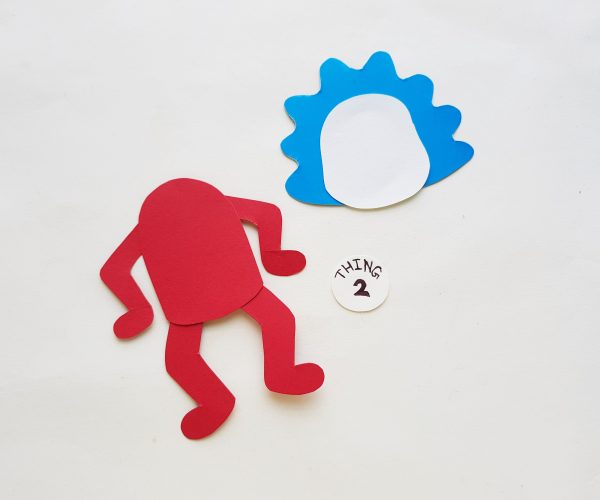
The legs do not have to match perfectly. Tilting one leg in a different direction can make the character look like it is walking, dancing, or jumping.
Try changing the arm angle to give each character a different pose. One arm can point upward while the other rests downward, or both arms can bend toward the character’s sides.
This is an easy way for children to personalize their crafts even when everyone uses the same template.
Step 4: Add the Thing 1 or Thing 2 Label
Use a black marker to write “Thing” across the upper part of the small white circle.
Write the number 1 or 2 beneath the word.
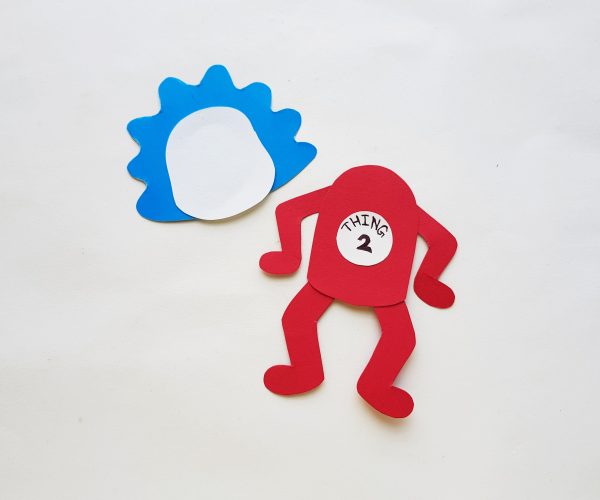
Glue the finished circle to the center of the red body.
When making both characters, label one circle Thing 1 and the other Thing 2.
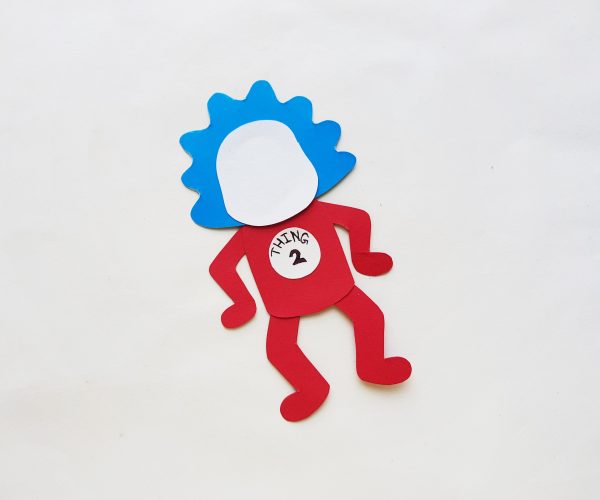
Step 5: Draw the Face
Use a black marker to draw the character’s facial features.
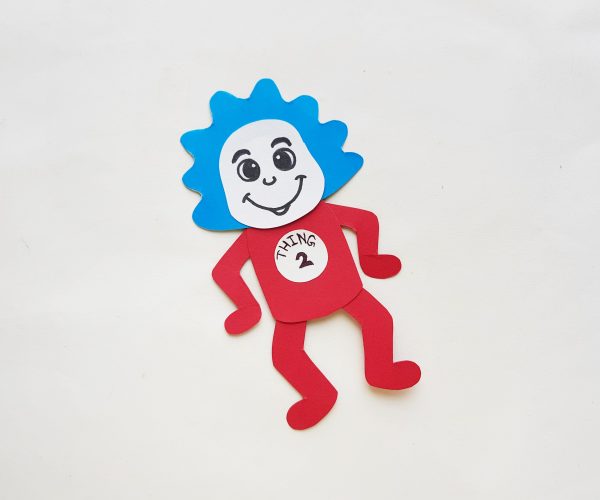
Add:
- Two large eyes
- Eyebrows
- A small nose
- A wide smile
- A small tongue or curved mouth detail
Children can copy the example or create completely different expressions.
One character might look cheerful, surprised, curious, or extra mischievous.
Step 6: Make the Second Character
Repeat the same steps to create the matching character.
Write Thing 1 on the first character’s circle and Thing 2 on the second.
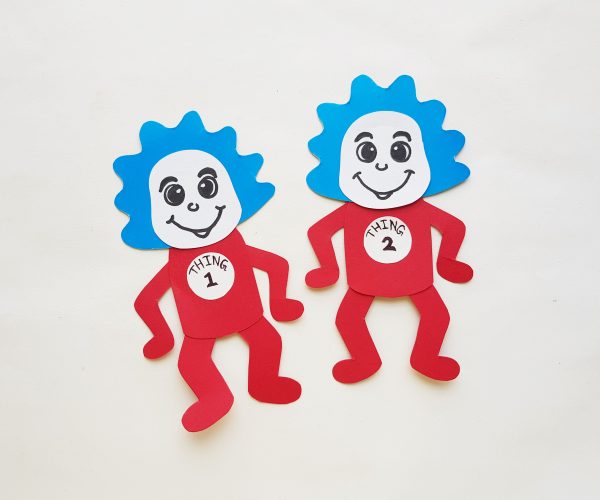
Arrange the arms and legs differently so the two characters have their own playful poses.
The original instructions follow this same sequence: trace and cut the colored pieces, attach the head and legs, add the arms and number label, attach the head to the body, draw the face, and repeat the process for the second character.
Tips for Making This Craft With Young Children
Preschoolers and kindergarten students may be able to complete much of this craft independently, but a little preparation can make the activity more enjoyable.
Before beginning:
- Cut out the printed template pieces.
- Place red, blue, and white paper at each child’s workspace.
- Trace the smaller pieces ahead of time when needed.
- Provide glue sticks instead of liquid glue.
- Make one completed character for children to use as a visual guide.
- Write each child’s name on the back of the pieces.
- Keep a small tray or envelope nearby for loose cutouts.
Children who are still developing scissor skills do not need to cut perfectly along every line. A slightly uneven arm, foot, or tuft of hair will only give the finished character more personality.
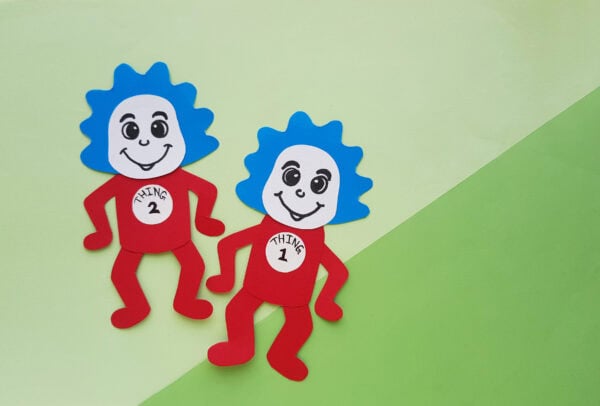
How to Make the Craft Easier for Preschoolers
For younger preschoolers, print the template directly onto colored paper when possible.
Print or copy:
- The hair page onto blue paper
- The body, arms, and legs onto red paper
- The face and circle onto white paper
This removes the tracing step, allowing children to move directly to cutting and gluing.
Another option is to have an adult cut out the pieces before the activity. Children can then arrange the pieces like a puzzle and glue them together.
This version still provides them with practice in spatial awareness, sequencing, glue control, and creative expression.
Turn the Characters Into Paper Puppets
These paper characters can easily become puppets for dramatic play.
After the glue dries, attach a jumbo craft stick to the back of each character.
Children can use the puppets to:
- Retell parts of the story
- Create a new adventure for Thing 1 and Thing 2
- Act out a classroom cleanup lesson
- Practice dialogue between two characters
- Perform a short puppet show
- Describe each character’s personality
For a sturdier puppet, glue the completed character onto a piece of cardstock and cut around the outer shape before adding the craft stick.
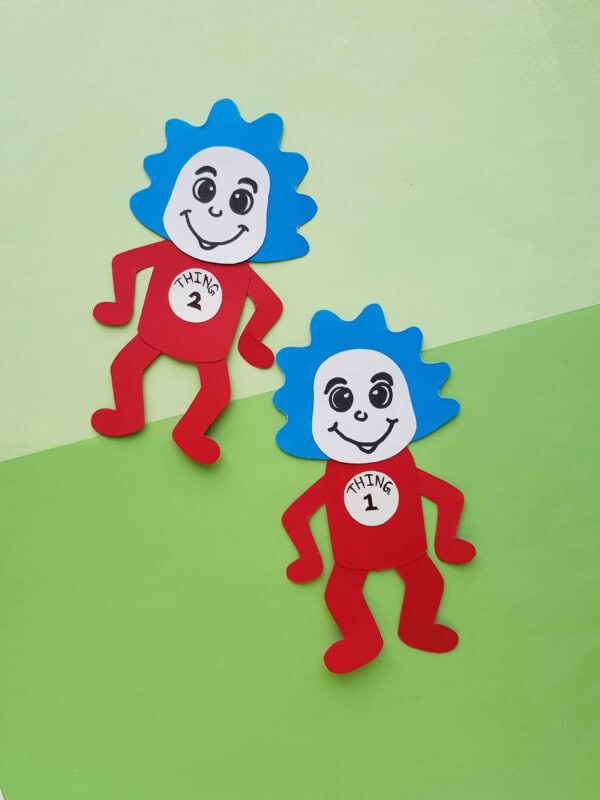
Create Moveable Thing 1 and Thing 2 Puppets
Instead of gluing the arms and legs directly to the body, connect them with small brass paper fasteners.
Punch small holes where the arms and legs meet the body, then insert the fasteners.
This allows children to move the characters’ arms and legs into different positions.
Because brass fasteners are small, this variation is best suited to older children and should be completed under adult supervision.
Classroom Ideas for the Finished Crafts
Make a Thing 1 and Thing 2 Bulletin Board
Display the finished characters against a red, white, or blue background.
Possible bulletin board titles include:
- Reading Is Our Thing
- Look at All the Things We Can Do
- Our Classroom Is Full of Wonderful Things
- Every Thing Is Unique
- Books Make Everything More Fun
Number Every Child’s Character
Let each student choose a different number.
The class can create Thing 1 through Thing 20 or continue until every child has a unique character.
Arrange them in numerical order for an easy number-recognition activity.
Add a Writing Prompt
Attach each character to a larger sheet of construction paper and add a writing response beneath it.
Children can finish one of these prompts:
- If I were a Thing, I would…
- My Thing’s special talent is…
- Thing 1 and Thing 2 came to our classroom and…
- The silliest thing I can imagine is…
- My character is named Thing…
- I would teach Thing 1 and Thing 2 to…
- The best way to clean up a big mess is…
Preschoolers can dictate their answers to an adult. Older children can write several complete sentences.
Use the Crafts for Story Sequencing
After reading the book, ask children to place story events in order.
They can hold up their paper characters while describing:
- How the characters arrived
- What they did inside the house
- How the children reacted
- What happened to the mess
- How the story ended
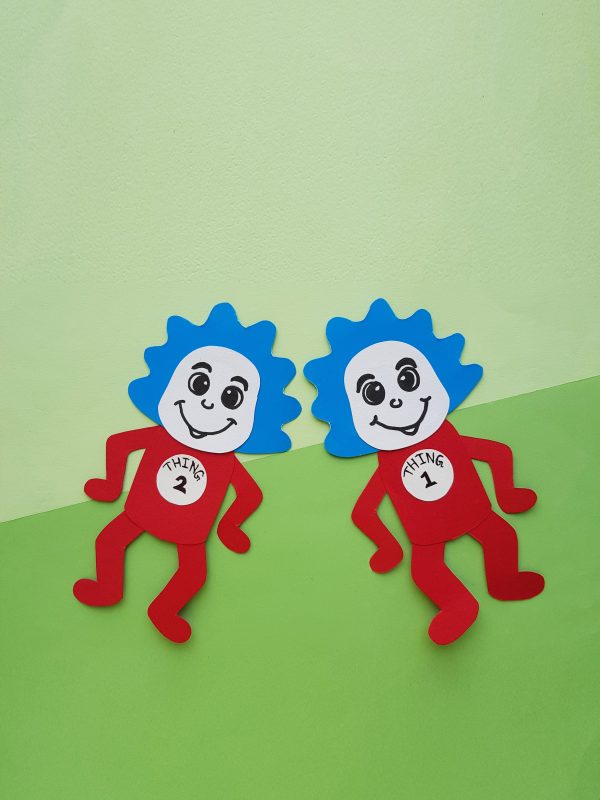
Skills Children Practice With This Activity
This Thing 1 and Thing 2 printable may look like a simple paper project, but it gives children opportunities to practice several developmental skills.
Fine Motor Skills
Tracing, cutting, gluing, and drawing help strengthen the small muscles used for handwriting, fastening clothing, and completing everyday tasks.
Hand-Eye Coordination
Children must guide their scissors along the traced lines and position each paper piece in the correct area.
Following Directions
The character is assembled in a sequence, helping children practice completing steps in order.
Shape Recognition
Children work with circles, rounded rectangles, curved shapes, and narrow paper pieces.
Spatial Awareness
They decide where the arms, legs, face, hair, and label should be placed in relation to the body.
Creativity
Children can change the pose, facial expression, number, and personality of each finished character.
Literacy Connections
Completing the craft after reading encourages children to recall characters, discuss events, and make connections with the story.
More Ways to Personalize the Craft
Although the classic characters use red, white, and blue, children do not have to limit themselves to those colors.
They can:
- Use patterned scrapbook paper for the bodies.
- Add glitter paper for the blue hair.
- Draw freckles or rosy cheeks.
- Add googly eyes.
- Create different facial expressions.
- Write their own number on the circle.
- Add a speech bubble.
- Draw a background around the character.
- Glue the character onto a paper bag.
- Add yarn or tissue paper to the hair.
Letting children make small creative decisions can help the project feel like their own rather than an exact copy of the example.
Questions to Ask After Reading
Extend the activity with a few simple discussion questions:
- How would you describe Thing 1 and Thing 2?
- What made the characters funny?
- What kind of trouble did they cause?
- How did the children feel when the house became messy?
- What should Thing 1 and Thing 2 have done differently?
- What would you do if they appeared in your house?
- Why is it important to clean up after playing?
- Which character was your favorite?
- What was the funniest part of the story?
- What new adventure could the characters have next?
These questions can be used during circle time, as writing prompts, or as part of a homeschool reading lesson.
This post may contain affiliate links. As an Amazon Associate and a participant in other affiliate programs, I earn a commission on qualifying purchases. Read our disclosure policy here.
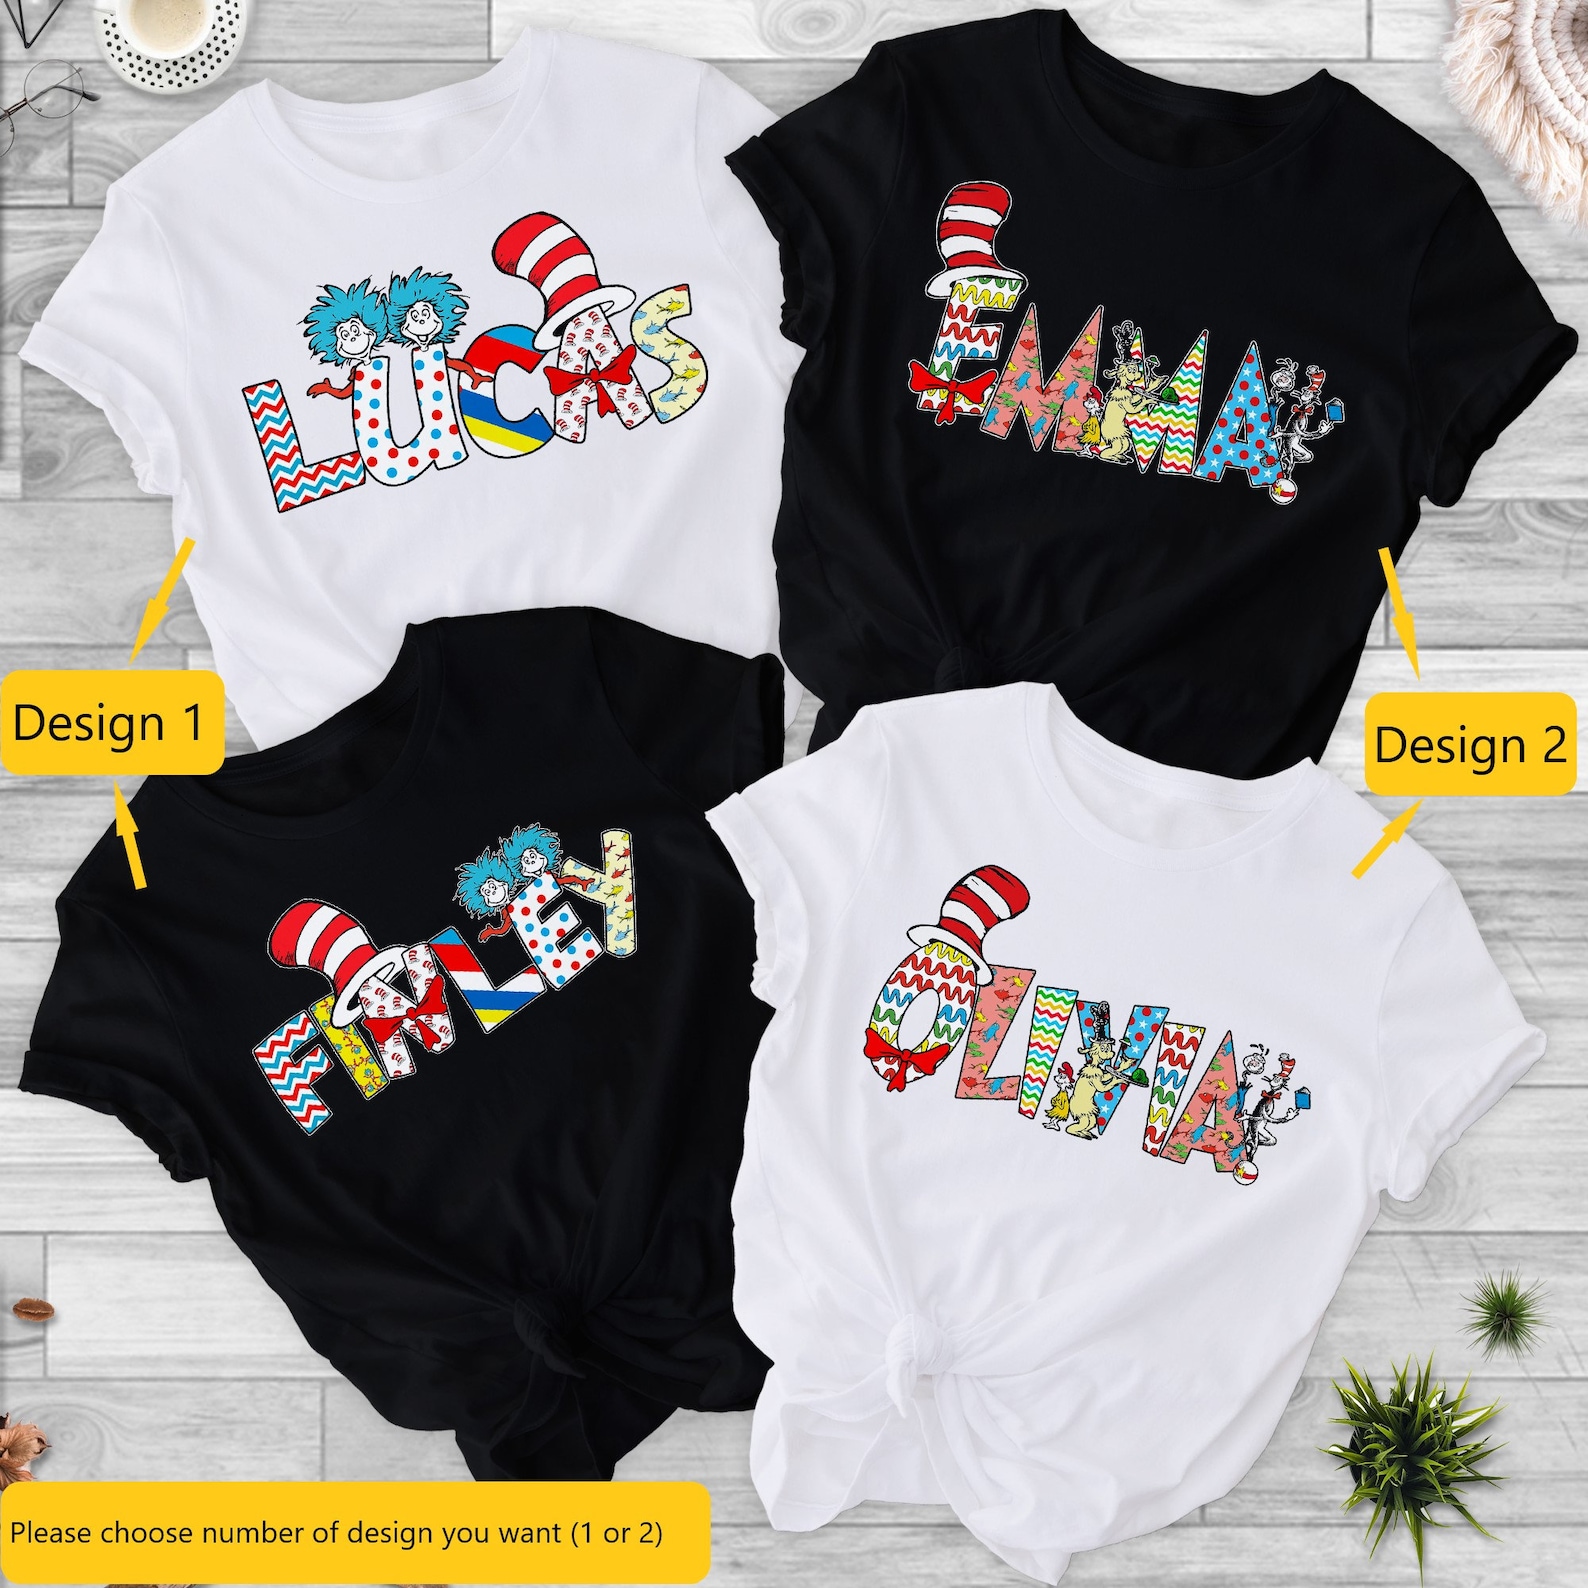
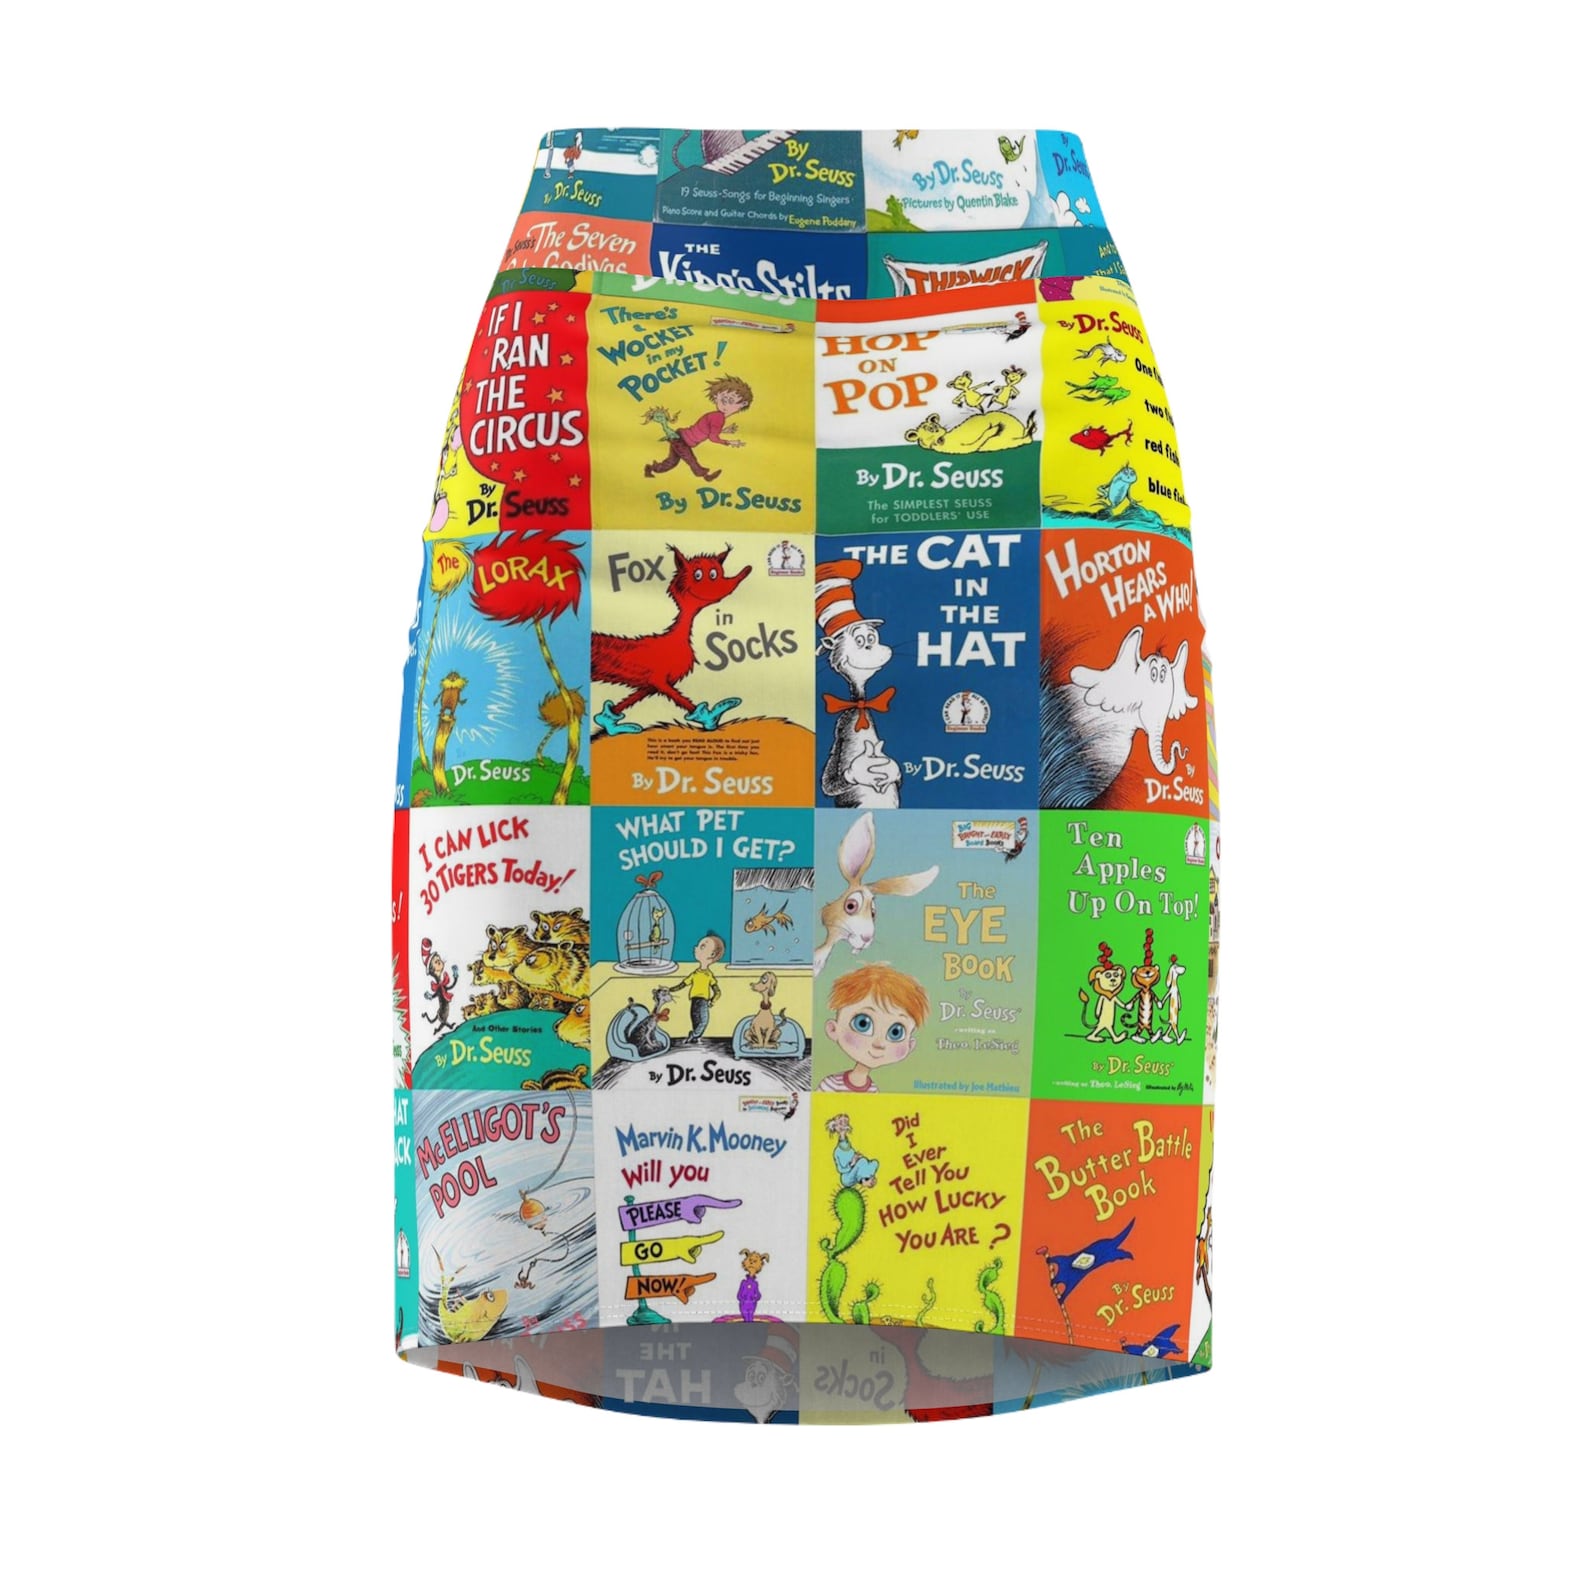
Customize Cat in the Hat ShirtDr. Seuss Women’s Pencil Skirt
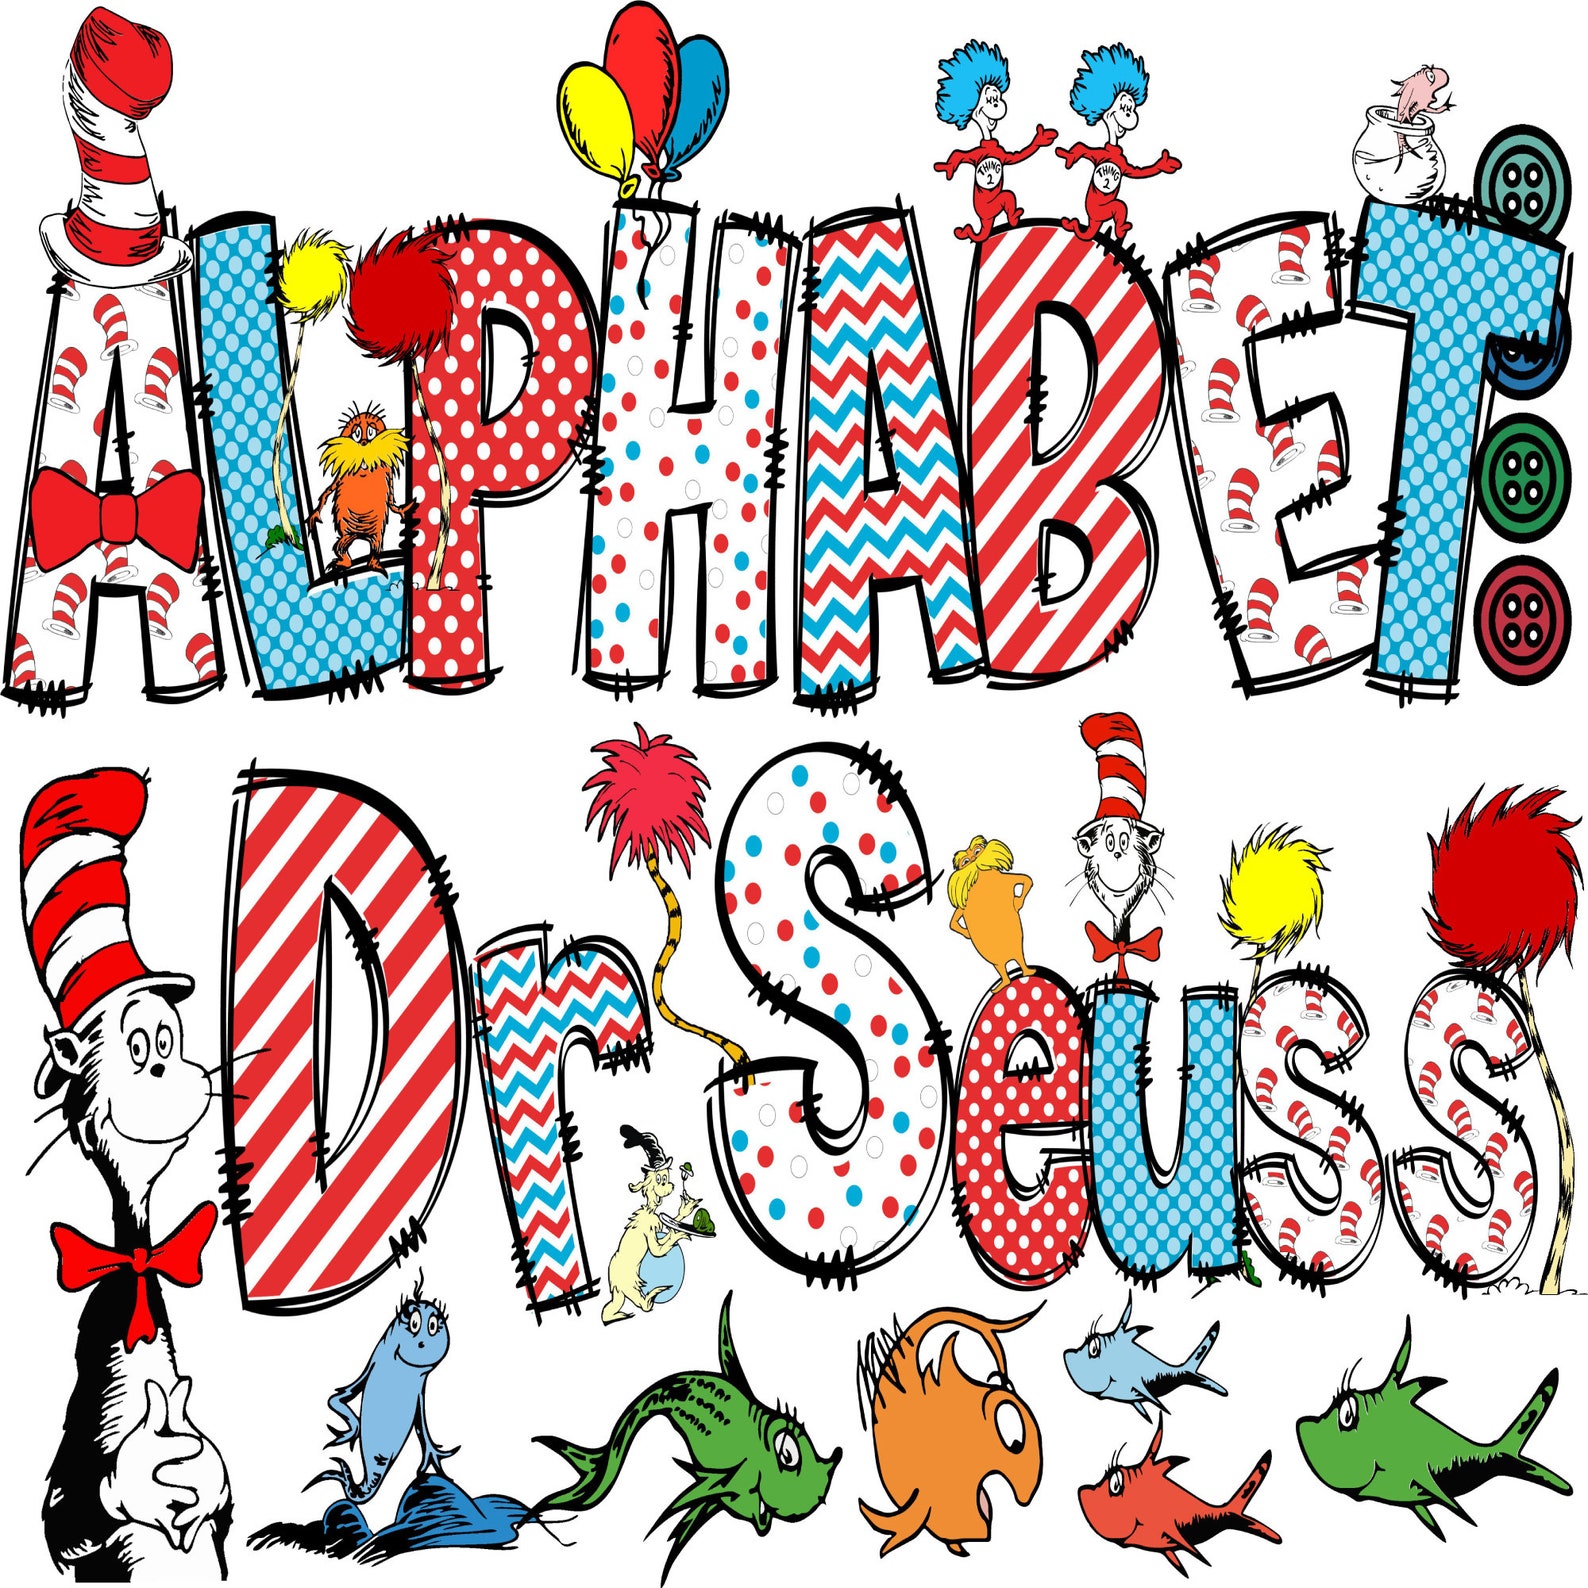
Dr. Suess Alphabet Png
When to Use This Thing 1 and Thing 2 Printable
This paper craft works well for:
- Read Across America activities
- Dr. Seuss Day
- Preschool storytime
- Kindergarten literacy centers
- Elementary classroom projects
- Homeschool reading lessons
- Library programs
- Book-themed parties
- Indoor rainy-day activities
- Fine motor practice
- Story-retelling activities
- Classroom bulletin boards
It can be completed as an individual craft or used as part of a larger unit featuring book-inspired printables and activities.
How to Download the Free Printable
Download the Thing 1 and Thing 2 template using the printable form or download button below.
Save the PDF to your computer or device before printing. Open the downloaded file in a PDF reader and print it at 100 percent or actual size.
Use the printed pieces as templates for tracing onto red, blue, and white craft paper.
The printable is intended for personal, classroom, library, church, or homeschool use. Please direct others to this page so they can download their own copy rather than sharing the PDF file.
Printing Tips
For the clearest template:
- Download the PDF before printing.
- Open it in a PDF reader.
- Select portrait orientation.
- Choose actual size or 100 percent scale.
- Use standard white printer paper.
- Print one test copy before making a classroom set.
- Check that no pieces are cut off near the page margins.
Because the printed pieces are used for tracing, regular printer paper is sufficient. You do not need to print the template on cardstock unless you plan to reuse the tracing pieces many times.
More Dr. Seuss Crafts and Printables
After completing the Thing 1 and Thing 2 paper craft, continue your reading celebration with more related activities:
- Cat in the Hat craft
- Lorax handprint art
- Green Eggs and Ham handprint art
- Fox in Socks handprint art
- Dr. Seuss activities for kids
- One Fish Two Fish Craft
- Grinch food dip
- Free Grinch SVG
- Cat in the Hat Hat (Free Printable)
- Free Dr. Seuss Coloring Pages
- Cat in the Hat Handprint Craft
What age is this Thing 1 and Thing 2 craft for?
This project is best suited for preschool, kindergarten, and early elementary children. Younger children may need help tracing and cutting the smaller pieces.
Is this a handprint craft?
No. This version is a paper cut-and-paste craft made with a printable tracing template.
Does the printable include both Thing 1 and Thing 2?
The same template can be used to make both characters. Label one white circle Thing 1 and the other Thing 2.
What type of paper works best?
Construction paper or lightweight craft paper works well. Cardstock can be used for sturdier characters or paper puppets.
Can children color the template instead?
Yes. Children can color the printed pieces red, blue, and white, cut them out, and glue them together without tracing them onto colored paper.
Can I prepare this for a classroom?
Yes. Print several copies of the template or trace the patterns onto colored paper before class. Keep each child’s pieces in a separate envelope or plastic bag.
Can the characters be used as puppets?
Yes. Attach a jumbo craft stick to the back or use brass fasteners to create movable arms and legs.
Do the faces have to look like the example?
No. Children can draw any expression they like. Different expressions make each craft more original.
How long does the craft take?
Most children can complete it in approximately 20 to 30 minutes. Younger children may need more time to trace and cut.
This Thing 1 and Thing 2 craft turns a few pieces of colorful paper into two playful storybook characters children can display, use as puppets, or include in a literacy lesson.
The free template makes the shapes easy to trace, while the open-ended faces and moveable-looking poses leave plenty of room for creativity. Print the template, gather red, blue, and white craft paper, and let children create their own delightfully mischievous pair.
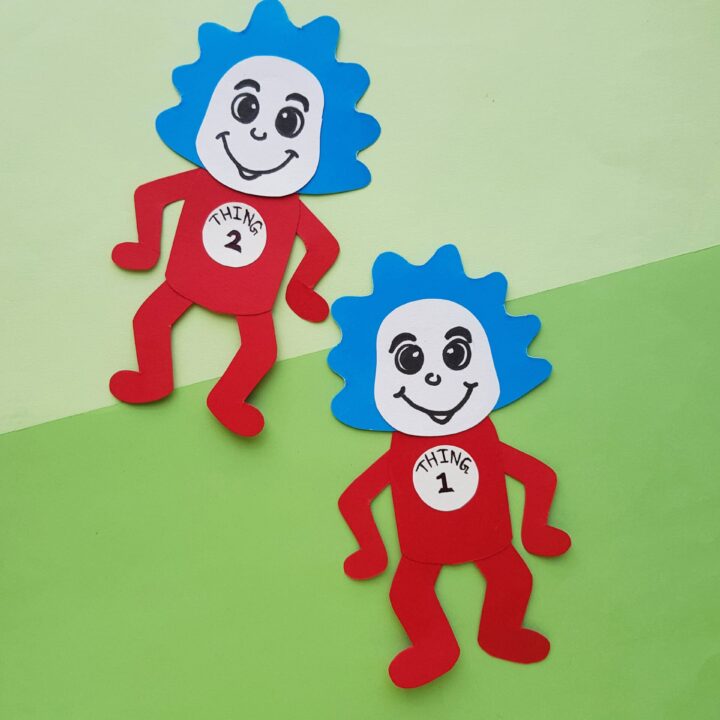
Thing 1 and Thing 2 Paper Craft
Use the free printable template and colorful craft paper to make playful Thing 1 and Thing 2 characters for Dr. Seuss Day, Read Across America, or a book-themed classroom activity.
Materials
- Free Thing 1 and Thing 2 printable template
- Red craft paper
- Blue craft paper
- White craft paper
- Craft glue or glue stick
Tools
- Pencil
- Child-safe scissors
- Black marker
Instructions
1. Trace and cut out the pieces
Print and cut out the template patterns. Trace the hair onto blue paper; trace the body, two arms, and two legs onto red paper; and trace the face and round label onto white paper. Cut out all the traced pieces.
2. Assemble the hair, face, body, and legs
Glue the white face shape to the center of the blue hair. Attach both red legs behind the lower edge of the body.
3. Add the arms
Glue one red arm to each side of the body. Angle the arms and legs to give the character a playful pose.
4. Make the character label
Write “Thing” and the number 1 or 2 on the small white circle. Glue the label to the center of the red body.
5. Attach the head
Glue the completed hair-and-face piece to the top of the body.
6. Draw the face
Use a black marker to draw two eyes, eyebrows, a nose, and a cheerful smile on the white face.
7. Make the second character
Repeat the steps to make the second character, labeling one Thing 1 and the other Thing 2.
Notes
A glue stick may be easier and less messy for young children.
Adults can pre-trace or pre-cut the smaller pieces for preschoolers.
Change the position of the arms and legs to create different poses.
Attach jumbo craft sticks to the backs to turn the characters into puppets.
Children can make additional characters labeled Thing 3, Thing 4, and beyond.
