
Easy Pilgrim Girl Paper Bag Craft for Kids (Free Printable Template)
If you’re looking for a fun and easy Thanksgiving activity that’s perfect for young children, my Pilgrim Girl Paper Bag Craft is going to be your new holiday favorite.
Whether you’re teaching about the first Thanksgiving, creating themed crafts for kids in preschool or kindergarten, or just looking for a cute decoration to add to your Thanksgiving table, this paper craft is sure to be a hit.

Pilgrim Girl Paper Bag Craft for Kids
This is more than just a craft; it’s a hands-on activity for kids that helps improve fine motor skills, encourages creativity, and sparks curiosity about history.
Plus, with a free printable template, it’s easy to make for little ones at home or in the classroom. So, grab your brown paper bag, construction paper, and a dash of creativity, because we’re about to make a girl pilgrim that will charm your Thanksgiving celebrations.
Why You’ll Love This Thanksgiving Craft:
- Perfect for all ages – From pre-k students to older elementary kids, everyone can enjoy it.
- Hands-on learning – Use it to discuss the Thanksgiving Pilgrim story, traditions, and history.
- Simple materials – Most items are already in your home or classroom supply bin.
- Versatile use – Great as a pilgrim puppet for storytelling, a placemat decoration, or a Thanksgiving craft keepsake.

And the best part? You can browse paper bag craft ideas like this one and keep adding to your holiday craft stash.
This post may contain affiliate links. As an Amazon Associate and a participant in other affiliate programs, I earn a commission on qualifying purchases. Read our disclosure policy here.
AJM Brown Paper Lunch Bags 40 Count Crafty DAB GLUES DAB N STIC SchoolElmer’s Disappearing Purple School Glue Sticks Washable 22 Grams 3 CountHuhuhero Kids Scissors, 5” Safety Toddler Scissor Blunt Tip with Cover, Small Craft Cutting Paper Scissors for Child Kid Age 4-7 8 9, Assorted Colors, 4 PackCrayola Construction Paper, 120 SheetsCrayola 587722 Non-Washable Markers, Broad Point, Classic Colors, 10/Set


Materials Needed To Make a Pilgrim Girl Paper Bag Craft:
Before we jump into the step-by-step guide, let’s gather all the materials for your paper bag pilgrim craft:
- Construction papers – White, yellow, black, and pink for the bonnet, hair, and dress
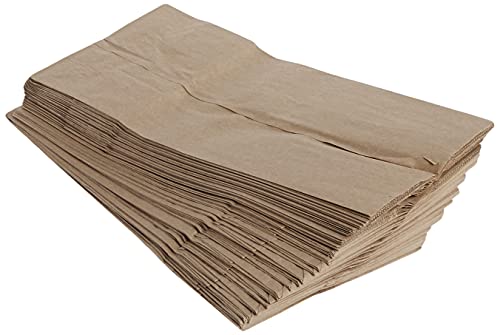
- Paper bag – A standard paper lunch bag works great
- Marker – Black for outlining details
- Glue – Any school-safe glue works
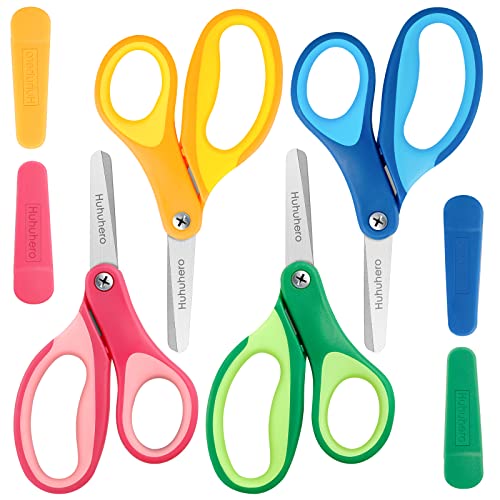
- Scissors – For cutting out the shapes
- Printable templates – Use our template (Get the free resource at the bottom of this post) or draw your own
- Optional: Staple – To secure pieces if the glue isn’t enough

How to Make The Pilgrim Girl Paper Bag Craft
Follow these steps to create your paper bag pilgrim girl puppet. You can also refer to the photos for a clear-cut, step-by-step visual guide.
Step 1: Prepare Your Free Template Pieces
Start by printing or tracing your craft template onto colored construction paper. We’ve included a free PDF template that you can download and print at home.
Once printed, cut along the lines using scissors, keeping each shape neat and ready for assembly. You’ll need the bonnet, apron, white strip, eyes, blush circles, hair, and dress pieces.

If you’re working with young children or pre-k students, you might want to pre-cut the pieces to make the activity fun and easy for them.
Step 2: Color and Outline
Using your marker, outline each template piece to give it a finished look. This adds definition and makes your pilgrim craft look extra polished.
Encourage the kids to add a little color detail, such as shading the cheeks or adding a design to the apron.

Step 3: Add the Hair and Bonnet
Now it’s time to give your paper bag pilgrim girl her signature bonnet.
Glue the yellow hair just under the paper bag flap, and then glue the bonnet on top.
The bonnet is one of the cutest details in this Thanksgiving activity, and kids love placing it just right.

Step 4: Assemble the Dress and Apron
First, glue the black rectangle to the front of your paper bag. This will be the dress.
Next, attach the apron and white strip across the bottom half.
Tip: If the paper bag has a flap, make sure your dress starts just below it so the face will fit nicely above.

Step 5: Face Details
Attach the eyes just below the bonnet, making sure they’re even. Add blush circles on each side of the chin for a sweet touch.
Draw a small smile with your marker.

Step 6: Finishing Touches
Once all the pieces are glued, let your paper bag puppet dry. You now have a pilgrim puppet ready for storytelling or display.

Teaching Ideas with Your Pilgrim Puppet
This Thanksgiving craft isn’t just cute, it’s educational! Here are some ways you can use your pilgrim puppet:
- Storytelling – Act out scenes from the first Thanksgiving with your students.
- History lesson prop – Pair with a turkey craft or scarecrow for a fun fall display.
- Activity worksheet (Pre-K) – Combine with a cut-and-glue Thanksgiving house worksheet for a themed unit.
- Thanksgiving unit – Add this craft to your Thanksgiving kids’ lesson bundle for a complete learning experience.
Tips for Craft Success:
- Folding – If your paper bag flap is a bit stiff, fold it gently before starting so it opens smoothly when used as a puppet.
- Size adjustments – The template is designed for a standard paper lunch bag, but you can resize it if you’re using a different size.
- Tab & Staple – If glue doesn’t hold well, you can add a small tab of paper behind pieces and staple them for extra security.

Why This Craft is Great for Kids
This paper bag pilgrim girl puppet is the perfect activity for kids because it:
- Improves fine motor skills through activities such as cutting, gluing, and assembling.
- Encourages creativity and storytelling.
- Fits perfectly into a Thanksgiving unit or craft activities lesson.
- Makes a cute decoration for your classroom, home, or dinner table.
Plus, it’s easy to make and budget-friendly, making it a win for parents, teachers, and caregivers.
Pilgrim Girl Printable Templates
To make this even easier, we’ve created printable templates for you. You can download the free template PDF, print it on one page, and be ready to craft in minutes. This free template saves time and ensures that all your pieces fit together perfectly.

More Thanksgiving Crafts to Try
If you enjoyed making the Pilgrim Girl Paper Bag Craft, here are more creative Thanksgiving projects you can make with the kids:
- Pilgrims and Mayflower Printable Craft – A printable set featuring pilgrims and the Mayflower for a fun historical craft.
- Turkey Feather Template – Printable feather patterns perfect for turkey crafts and decorations.
- Printable Thankful Turkey Craft – A heartfelt activity where kids can write what they’re thankful for on turkey feathers.
- Disguise a Turkey Printable – A playful craft where kids disguise a turkey to help it escape Thanksgiving dinner.

A simple brown paper bag transforms into an adorable paper bag pilgrim girl puppet in just a few steps. It’s an excellent activity for kids that blends history, creativity, and hands-on learning.
Whether you’re making it for your Thanksgiving kids program, using it as part of a placemat setting, or adding it to your Thanksgiving unit, this craft is a winner. So grab your scissors, your glue, and your template — and let’s make this paper bag pilgrim craft together.

Pilgrim Girl Paper Bag Craft
Celebrate Thanksgiving with this adorable Pilgrim Girl paper bag craft! Kids can cut, color, and assemble the included templates to create a charming Pilgrim character using simple materials. This craft is perfect for classroom activities, holiday lessons, or festive family fun. It encourages fine motor skills and brings history to life in a hands-on way.
Materials
- Construction papers
- Markers
- Glue
- Scissors
- Paper bag
- Free Printable Pilgrim Girl Template
Instructions
- Print, Cut, and Trace the Templates
Begin by printing the provided templates. Carefully cut out each shape, then trace them onto the correct colored construction paper (e.g., skin tone for the face, black for the dress, yellow for the hair, etc.). - Prepare the Craft Pieces
After tracing, cut out all your pieces. Organize them so they’re easy to find—this will help streamline the assembly process. - Assemble the Main Body Parts
Use the reference photo to help you place each piece in the correct order. Start by gluing the face, dress, and hat pieces together separately, following the template layout. - Outline for Definition
Use a black marker to outline each template piece carefully. This step adds visual definition, making the finished craft stand out. - Attach Pieces to the Paper Bag
Start attaching the assembled body parts to the paper bag. Begin with the most significant elements, such as the dress and face, then layer on the more minor details. - Add the Black Background
Glue the black rectangular piece to the front of the paper bag. This will act as the base for the character and help the colors pop. - Add the Hair and Hat
Carefully attach the hair just above the face. Then glue the hat on top, slightly overlapping the hair. - Decorate the Dress
Add any additional pieces or embellishments that go on the dress, like buttons, apron details, or sleeves. - Final Touches – Eyes and Blush
Glue on the eyes and blush circles to bring your character to life! You can use googly eyes, drawn eyes, or paper cutouts—whichever you prefer.