
Queen Esther Paper Bag Craft For Kids
This Queen Esther paper bag craft turns a simple paper lunch bag into a colorful puppet children can use to retell one of the Bible’s most memorable stories.
Esther’s crown, royal robe, and movable paper-bag mouth make the finished project especially fun for Sunday school, children’s church, homeschool, or a Bible lesson at home. As children trace, cut, and glue the pieces, they can learn how Esther showed courage, used wisdom, and spoke up to protect her people.
The complete Queen Esther craft eBook includes the printable template, photographed step-by-step directions, a child-friendly Bible-story summary, teaching ideas, discussion questions, a bravery reflection page, and an Esther 4:14 memory-verse activity.
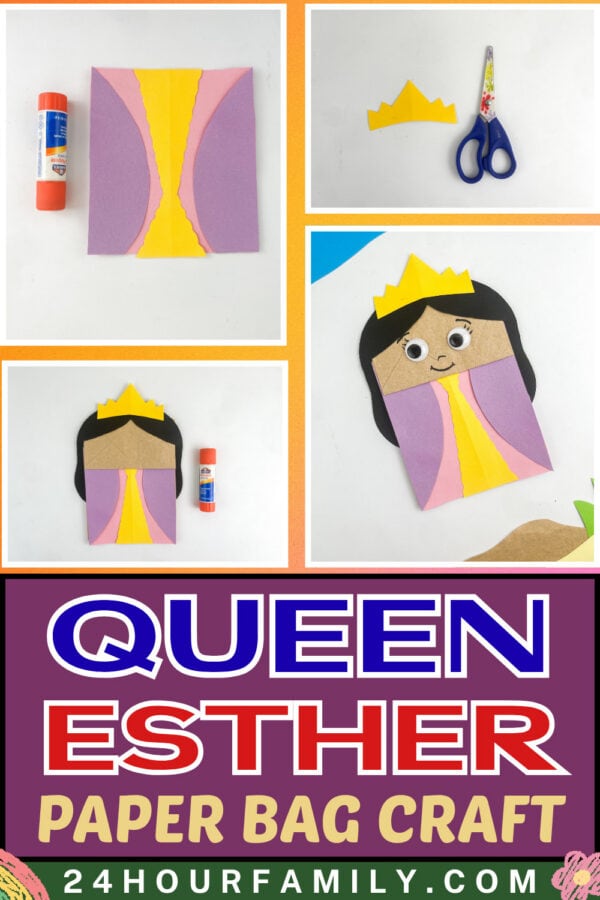
Queen Esther Bible Craft for Kids
The story of Esther is found in the Old Testament book of Esther. It takes place in Persia, where Esther, a young Jewish woman, became queen.
When a powerful man named Haman created a plan to destroy the Jewish people, Esther’s cousin Mordecai urged her to speak to the king. Approaching the king without an invitation was dangerous, but Esther chose to act.
She asked the Jewish people to fast for three days before she went to the king. Then she approached him carefully, prepared two banquets, and revealed Haman’s plan at the right moment.
The king listened to Esther, and her courageous decision helped save her people.
This paper bag puppet gives children a hands-on way to remember the story and act it out after the lesson.
What Does the Queen Esther Craft Teach?
This project supports more than cutting and gluing. It creates a natural opportunity to talk about several important Bible lessons.
Children can learn that:
- Courage does not mean never feeling afraid.
- We can choose to do what is right even when it feels difficult.
- God can place people in situations where they can help others.
- Wise advice from trusted people can help us make good decisions.
- Prayer and preparation are important.
- Speaking the truth can protect and help other people.
Esther’s story can also help children understand that courage is not always loud or dramatic. Sometimes courage means telling the truth, asking an adult for help, including someone who feels left out, or kindly standing up for another person.
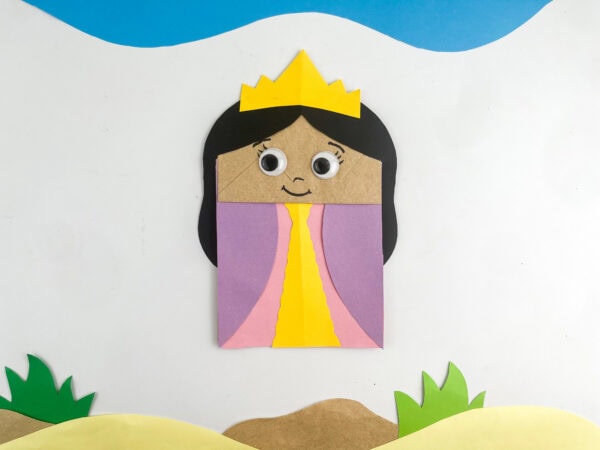
Best Ages for This Esther Craft
This Queen Esther paper bag puppet works well for children approximately ages 4 through 10.
Preschoolers and younger kindergarten children may need an adult to pre-cut the smaller crown and decorative dress pieces. Older elementary children can trace and cut every part independently and add their own details to Esther’s crown and robe.
The project can be used with:
- Preschool Bible lessons
- Kindergarten Sunday school
- Elementary children’s church
- Christian homeschool
- Vacation Bible School
- A Purim lesson or activity
- A girls’ Bible study about courage
- Family Bible time
The craft usually takes about 20 minutes once the pieces are prepared. Allow additional time if children will trace every template piece themselves.
This post may contain affiliate links. As an Amazon Associate and a participant in other affiliate programs, I earn a commission on qualifying purchases. Read our disclosure policy here.
AJM Brown Paper Lunch Bags 40 Count Crafty DAB GLUES DAB N STIC SchoolElmer’s Disappearing Purple School Glue Sticks Washable 22 Grams 3 CountHuhuhero Kids Scissors, 5” Safety Toddler Scissor Blunt Tip with Cover, Small Craft Cutting Paper Scissors for Child Kid Age 4-7 8 9, Assorted Colors, 4 PackCrayola Construction Paper, 120 SheetsCrayola 587722 Non-Washable Markers, Broad Point, Classic Colors, 10/Set
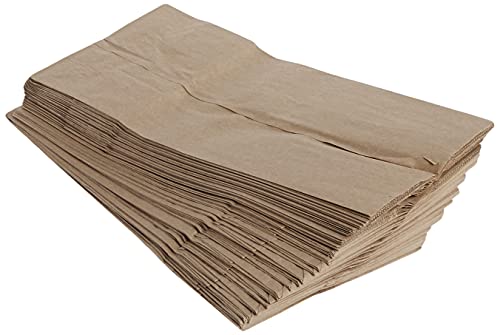


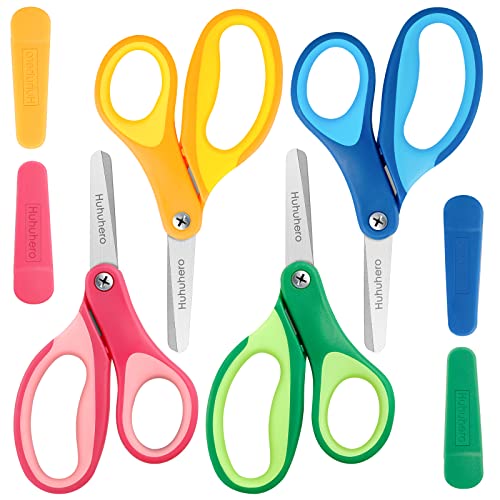


Supplies for the Queen Esther Paper Bag Craft
- One brown paper lunch bag
- The printable Queen Esther craft template
- Black or dark-brown construction paper
- Pink construction paper
- Purple construction paper
- Yellow or gold construction paper
- Two large googly eyes
- Child-safe scissors
- A glue stick
- A black marker
- A pencil for tracing
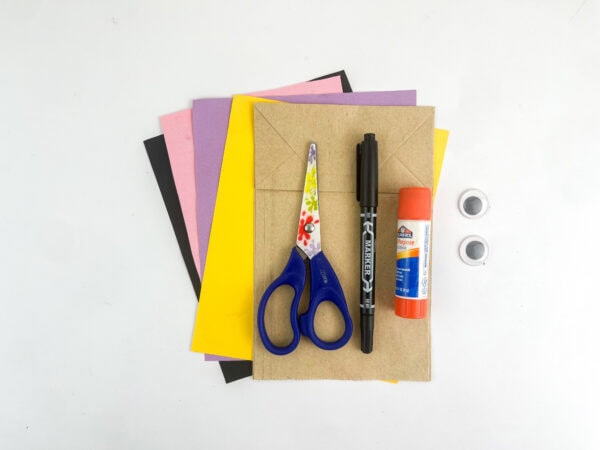
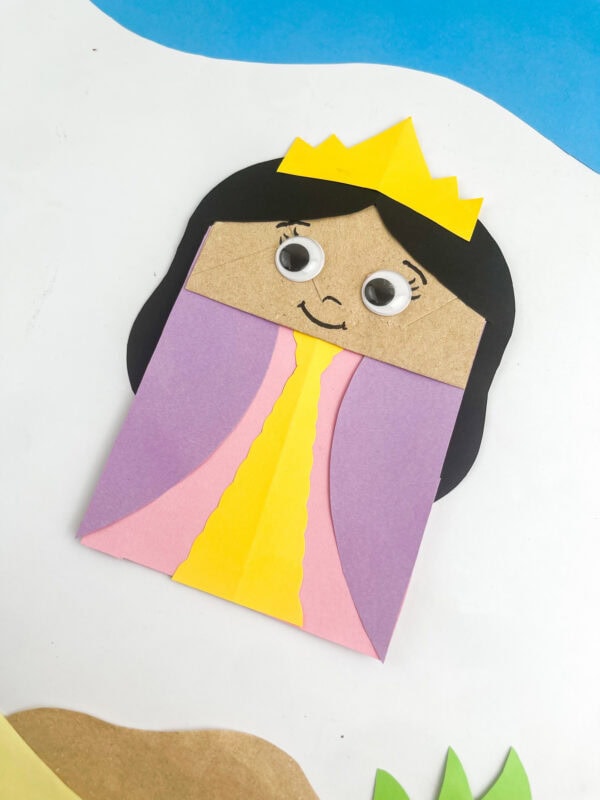
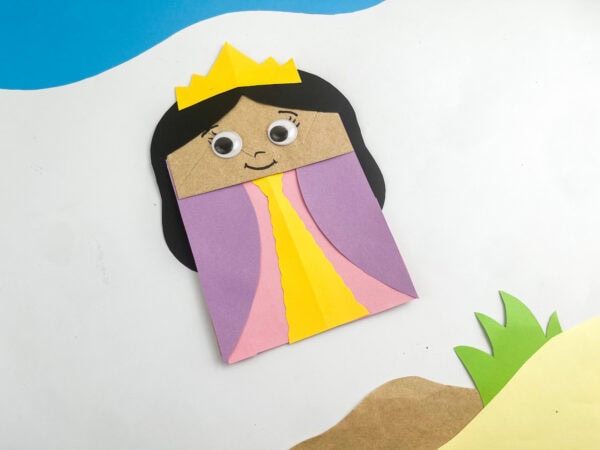
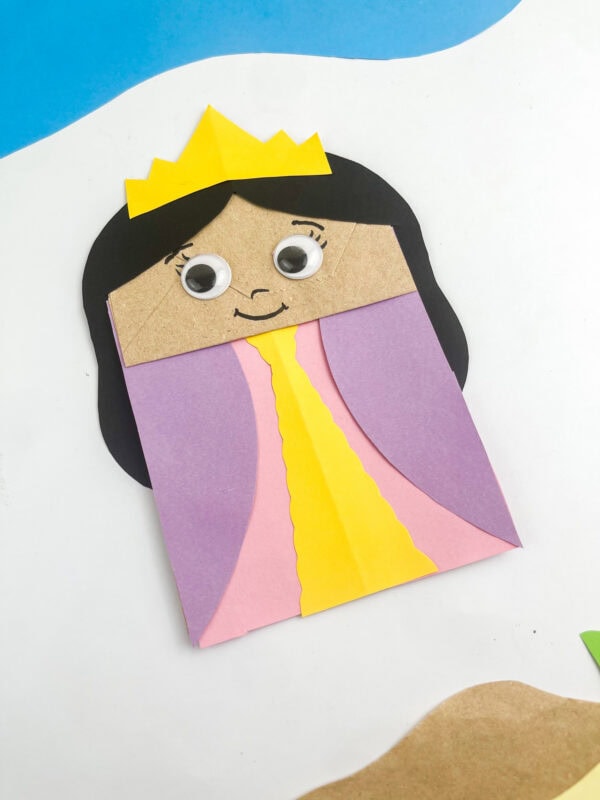
The photographed example uses black hair, a pink dress, a purple outer robe, and yellow trim. Children can choose different royal colors if they prefer.
Metallic gold paper, adhesive gems, sequins, or small stickers can make the crown feel extra special.
The printable eBook includes the full-size template, a color guide, seven photographed instruction pages, a Queen Esther lesson plan, discussion questions, a bravery worksheet, and an Esther 4:14 memory-verse activity.
How to Make a Queen Esther Paper Bag Puppet
Place the paper bag on the table with the bottom flap facing up. The flap becomes Esther’s face and forms the movable mouth of the puppet.
1. Print and prepare the craft template
Print the template at 100% or Actual Size. Do not select “Fit to Page,” as it can reduce the number of pieces.
Cut out the paper template shapes. Trace each one onto the suggested color of construction paper and cut out the traced pieces.
For a Sunday school class, consider printing the template on cardstock to create a reusable tracing set.
2. Cut out Queen Esther’s hair
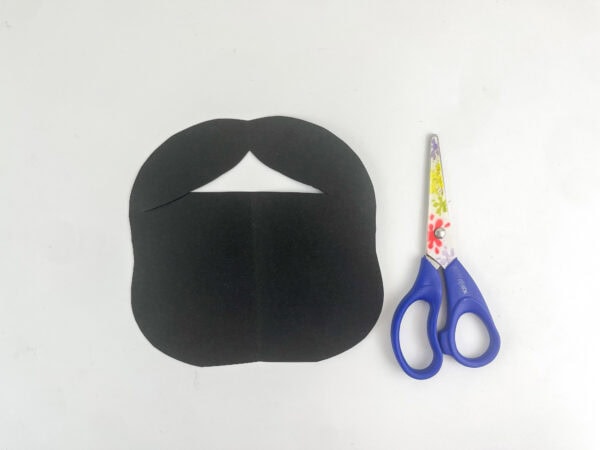
Trace the large hair shape onto black or dark-brown construction paper.
Cut around the outside edge and carefully cut the curved opening that forms Esther’s center part.
This is the largest shaped piece, so younger children may need help cutting the smaller curve near the top.
3. Attach the hair to the paper bag
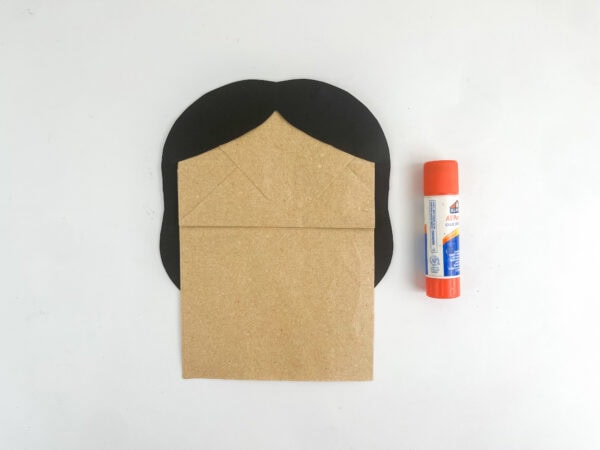
Place the hair behind the paper-bag flap. Center the pointed part above the flap and allow the rounded sides to extend down both sides of the bag.
Glue the sections of hair that touch the bag. Avoid gluing the paper bag shut, as children will need to place a hand inside to use the finished puppet.
4. Prepare the royal robe
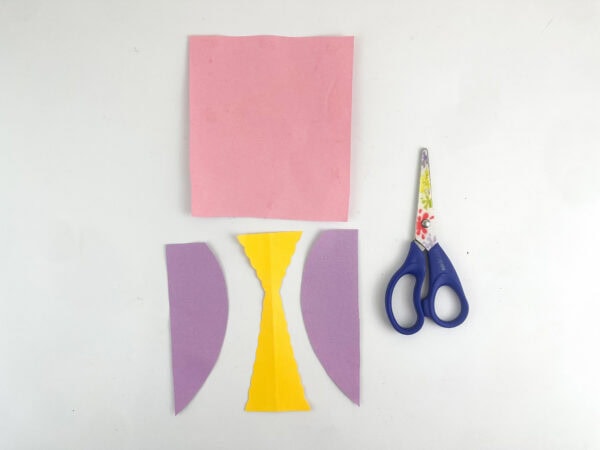
Cut the rectangular dress base from pink paper.
Trace the two curved robe panels onto purple paper. Cut the long decorative centerpiece from yellow or gold paper.
The finished robe is made from four pieces:
- One rectangular dress base
- Two curved outer robe panels
- One decorative center panel
Children can also decorate the paper before assembly by adding small dots, lines, or jewel shapes.
Glue one curved purple panel along each side of the pink rectangle.
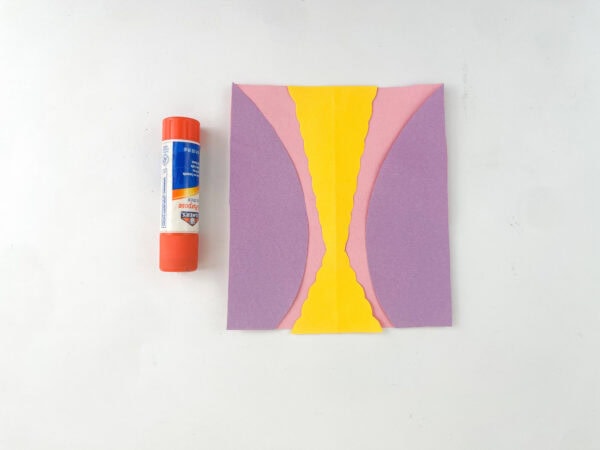
Place the yellow decorative trim down the center. The wider sections should be at the top and bottom, with the narrow section in the middle.
Arrange all three decorative pieces before gluing so the robe remains centered.
6. Glue the dress to the bag
Center the completed dress on the lower section of the paper bag.
Slide its top edge slightly beneath the flap and glue it in place. Align the bottom of the dress with the bottom of the bag.
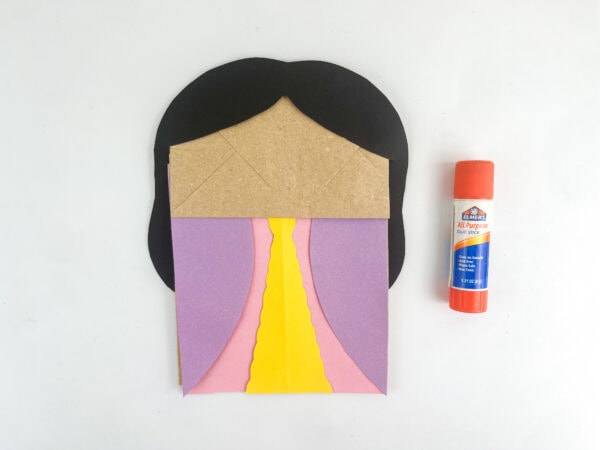
Check the back before the glue dries to make sure the bag still opens easily.
7. Add Queen Esther’s crown
Trace and cut the crown from yellow or gold construction paper.
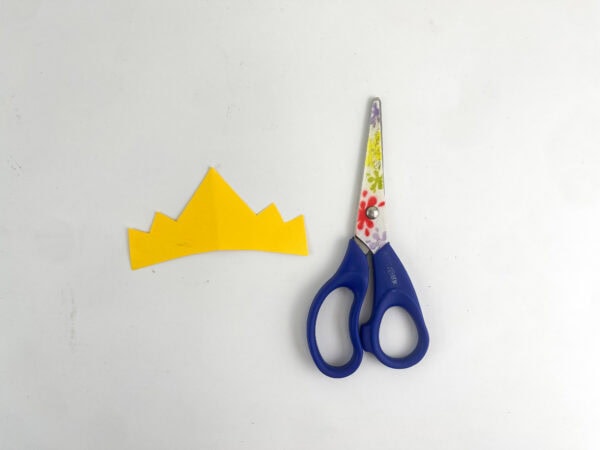
Before attaching it, children may decorate it with crayons, glitter glue, sequins, jewel stickers, or small paper shapes.
Glue the crown above the center of Esther’s hair.
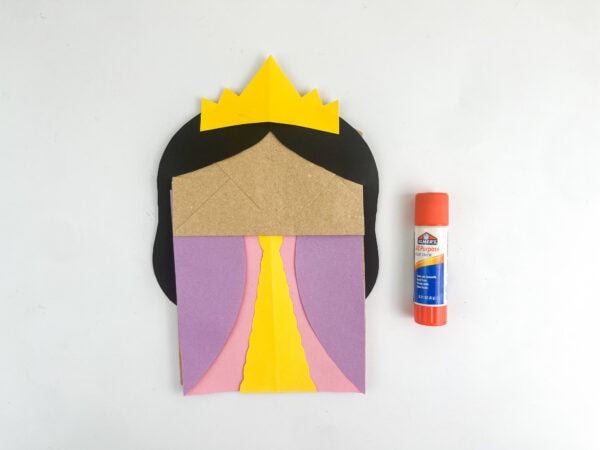
8. Finish Queen Esther’s face
Glue two googly eyes to the paper-bag flap.
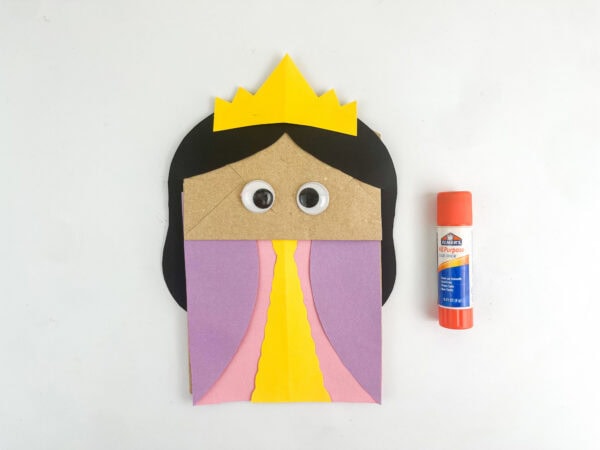
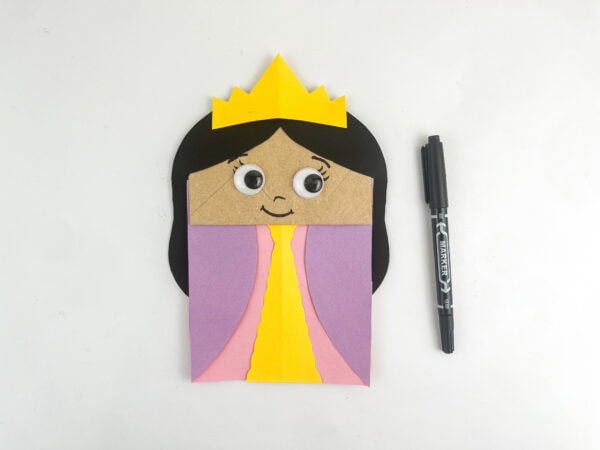
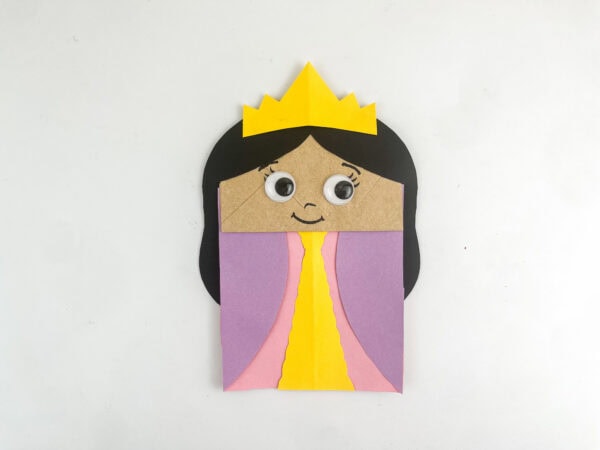
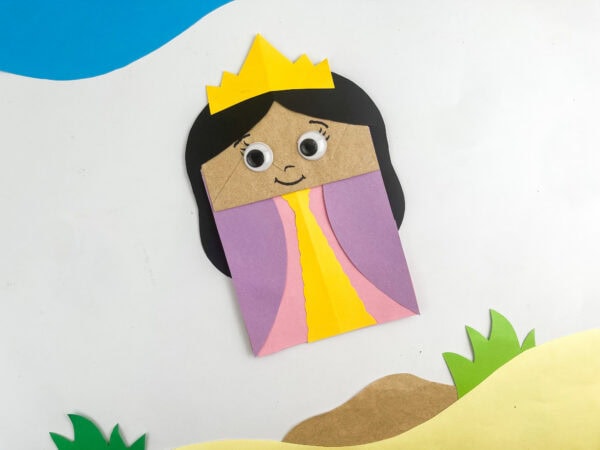
Use a black marker to add eyebrows, eyelashes, a small nose, and a smiling mouth. Allow the glue to dry before children begin using the puppet.
How to Use the Esther Puppet After the Craft
The paper bag does not have to become a project that is taken home and forgotten. Use the finished puppet to reinforce the story.
Children can work in pairs and take turns retelling these events:
- Esther becomes queen in Persia.
- Mordecai learns about Haman’s plan.
- Mordecai asks Esther to help.
- Esther asks the people to fast.
- Esther bravely approaches the king.
- Esther invites the king to a banquet.
- Esther reveals Haman’s plan.
- The Jewish people are saved.
For a larger class, create additional puppets representing Mordecai, King Xerxes, and Haman. Children can then present a short Bible-story skit.
Queen Esther Discussion Questions for Kids
After making the craft, ask:
- Who raised Esther and gave her wise advice?
- Why was Esther afraid to go to the king?
- What did Esther ask her people to do before she approached him?
- How did Esther show both courage and wisdom?
- Who are the trusted adults who help you make good choices?
- What should you do if you see someone being treated unfairly?
- When have you done something right even though you felt nervous?
- What brave and kind choice can you make this week?
Keep the discussion age-appropriate. Younger children may simply name something that feels scary. Older children can talk about the difference between taking a reckless risk and seeking help while doing the right thing.
Queen Esther Memory Verse
A meaningful verse to pair with this craft is Esther 4:14:
“And who knoweth whether thou art come to the kingdom for such a time as this?” — Esther 4:14 KJV
Explain that Mordecai helped Esther consider whether her position as queen gave her a special opportunity to help her people.
Children can hold up their puppets while repeating the phrase, “for such a time as this.”
The paid eBook includes a printable memory-verse card that can be displayed beside the craft or sent home.
Ways to Adapt the Craft
For preschoolers
Pre-cut the hair, crown, and decorative robe pieces. Allow children to glue the layers, add the eyes, and draw the face.
For kindergarten and first grade
Give each child the cut paper pieces, but let them follow a finished example and assemble the puppet independently.
For older elementary children
Let children trace all of the template pieces, choose their own colors, decorate the crown, and write a short response about a brave choice they can make.
For a Sunday school classroom
Prepare one supply bag for each child. Include the paper bag, pre-cut paper pieces, and googly eyes. Keep glue sticks and markers at each table.
For homeschool
Read Esther 4:10-17 and Esther 5:1-3 before starting. After the puppet is complete, ask the child to retell the passage in their own words.
What Is Included in the Queen Esther Craft eBook?
The complete printable pack includes:
- A child-friendly Queen Esther Bible-story summary
- A 30-to-45-minute lesson plan
- Key teaching truths about courage and wisdom
- A complete supply list
- Classroom preparation suggestions
- A construction-paper color guide
- Seven full-page photographed craft steps
- Discussion questions
- Puppet retelling prompts
- A “Brave Like Esther” reflection page
- An Esther 4:14 memory-verse activity
- A full-page printable Queen Esther template
Make the Queen Esther Craft
Teach children about courage, wisdom, and helping others with this ready-to-print Bible craft pack.
More Bible Crafts for Kids
After completing this Queen Esther craft, link to several related activities on 24 Hour Family:
- Bible Crafts for Kids
- Armor of God Coloring Pages
- Pharaoh Bible Craft – Learn about the ruler of Egypt from the story of Moses with this simple and engaging Bible craft.
- Abraham Father of Nations Craft – Explore Abraham’s journey and God’s promises through a fun hands-on activity for kids.
- Eve and the Garden of Eden Craft – Introduce children to the story of Eve and the Garden of Eden with an easy Bible craft they’ll enjoy making.
- Baby Moses in a Basket Craft – Bring the story of baby Moses to life with a creative craft that’s perfect for Bible lessons and family activities.
What age group is this craft best for?
This Queen Esther craft works well for a wide range of ages. Younger kids may need some shapes pre-cut, while older kids can handle the scissors, gluing, and decorating completely on their own.
Can I use this as a Sunday school or VBS activity?
Absolutely. This is one of the easiest Bible-themed crafts to prep in bulk for a classroom, Sunday school class, or VBS group. Just pre-cut the pieces ahead of time so each child can simply glue, decorate, and color their own queen.
Do I need a printable template?
Not necessarily, but it does make things easier. If you’re not confident freehanding the crown or dress shapes, a printable template can help keep things consistent across a group of kids.
What if I don’t have a paper bag?
You can swap the paper bag for a folded piece of construction paper or cardstock in a similar shade. The bag just gives it a little extra dimension and sturdiness.
Can this be turned into a puppet?
Yes! Since it’s made from a paper bag, this craft naturally serves as a simple puppet. Kids can slip their hands inside and use Esther to retell the story themselves, which is a great way to reinforce the lesson.
Queen Esther Craft
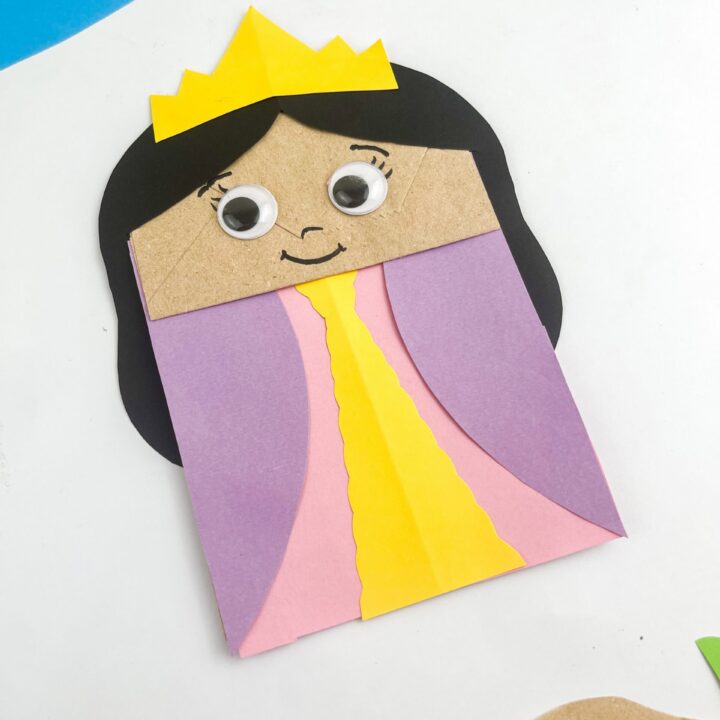
This Queen Esther Craft is a fun way for children to create one of the Bible's most inspiring queens. Kids will enjoy making Esther's colorful dress, crown, and smiling face with simple craft supplies. It helps develop cutting, gluing, and creative skills while reinforcing a Bible lesson. The finished puppet is great for storytelling or imaginative play. This activity is perfect for home, homeschool, or church.
Materials
- Brown paper lunch bag
- Queen Esther printable template
- Black, pink, purple, and yellow construction paper
- Two googly eyes
- Black marker
Tools
- Child-safe scissors
- Glue stick
- Pencil
Instructions
- Print the purchased template at 100% or Actual Size.
- Cut out the template shapes and trace them onto construction paper.
- Cut the hair piece from black paper and glue it behind the paper-bag flap.
- Cut the dress base, robe panels, and decorative center trim.
- Glue the robe panels and center trim to the dress base.
- Attach the completed dress to the lower portion of the paper bag.
- Cut and decorate the crown, then glue it above Esther’s hair.
- Add googly eyes and draw the remaining facial details with a black marker.
- Let the glue dry before using the puppet to retell Esther’s story.
Notes
- Pre-cut the smaller pieces for preschoolers.
- Do not glue the paper bag closed.
- The full printable template and teaching activities are included in the paid Queen Esther craft eBook.
