
Saul’s Conversion Craft for Kids (Printable Paper Bag Scene)
One of the best ways to help little ones remember a Bible lesson is by pairing it with a creative project they can make themselves.
This Saul Conversion Craft gives kids a hands-on way to learn about Saul’s remarkable journey and how he became Paul after his life-changing encounter with Jesus.
With a simple puppet to create and a powerful lesson to explore, this project is a great addition to Sunday school, homeschool, VBS, or family Bible time.
What Happened to Saul on the Road to Damascus?
Saul had been persecuting followers of Jesus. While he was traveling to Damascus, a light from heaven flashed around him. Saul fell to the ground and heard Jesus speak to him. When he got up, he could not see, so his companions led him into the city.
Saul remained blind for three days. God then sent a disciple named Ananias to visit him. Ananias placed his hands on Saul, Saul’s sight returned, and Saul was baptized. The encounter began a dramatic change in Saul’s life: the man who had opposed Jesus’ followers would proclaim Jesus himself.
Read the whole account in Acts 9:1–19 before or after making the craft.
Children may know him better as Paul. Acts first calls him Saul and later refers to him as Paul. For this activity, use Saul because that is the name used in the Damascus-road account. The passage does not say Jesus changed his name during this encounter.
What Saul’s Conversion Craft Represents
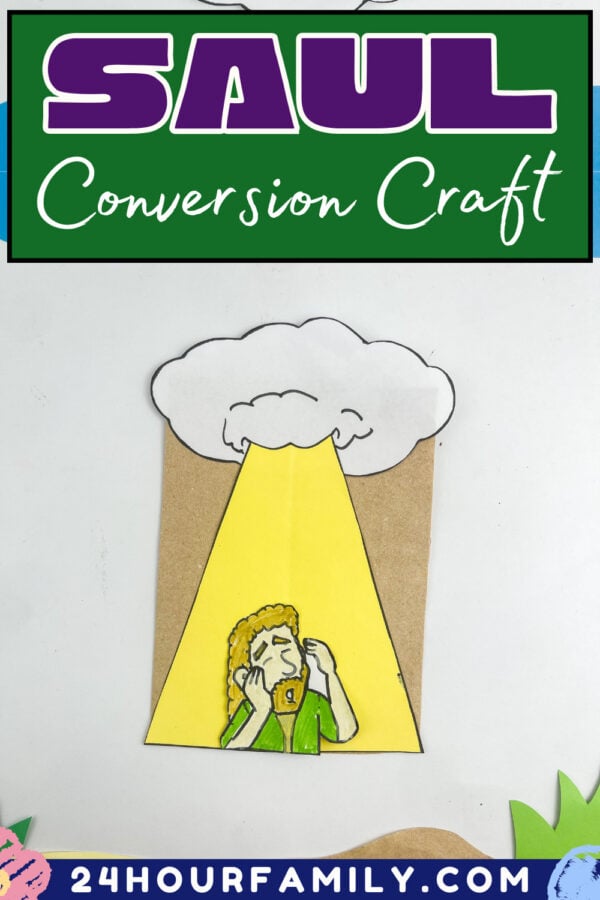
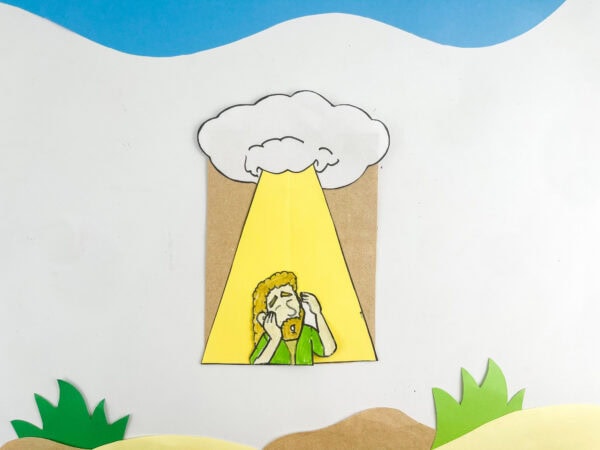
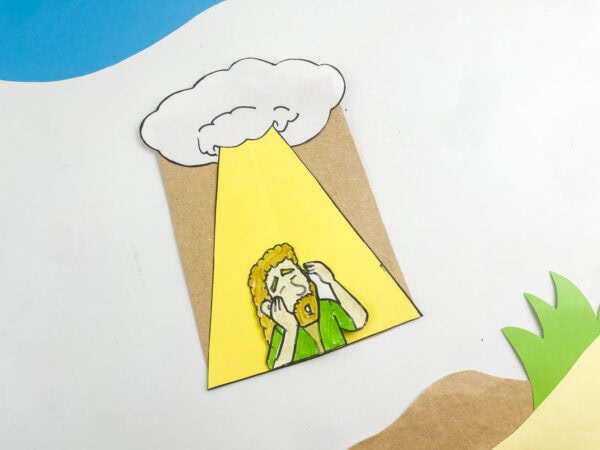
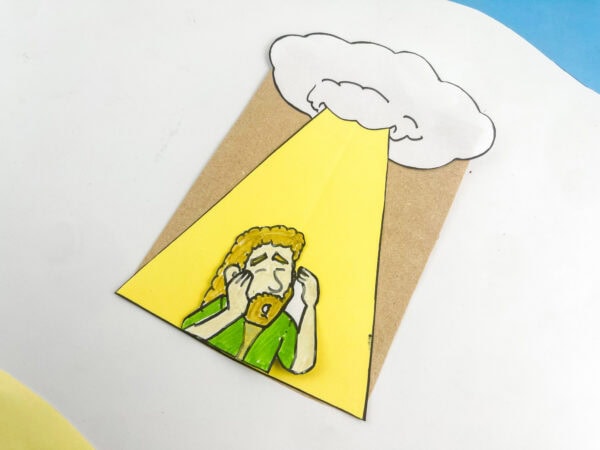
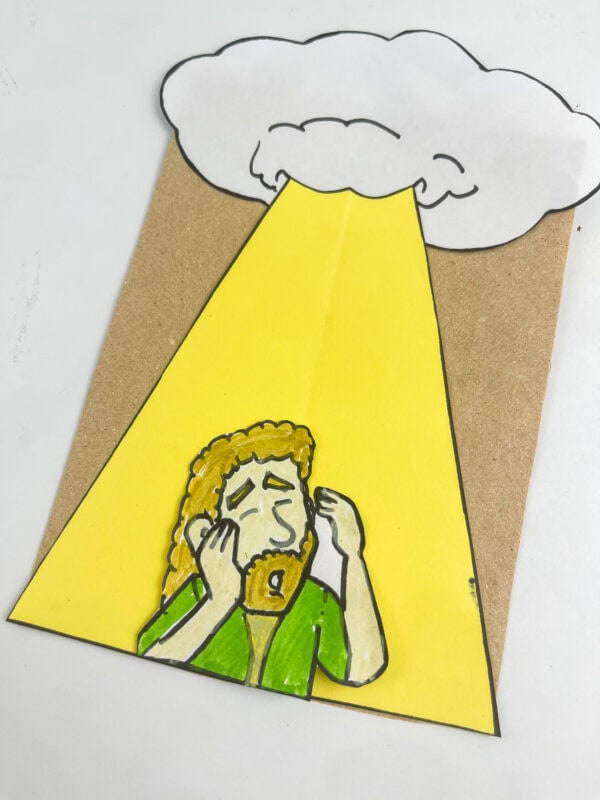
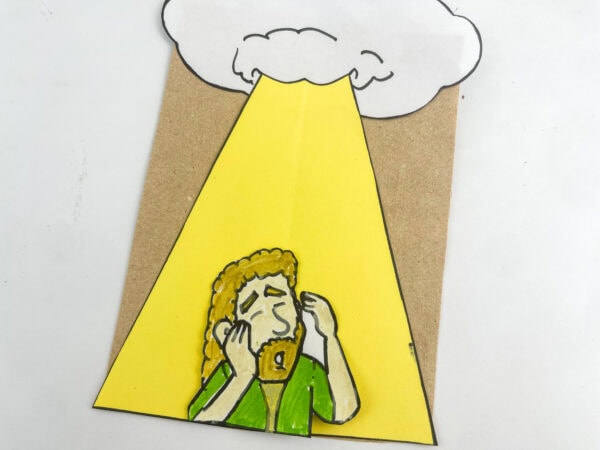
The yellow paper stands for the sudden light from heaven. Saul’s figure has his hands near his eyes to help children remember that he could not see afterward. The brown paper bag holds the pieces together and makes the finished scene easy to display.
This is a paper bag scene, not a moving puppet. No complicated mechanism is needed, so a group of children can each make their own while discussing the story.
This post may contain affiliate links. As an Amazon Associate and a participant in other affiliate programs, I earn a commission on qualifying purchases. Read our disclosure policy here.
AJM Brown Paper Lunch Bags 40 Count Crafty DAB GLUES DAB N STIC SchoolElmer’s Disappearing Purple School Glue Sticks Washable 22 Grams 3 CountHuhuhero Kids Scissors, 5” Safety Toddler Scissor Blunt Tip with Cover, Small Craft Cutting Paper Scissors for Child Kid Age 4-7 8 9, Assorted Colors, 4 PackCrayola Construction Paper, 120 SheetsCrayola 587722 Non-Washable Markers, Broad Point, Classic Colors, 10/Set




Supplies for the Saul Bible Craft
- The one-page Saul printable template
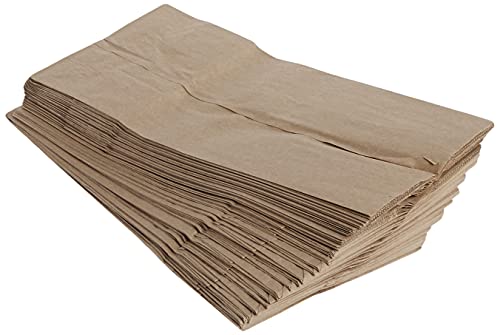
- One brown paper lunch bag
- Yellow construction paper for the beam of light
- White paper or white construction paper for the cloud
- White printer paper or cardstock for Saul
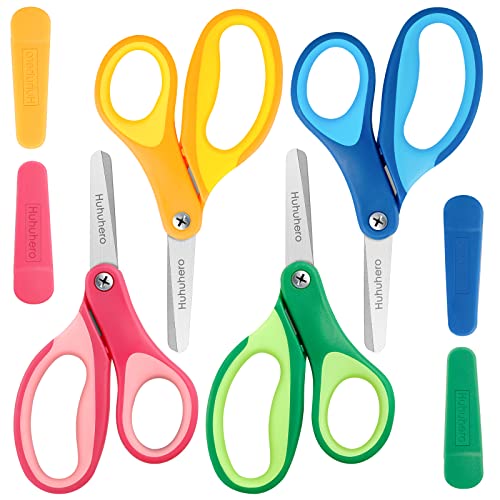
- Scissors
- Glue stick or school glue
- Markers, crayons, or colored pencils
- Black marker for outlining, optional
If you print Saul on ordinary paper, glue the colored cutout to a scrap of cardstock before attaching him to the bag for a sturdier figure. An adult can pre-cut the pieces for younger children.
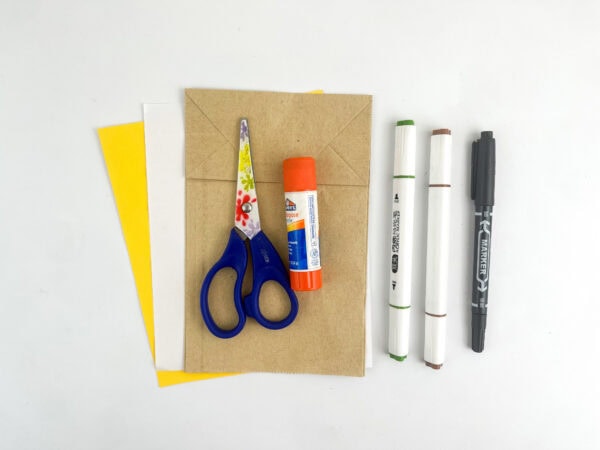
That’s it! No special tools, nothing you need to order online. Just basic craft supplies most households or classrooms already stock.
How to Make The Saul Conversion Craft
Step One: Trace and Cut
Trace your templates onto the corresponding construction paper, then cut them out.
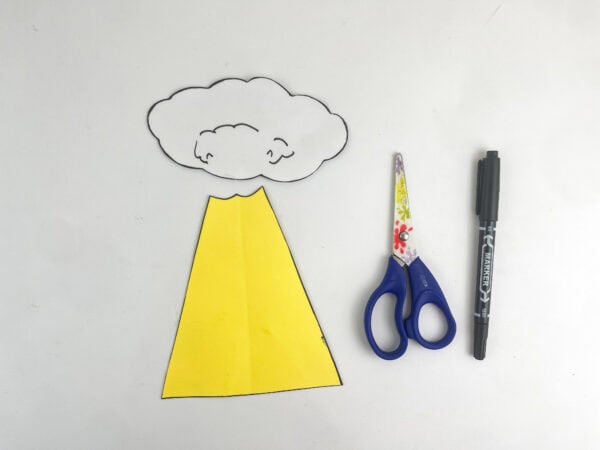
You’ll want a cloud shape from white cardstock and a triangular beam shape from yellow cardstock to represent the heavenly beam shining down on Saul.
Step Two: Outline With Marker
Once you’ve cut your pieces, outline each shape with a marker. This step gives the whole craft a clean, illustration-like look, almost like a coloring page come to life. Kids love seeing the bold black lines that make their pieces pop.
Step Three: Assemble the Pieces
Now it’s time to put the cloud and the beam of light together.
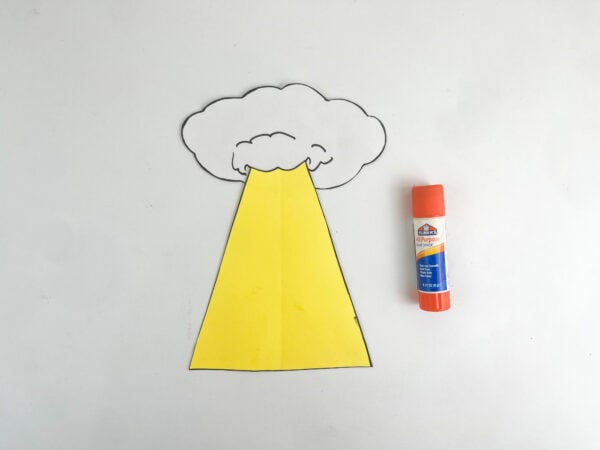
Attach the bottom of the cloud to the top of the yellow beam so it looks like it is shining straight down out of the cloud. This represents that incredible moment when heaven surrounded Saul.
Step Four: Attach to the Bag
Take your assembled cloud-and-beam piece and attach it to the top of the bag.
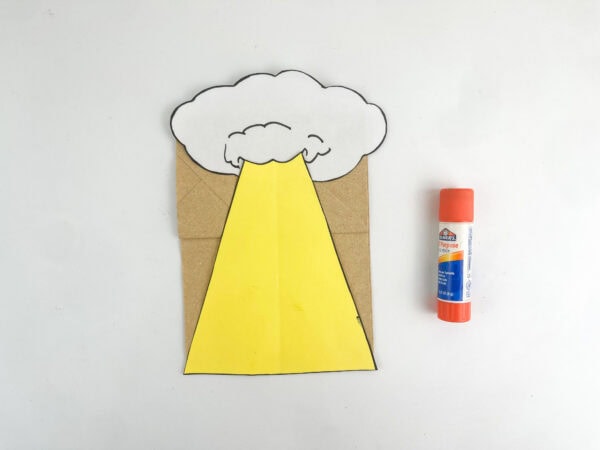
This becomes the backdrop of your scene, with the beam extending down the front.
Step Five: Color and Add Saul
Here’s where the real fun happens. Paint your Saul template, then cut him out
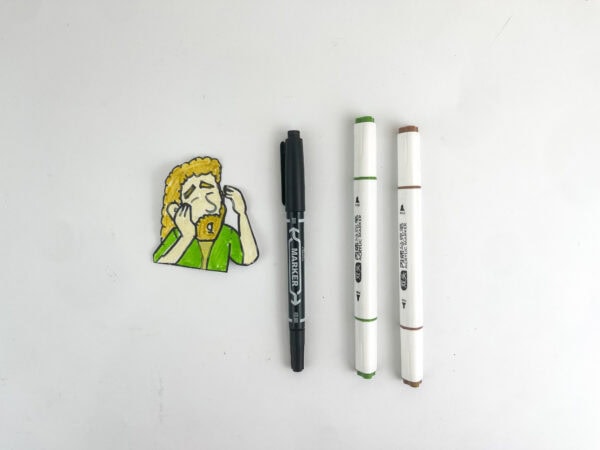
and attach him at the bottom of the bag, right in the path of that beam.
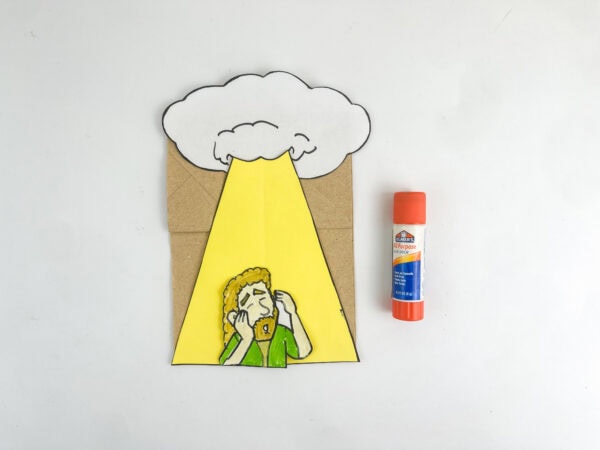
Draw his hands up near his face like he’s shielding his eyes — because remember, the light was so bright it left him blinded.
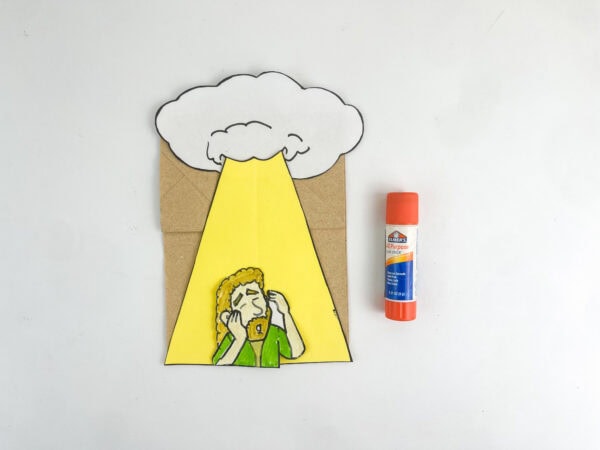
This small detail helps kids really picture and understand what happened on that road.
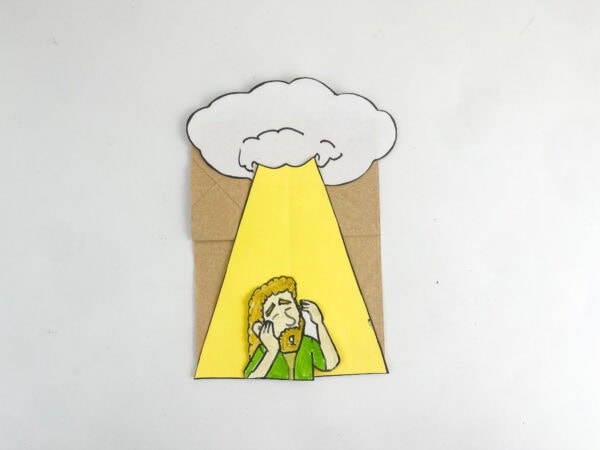
And just like that, you’ve got a finished craft that tells the whole story in one glance: heaven shining down on Saul as he kneels during this unforgettable moment.
Tips for Making This Bible Craft With a Group
For a Sunday school class, print one template per child and prepare a set of yellow and white paper for each table. You can pre-cut the cloud and beam for preschoolers and let them color Saul and assemble the scene. Older children can trace and cut all three pieces themselves.
Keep a finished sample nearby so kids can see the layering: bag first, cloud and beam next, Saul last. Use glue sticks to reduce mess and delays. If the printed template does not fit a particular lunch bag, check the layout before class and adjust the printing scale or bag size.
You might write “Acts 9:1–19” on the bag or on a small label below the scene. The template itself is a single page of cutout shapes, not a multi-page lesson pack or a verse-writing worksheet.
How to Use the Craft to Teach Acts 9
As children assemble the beam, ask, “Where did the light come from?” When they color Saul, ask, “What happened when he stood up?” After gluing the scene, talk about who helped Saul in Damascus and what changed in his life.
You can retell the story in four short parts:
- Saul traveled toward Damascus.
- A light from heaven appeared, and Jesus spoke to him.
- Saul could not see, and his companions led him into the city.
- Ananias visited Saul; his sight returned, and he began a new life as a follower of Jesus.
The craft depicts only the encounter with the light. Ananias’s visit is part of the lesson, but it isn’t represented by a separate piece in this template. That makes a good follow-up question: “What happened to Saul after the moment we made?
Discussion Questions for Kids
- Where was Saul going when he encountered Jesus?
- What surrounded Saul on the road?
- Why did Saul need help getting to Damascus?
- Who did God send to visit Saul?
- How did Saul’s actions change after this encounter?
- What does this story teach us about the way God can change a person’s life?
For younger children, focus on the concrete events: the road, the light, Saul’s inability to see, and the help he received. Older children can discuss Ananias’s courage and why welcoming Saul would have been difficult for believers who knew his past.
A Short Prayer to Say After the Craft
“Jesus, thank You for loving people and changing lives. Help us listen to You, show courage like Ananias, and treat others with kindness. Amen.”
More Bible Crafts for Kids
If you are planning a series of Sunday school activities, browse the Bible crafts and printables collection. For more paper bag projects, try the Moses paper bag puppet or Queen Esther paper bag craft.
More Bible Stories to Make
If your kids enjoyed this Saul Conversion Craft, here are a few more Bible crafts that bring familiar stories to life through fun, hands-on activities.
- Joseph Coat of Many Colors Craft – Help children learn about Joseph and his colorful coat with a creative craft they’ll enjoy making.
- Moses Bible Paper Bag Craft – Create a Moses puppet while exploring how he led God’s people out of Egypt.
- Pharaoh Bible Craft – Pair your Bible lesson with a craft featuring the Pharaoh from the story of Moses and the Exodus.
- Baptism of Jesus Craft for Kids – Teach children about Jesus’ baptism with an easy craft that’s perfect for home, church, or homeschool.
What I love most about this particular Saul conversion craft is that it’s not just busywork. It actually teaches something. Kids walk away understanding that Saul’s conversion wasn’t just a name update.
It was a complete transformation of heart and purpose. One day he was actively working against Jesus’ followers, and the next he was one of the most passionate Christians the world has ever known.
That’s a powerful idea for children to sit with: that no one is too far gone, and that God’s light can shine into anyone’s life and change their path completely, just like it did on that road.
Who is this craft designed for?
The activity is easy to adapt for a variety of age groups. Preschoolers may need help with cutting, while older kids can manage the whole process — tracing, cutting, coloring, and assembling — on their own.
What Bible story does this craft represent?
It represents the story of Saul’s conversion found in Acts 9, when a blinding light from heaven appeared to Saul on the road to Damascus and he encountered Jesus, which eventually led to him becoming Paul, one of the most well-known apostles in the New Testament.
Do I need any special supplies?
Not at all. You just need a bag, construction paper, adhesive, scissors, and markers, all things most homes and classrooms already have on hand.
Can this be used for Sunday school or homeschool lessons?
Yes! It’s a great fit for church group activities, homeschool Bible lessons, and children’s ministry programs. It pairs nicely with a memory verse or short discussion about faith and transformation.
Is there a printable template available?
Yes, a downloadable PDF template is available so you can print the shapes instead of tracing them by hand, which is especially helpful when prepping for a full class.
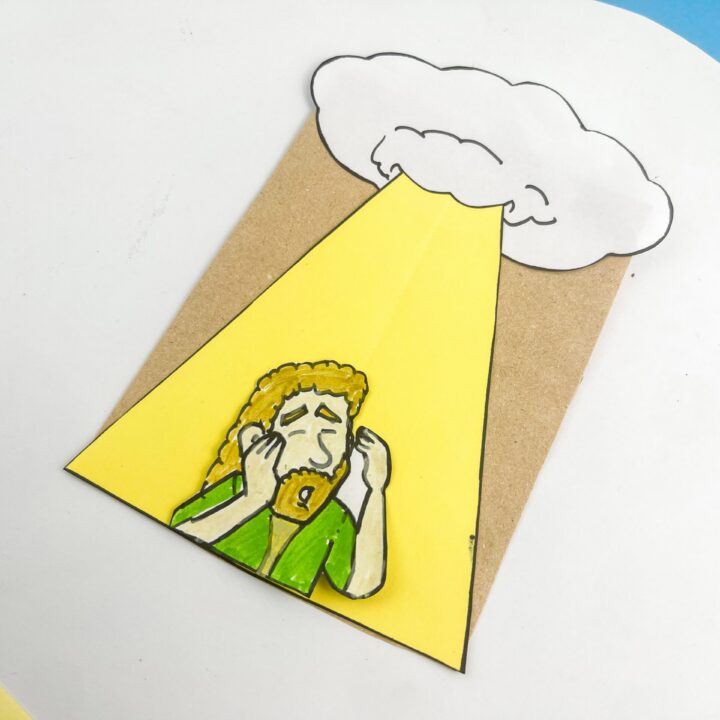
Saul Conversion Craft
This Saul Conversion Craft is a simple way for children to learn about an important moment in the Bible through a hands-on activity. Kids will create a scene showing Saul beneath a bright light from heaven using easy craft supplies. It encourages creativity while helping children remember the Bible lesson. The finished craft works well for storytelling or classroom displays. It's a great activity for home, homeschool, or church.
Materials
- 1 brown paper lunch bag
- 1 printed Saul craft template
- Yellow construction paper
- White construction paper
- Markers or crayons
- Black marker, optional
Tools
- Scissors
- Glue or Glue Sticks
Instructions
1. Cut Out the Craft Pieces
Trace and cut out all the construction paper pieces, including a cloud, a beam of light, and the figure of Saul. Keep the pieces together so they're ready to assemble.
2. Add the Details
Use markers to outline the cloud, beam of light, and Saul. You can also draw a few simple details to make each piece stand out.
3. Build the Background
Glue the cloud to the top of the beam of light so the beam extends downward. Press the pieces together firmly before attaching them to the paper bag.
4. Attach Everything to the Bag
Glue the completed cloud and beam to the top section of the paper bag. Position the beam so it reaches down the front of the bag.
5. Add Saul
Color the Saul cutout if needed, then glue it near the bottom of the beam of light. Draw his facial features and hands with a marker to complete the craft.
6. Let It Dry and Display
Allow the glue to dry completely before moving the craft. Once finished, use it during Bible lessons, storytelling, or display it with other Bible character crafts.
