
Snow Globe Paper Plate Craft (Free Snow Globe Template)
This snow globe paper plate craft, with a free snow globe template, is the easiest way to bring that winter-wonderland feeling home. There’s just something about a tiny world swirling with “snow” that sparks instant joy, and this simple project captures the same magic without the mess.
Shake, glue, and decorate while the flakes twirl, then hang your finished globe for a cozy, festive touch. Download the template, print it, and you’re crafting in minutes!

Christmas paper plate crafts are a fast, budget-friendly way to turn everyday supplies into festive keepsakes—think gingerbread faces, angel ornaments, penguin pals, and mini wreaths kids can make in minutes. Grab a stack of plates, paint, and glue, then follow our step-by-step ideas (with free templates) for easy classroom projects or cozy family craft nights.
Paper Plate Snow Globe Craft
This easy project is perfect for kids of all ages (and adults who secretly love a good, fun winter activity). Using supplies you probably already have at home—like paper plates, glue, construction paper, and cotton—you’ll create your own snowy little wonderland.
Whether you’re looking for a fun activity to do on snowy days, something festive for winter or Christmas, or just a way to spark creativity, this snow globe project is sure to bring plenty of smiles.
This post may contain affiliate links. As an Amazon Associate and a participant in other affiliate programs, I earn a commission on qualifying purchases. Read our disclosure policy here.
Stock Your Home 9-Inch Paper Plates Uncoated, Everyday Disposable Plates 9KTOJOY 100Pcs Jumbo Wooden Craft Sticks Popsicle Stick 6” Long x 3/4”Wide Treat Ice Pop for DIY Crafts,Home Art Projects, Classroom SuppliesMod Podge Gloss Sealer, Glue & Finish: All-in-One Craft Solution- Quick Dry, Easy Clean, for Wood, Paper, Fabric & More. Non-Toxic – Craft with Confidence, Made in USA, 16 oz., Pack of 1Crayola Construction Paper – 480ct (2pck), Bulk Teacher Supplies, Back to School Essentials For Kids, Classroom Must Have, Arts & Crafts Art PaperGoodyKing Arts and Crafts Supplies for Kids – 1170Pcs+ Craft Art Supply Kit for Toddlers Kids Craft Supplies & Materials Age 4 5 6 7 8 9 – All in One D.I.Y. Crafting School Supplies900 PCS Pom Poms, Multicolor Bulk Pom Poms Arts and Crafts, Soft and Fluffy Craft Pom Poms, Assorted Sizes Pompoms, for Arts and Craft Making Decorations


Supplies Needed for Your Snow Globe Paper Plate
Before we dive into the fun part, let’s round up everything you’ll need.
- Paper plate (blue paper plates work great, but white is fine too)
- Clear plastic plate or a plastic cover (to seal in your design)
- Construction paper (greens for trees, black for hats, yellow for stars, etc.)
- Blue paint (if you’re not using colored plates)
- Scissors
- Glue (a hot glue gun works best for attaching thicker pieces, but regular glue is fine)
- Cotton or fake snow
- Ribbon (for trimming and finishing)
- Pom poms (optional, but fun to add as decorations or “snow”)
- Sticker stars or shapes (if you want an extra sparkle)
- Marker (for drawing details like buttons or faces)
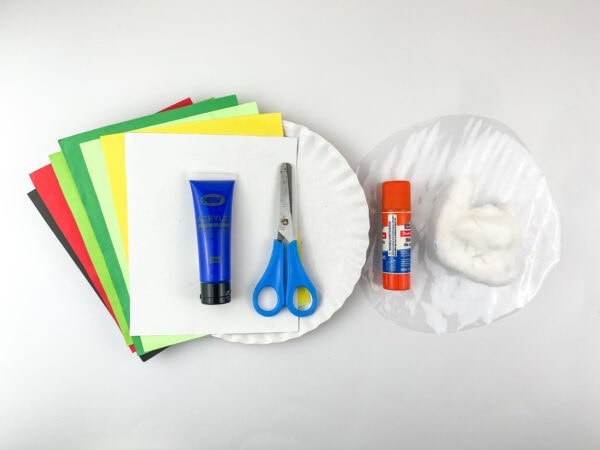
That’s it! Simple, right? Once you gather your materials, you’re ready to make your paper plate snow globe.
Step-by-Step Instructions
Step 1: Prep and Paint
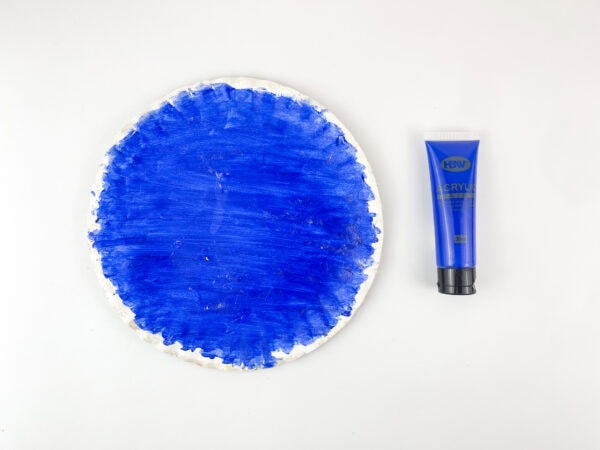
Start by making a paper plate your base. If you’re using white plates, grab some blue paint and cover one side completely. Let it dry—it’ll become the background for your winter scene.
Step 2: Print the Template
If you’re working with printables, you can print the template onto the paper plate or trace it onto construction paper. This snow globe template makes it easy for little hands to cut out stars, trees, and other shapes.
Step 3: Cut and Assemble
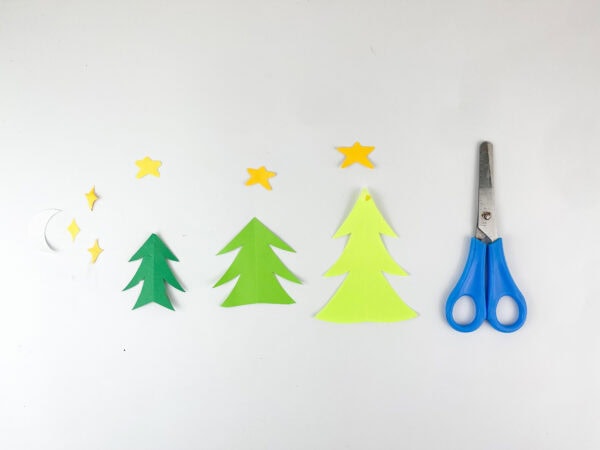
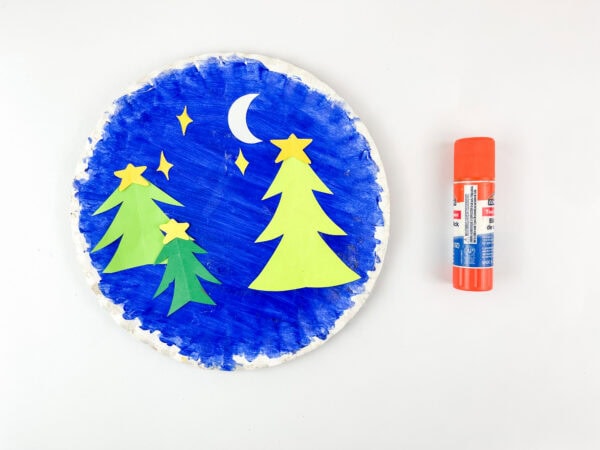
Cut out your template pieces—trees, stars, a moon, maybe even a sleigh or reindeer. Then assemble them one by one onto your painted plate. This is where your creativity really shines!
Step 4: Add Trees and Snow
Glue the Christmas tree cutouts onto your plate.
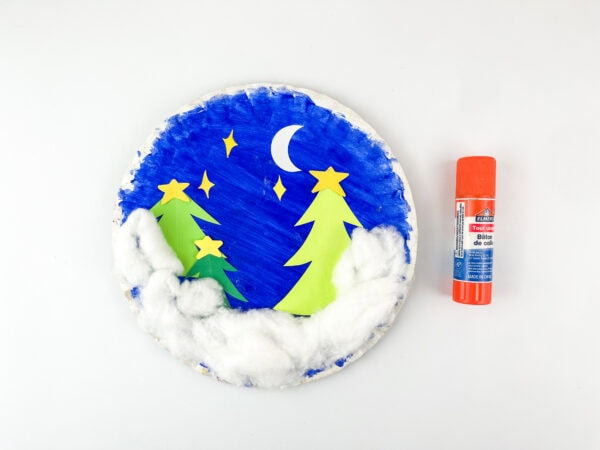
Then, take some cotton and attach it along the bottom to create snow on top of your background. You can even sprinkle some glitter over the cotton for extra shine.
Step 5: Make Your Snowman
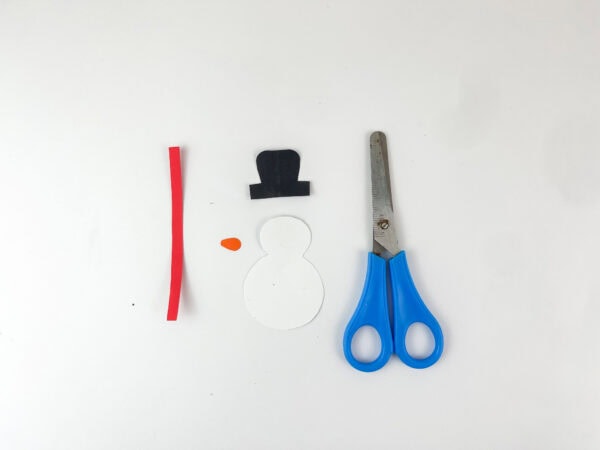
What’s a snow globe without a snowman? Cut out two white circles, a little black hat, and maybe even a red scarf. Add eyes and buttons with a marker.
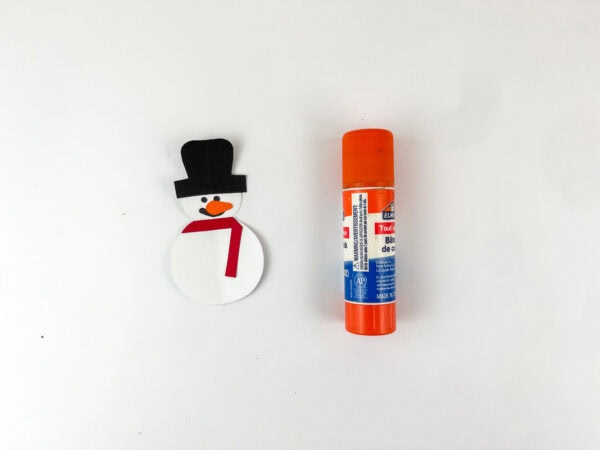
Then, glue your snowman right into your winter wonderland.
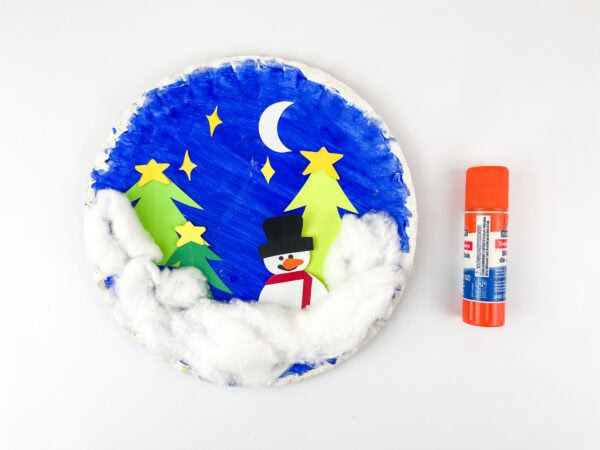
Step 6: Seal It Up
Take another paper plate and cut out the inner circle.
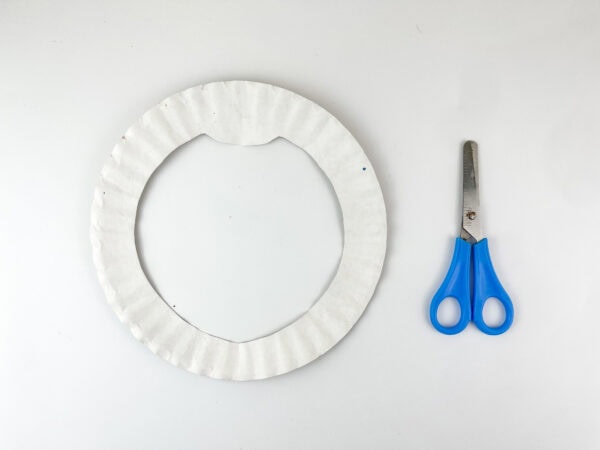
Tape or glue a clear plastic plate (or plastic cover) around the edges. Place it carefully over your decorated plate to seal everything in.
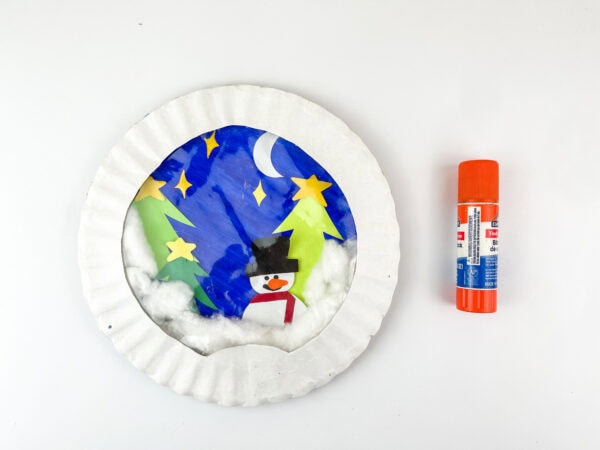
Add a line of glue around the edges to make sure it’s secure.
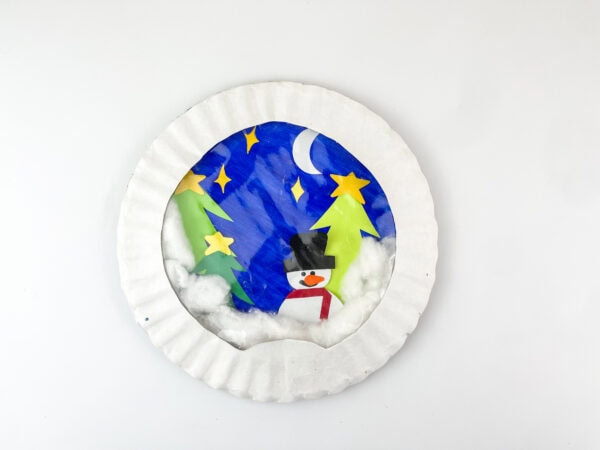
Step 7: Add the Holder and Ribbon
Cut a base out of black construction paper to look like the stand of a globe.
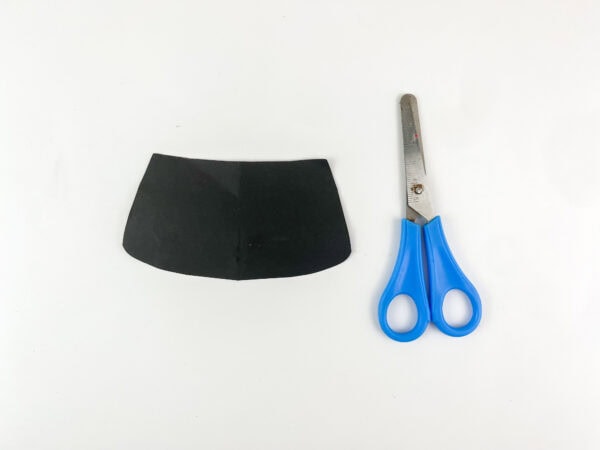
Then glue the base onto the bottom of your plate.
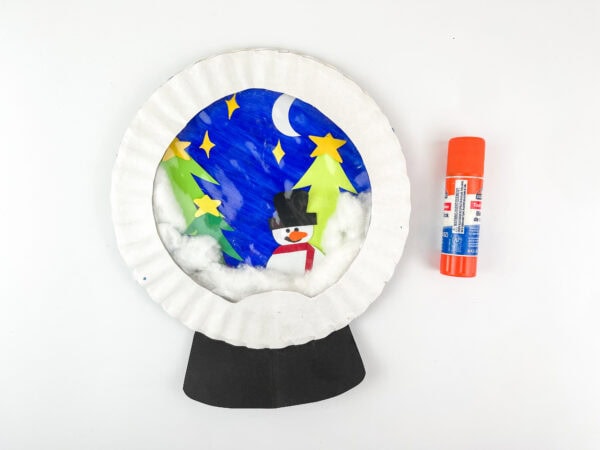
Finally, tie a ribbon and attach it to give your snow globe a finished look.
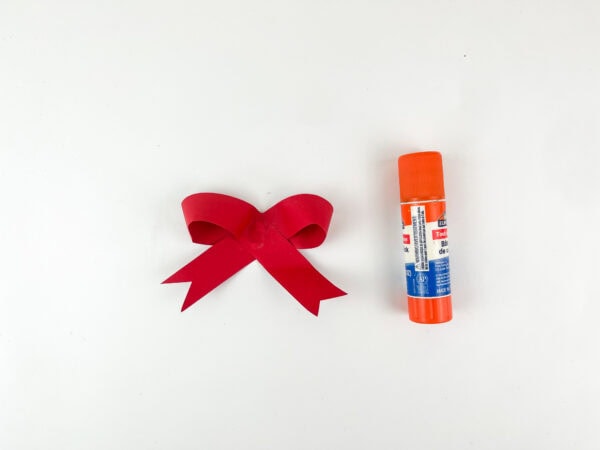
And there you have it—a cute paper plate snow globe that looks amazing on display!
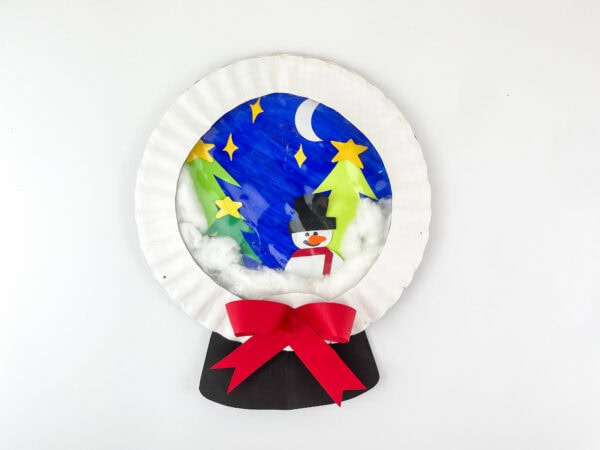
Free Snow Globe Template
The beauty of this snow globe craft lies in its customization options. You can design your own snow globe in many fun ways. Here are some different ideas:
- Add pom poms as falling snowballs or decorations on your trees.
- Use a hot glue gun to attach heavier pieces, such as plastic gems or larger pom-pom decorations.
- Swap the snowman for a little reindeer or sleigh.
- Add sticker stars in the sky for extra sparkle.
- Try creating multiple globe crafts with different scenes—such as one with a snowflake storm, one featuring a Christmas tree, and another with just a forest.
Not only does this add variety, but it also makes for an interactive holiday display.
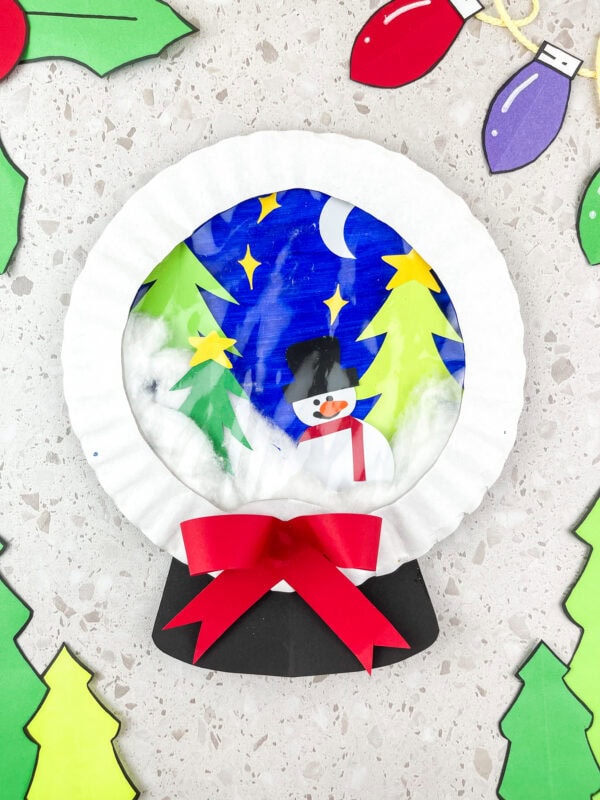
A Fun Activity for Kids
This snow globe craft for kids is simple enough for preschool classrooms but creative enough to entertain older children, too. Whether you’re working on a holiday project, a rainy afternoon fun activity, or even a family craft night, this is something kids will love.
Plus, snow globe crafts are great for learning skills:
- Cutting with scissors builds fine motor control.
- Following steps teaches sequencing.
- Decorating boosts imagination.
And let’s not forget—it’s just plain fun to shake your snow globe and see what you created!
Tips for Success
- Use a hot glue gun for a sturdier seal.
- Don’t be afraid to decorate with extra touches like glitter, stickers, or shiny printables.
- Try using blue paper plates if you’d like to skip the painting step.
- Download a PDF with a snow globe template if you want quick, ready-to-cut shapes.
- Encourage kids to make different scenes—maybe even design their dream snowy village!
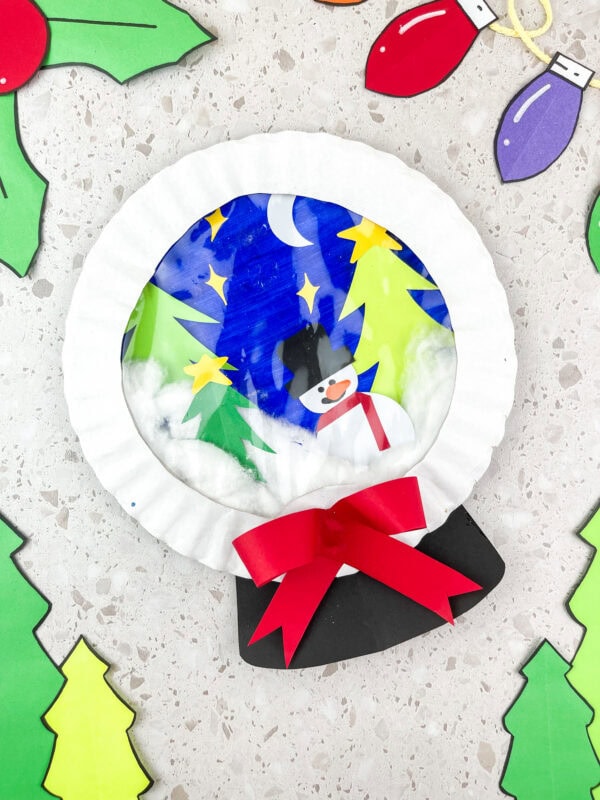
A Keepsake Worth Saving
Once your snow globe paper plate craft is complete, it becomes more than just a simple, fun craft. It’s a keepsake that captures the joy of winter. Imagine pulling it out each holiday season as part of your decorations—it’ll bring back memories of snowy days spent creating together.
You could even write the year on the back with a marker, making it a little time capsule of holiday memories.
More Creative Paper Plate Crafts
If you enjoyed the Snow Globe Paper Plate Craft, here are more fun and imaginative paper plate projects to try.
- Star Wars Craft for Kids – A galactic craft adventure perfect for young Star Wars fans.
- Starfish Paper Plate Craft – A colorful under-the-sea project featuring a fun starfish design.
- Crab Paper Plate Craft – A playful ocean-themed craft with a bright red crab.
- Frog Paper Plate Craft – A cheerful frog design that’s simple and fun for kids to make.
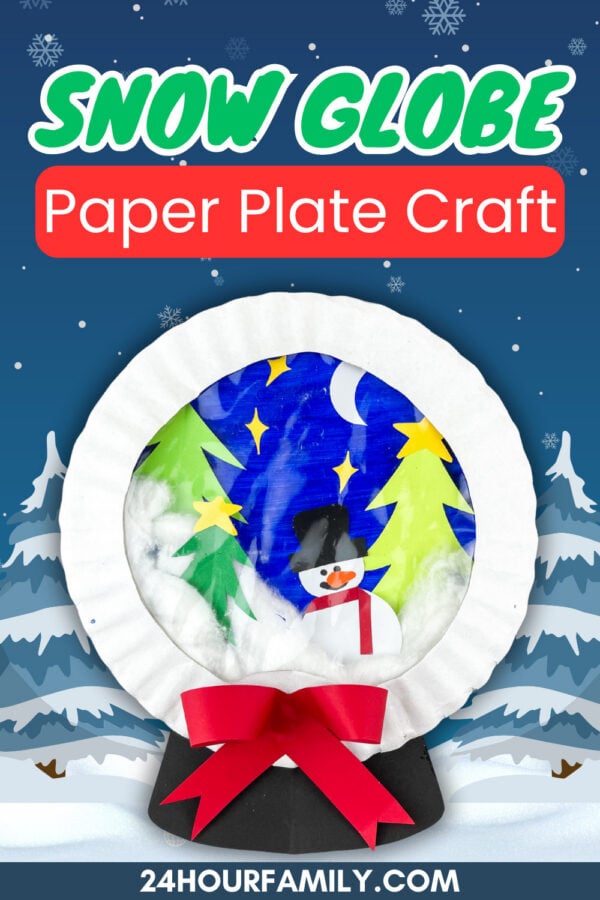
This snow globe paper plate project is one of those fun crafts for kids that’s easy, budget-friendly, and guaranteed to spark creativity. It combines the charm of a traditional snow globe with the simplicity of a paper plate craft, making it the perfect winter or Christmas activity for families, classrooms, or anyone who loves DIY.
From snowman building to snowflake decorating, this is a project that will make your holiday season extra magical.
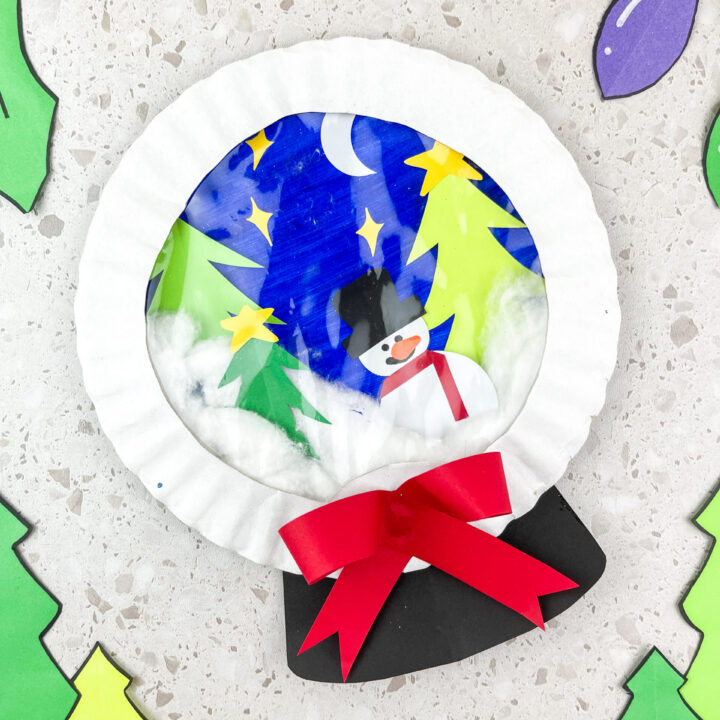
Snowglobe Paper Plate Craft
Make a magical paper plate snow globe with a cozy winter scene under a clear “dome.” Kids paint a snowy sky, build trees and a snowman from construction paper, add fluffy cotton “snow,” then seal it with a plastic cover for a shake-free, display-ready craft.
Materials
- Paper plates (2)
- Free Snowglobe Template
- Clear plastic cover (deli lid, page protector, or packaging film)
- Construction paper (greens, white, black, orange, red)
- Blue paint + paintbrush
- Scissors
- Glue (glue stick + school glue)
- Cotton balls
- Marker (black; optional white paint pen)
- Ribbon (for the bow/hanger)
Instructions
- Paint the sky
Paint the front of one paper plate blue for the background. Set aside to dry. - Cut the scene pieces.
Using your templates (or freehand), cut evergreen trees, snowdrifts, a snowman body, hat, scarf, nose, and buttons from construction paper. - Assemble the winter scene.
Glue the trees onto the blue plate first. Layer the snowdrift (white paper) along the bottom edge, then add the snowman pieces (body, hat, scarf, nose, buttons). Use a marker to draw eyes, a smile, and twig arms. - Add fluffy snow
Pull apart cotton and glue a thin strip along the inside lower edge of the blue plate to look like piled snow. Optional: dab white paint dots in the sky for falling snow. - Make the clear dome
Take the second paper plate and cut out the center, leaving a 1–1.5 in (2.5–4 cm) rim. Place the clear plastic behind the opening and glue or tape it down smoothly—this is your “globe window.” - Seal the globe
Run a bead of glue around the rim of the background plate and press the window plate on top so the plastic faces outward. Hold or clip until secure. - Add the base/holder
Cut a stand/holder shape (a rectangle or half-oval) from construction paper and glue it to the bottom of the globe to mimic a traditional snow-globe base. - Finish with a bow
Tie and glue a ribbon bow at the top (or punch a hole and add ribbon as a hanger). Let everything dry completely before displaying.
Tips: For classrooms, pre-cut the inner “window” plate. Adults should handle hot glue if used. A few sequins or paper “confetti” can be glued inside the scene for extra sparkle (no loose pieces needed).
